Progressing on the left wing main spar, today I worked on locating and drilling the rib attach angles, particularly in the fuel tank extension doubler area.
As I had previously got the wing attach angles fabricated and drilled, these were quick to get installed.
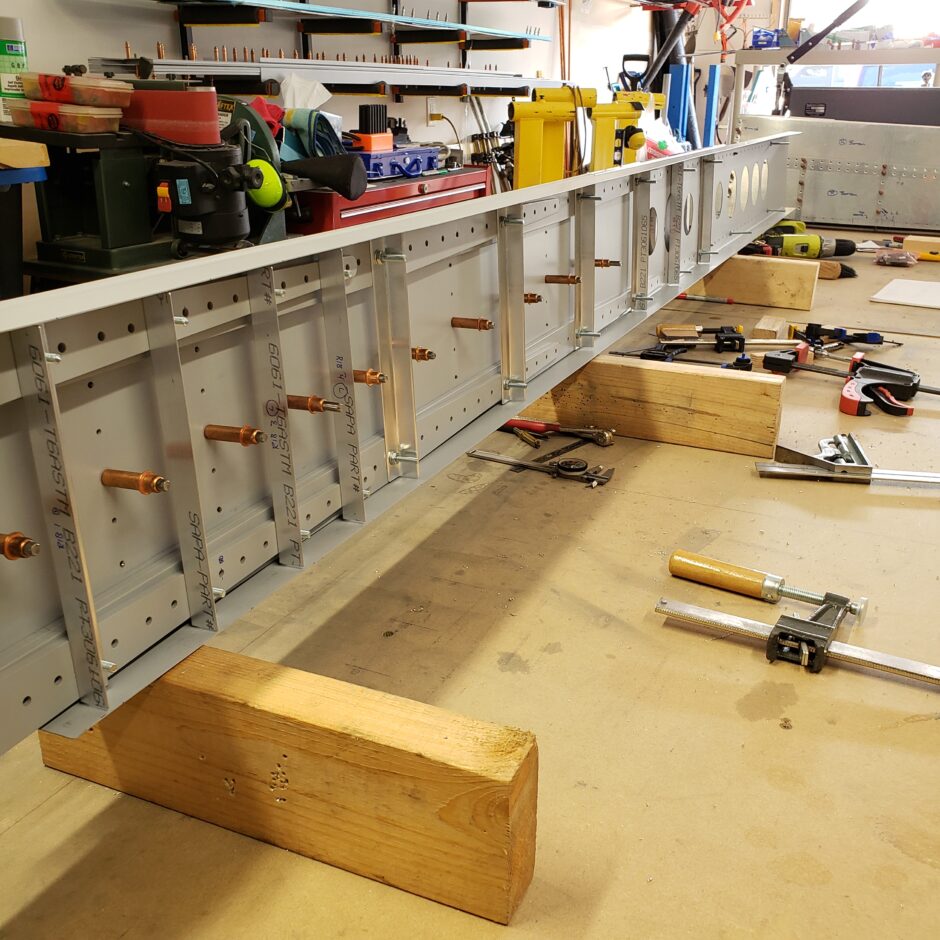
Next I located and drilled the inner (of 3) spar stiffener angles. This one is located between rib 11 and 12.
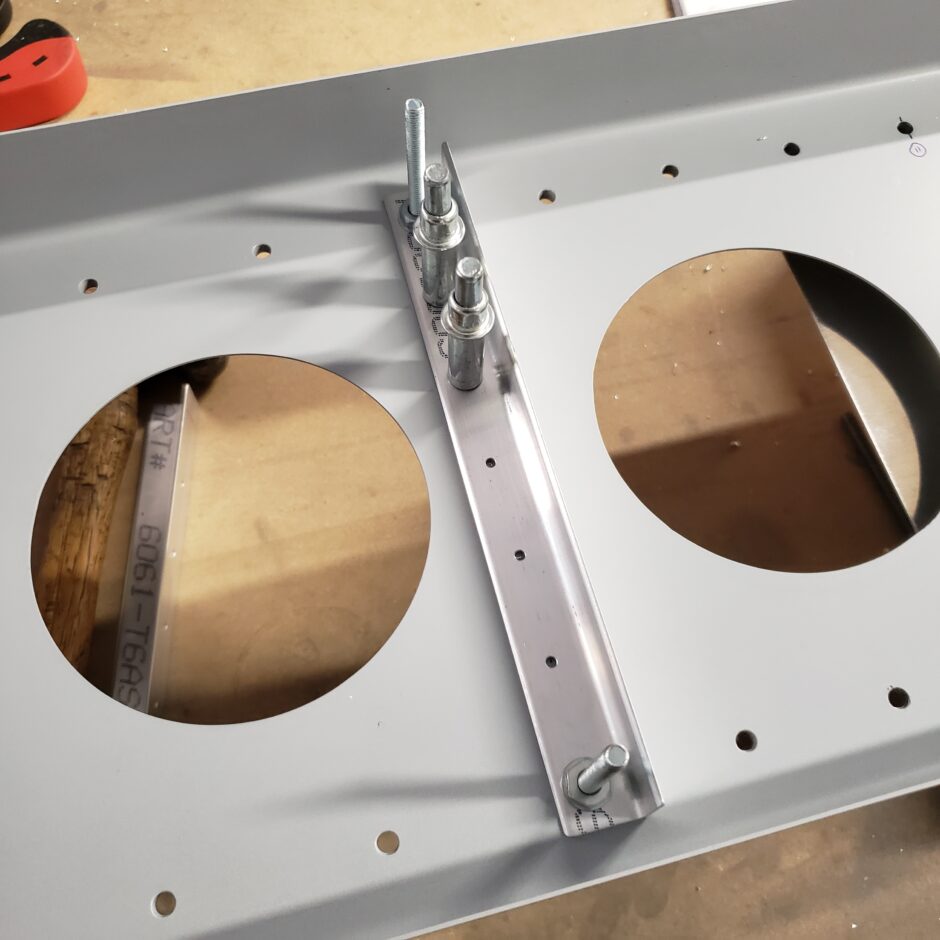
Next I drilled the tie-down bracket. As the tie-down bracket had already been match drilled to the spar stiffener angle, these were clamped into place on the spar and I used the drill jig below to ensure that I stayed straight when upsizing the holes from the #40 pilot hole to the final #30 holes.
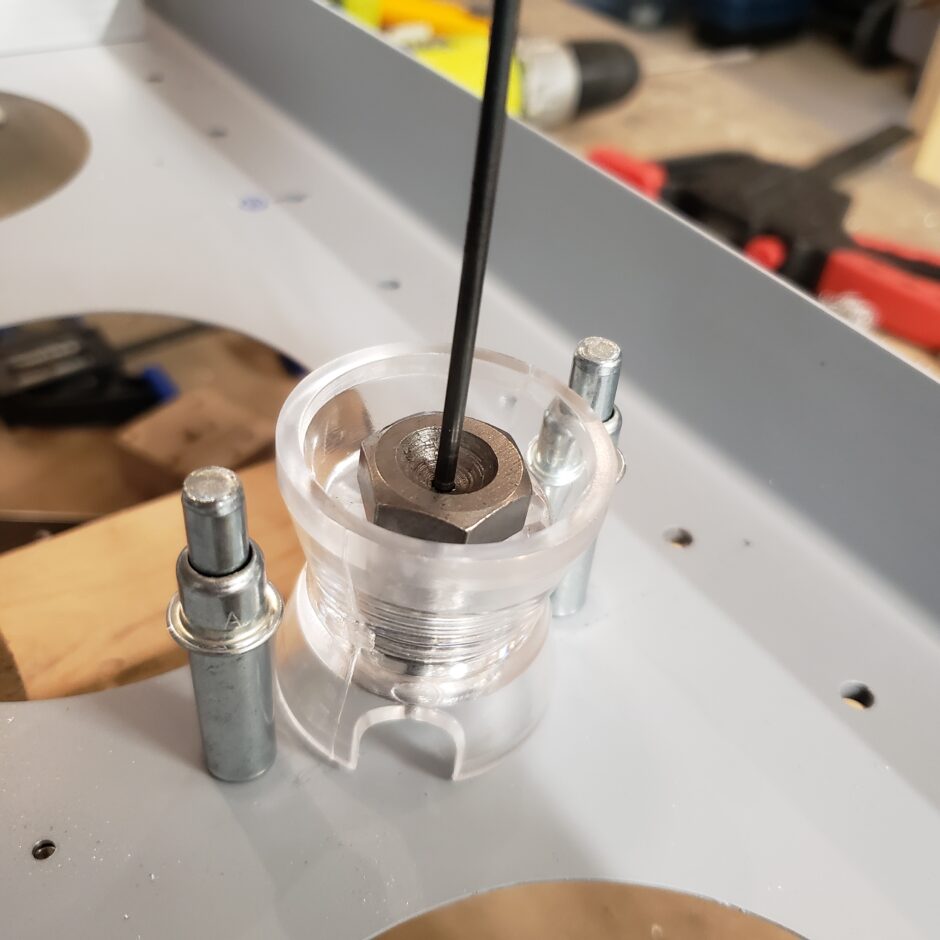
Below, with the spar flipped over, you can see the final drilled tie-down bracket.

The next job to tackle was to drill the spar web spacer blocks. Again, these were all pre-drilled so now it’s just a matter of match drilling these to the spar at the correct locations. You can note the location identified on the spar.
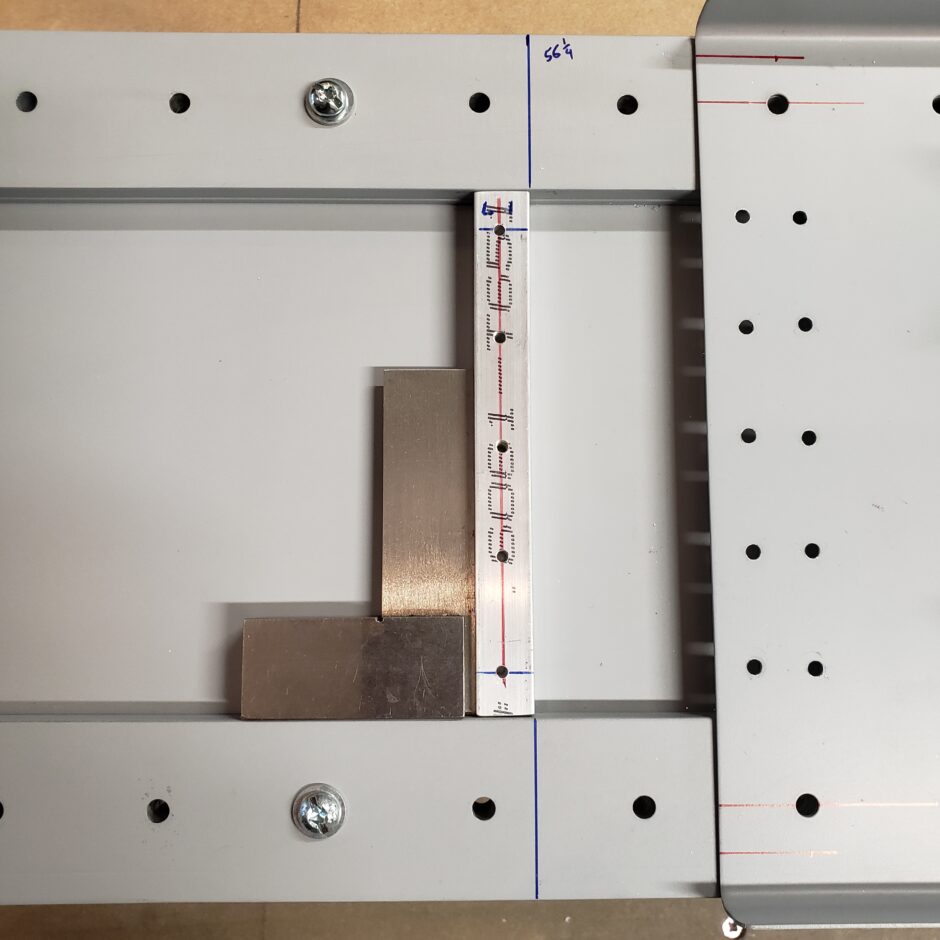
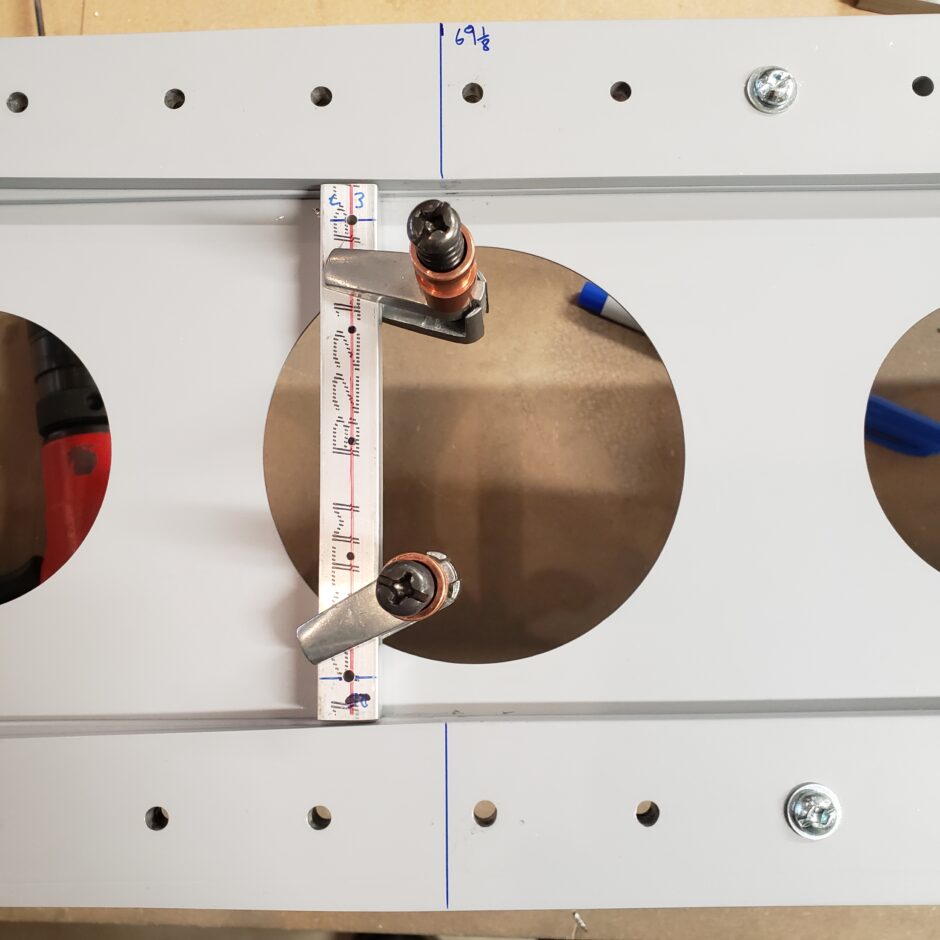
The spacer block below, located at 69-1/8 inch, you’ll notice that I moved it slightly outboard. I did this to make sure I had sufficient edge distance on the upper and lower rivets. The original location works fine for the HRII spar components, however, as I’m working the RV-4 wing spar, Van’s adds additional spar web lightening hole which are not accounted for on the HRII drawings. So there’s a bit of fudge factor here. Just be mindful of that. Sometimes you just gotta do, what you gotta do to make it work.
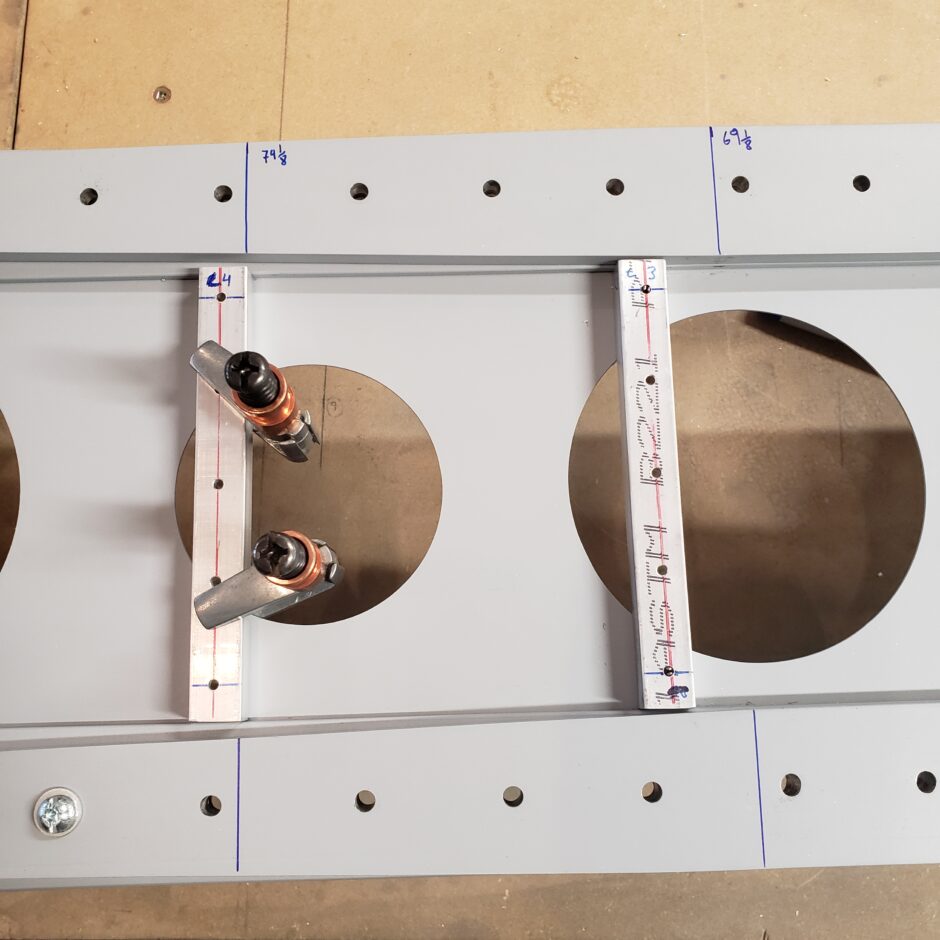
The image below shows locating of the spacer block at 74-1/8. Again, you’ll note that the lightening hole sort of doesn’t align nicely with the spacer block. On the aft side of the spacer block (down side in the picture), those rivet holes that are close to the outer edge of the lightning hole will be countersunk and the rivets installed with the flat side facing aft, to provide clearance for the lightning hole. Again, not much you can do about it.
As shown above, I proceeded with match drilling the spacer blocks to the spar. In the image below, I have all of the additional spacer blocks for the 55 GAL fuel tank mod drilled.

The next step was to install the forward spar web extension doubler plate, so that all of the spacer blocks could be back-drilled to the doubler plate.
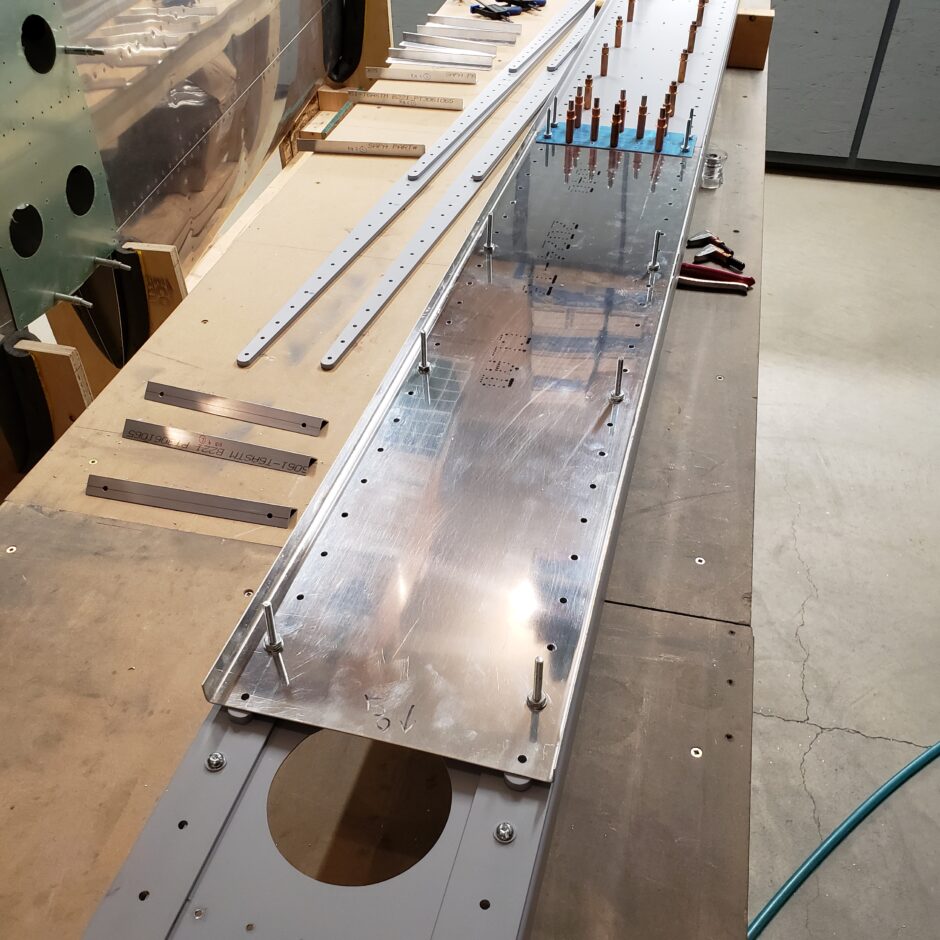
Once again, the spar is flipped over, and to get the doubler plate to sit flush, you need to back off the clecos just a bit so the tip of the cleco doesn’t stick out, as it will interfere with the doubler plate sitting tightly against the spar and the spacer blocks.
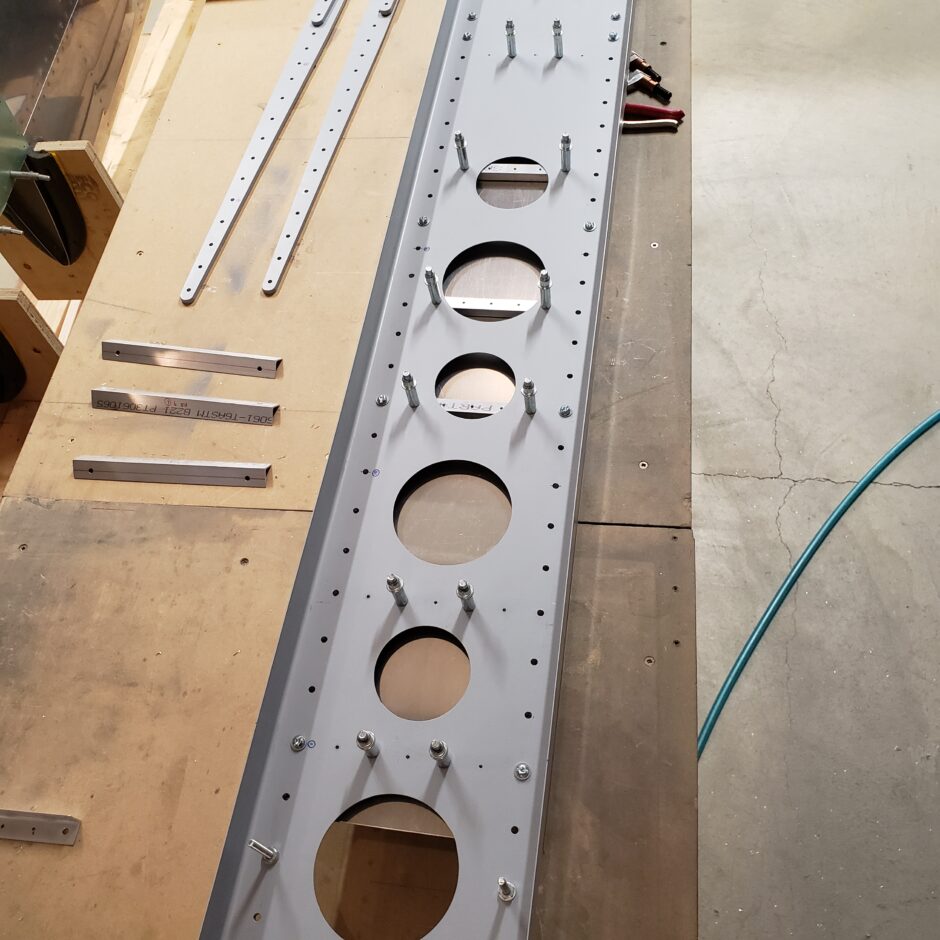
Below, the doubler plate has been match drilled to the spacer blocks and the splice plate.
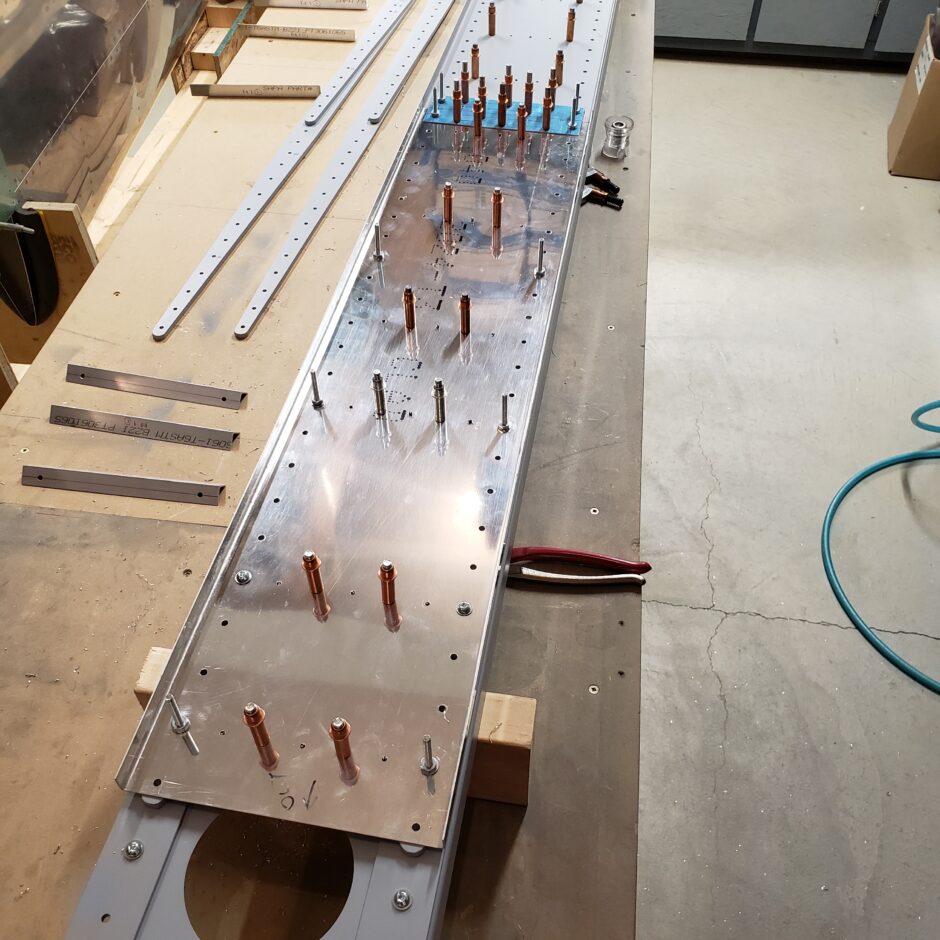
Flipping the spar over once again, you can now locate several of the wing rib attach angles that will be added in this wing spar doubler extension area, and match drill them as required.
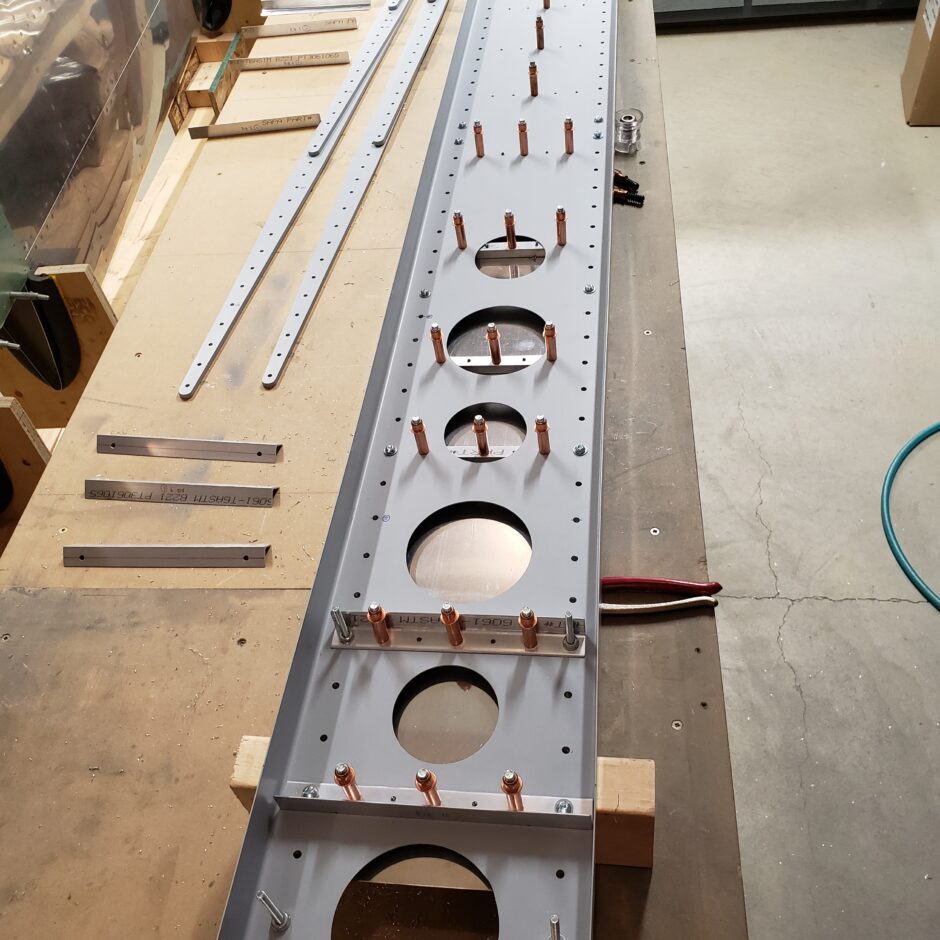
Now that everything is match drilled, there are just a few last parts that require a shot of primer before assembly.

Please comment. I love to hear from my readers. Thanks again for coming along for this ride, you make my work worthwhile.
Leave a Reply