For this post, similar to the previous bulkhead assembly – forward side, was done over the series of several build sessions. Again, to keep the assembly of this part flowing smoothly, I’m going to consolidate those several build sessions into one post. This post also won’t be a long or detailed as the bulkhead assembly – forward side, as the process is the same. In this post I will focus more on highlighting the differences of building the aft side vs the front side.
In the image below, I have the bulkhead set on the jig board as per all the dimensions. One thing here to be mindful of is that you need to have 2 separate jig boards, because the dimensions of each board are different. The aft side is slightly narrower to help in transitioning the sides of the fuselage tapering towards the tail.
At this stage, I have match-drilled all the pre-drilled holes of the RV-4 parts to the jig board, as those are holes I cannot change.

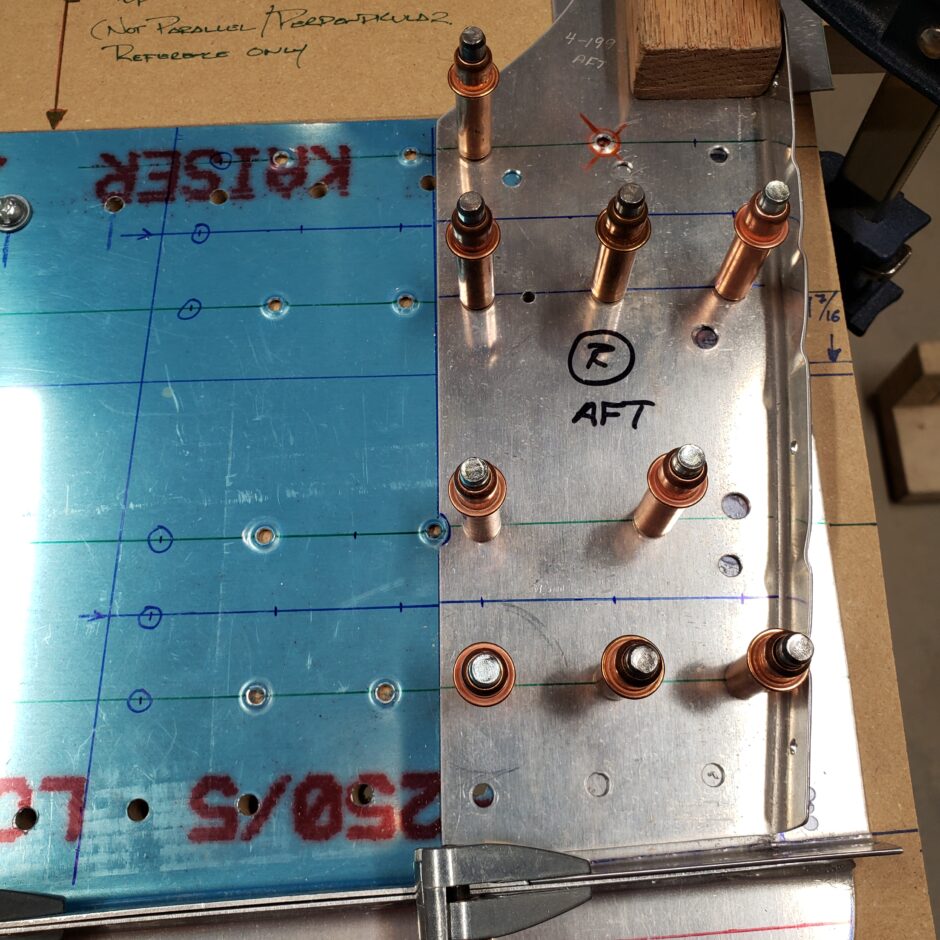
Here’s a close up of the right side and as you can see have the width of the doubler filler plate marked and I’m also starting to layout where the additional rivets and rivet lines will be placed. Also note that the image below has the outer spar web extension in place. Here it’s undrilled but clamped into position. The next step will be to back drill this through the jig board.

As described in the comment above, I have now back drilled the spar web extension using the jig board as my guide to match the pre-drilled holes in the bulkhead uprights.

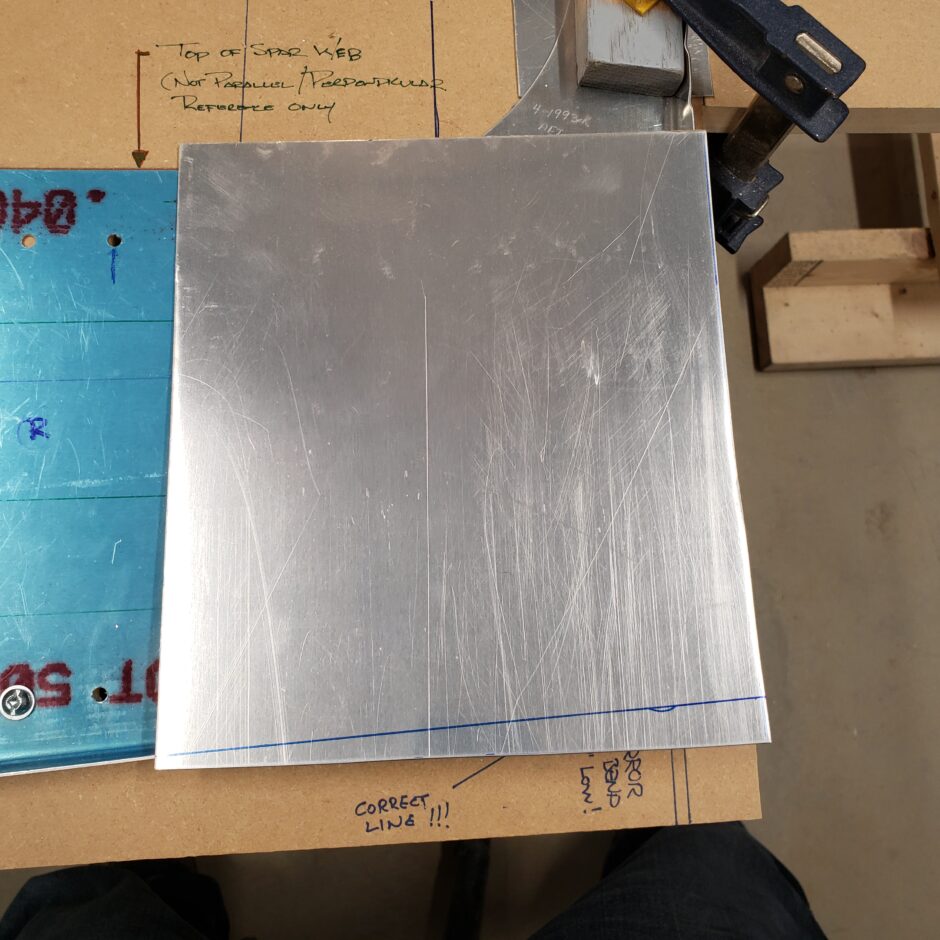
The next step was to make the doubler filler strip. Here it is cut to width, but is still long to allow for final trimming. With the doubler clamped in place, I’m able to back-drill from the holes I previously drilled into the jig board.

In the picture below, you can see how the big doubler plate is slightly oversized. I started by trimming to get the bottom to fit. Then I trim the side to fit. How I did that was by tracing the outside edge of the upright bulkhead former on the lower side of this big doubler plate. Then it’s just a lot of trial and trimming to get it to fit nicely.

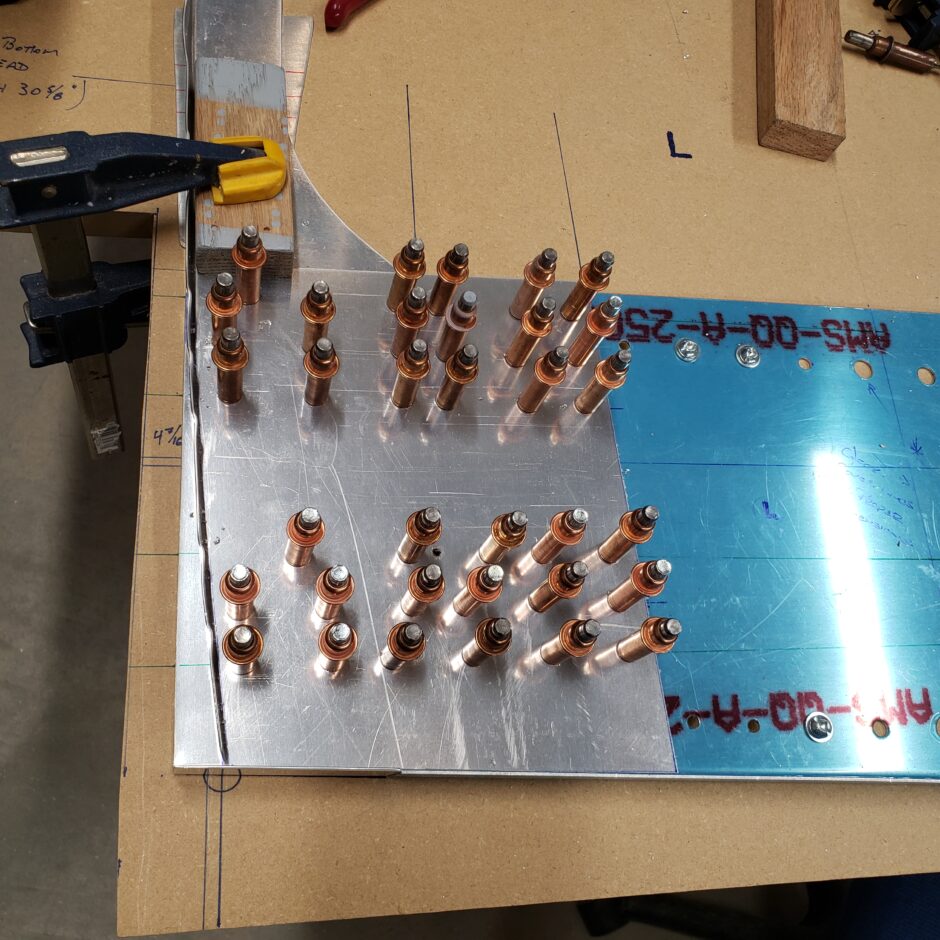
In the photo below, I have the big doubler plate fitted and drilled to the jig board. This is really straightforward as you’re just using all the previously drilled hole in the jig board as a guide, as you drill bottom up, once you get it trimmed and fitted into place. You can also see that the spar web doubler extension is still oversized and needs trimming on the outer side of the bulkhead.
Another important thing to note in this picture below is the two large gaps in the rivet layout. The lower gap is where the line of bolt will continue and these will be match drilled to the spar eventually, but for now just leave these undrilled. The other is the gap in the middle and this is where the angle for the floor board supports will be placed. It’s hard to see but this has already been measured out and is part of the layout. I’ll be progressing to this area shortly.

This basically wraps up building the aft side, so far as, getting the doublers, extension and filler pieces in place and drilled. The next step from here is going to be getting the floor board support angles in place on both the front and rear halves.
Please comment. I love to hear from my readers. Thanks again for coming along for this ride, you make my work worthwhile.
Leave a Reply