Now that the F-404 bulkhead is finished it is time for me to start with my wing rib prep to continue building up the wings. As seen in the image below, I began by breaking the edges of the lightening holes. I used an air powered die grinder with a 3M wheel. This makes short work of both the edges on the hole and the 3M wheel itself. It’s a great tool, but the wheels wear out pretty quickly. Plan ahead and have a few extras at the ready.
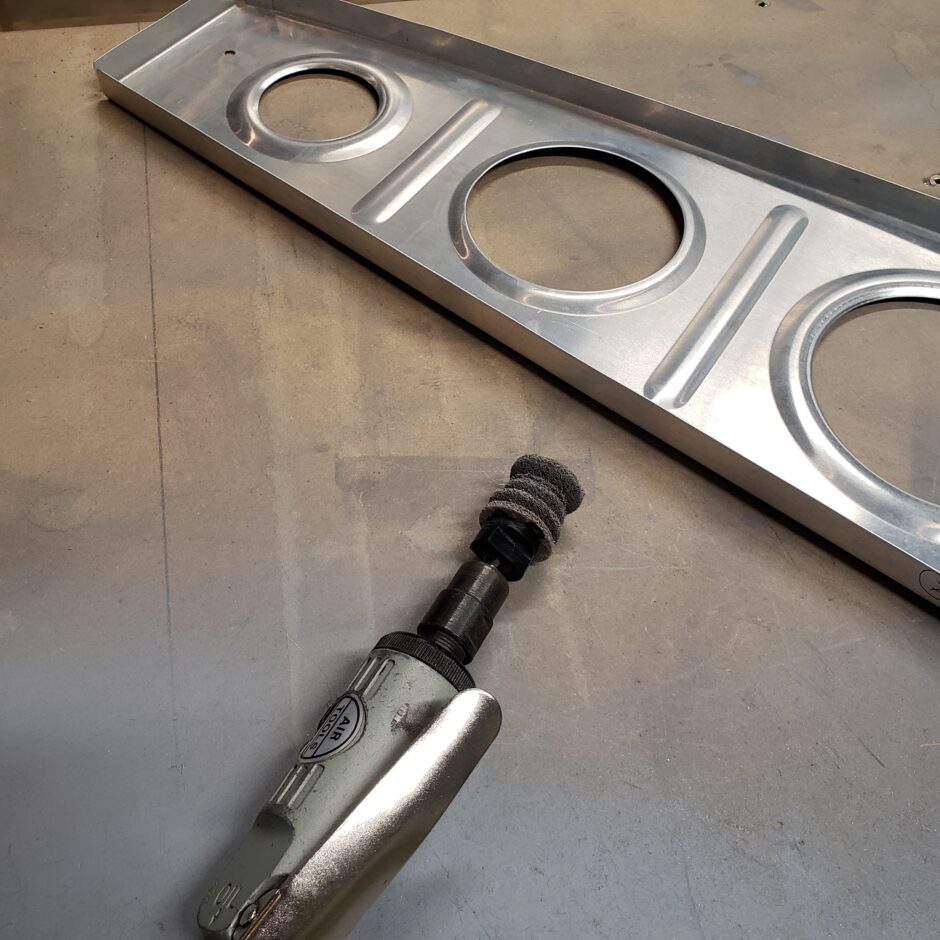
While prepping the wing ribs, I found several nose ribs that had some light surface corrosion. I’m sure I could have cleaned it up, but fortunately with building the Sport Wings, I had a few extra nose ribs, so I put these aside and just picked out the best of the bunch.

Once the lightening holes were polished up, I moved on to the front of the nose ribs (as well as the forward/aft flanges of the other ribs) to polish and edge dress all the small flanges and crevasses. For this I used a few small files and a Dremel tool that I affixed small little scotchbrite squares to. This method was passed on my by buddy Garet and it worked great!

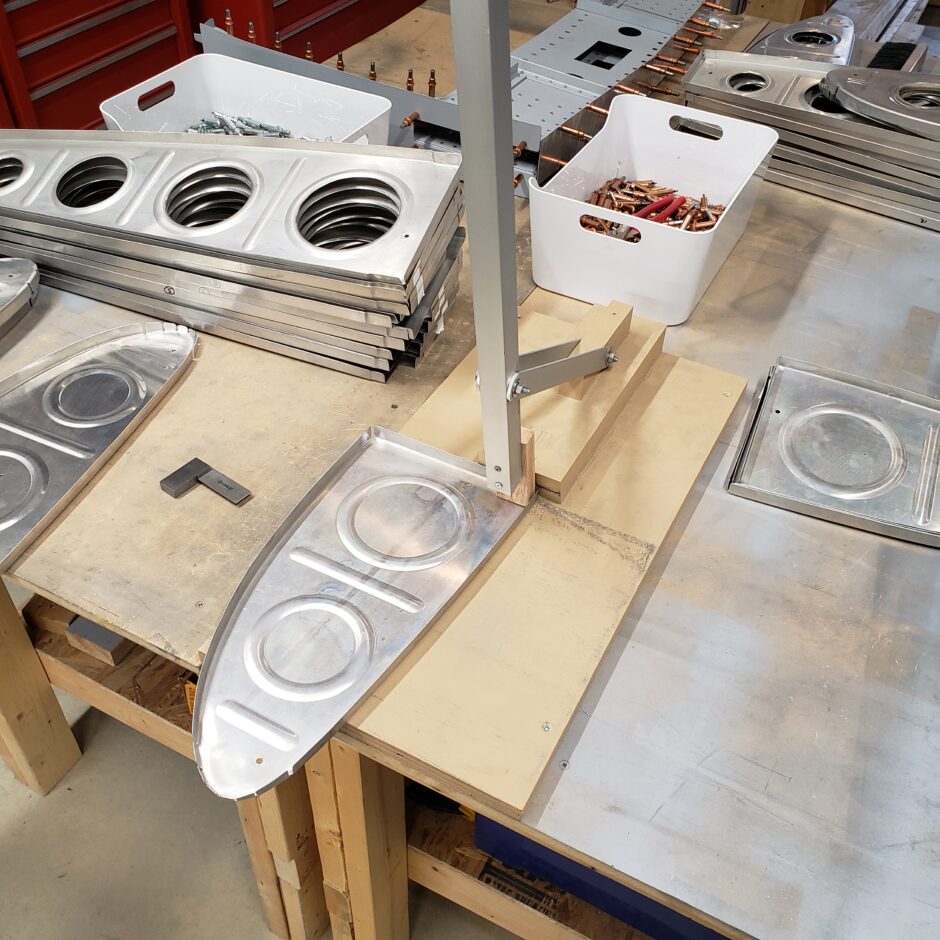
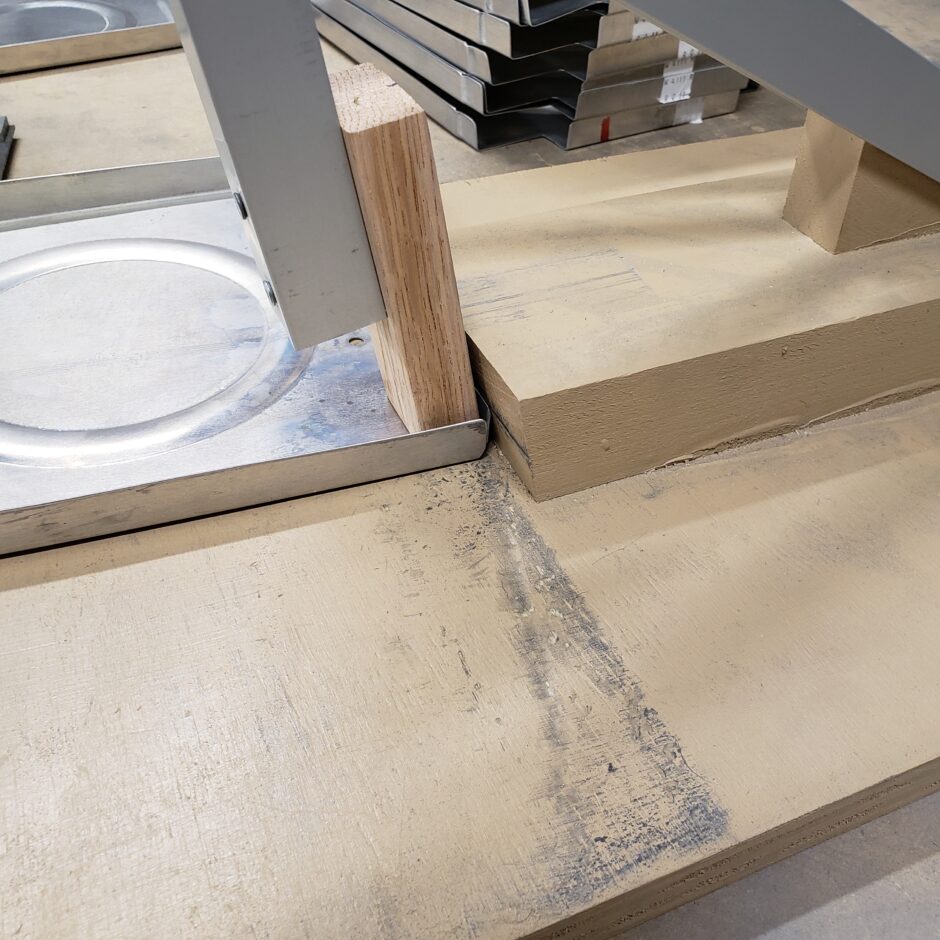
With all the edge dressing done, I moved on to squaring up all the flanges to get them as close to 90 degrees as possible. I borrowed the flanging tool in the picture below from my buddy Garet and this worked awesome to square off the flanges. Pulling on the handle pushes the flange into the wood block. You can’t see it in the picture, however the wood block is cut to an angle a few degrees less than 90, so that when you work the flange into the block, you over bend it, and the flange will spring back to darn close to 90 degrees.
Here’s a closer picture of how the forming tool works to overbend the flange, to allow it to spring back to 90 degrees. Simple and effective.
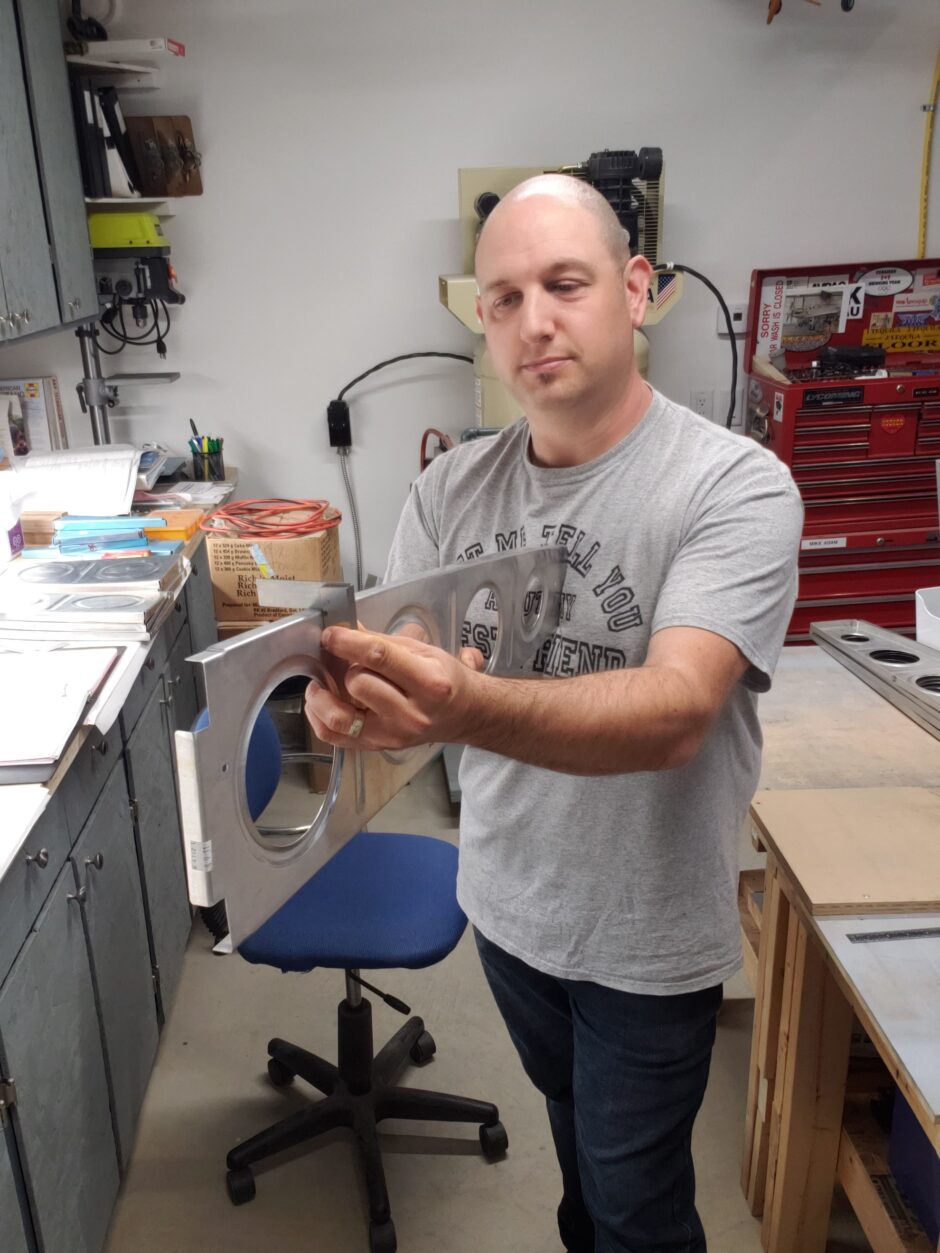
After running the rib flanges through the forming tool, I used a metal square to ensure I had the flanges bent to 90 degrees. If they weren’t, the flange goes back in for another squeeze. Then re-check!
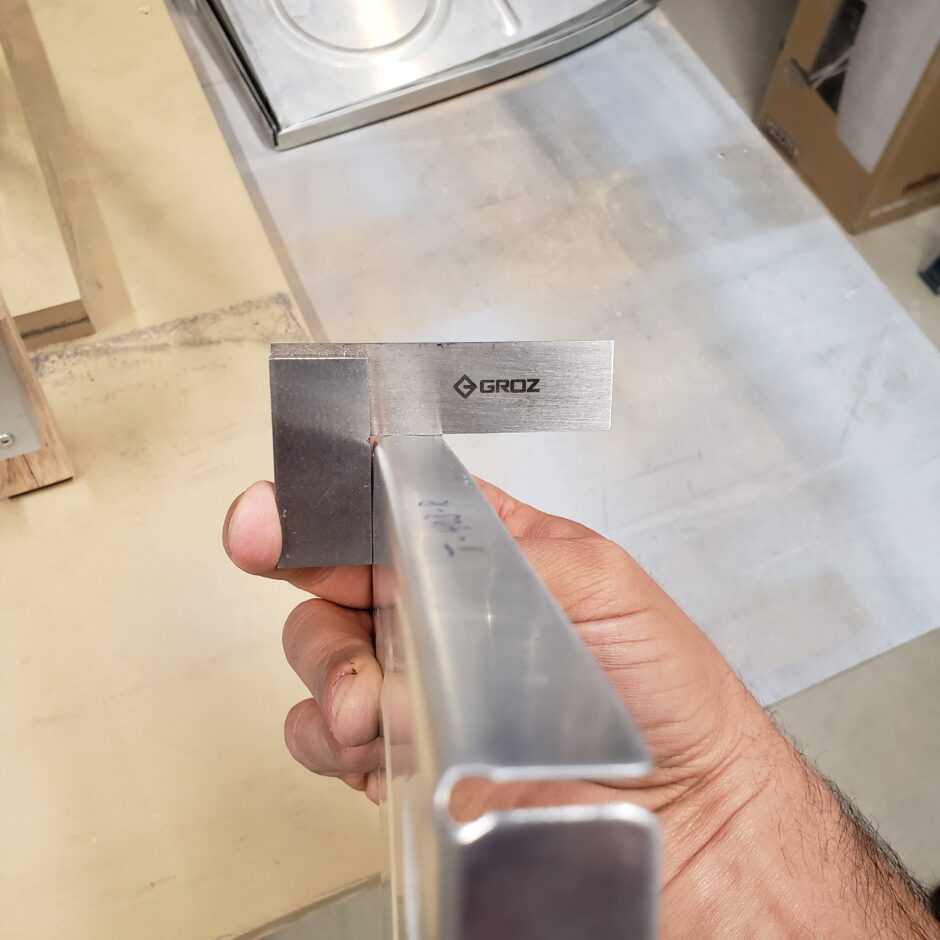
Here’s an action shot to show that it’s actually me doing the QC checks…LOL!
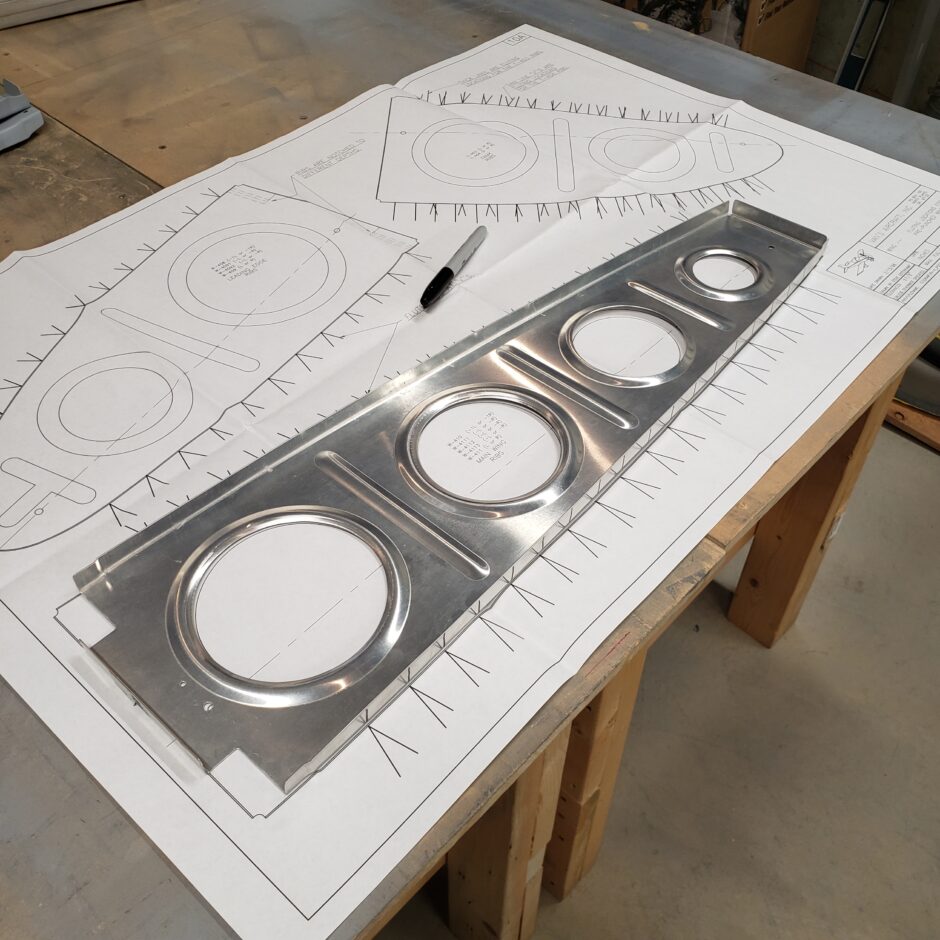
Once all the flanges were squared off, it’s time to mark where to flute the flanges. The reason for the fluting, is to straighten the ribs. Even though the flanges have been made to be square at 90 degrees, you’ll now notice the the ribs have a bow along their longitudinal axis. The fluting will take up the excess material in the flanges to allow the ribs to straighten out.
As you can see, the RV-4 plans show you precisely where to place the flutes. I just used a sharpie to quickly mark these locations.
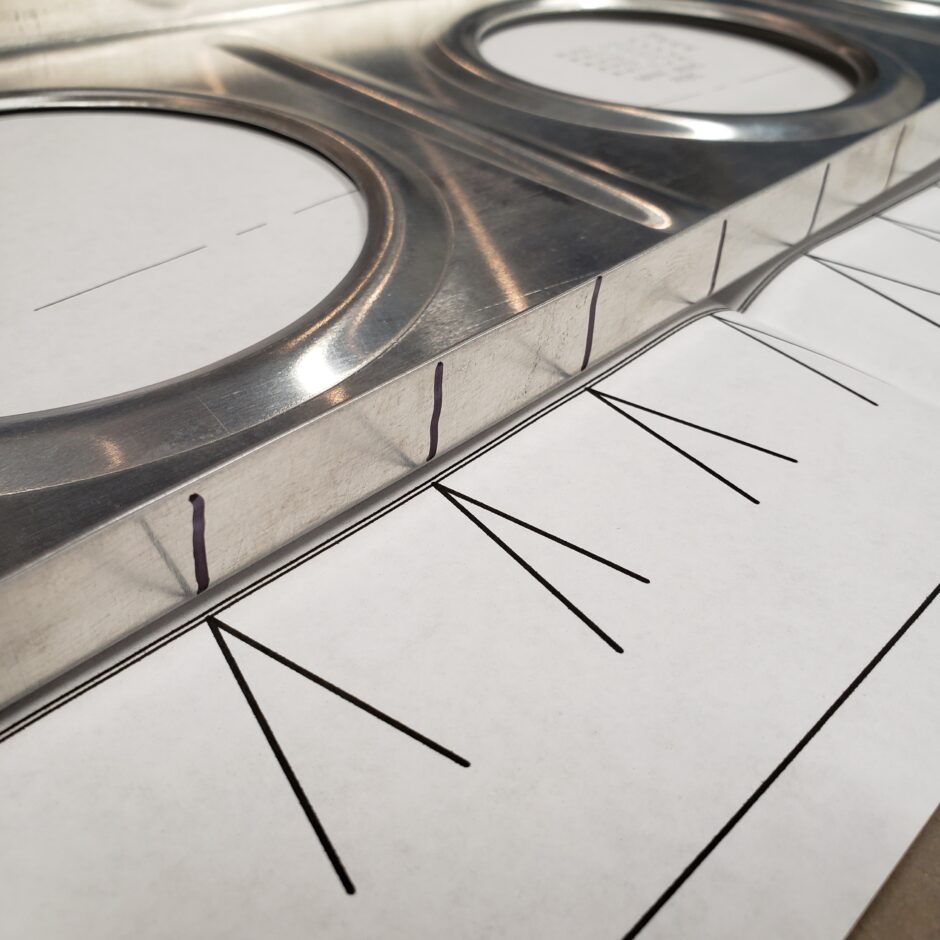
Here’s a closer look at my location marks. Nothing fancy.
Slowly, very slowly…my pile of completed ribs is growing. I should also mention that when fluting, lay the rib down on the flat surface of the workbench to check that you have removed the bowing. If the rib doesn’t sit perfectly flat, go back and keep fluting (little by little) until you get the rib to not rock when sitting flat on the table.
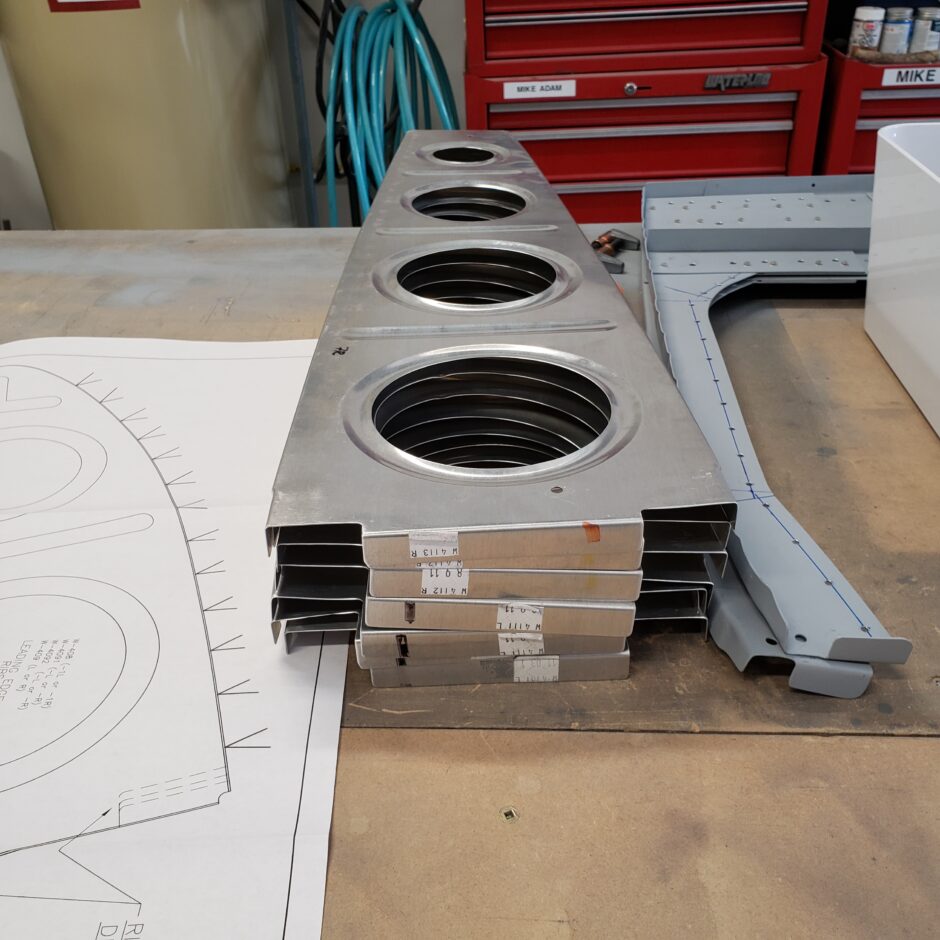
And now, many hours later, I have a complete set of wing ribs ready to get mounted on the wing spar!

Please comment. I love to hear from my readers. Thanks again for coming along for this ride, you make my work worthwhile.
Leave a Reply