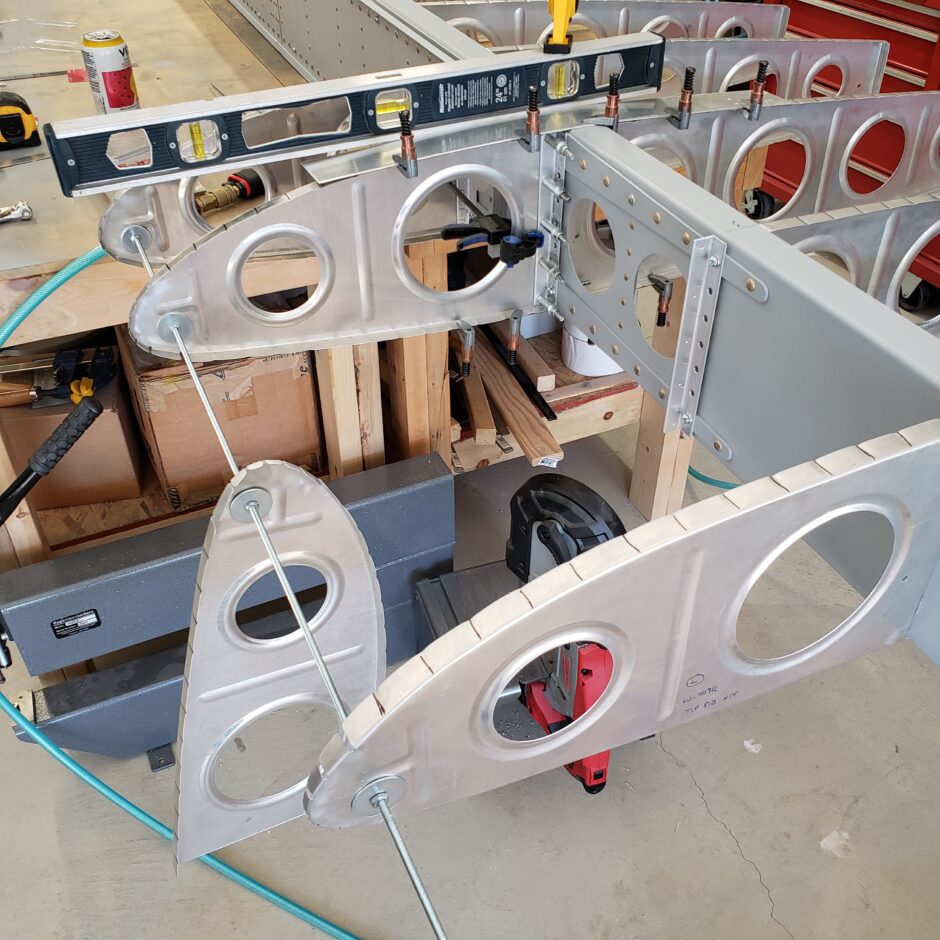
In the last build session I was able to get the tip rib match drilled and mounted on the spar. Today I’m proceeding with finishing up the nose rib installation. With the tip rib installed, I was able to use a piece of 3/16″ threaded rod to help me hold the nose ribs in place. I also used some scrap metal strips to simulate the skin on the upper and lower surface to also help keep the rib centered.
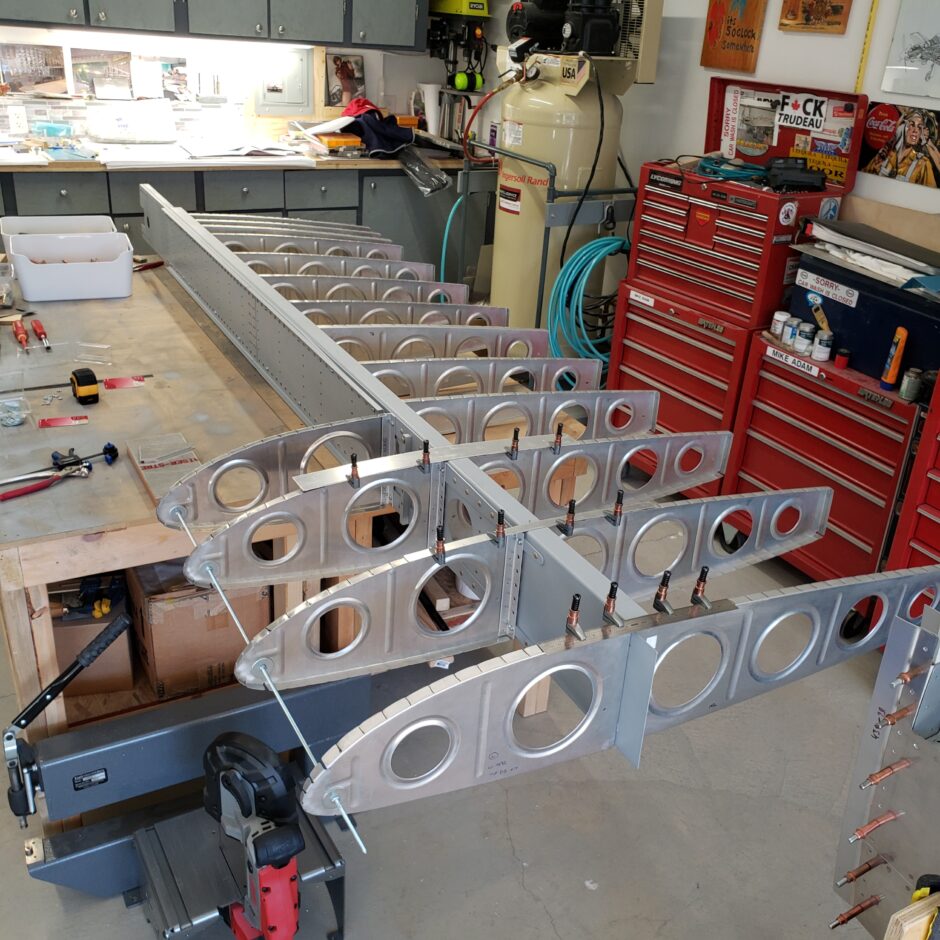
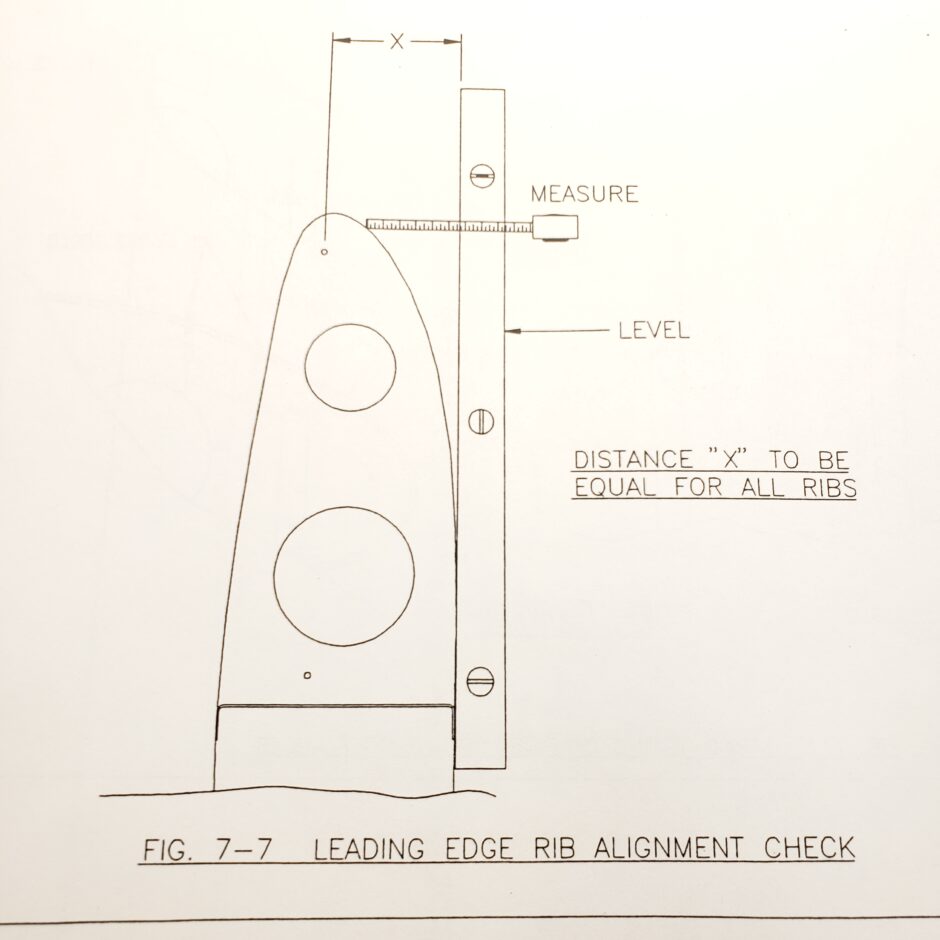
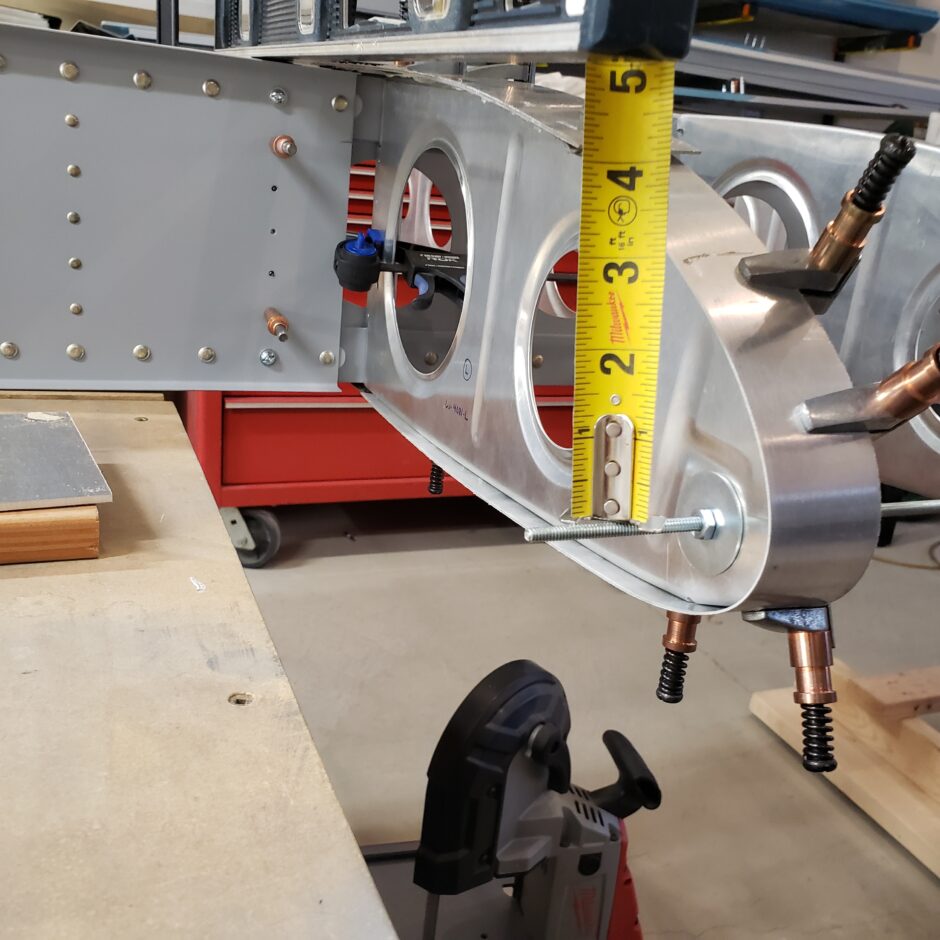
The next step is to use the tooling hole to get a measurement to ensure that all ribs are at the same height. As I have the threaded rod through the tooling hole, this worked well for getting a consistent measurement.
Here is what the plans show for getting the measurement which is straightforward.
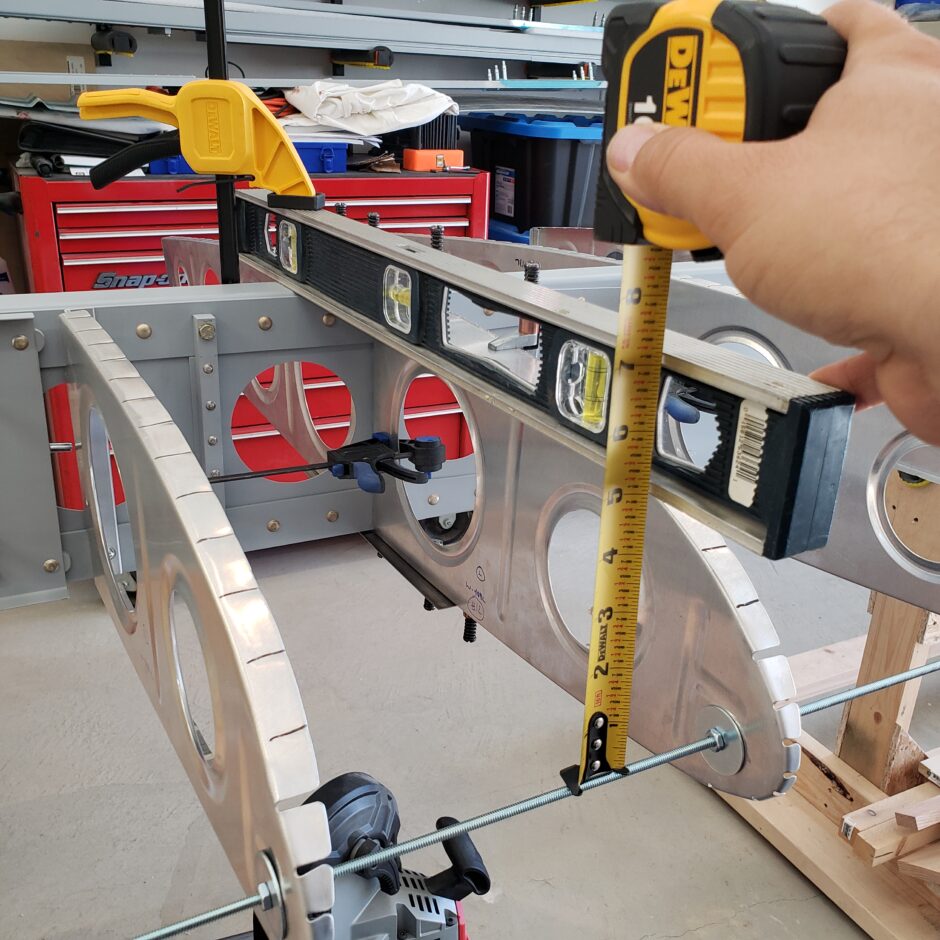
In the image below, you can see the simulated skin metal strip clamped on, I also have the rib clamped to the angle which attaches the rib to the spar. Also note that I have the angle already predrilled. Once I’m happy with the placement of the rib, I can then matchdrill the rib to the angle.
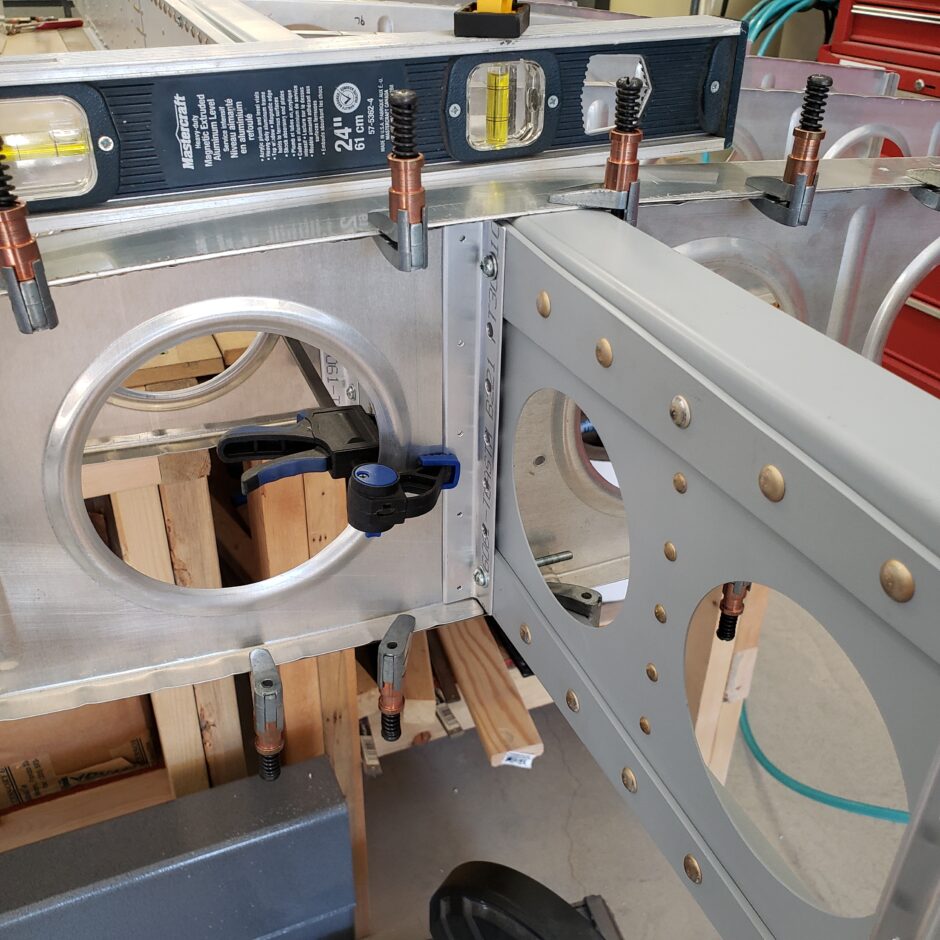
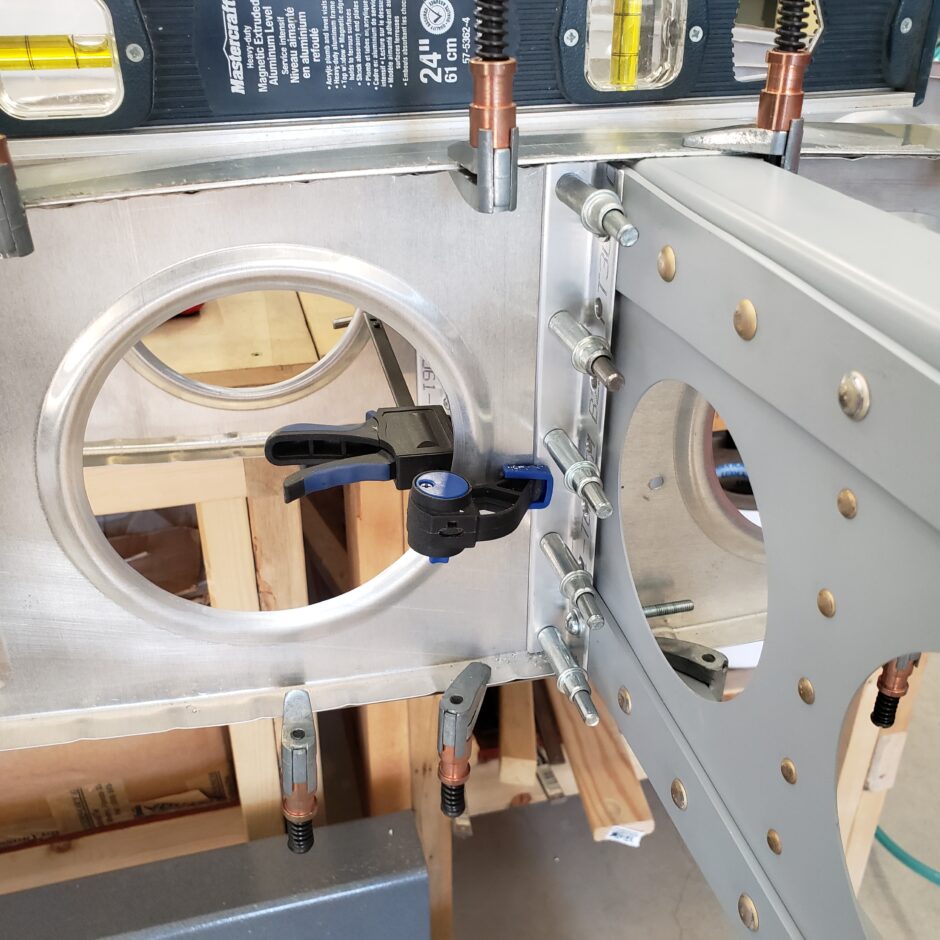
Again, I used the long #40 drill bit to be able to get in to drill the angle to the rib. To be able to do this I had to drop the #13 rib out of the way.
Below is a picture of the rib drilled to the angle. This worked well.
With the nose rib drilled to the angle, the rib is also in perfect alignment with the main rib on the aft side of the spar. With all these parts still clamped and in their happy spot, it is also time to drill the forward flange of the main rib to the spar. Don’t forget that the rib has previously been drilled to match the holes in the angle that were made to provide clearance for the pulled rivet tails when attaching the main rib to the spar. So I know these holes will line up.
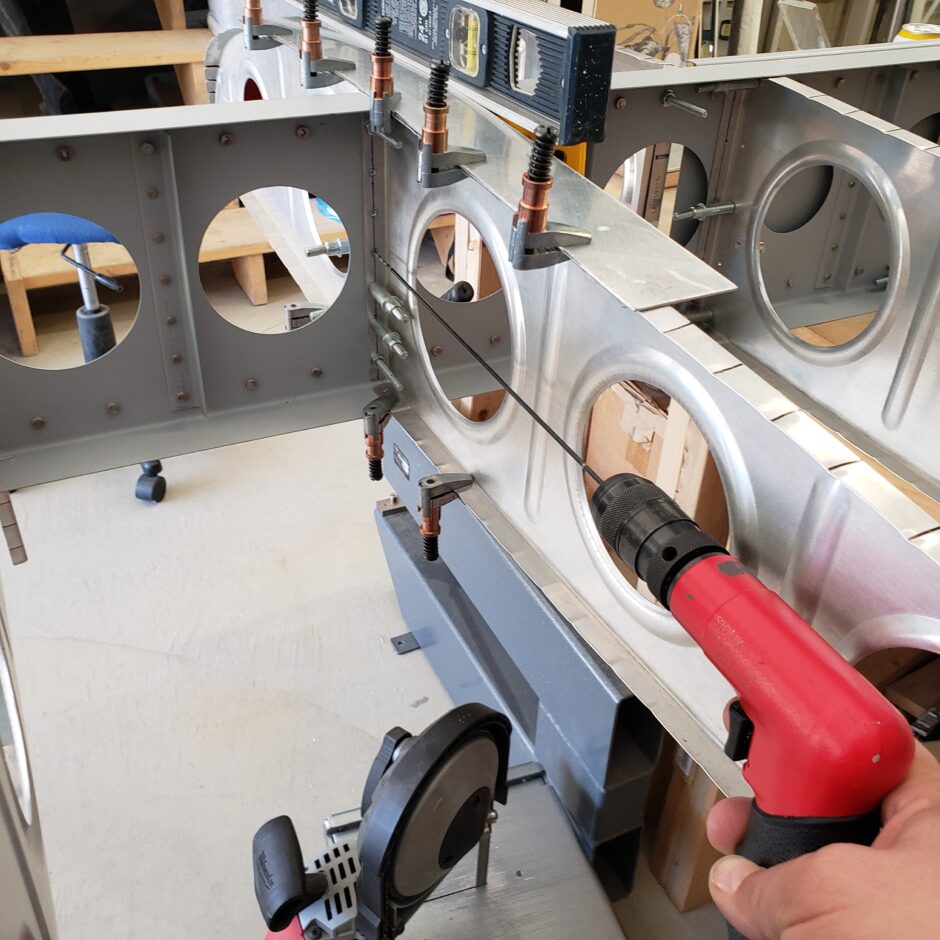
Below is the main rib flange pilot drilled to the spar.
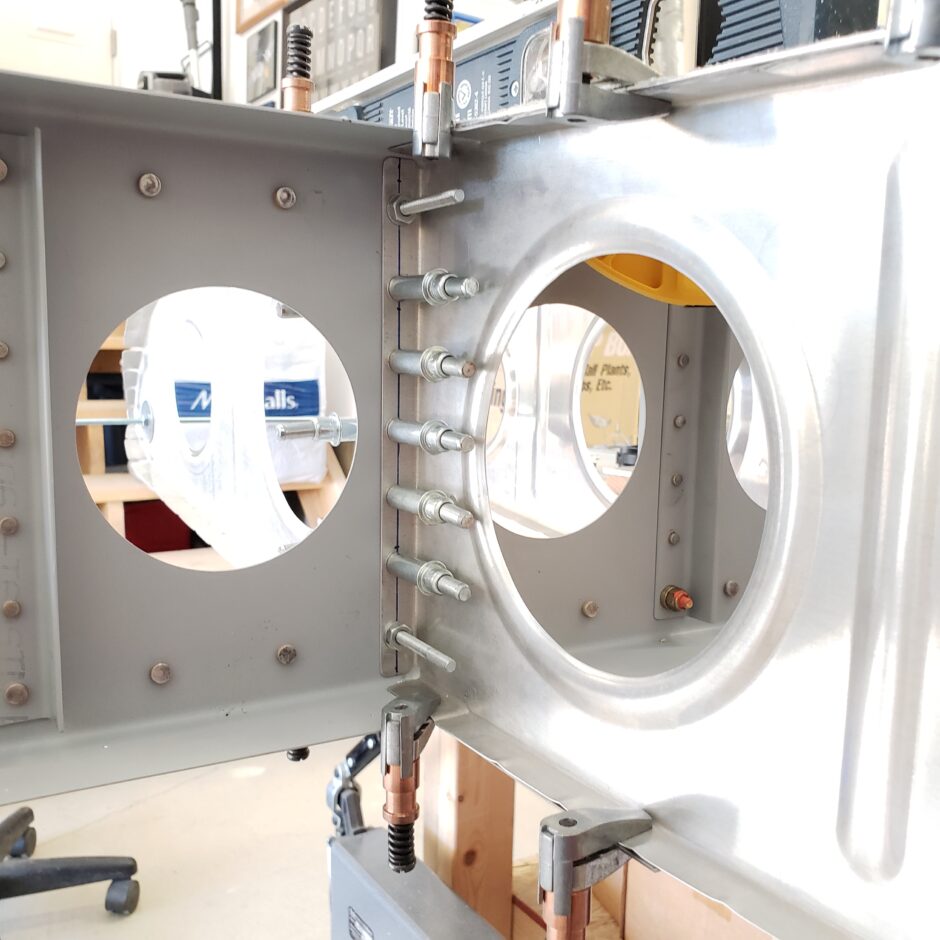
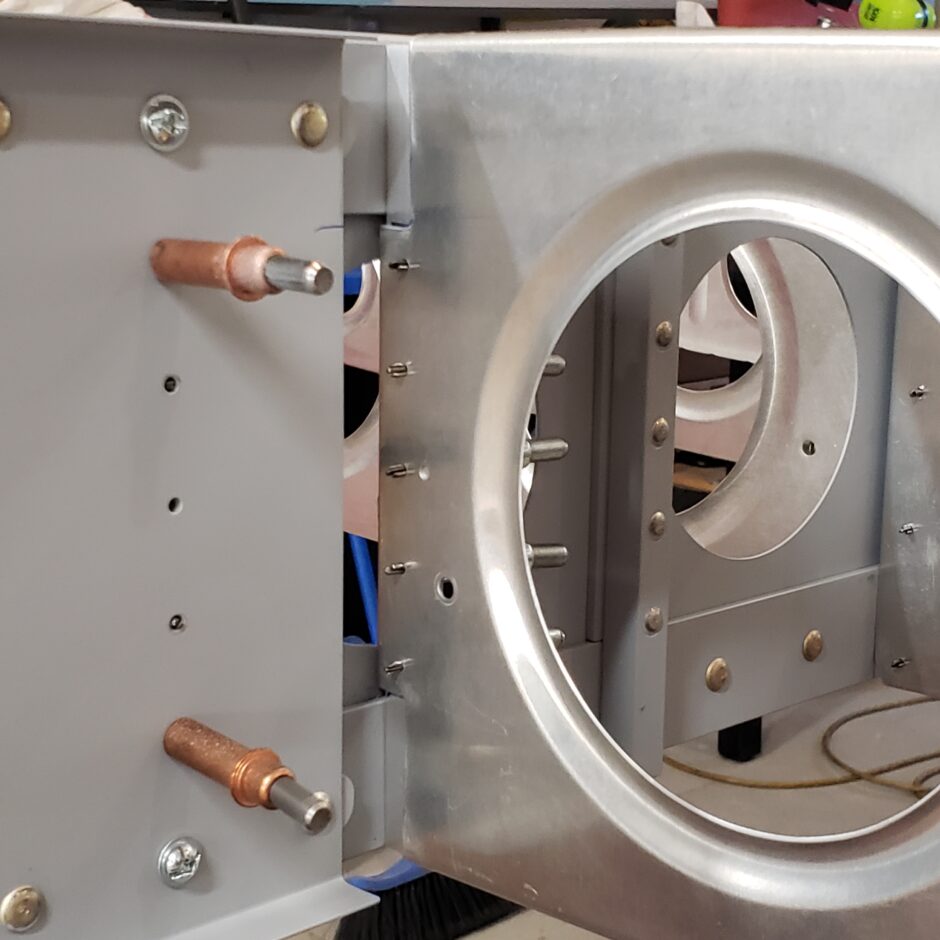
Here is a shot from the front side. You can see all the holes line up.
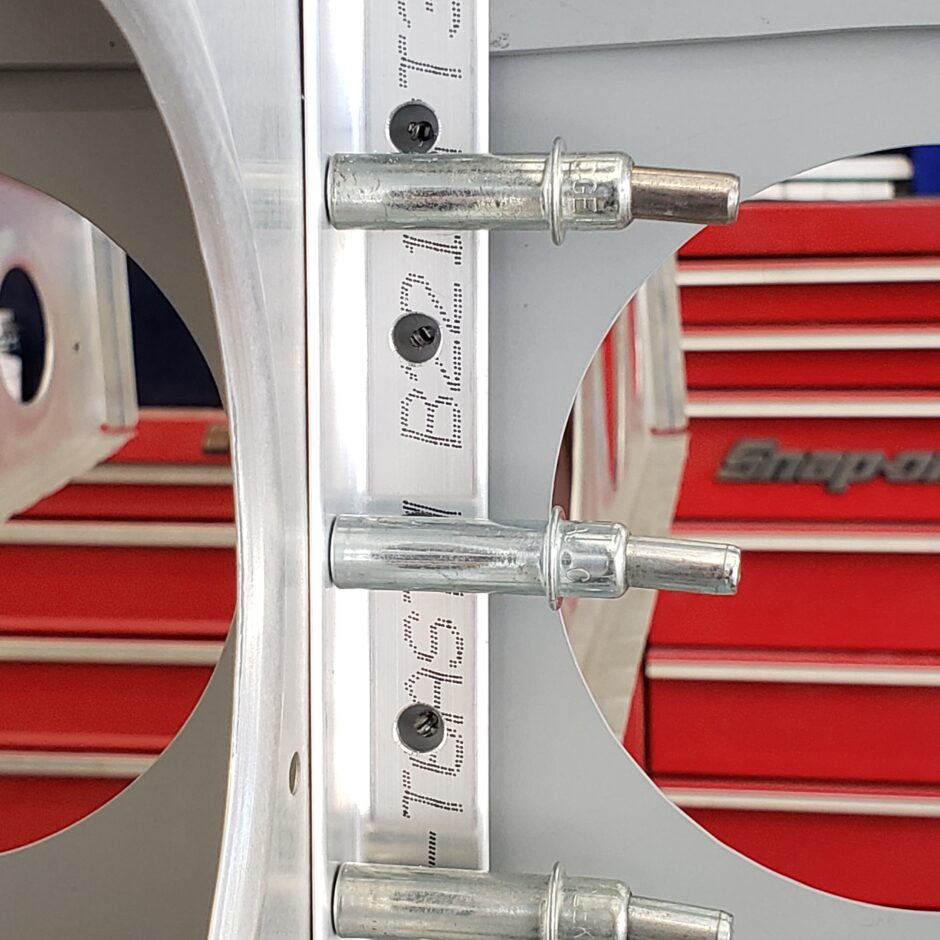
Now back to working on the W-4081L rib just outboard of the fuel tank, in the picture below, I’m adding the W-423 Joint Plate (found on the RV-4 drawing 17A) which an 1 1/2 wide x 36 inch aluminum strip that goes around the outer edge of the rib. This strip will eventually be match drilled to the W-4081 rib and have nutplates added on the fuel tank side to be part of fastening the fuel tank to the wing. I’m clamping it in place now to help me get the rib centered in the up/down axis.
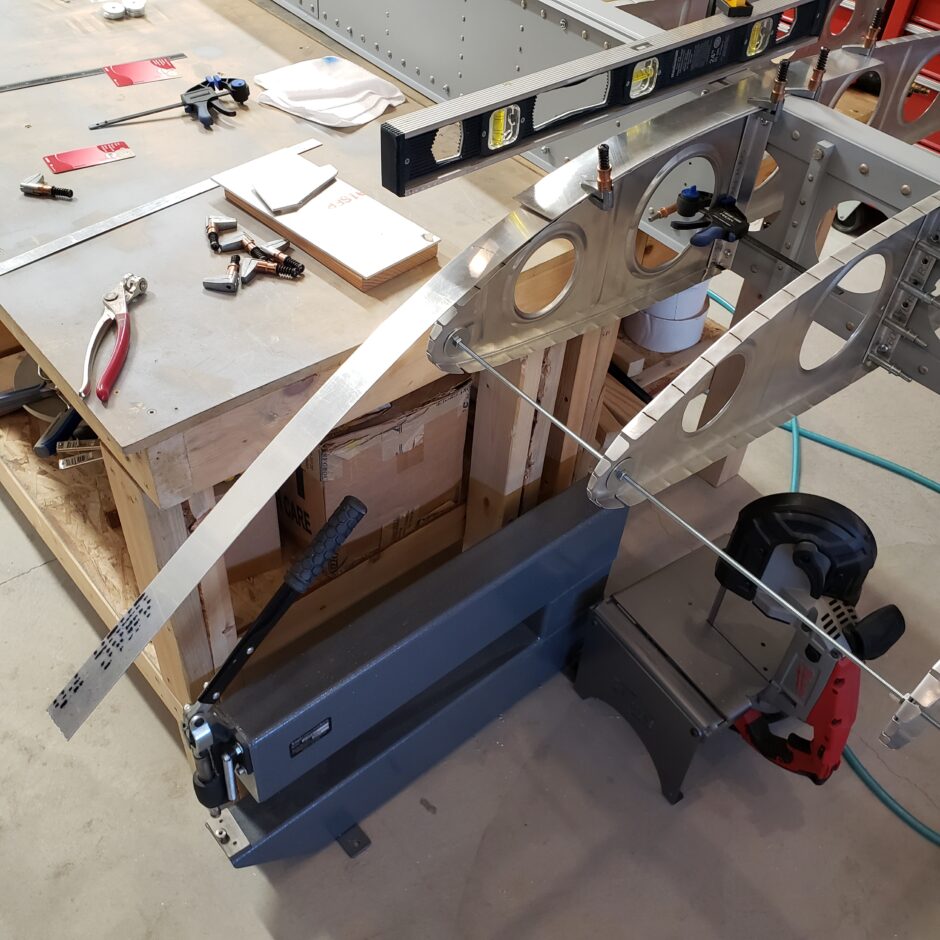
Once the rib was located by using the measurement method I used before, I then drilled the rib to the attaching angle.
Below you can see the angle drilled to the rib from the outboard side.
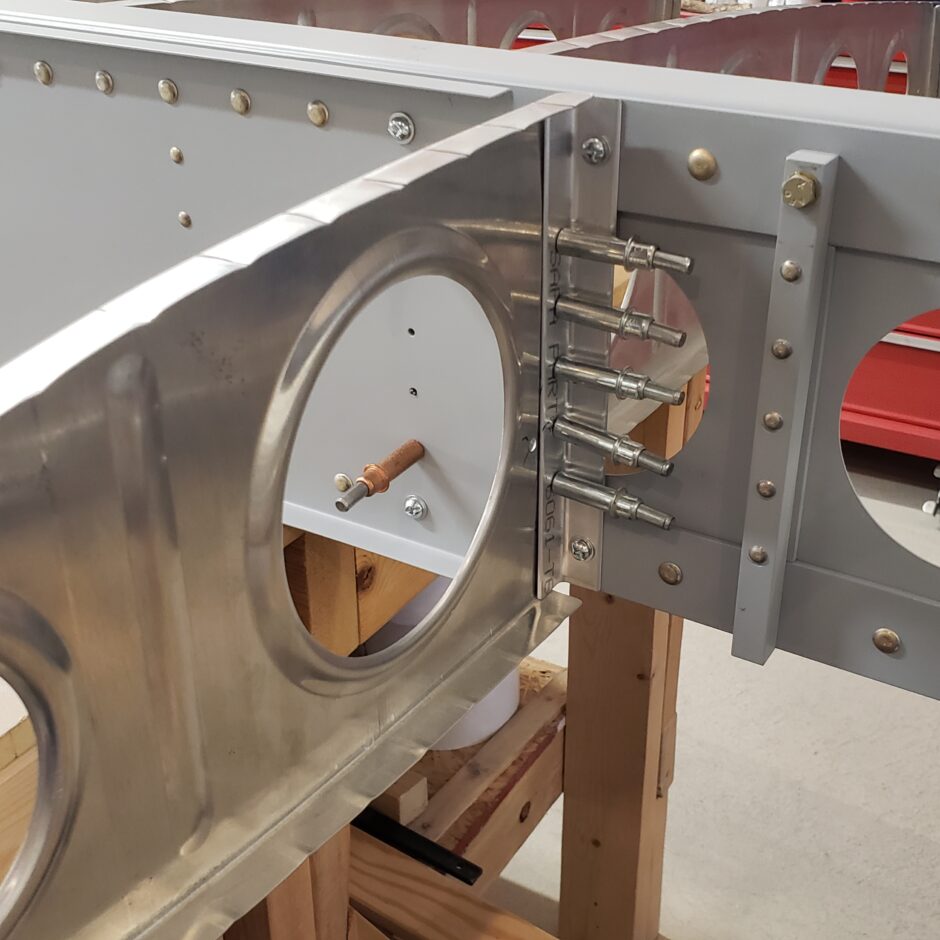
Below is a picture from the inboard side.
Please comment. I love to hear from my readers. Thanks again for coming along for this ride, you make my work worthwhile.
Leave a Reply