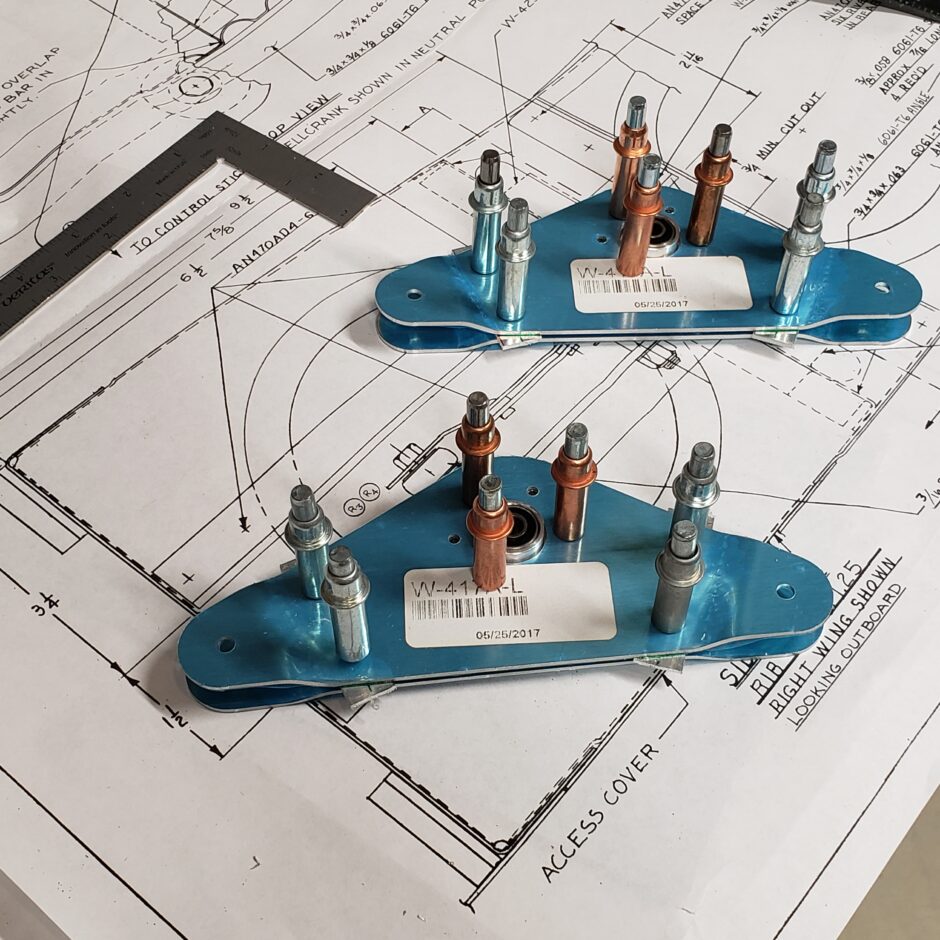
The project for today is to start assembling the aileron bellcrank assemblies. These parts are pretty straight forward as most of the parts are provided in the kit. The only thing that had to be fabricated for these are 2 little spacers which you can see on the ends of the assembly (held in with the silver clecos).

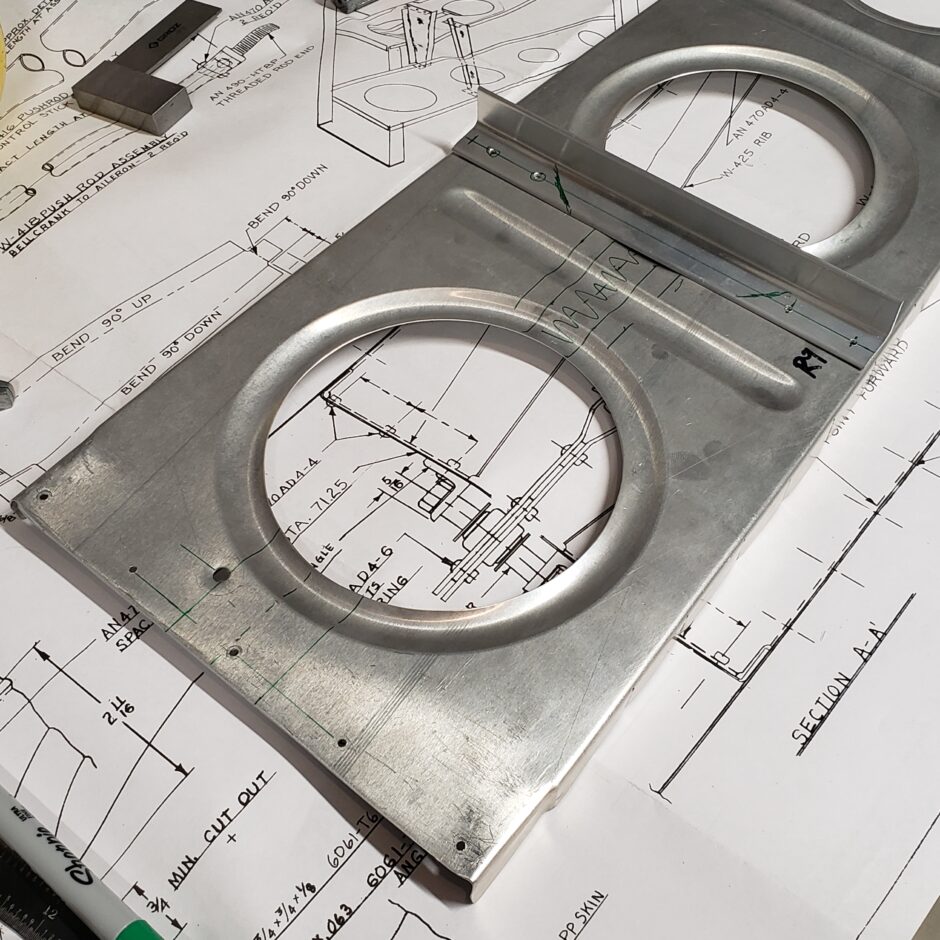
I’m also working on building up the bellcrank supporting structure of the bellcrank (#9) rib. In the center of the rib, you can see an area between the two lightening holes that will be cut out for the bellcrank to swing through (the squiggly line section is to be removed).
This rib will be built up with several pieces of aluminum angle to build a structure to support the bellcrank.

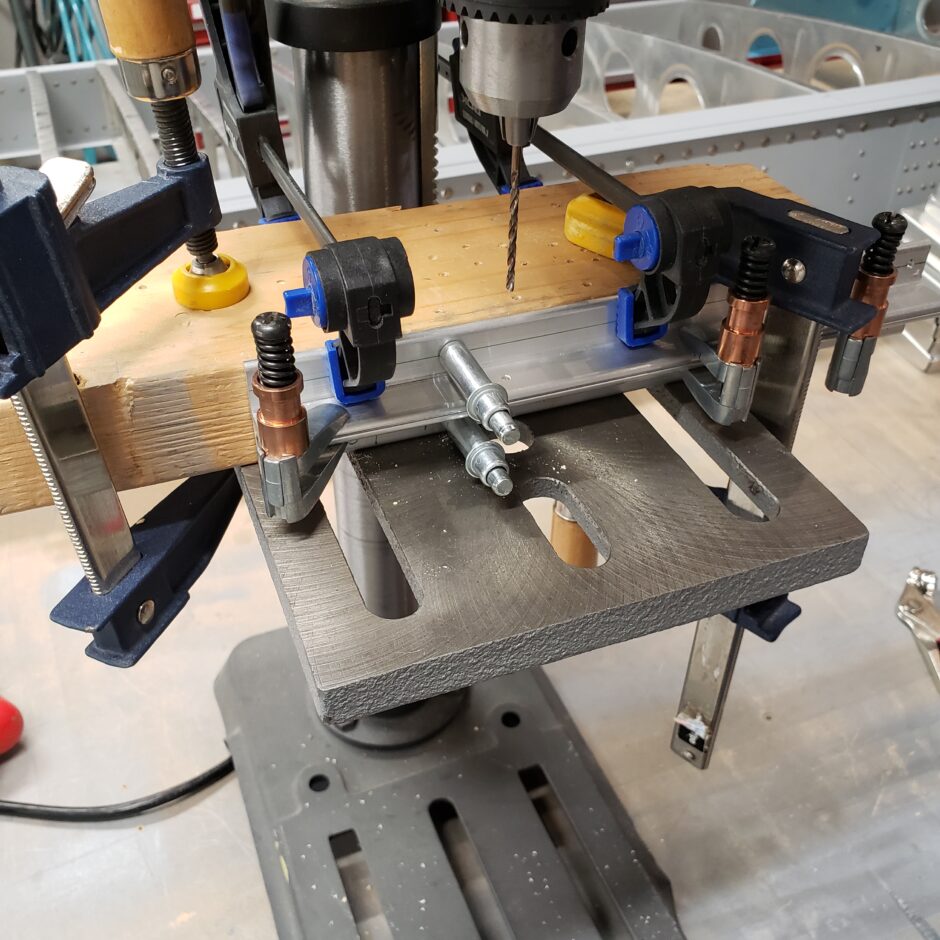
The picture below shows some of the supporting angle pieces. At this point I’m now match drilling the hole through these angles which will be the bellcrank bearing bolt location. I’m drilling this as an assembly to ensure that the bolt for the bellcrank is perfectly straight.

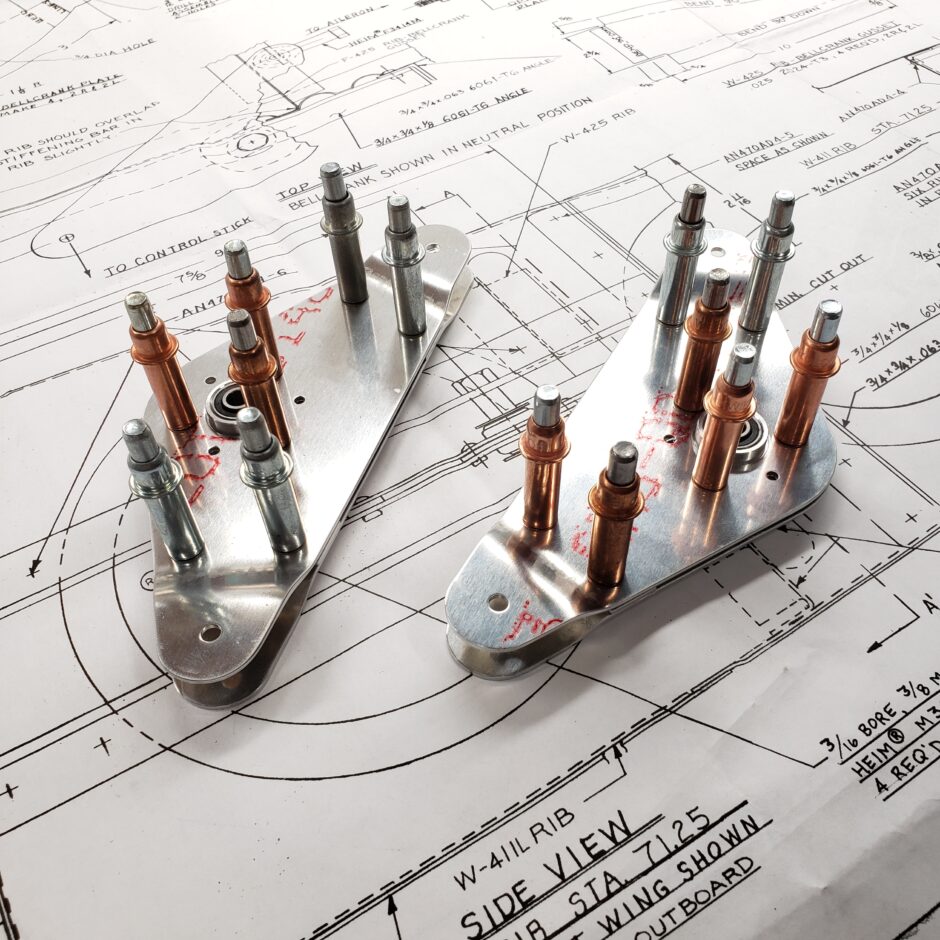
Here’s another shot of the bellcranks. This is as far as I’m going on these for now. You can notice that I’ve trimmed off the excess of the spacer material.

Please comment. I love to hear from my readers. Thanks again for coming along for this ride, you make my work worthwhile. Merry Christmas everyone. I hope Santa Clause is good to every one of you this year and that you all find a nice new airplane kit under the Christmas tree!
Leave a Reply