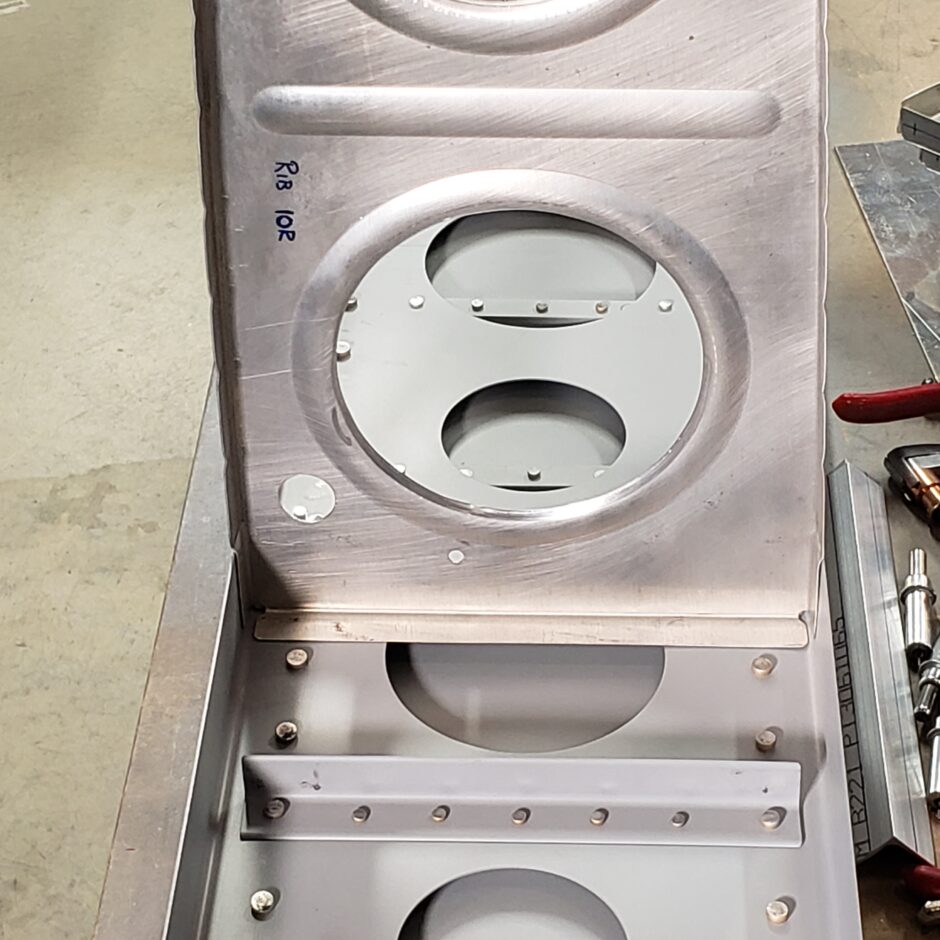
The plan for today is to start assembling the skeleton of the right wing. That is to get all the ribs drilled to the spar. As seen on the picture below, there is a flange on the forward side of the ribs. This rib is later fastened attached to the spar with blind rivets.

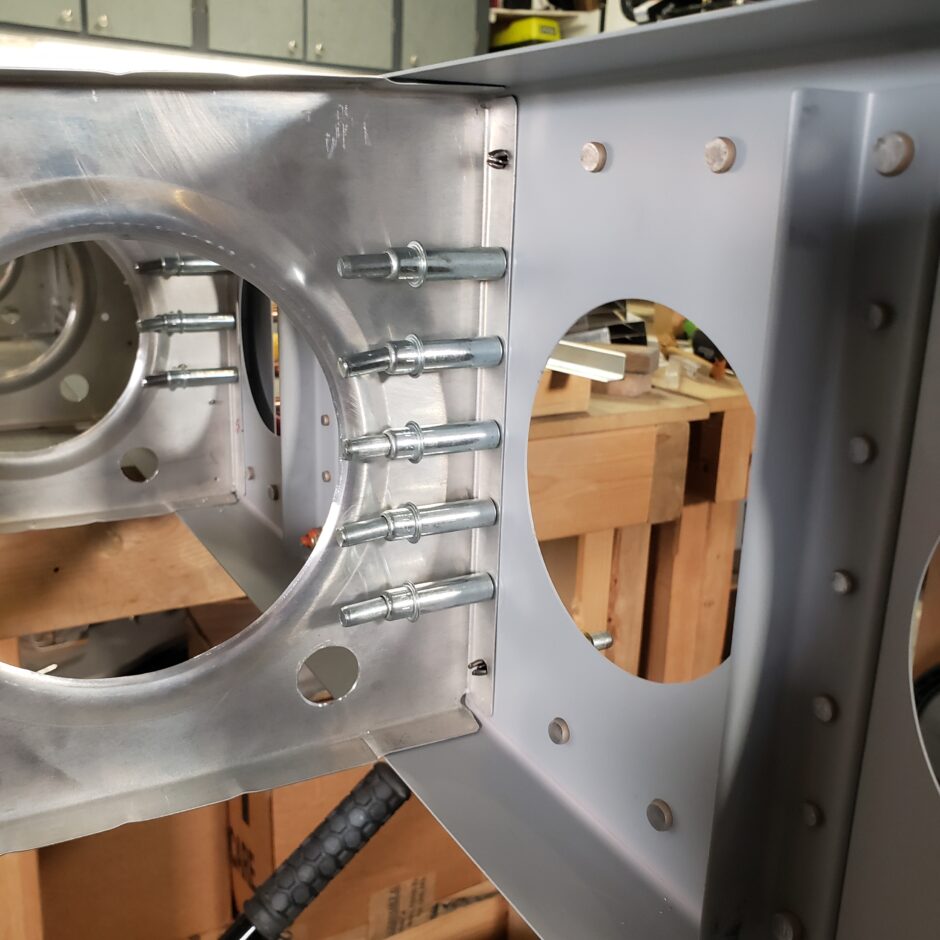
As the rib mainly attached to an angle that is bolted to the spar, riveting the forward flange of these ribs helps in making the structure more rigid. In the picture below, this is the other side of the rib showing that angle.

The process described above proceeded along for the first 9 ribs. In the picture below, the 10th rib is shown, and this one is a bit different. It has an angle on the backside (not yet drilled in the picture below), but it also spans one of the lightening holes. The plans call for these ribs to also have 5 blind rivets to secure them, but obviously that won’t work here. So I didn’t put any.
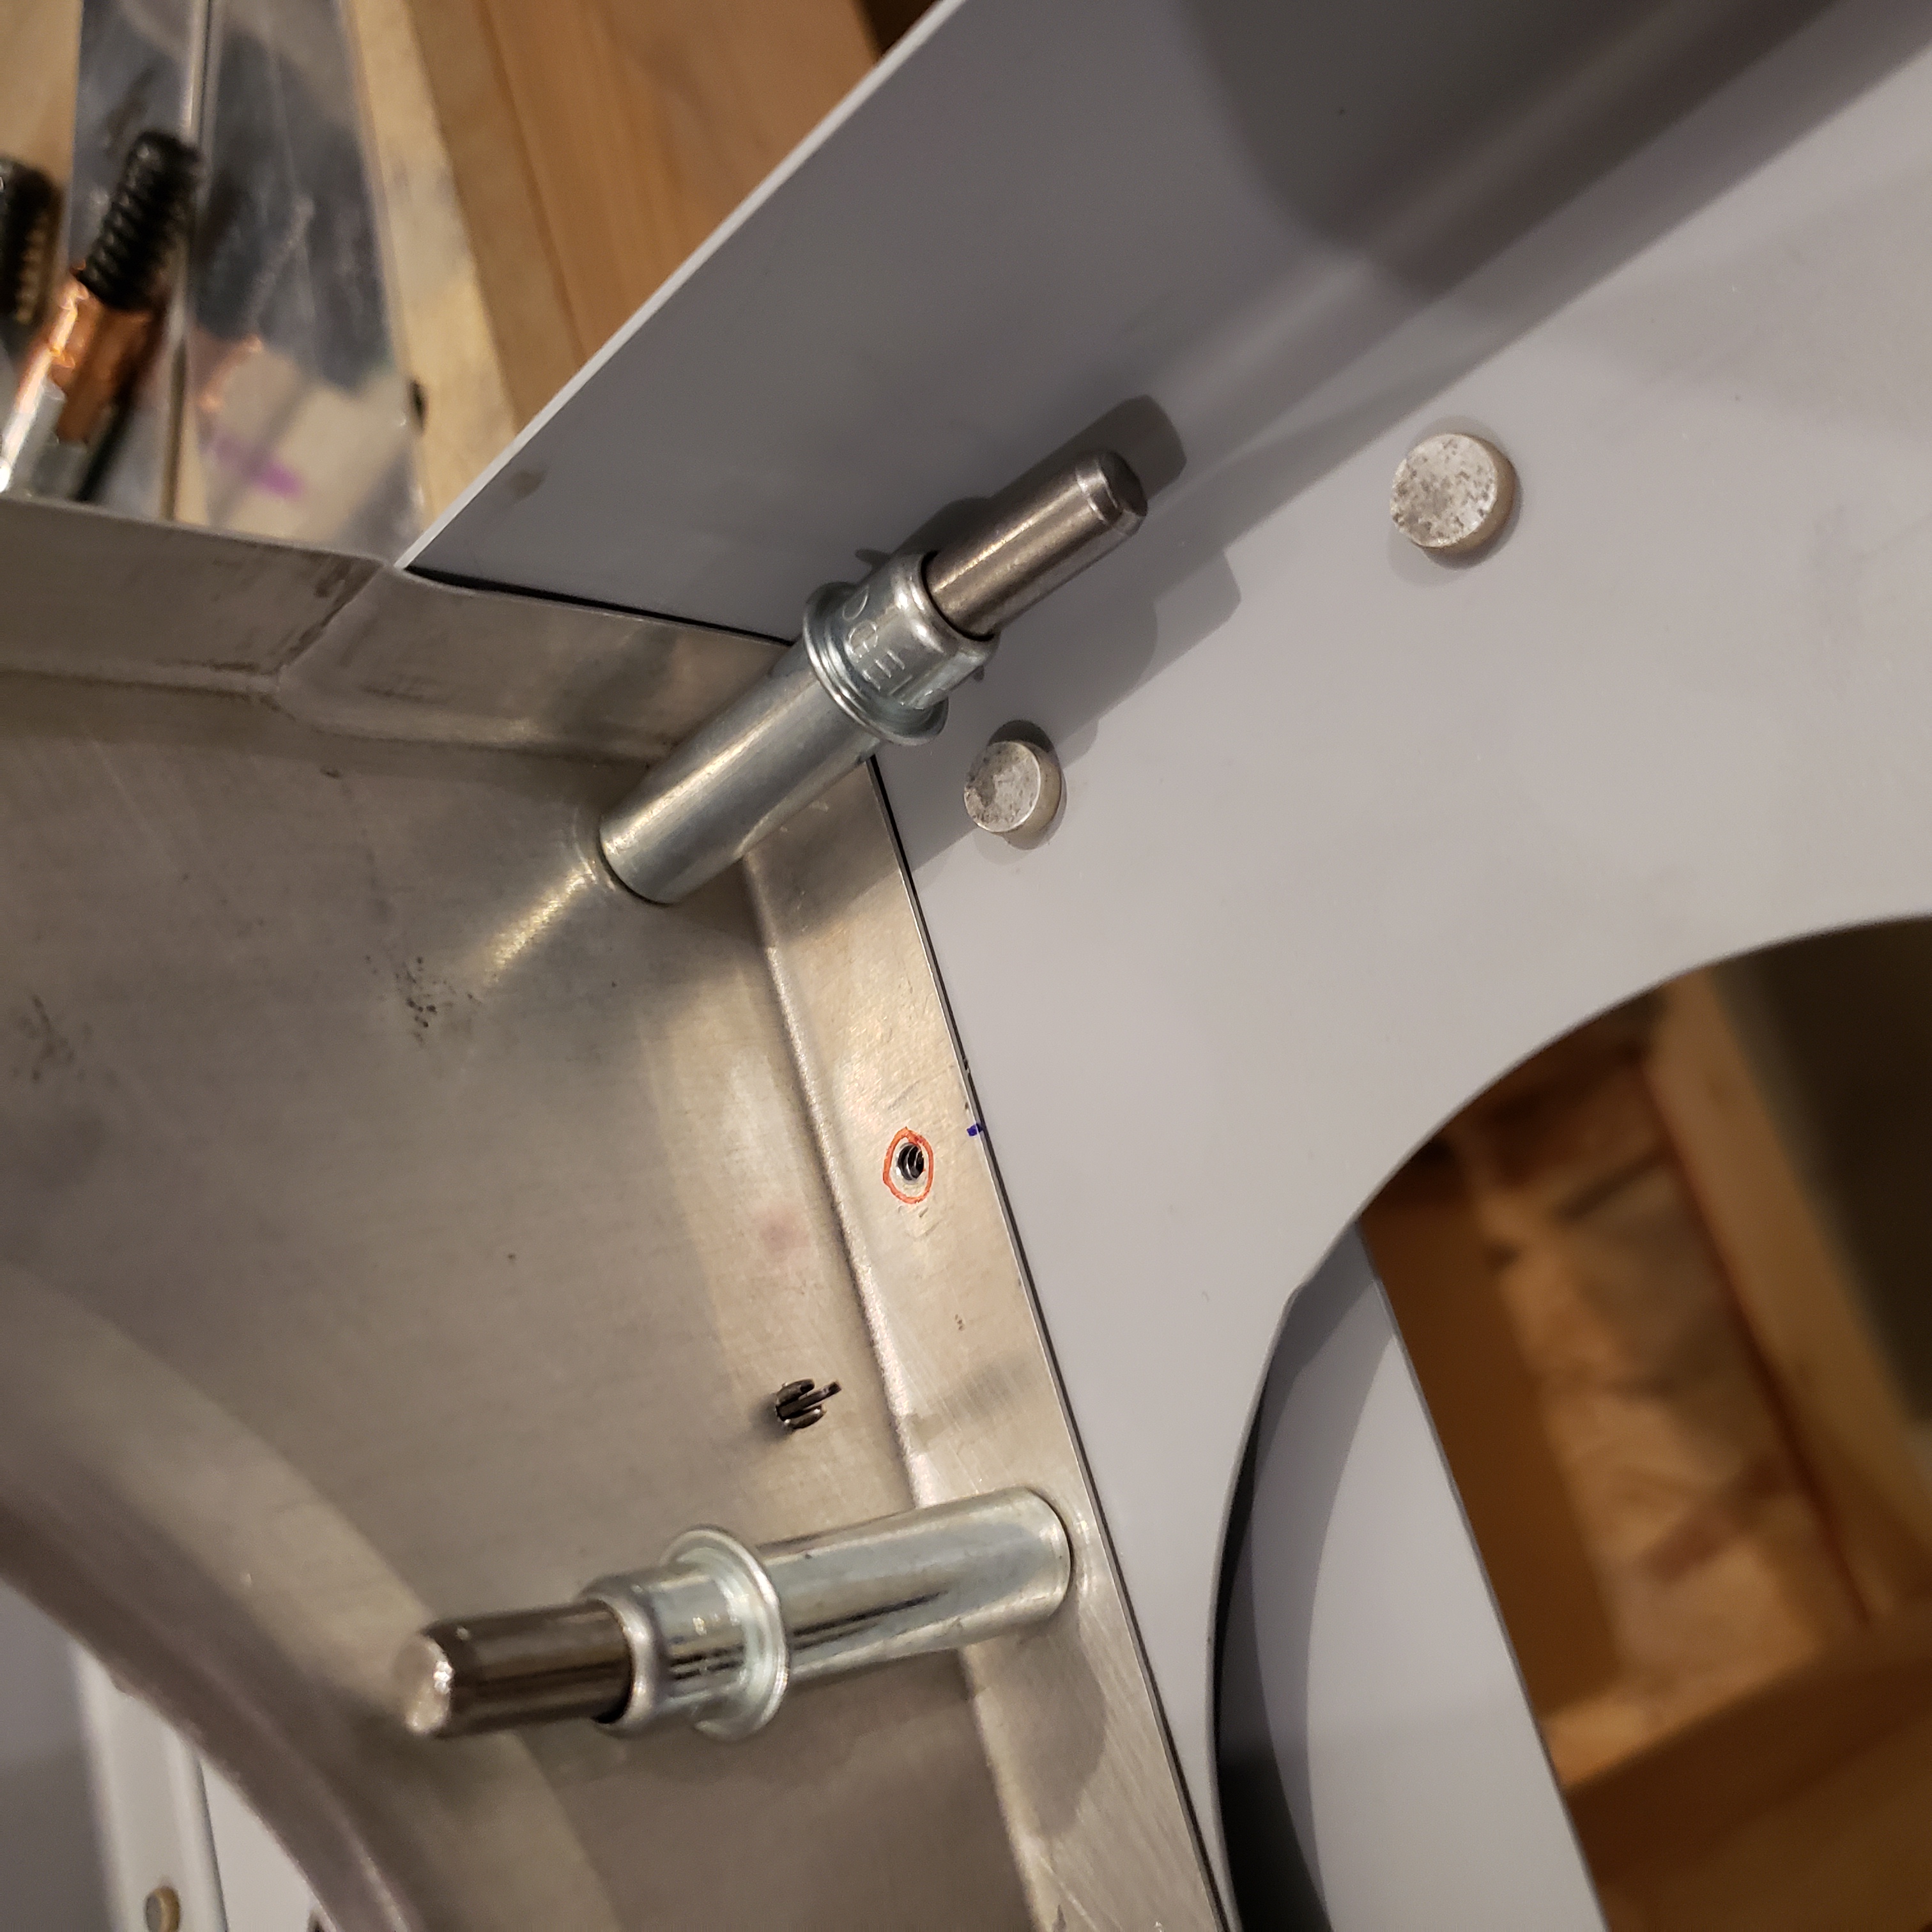
On to the 11th rib. So here, I was able to add a coupled holes for the blind rivets. I should have only went with the 3 mid holes (the plans call for 5 total here). But the outer hole (marked in red) should be avoided. DON’T DRILL THIS ONE!!!
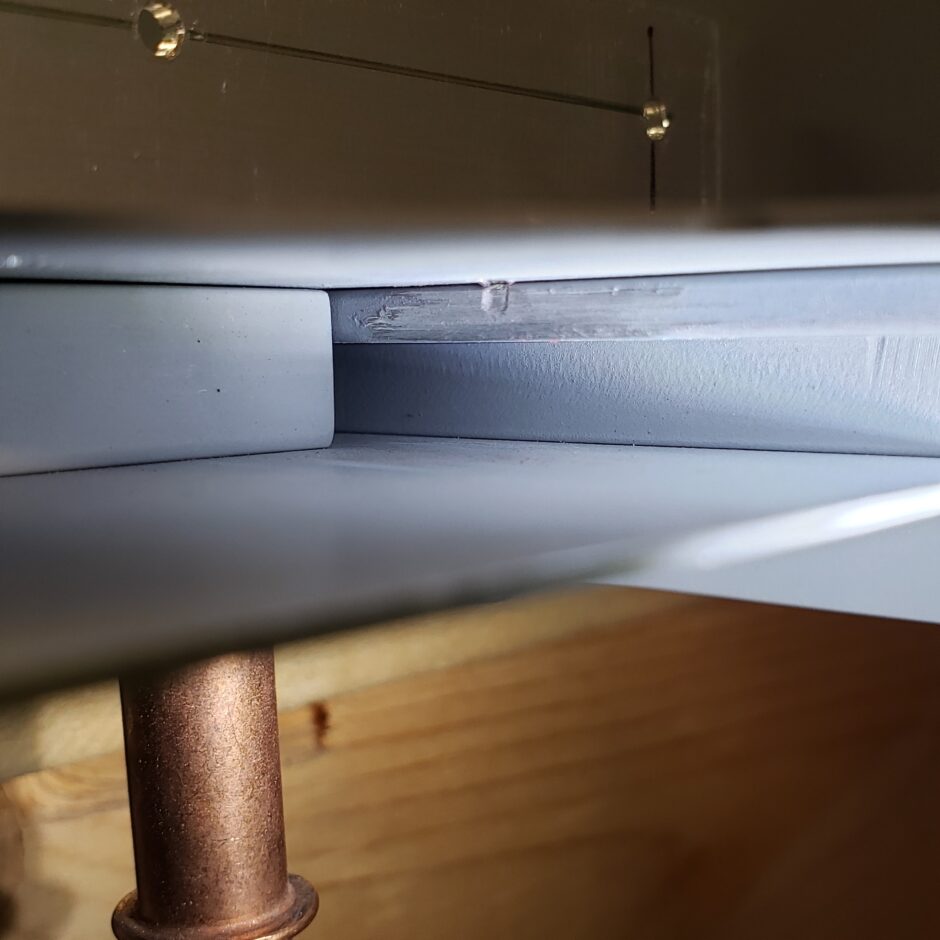
The reason is, because the spar beam run under it. I thought I would clear it…and almost did.
Here’s a picture of the lower side, so you can better visualize what I’m talking about.
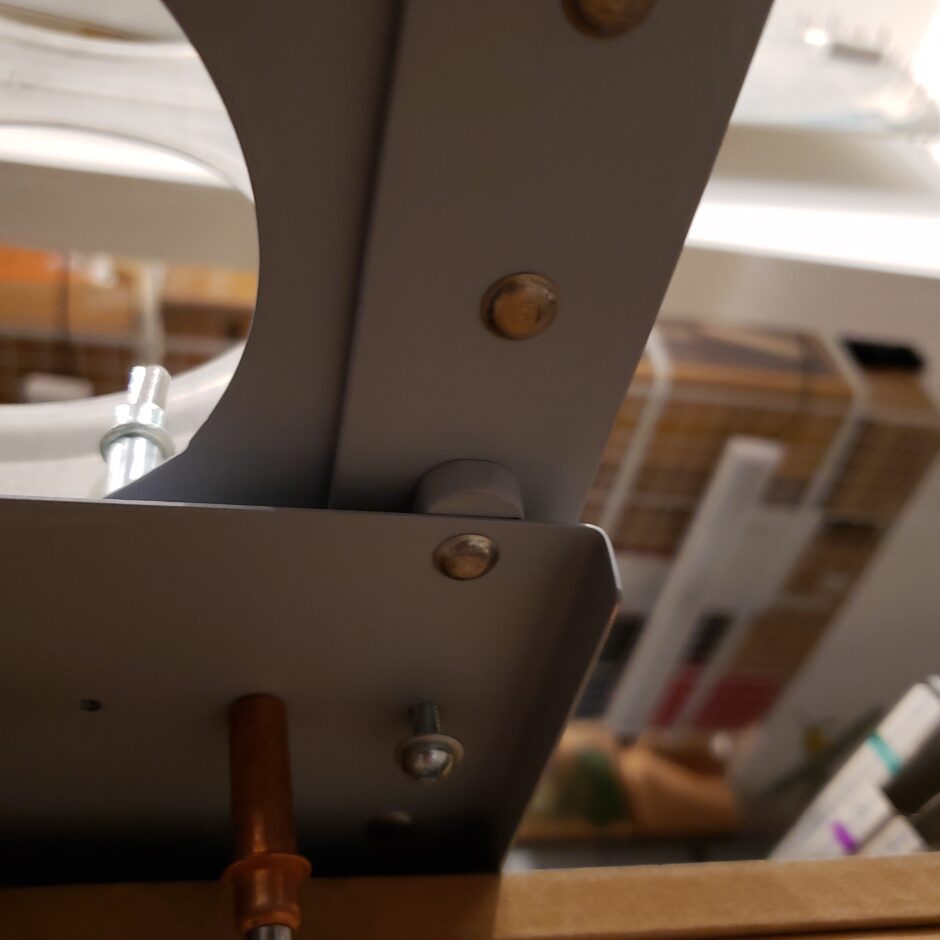
As you can see, the 11th rib is just near the end of the fuel tank support web on the front side of the spar. As the spar beam tapers at this area, I thought I would clear it when I drilled that hole.
Below is a picture shown between the front and main spar webs. I just skimmed the beam. Oh shit is right! That’s definitely not good. But this is fixable. It’s just going to take some time dressing out this area with scotchbrite, until all the damaged area has been removed. As you can see below, I have already started this process.
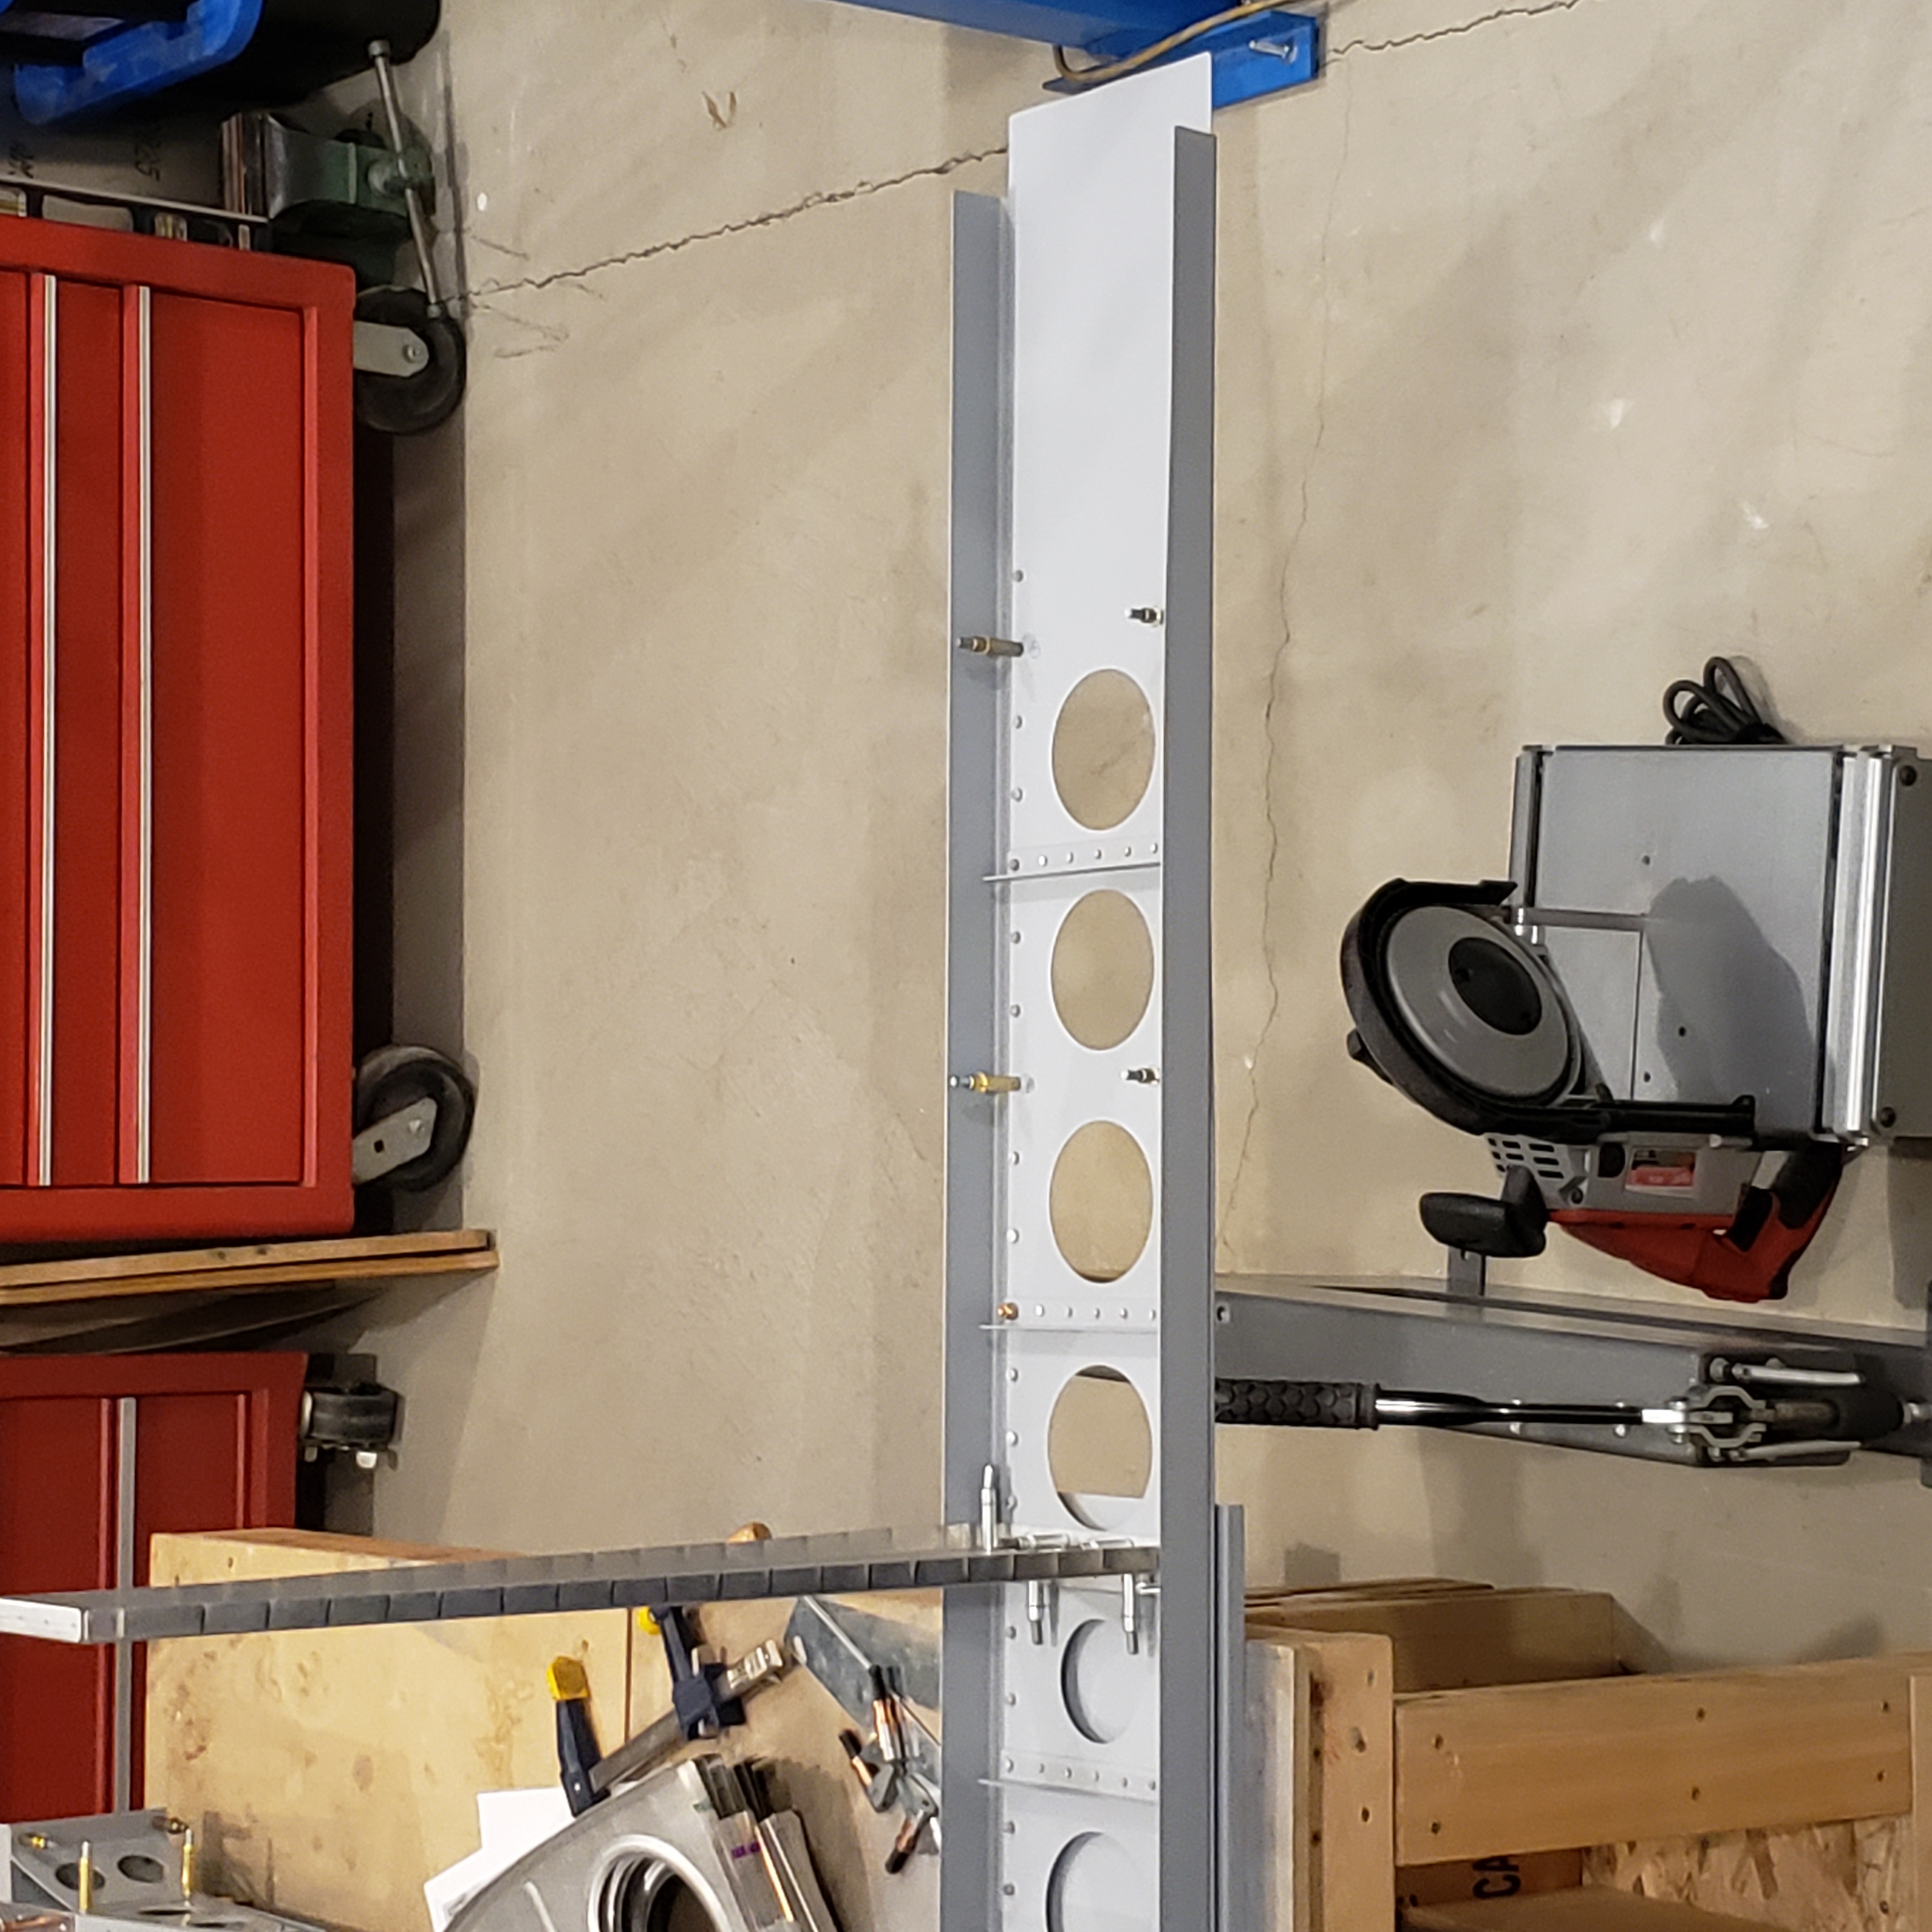
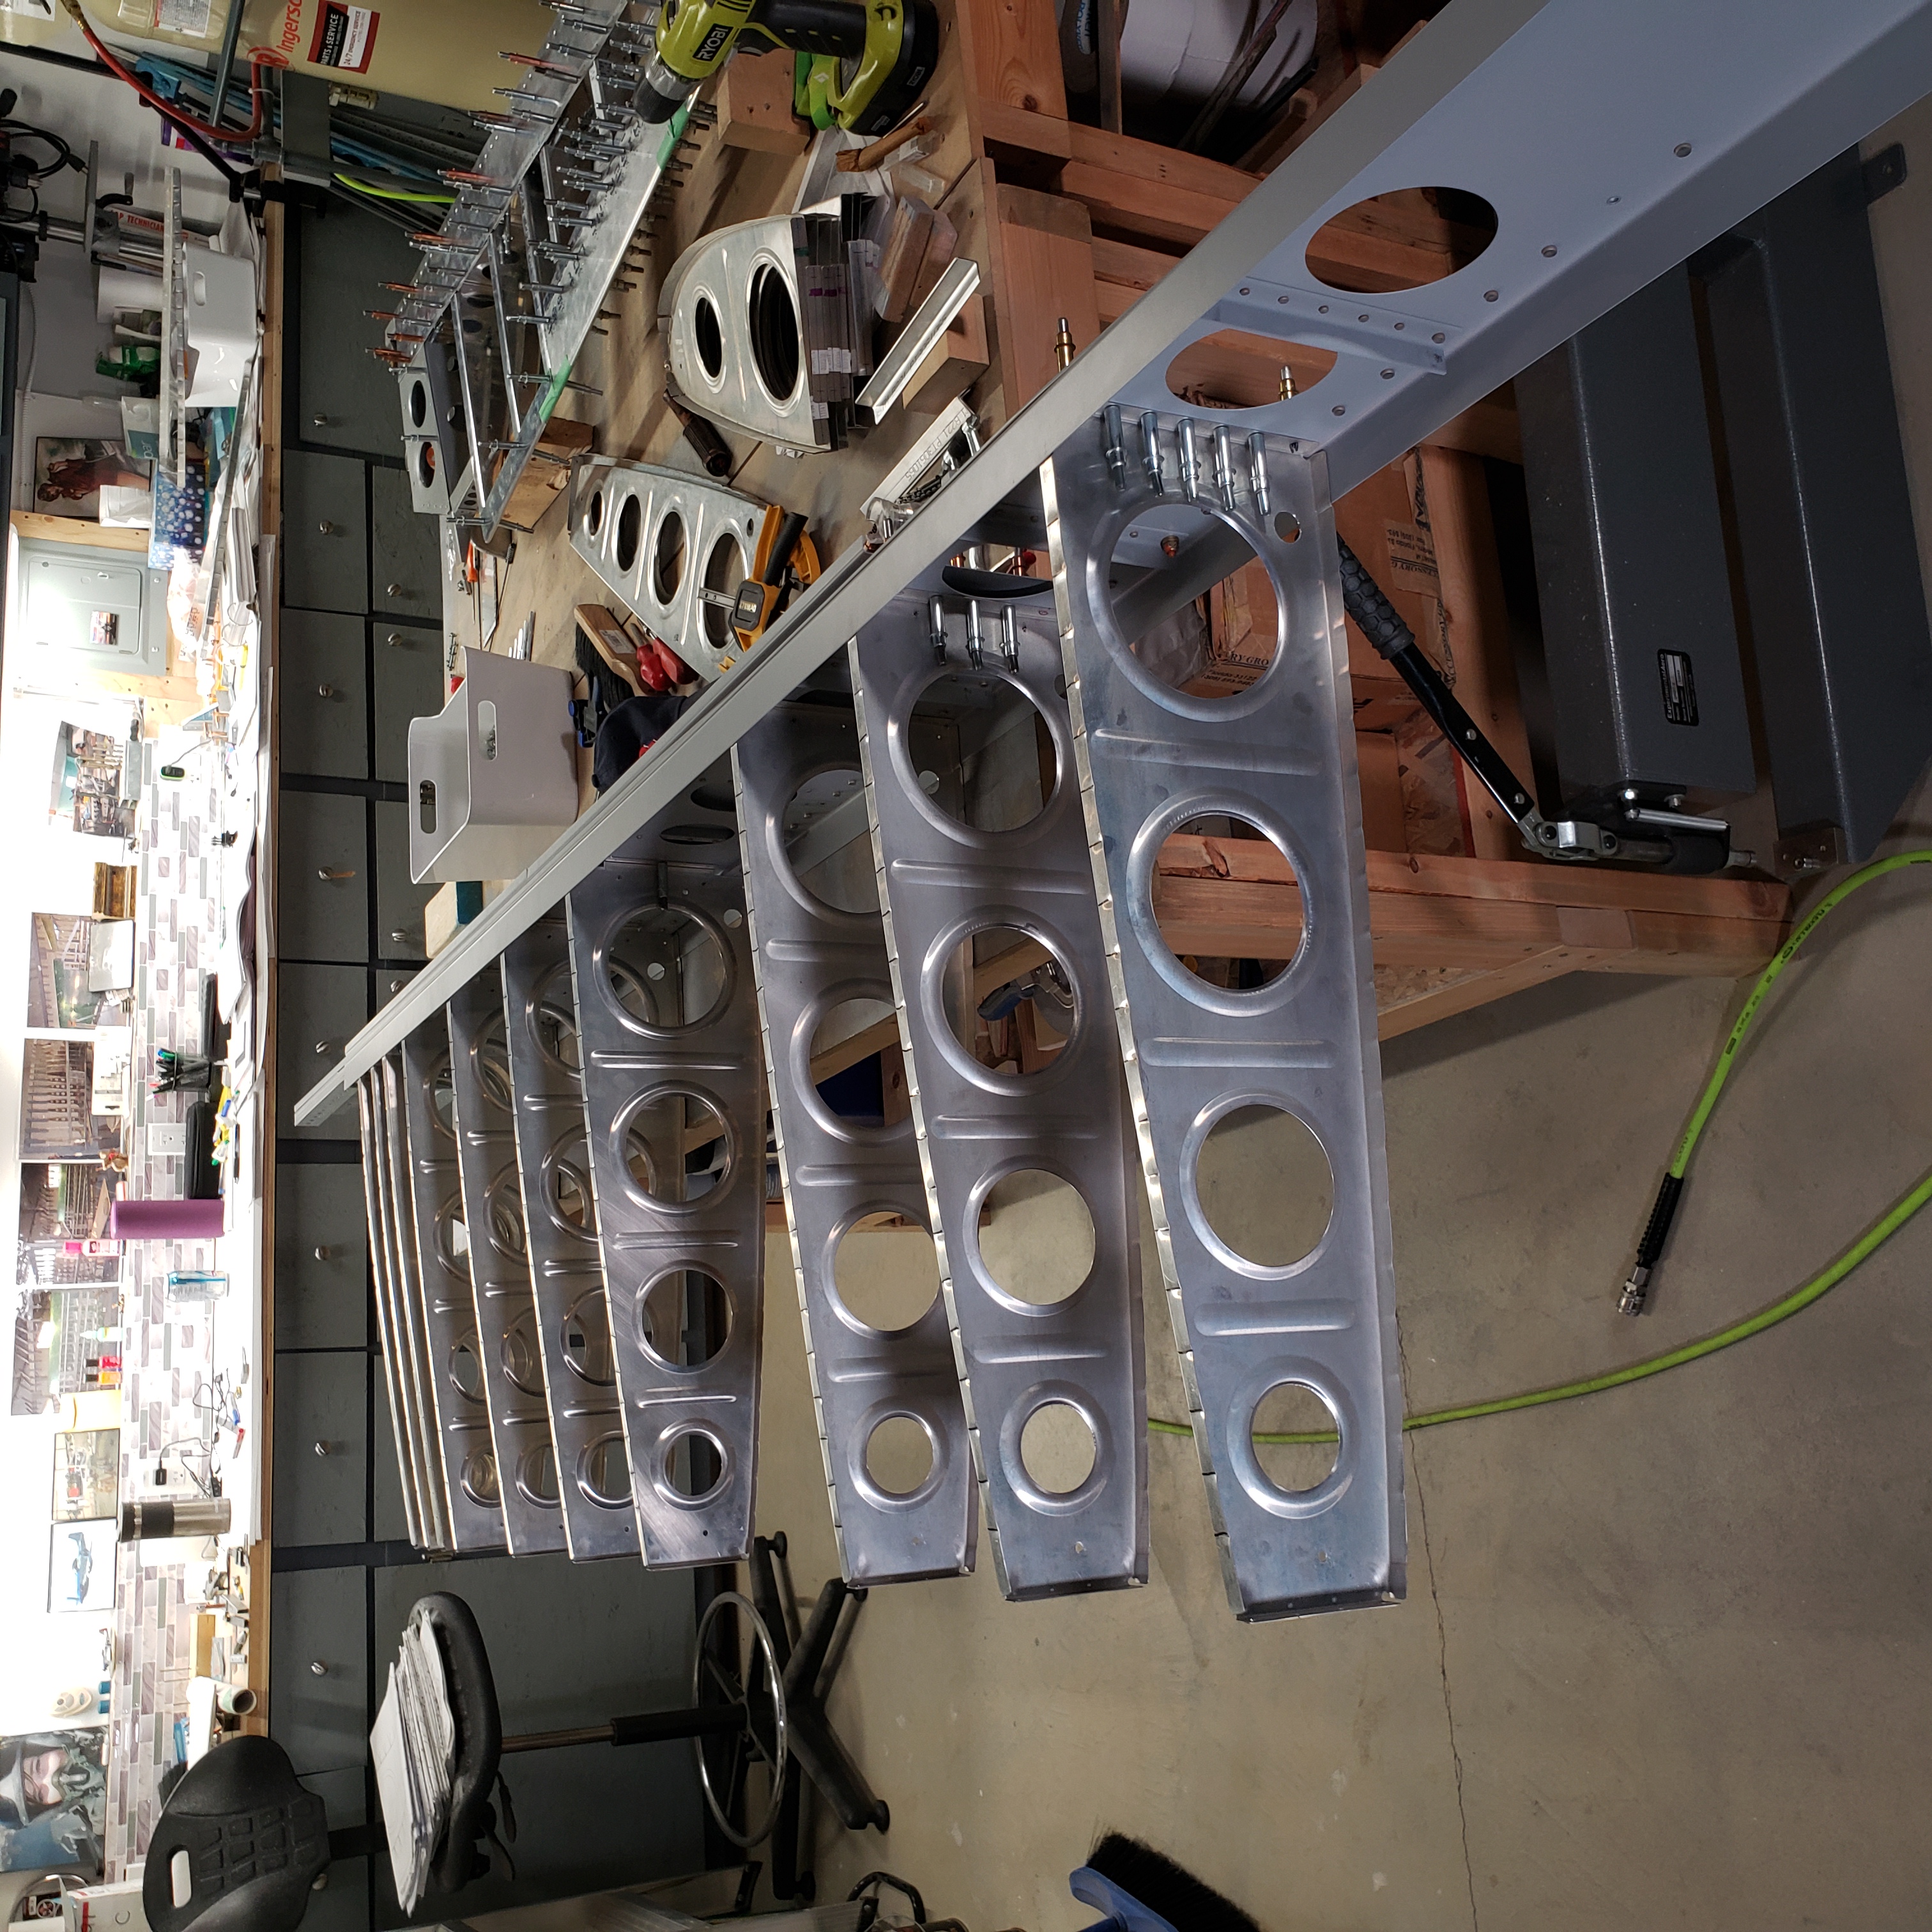
The wing is coming together. Here is the progress so far. Only a few more ribs to go.
Next are the 12 and 13th ribs, then the tip rib. These next 2 ribs are really straightforward as they have no angles and are riveted directly to the spar web. The upper and lower holes are matched to the spar for attach bolts because there is an angle on the front side that supports the nose ribs.
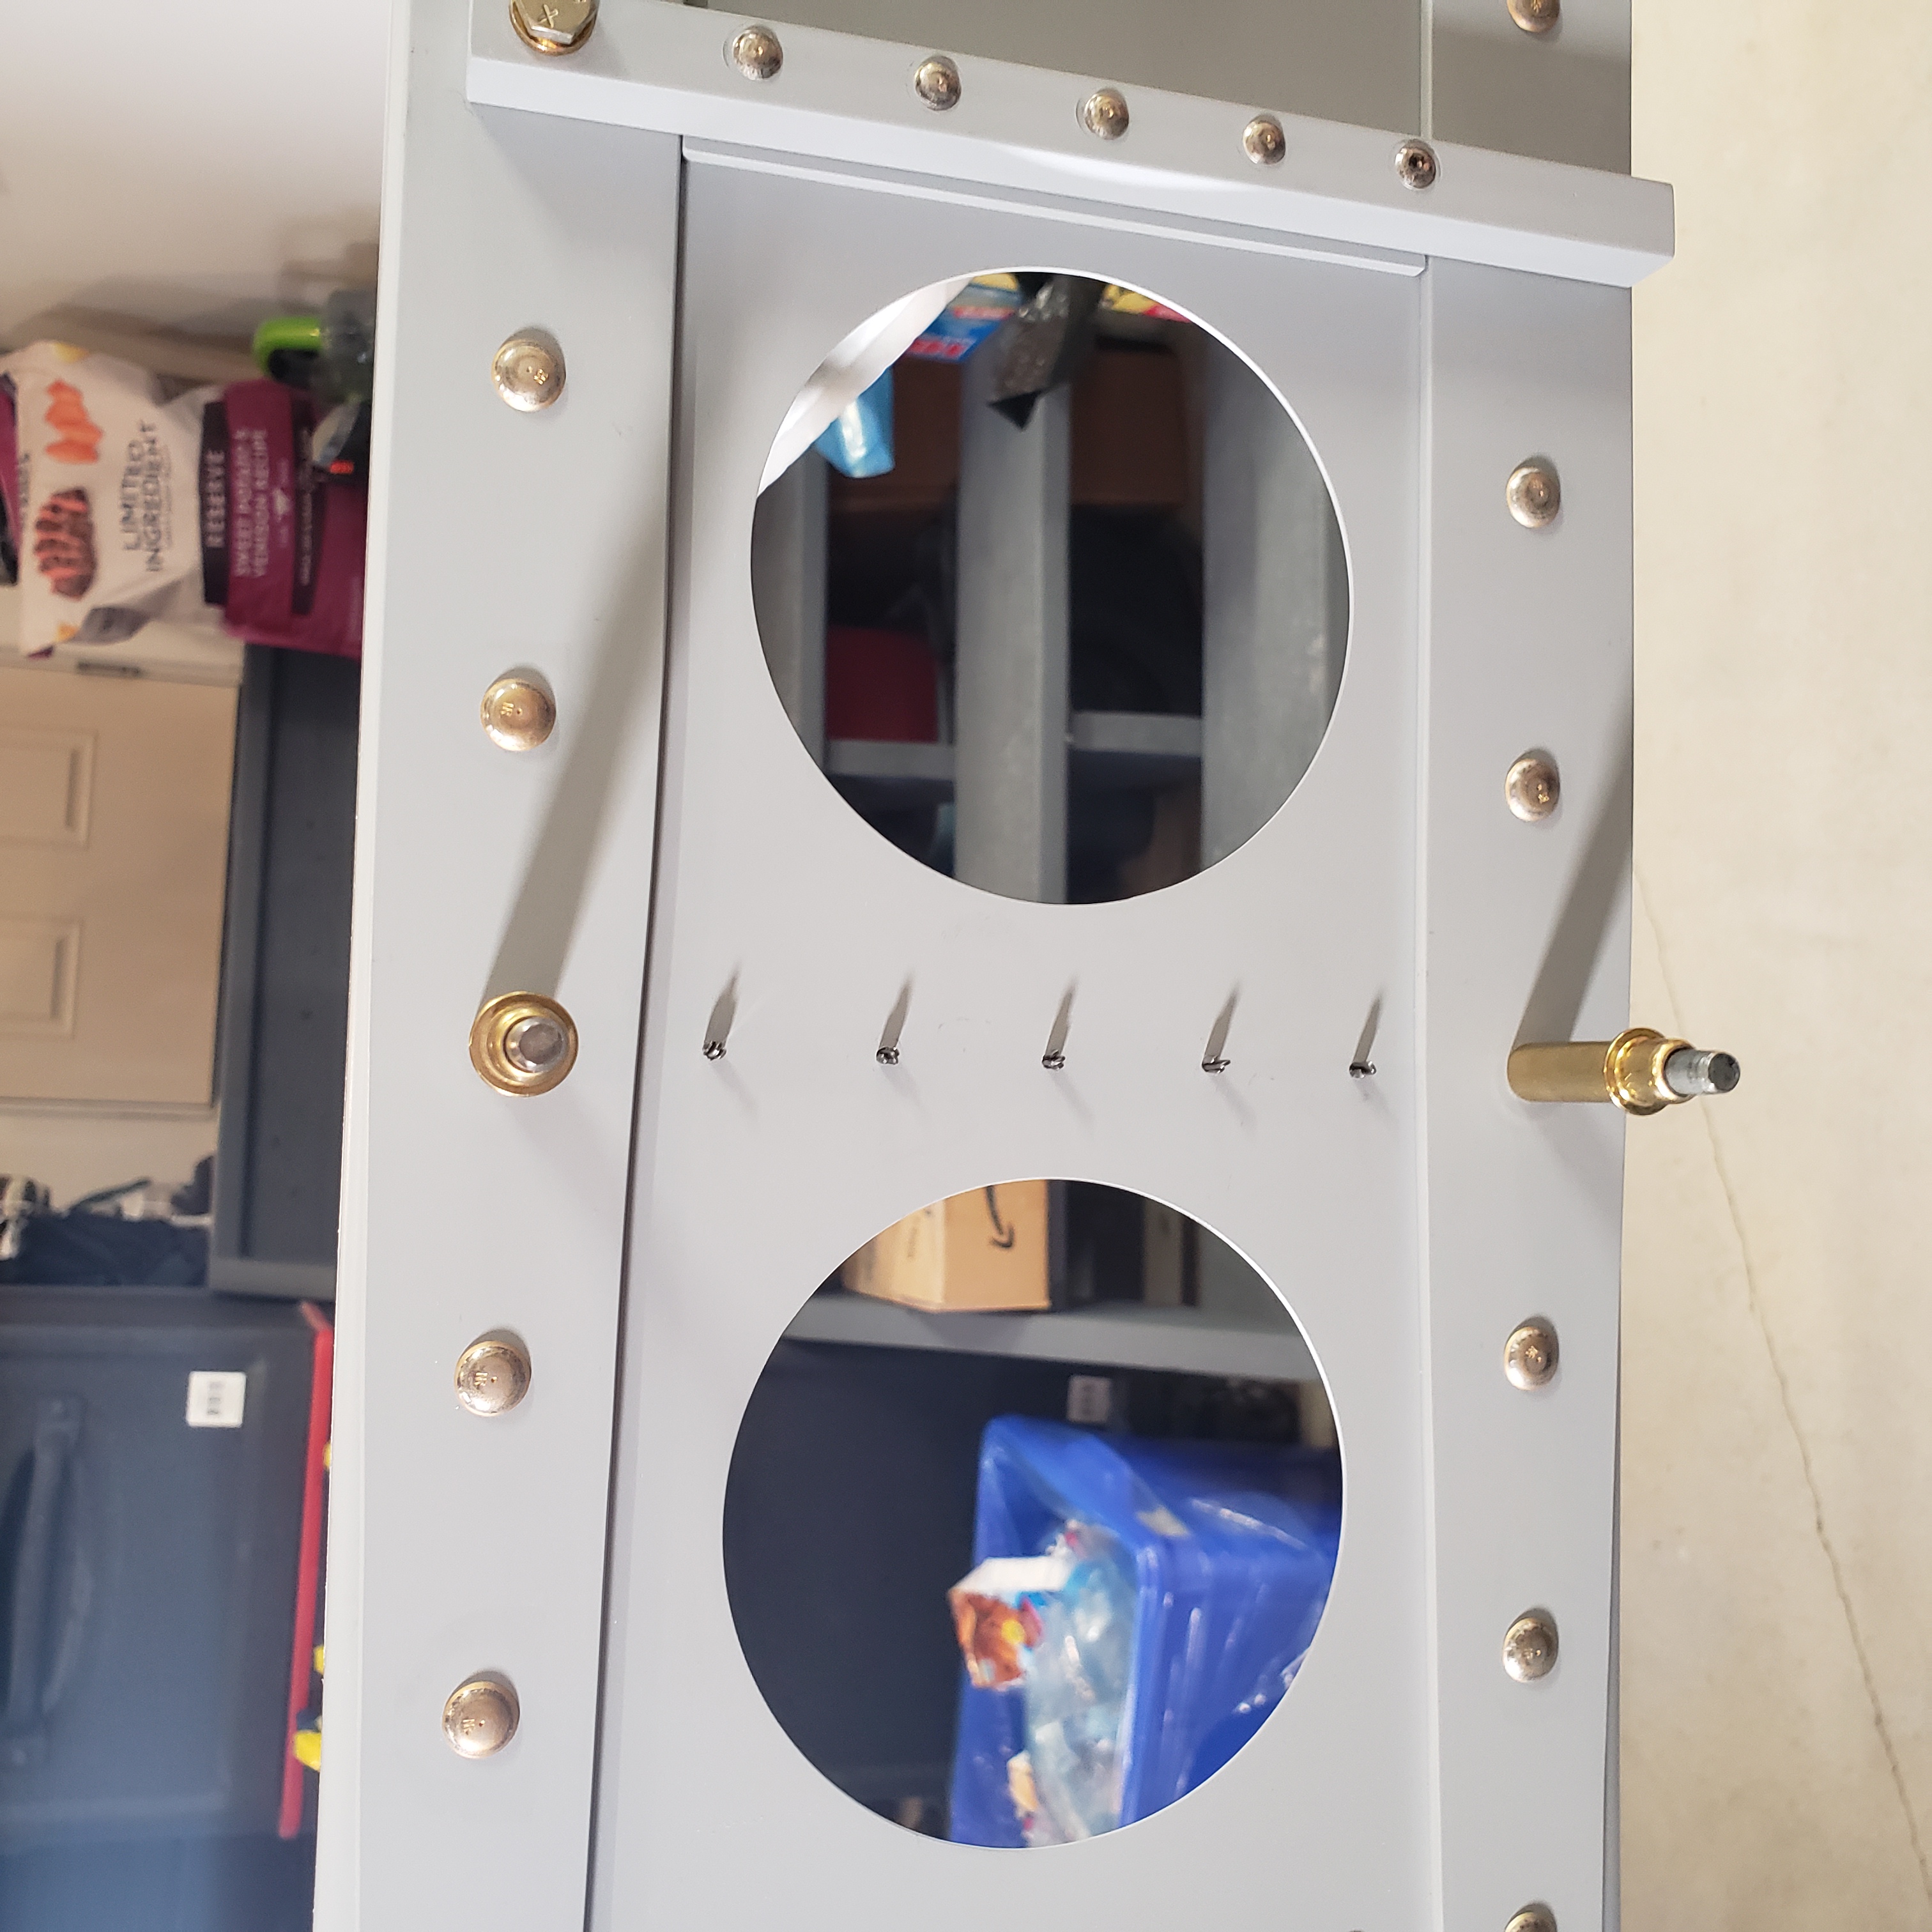
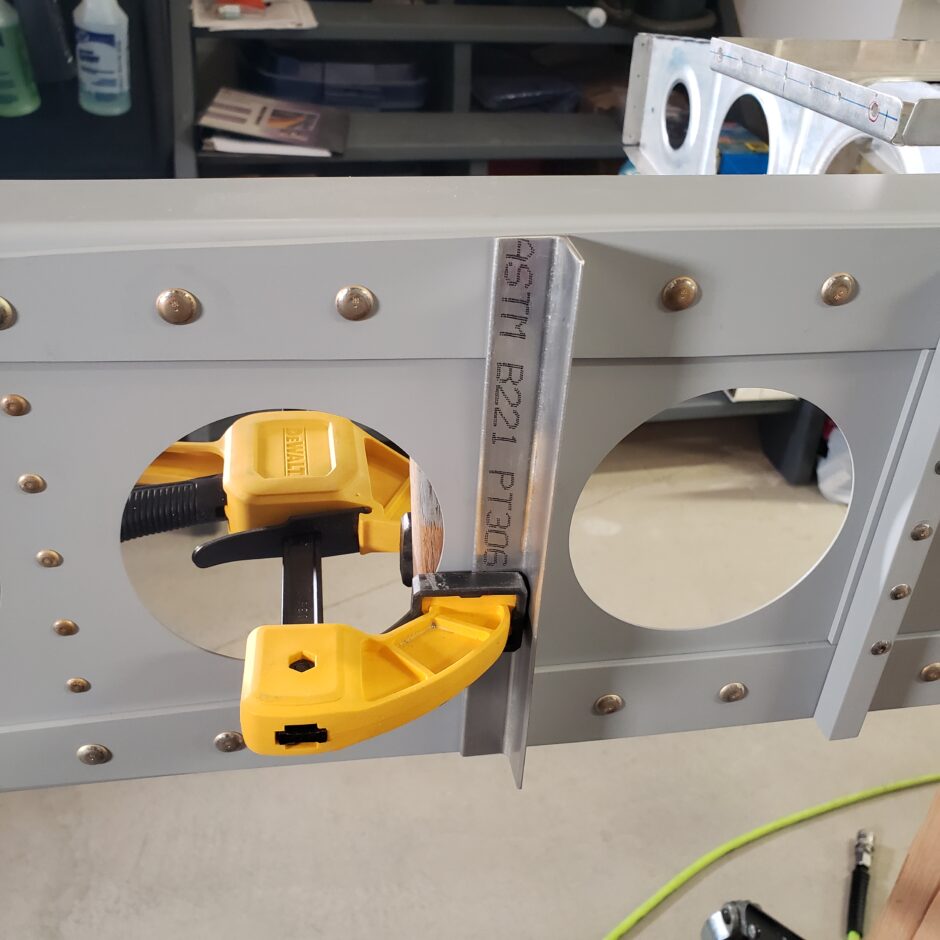
With the rib drilled to the spar, next up was to match the angle to the spar bolt holes. For now, this is as far as I’m able to go tonight, in my next post I’ll proceed with the fitting this angle and the leading edge wing ribs.
That’s all for today folks! Please comment. I love to hear from my readers. Thanks again for coming along for this ride, you make my work worthwhile.
Good day!
Leave a Reply