Today I’m moving along with drilling and deburring the fixed leading edges. As we all know by this stage of the game, this process is pretty self explanatory, so below is a picture of the skin while I’m drilling and deburring. The only point I want to add is that for the pilot holes in the skin, I’m using a 5/64 drill bit. Additionally, I also only drilled the holes for the ribs. I DID NOT at this time, drill any holes where the skin attaches to the spar flange. I want to be able to make sure that I drill that when I know the final position of the skin when it is completely clecoed to the ribs.
Now let’s move on to actually drilling the skin to the ribs.
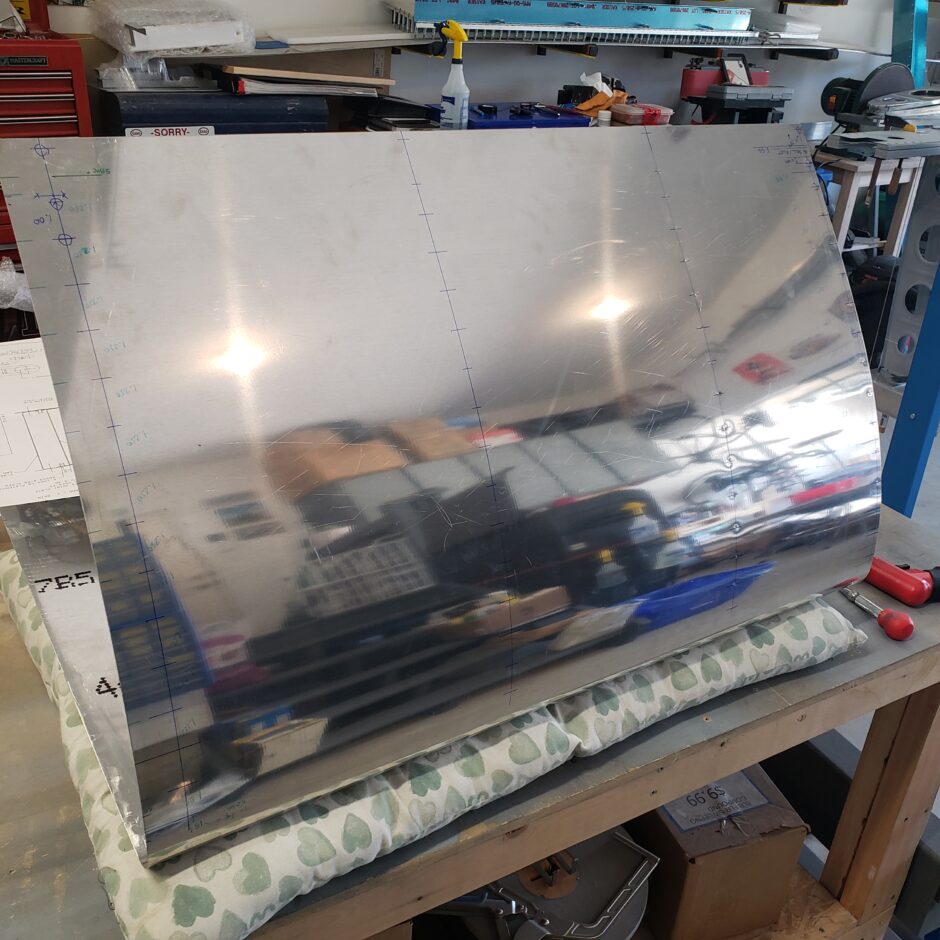
In the picture below, it’s sort of hard to see, but I have little lines identified on or near the radius of the flange to mark where the flutes are located. This just acts as a double check, to ensure that where I’ll be drilling, does not align or interfere with the flutes.
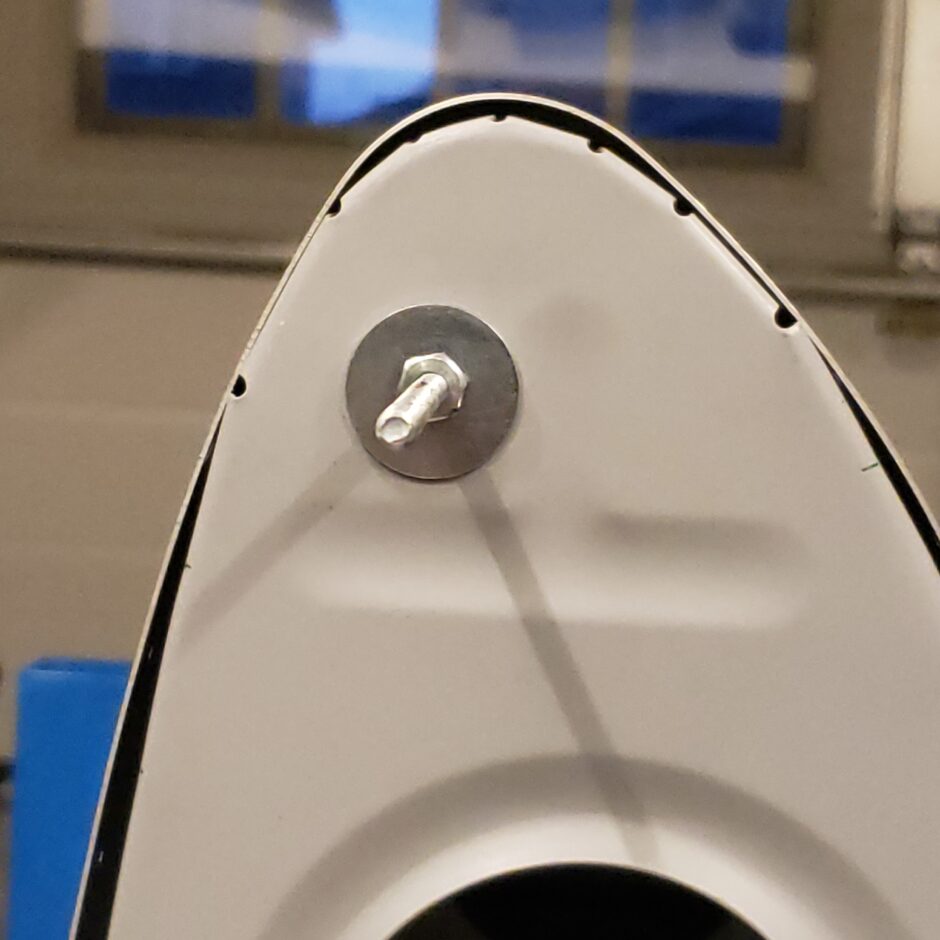
The same goes for the picture below. Look for the little tick marks to identify where the flutes are.
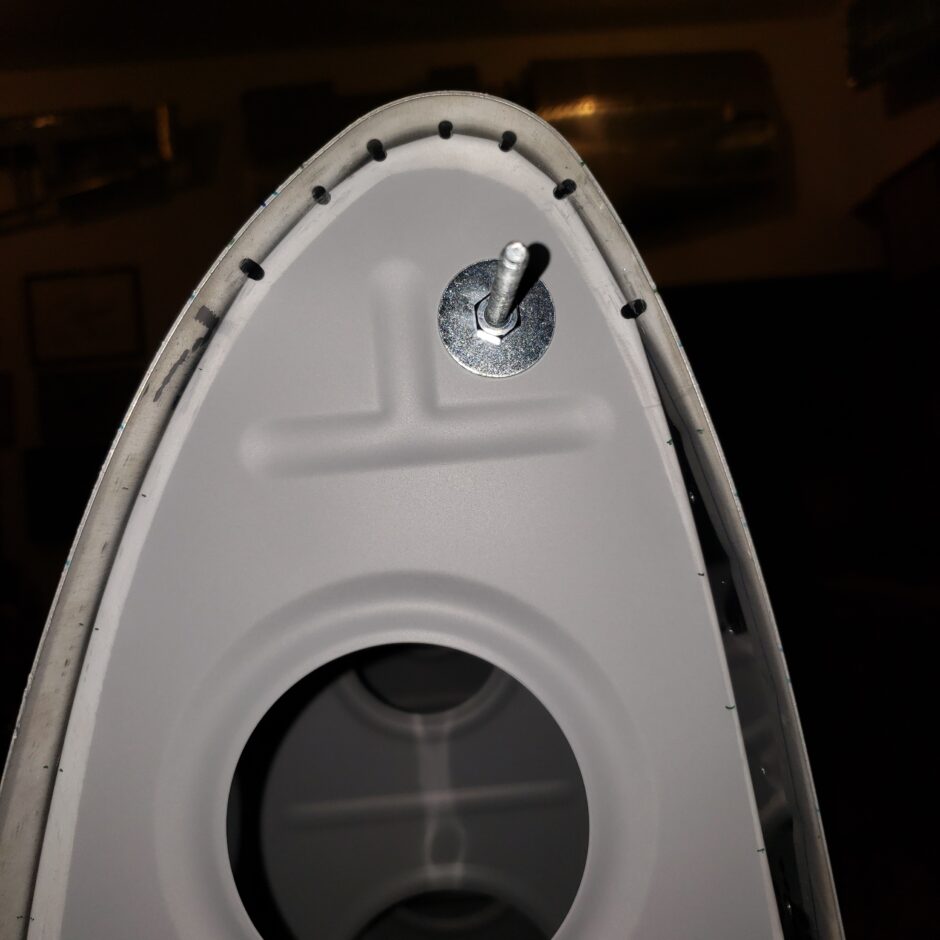
With the skin in place, now I’m looking to have the rib flange centerline showing up through the skin pilot holes.
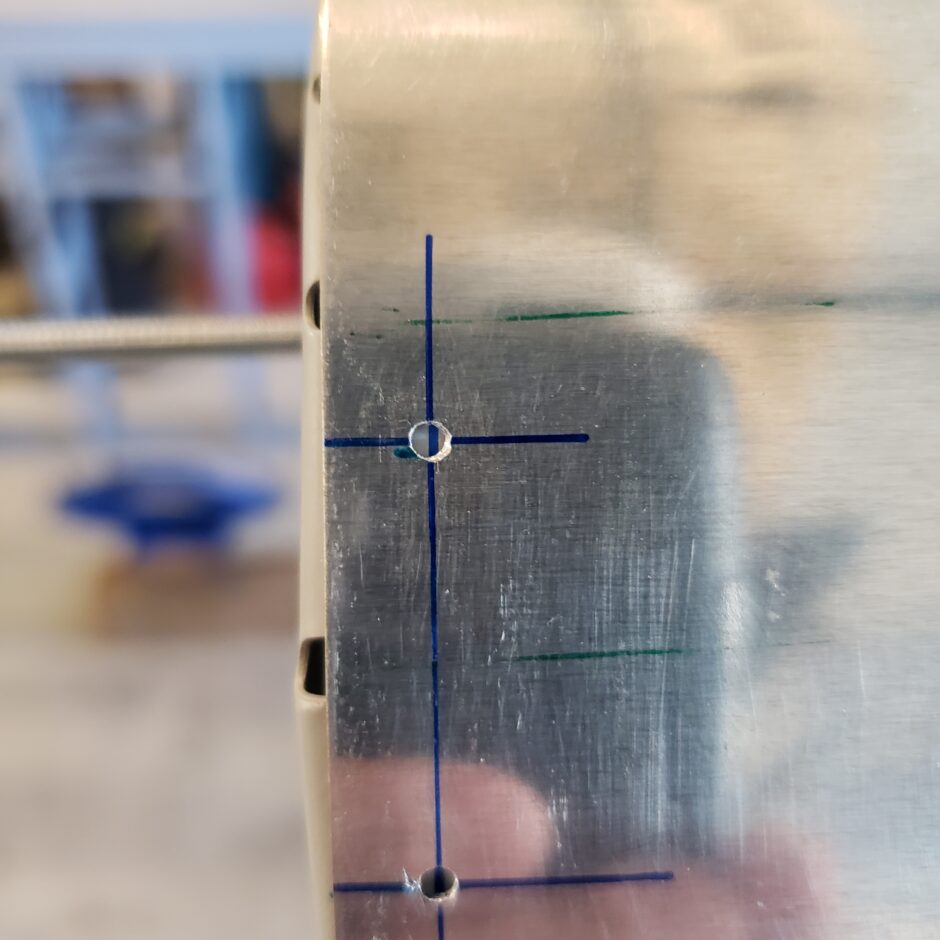
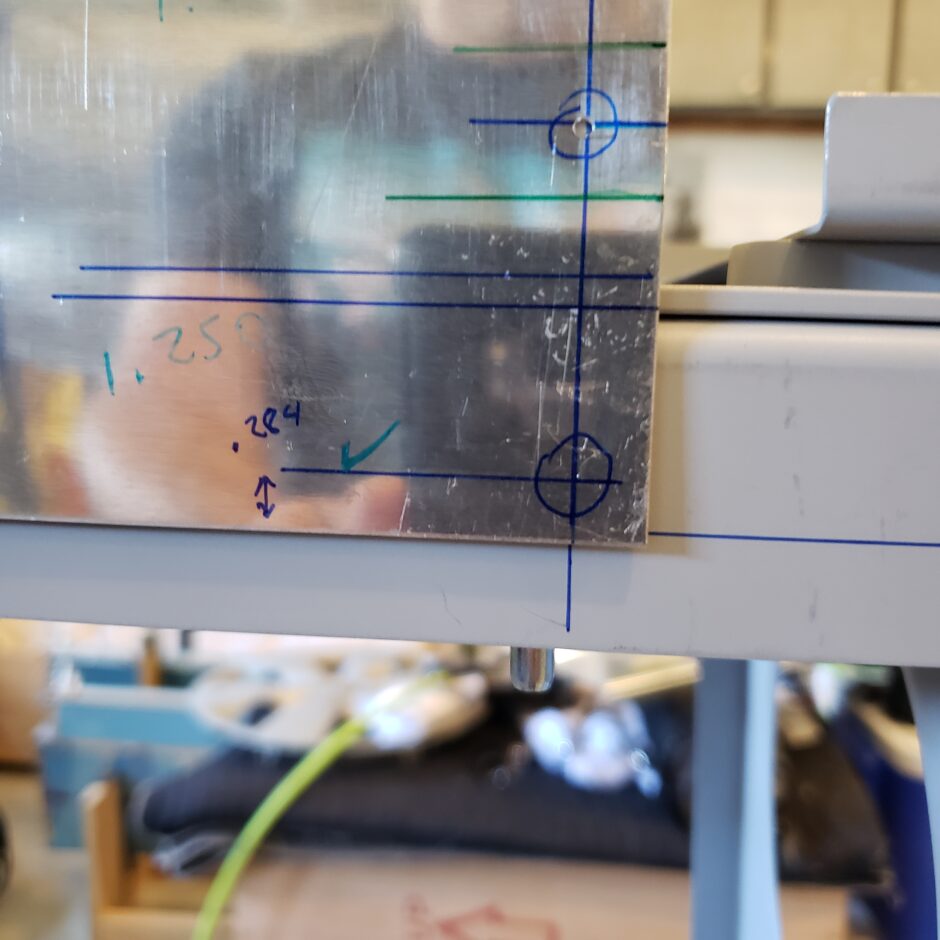
Here’s a picture of the skin at the spar flange end (upper skin side), again showing the centerline through the pilot holes. You can also see that the edge of the skin is nicely aligned with the skin butt-joint line drawn on the spar flange.
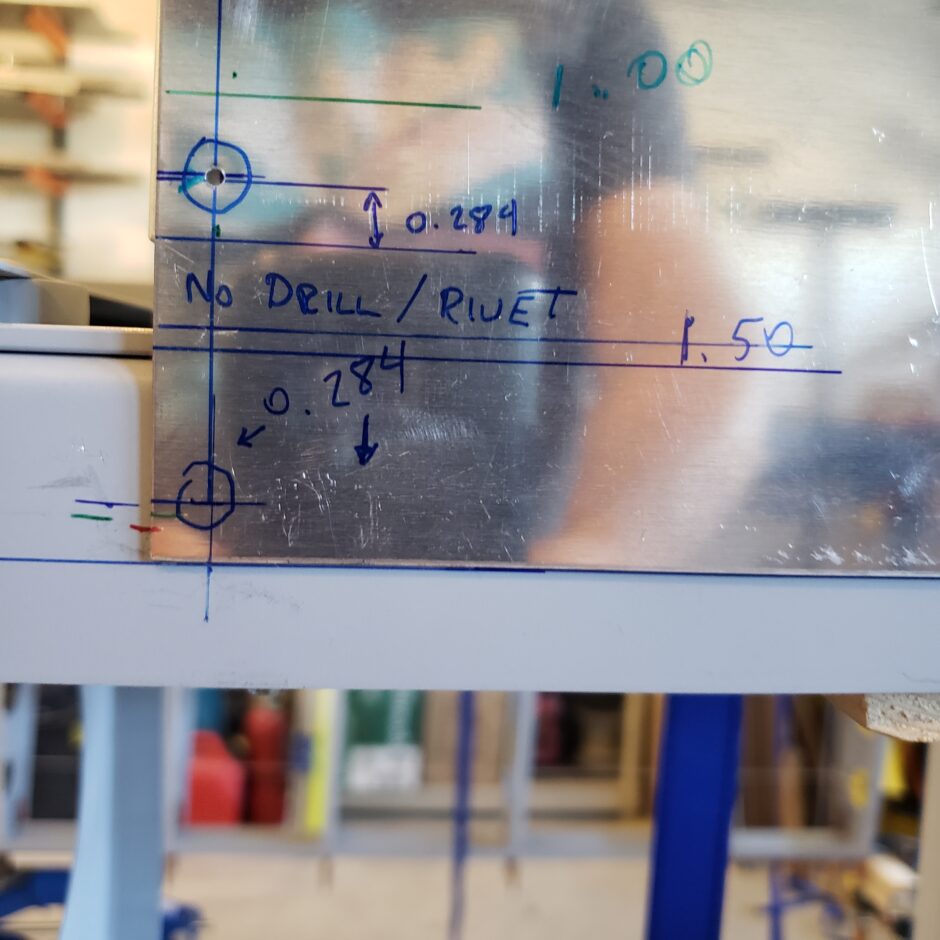
The picture below shows the lower side of the skin, and you can see that the skin here slightly overhangs past the butt-joint line. This will get trimmed / filed down to the line later before I install the wing skins.
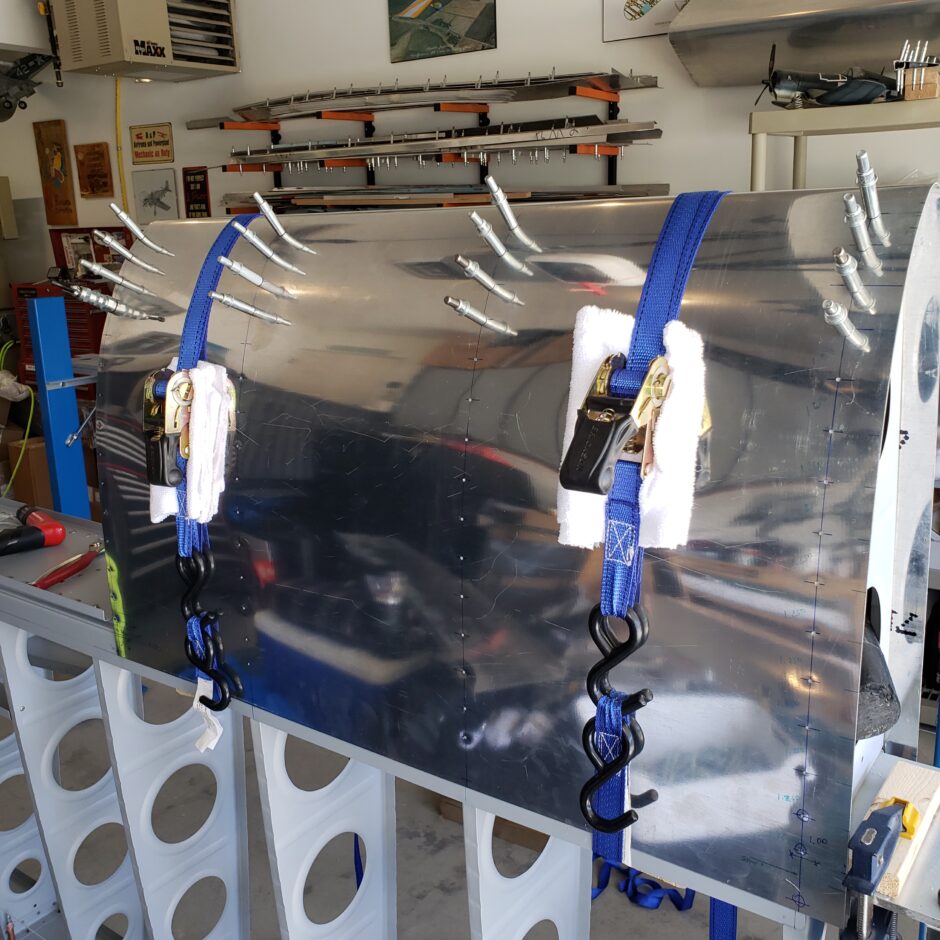
Now it’s time to drill. I started at the leading edge and am working my way back towards the spar. The reason I’m doing it this way is because as you drill the skin and cleco it down, any excess will work it’s way like a wave down to the spar flange end. This method helps to ensure that you get the skin down tightly against the ribs.
Also, what the progression of pictures below doesn’t show is that I’m also drilling a line or two of rivets along the upper surface, then doing the same on the lower side. This will keep even pressure on the skin as you’re drilling it.
Also not shown in the pictures, on the lower surface, I made a lot of use of the wingnut clecos. The under surface of the leading edge skin dips in a tiny bit, and these clecos helped to provide additional pressure to hold the skin tight into that bit of under-camber (if you want to call it that). Those clecos are great to use anywhere you need to push to get the skin to contact the rib. Then as I drill the next hole, I move the wingnut cleco up to the new hole, and put a regular cleco in the hole that I robbed the wingnut cleco from. This process worked well for me.
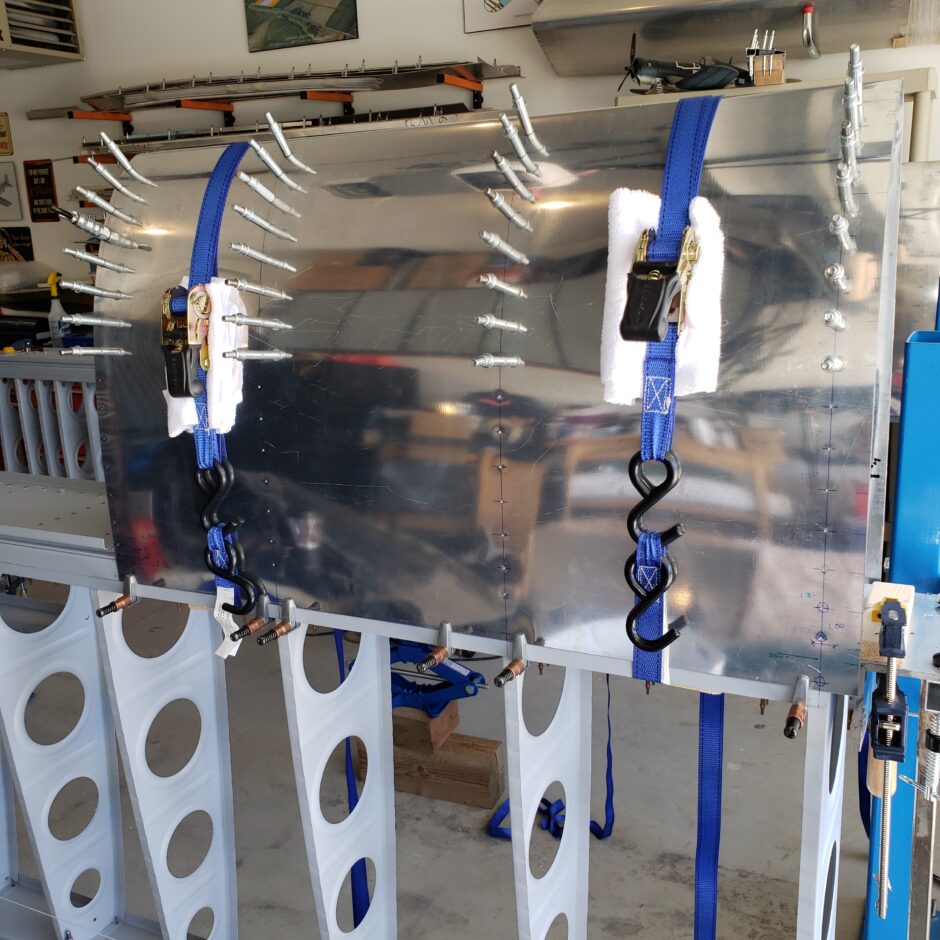
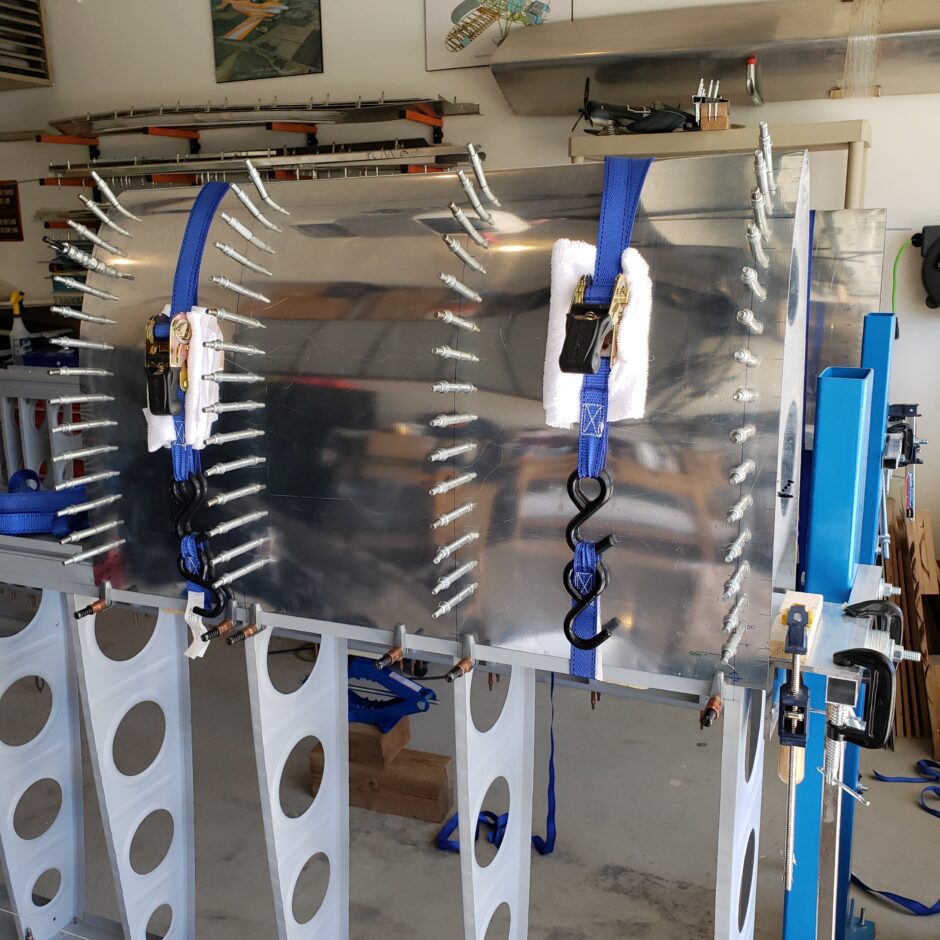
With all the ribs drilled, now it was time to drill the skin to the spar flange.
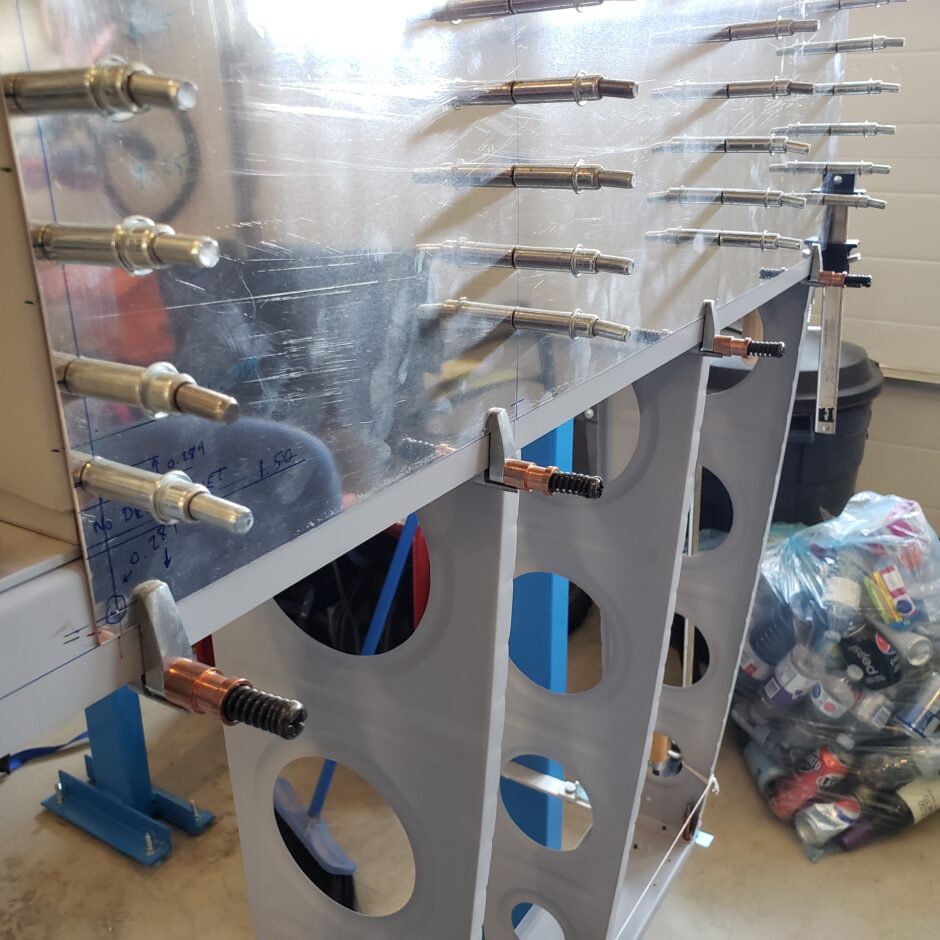
I started with the middle 2 ribs, then worked out to finish off with the final 2 outer ribs. Again, trying to eliminate any possibility of having the skin bow.
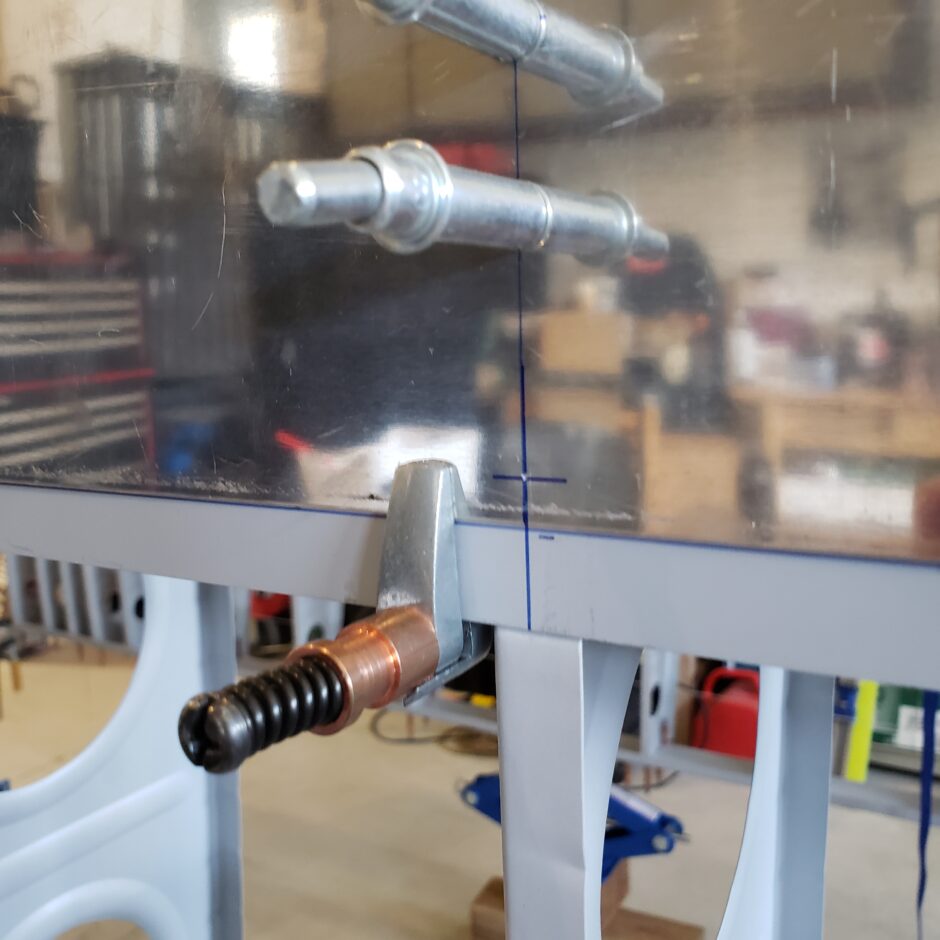
In the picture below, I’m drilling the inboard corner of the upper surface.
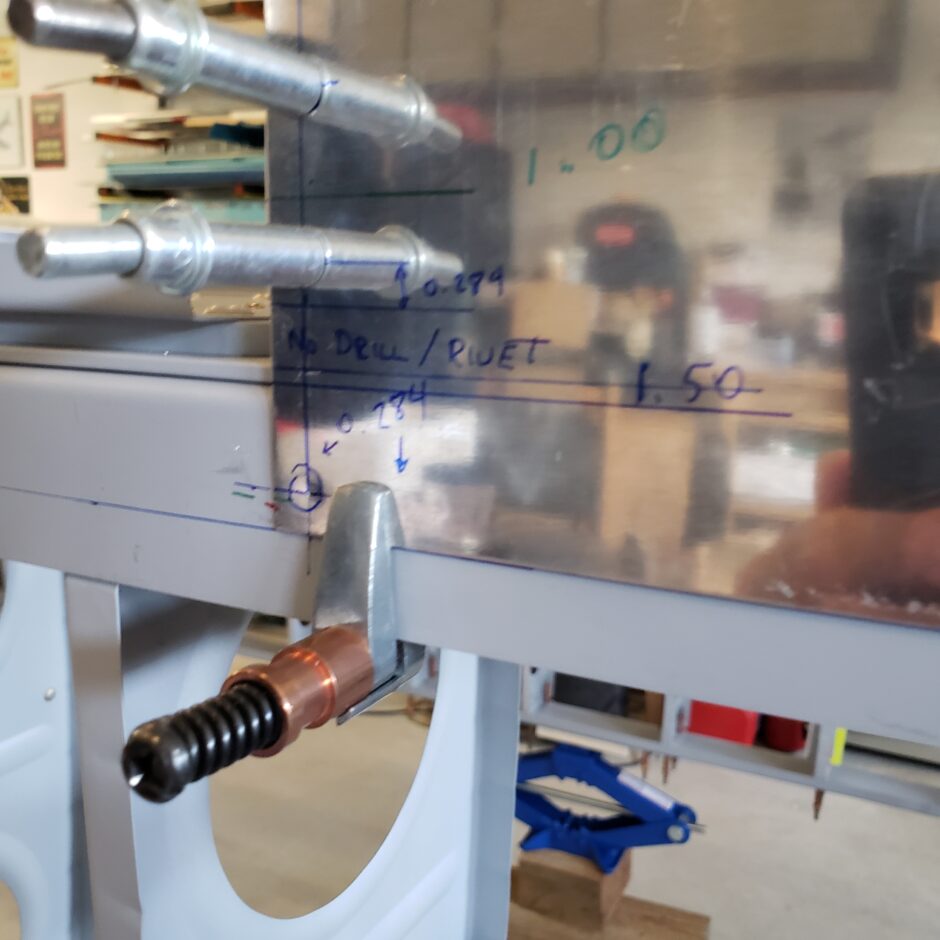
When it comes to spacing the rivets along the spar flange, I used the rivet fan spacer to ensure evenly spaced rivets. The RV-4 plans call for 7/8-inch rivet spacing in this area.
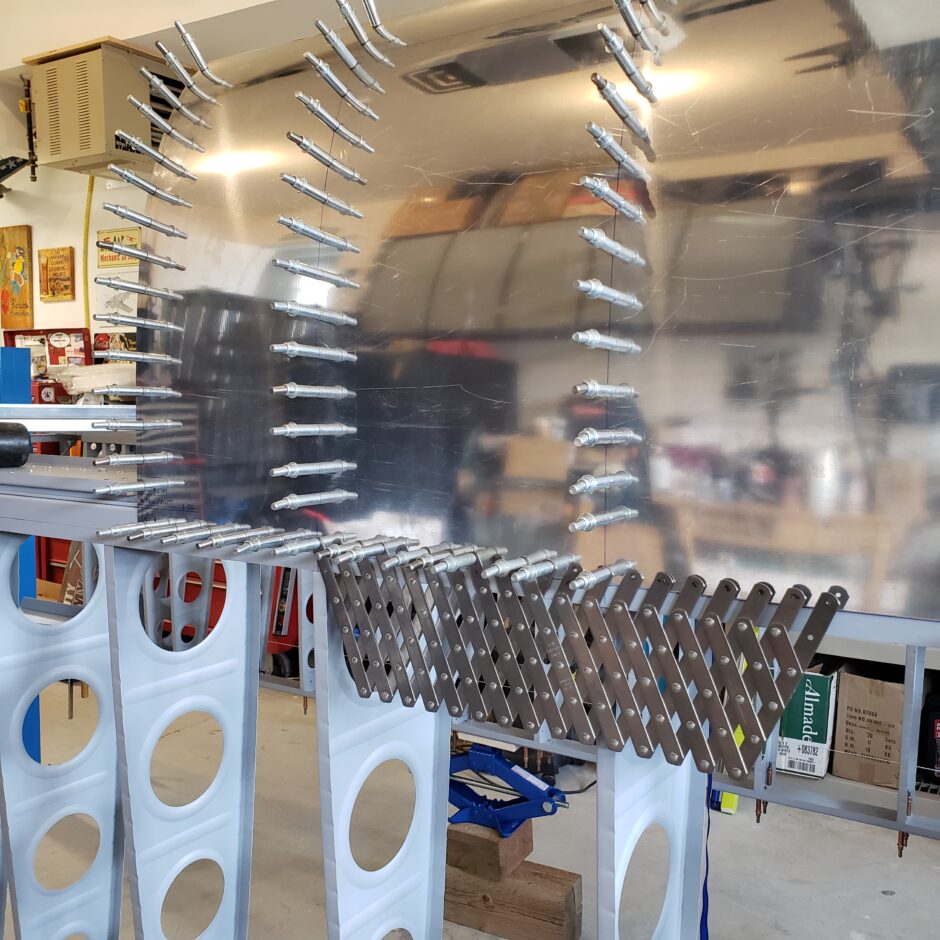
And here the drilling of the fixed leading edge skin is complete!
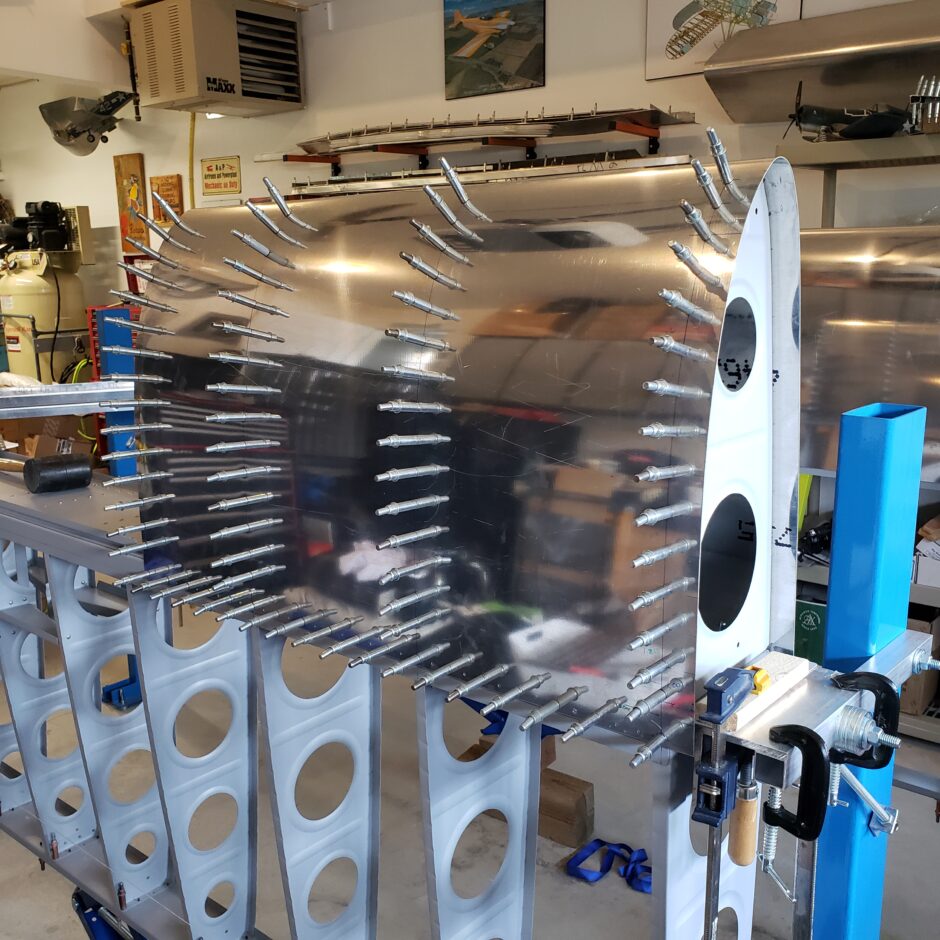
Now time to do this all over again on the other wing. Note, all the work contained during this post certainly didn’t happen over the course of one day! I’m good, but not that good.
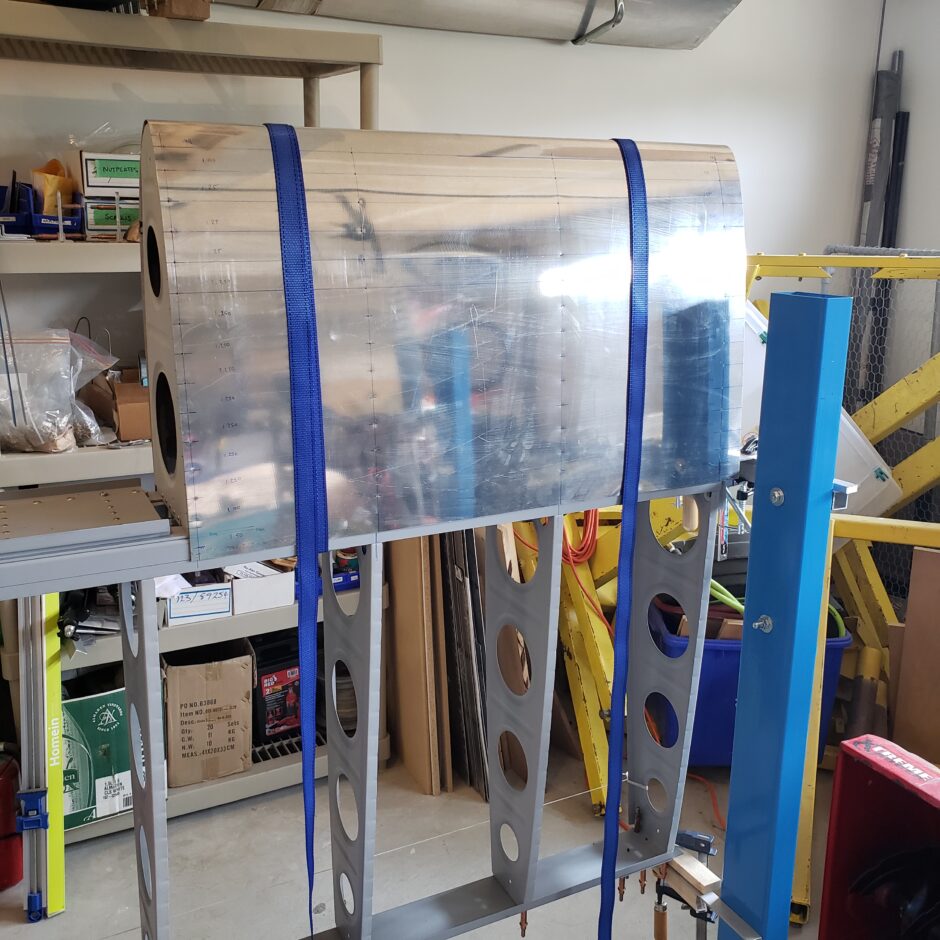
Here are some additional pictures of the fixed leading edges with the drilling completed.

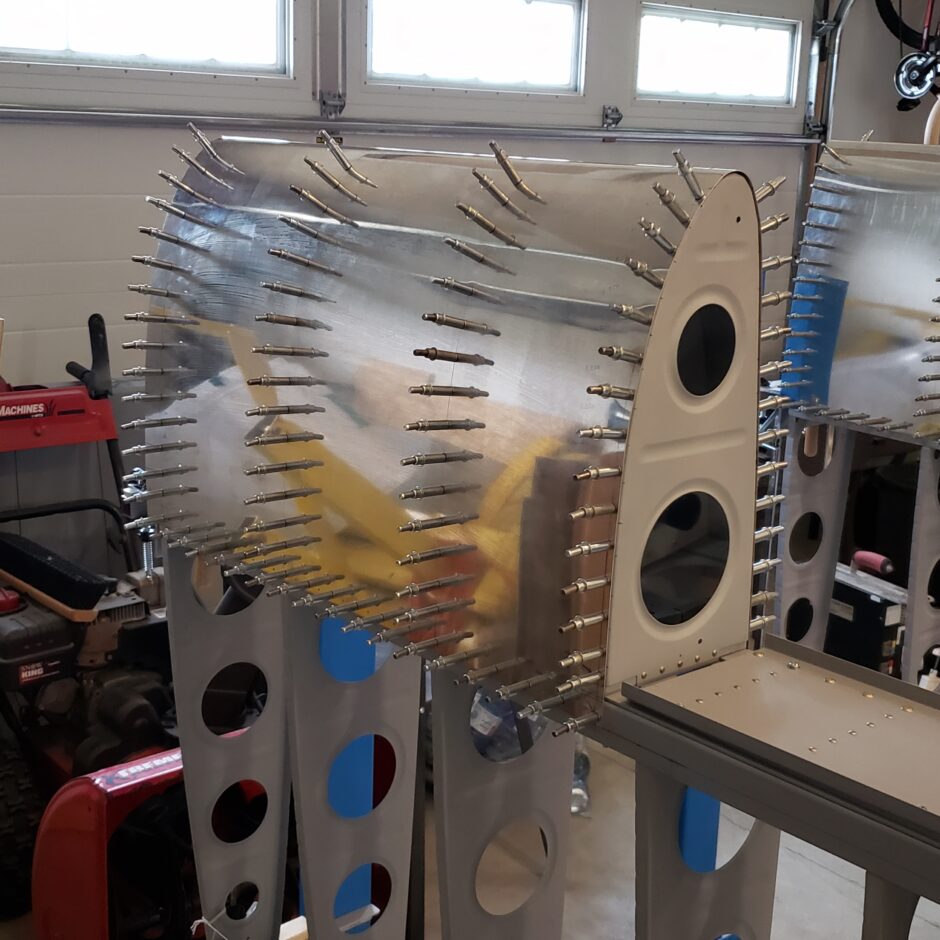

That’s all for today folks! Please comment. I love to hear from my readers. Thanks again for coming along for this ride, you make my work worthwhile.
Leave a Reply