Moving on with getting these leading edges finished, the next step to do is adding the screw strips that join the fixed leading edges to the fuel tank skins. These strips came pre-cut with my RV-4 wing kit, however the dimension shown in the plans (and the size my strips were cut to) just didn’t seem to work, as they were too short.
I started by lining up the edge of the strip to match the edge of the rib flange. I figure that if the edge of the strip is lined up at this point, edge distance will work out to match the corresponding rib flange rivet hole.
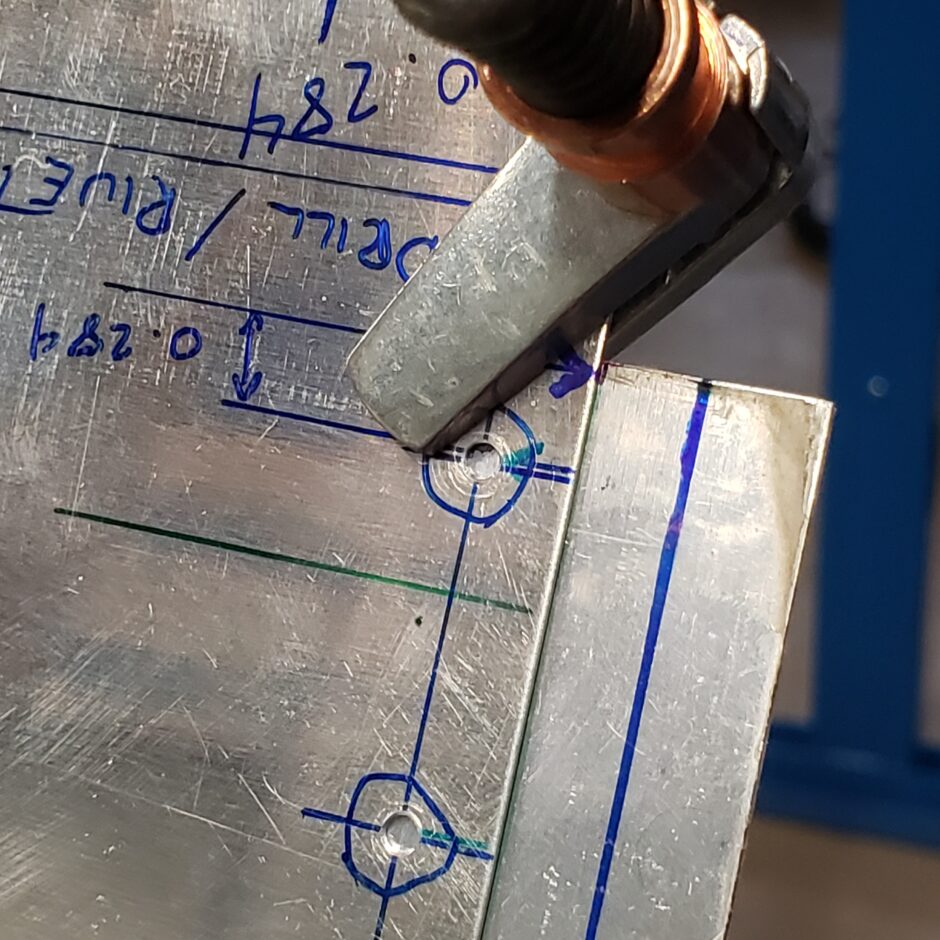
Here is another angle for planning your layout. You can see where I marked the arrow to indicate the edge of the rib flange.

With identifying a good starting point for this screw strip, I then used a bunch of cleco clamps to work my way around to hold the strip in place. When I got to the other end, it was obvious the standard dimension was a good 1/2-inch too short, as shown in the picture below. Well, it’s easy enough to cut new strips, which I did, and made them longer.
Basically, the dimension in the plans are 3/8-inch too short. The plans call for the length to be 36-inches (see more details below).

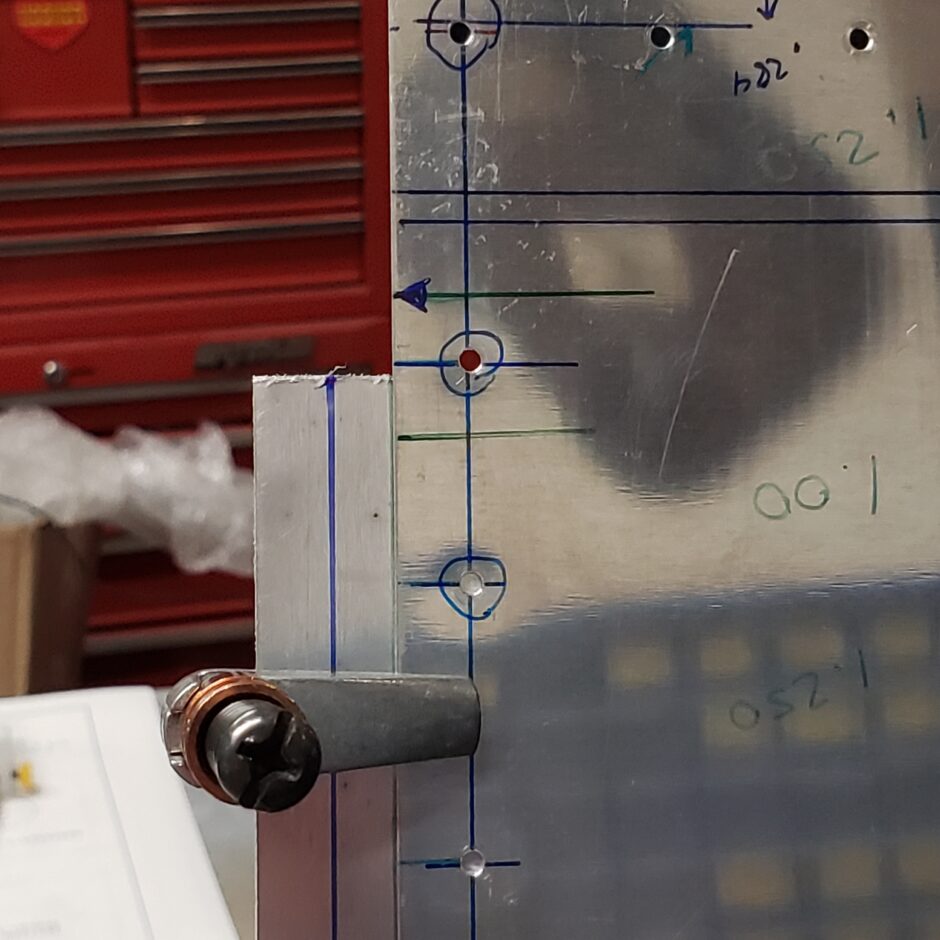
With the new strips cut and clecoed in place, it’s easy to then match drill the pilot holes along the edge to the screw strip.

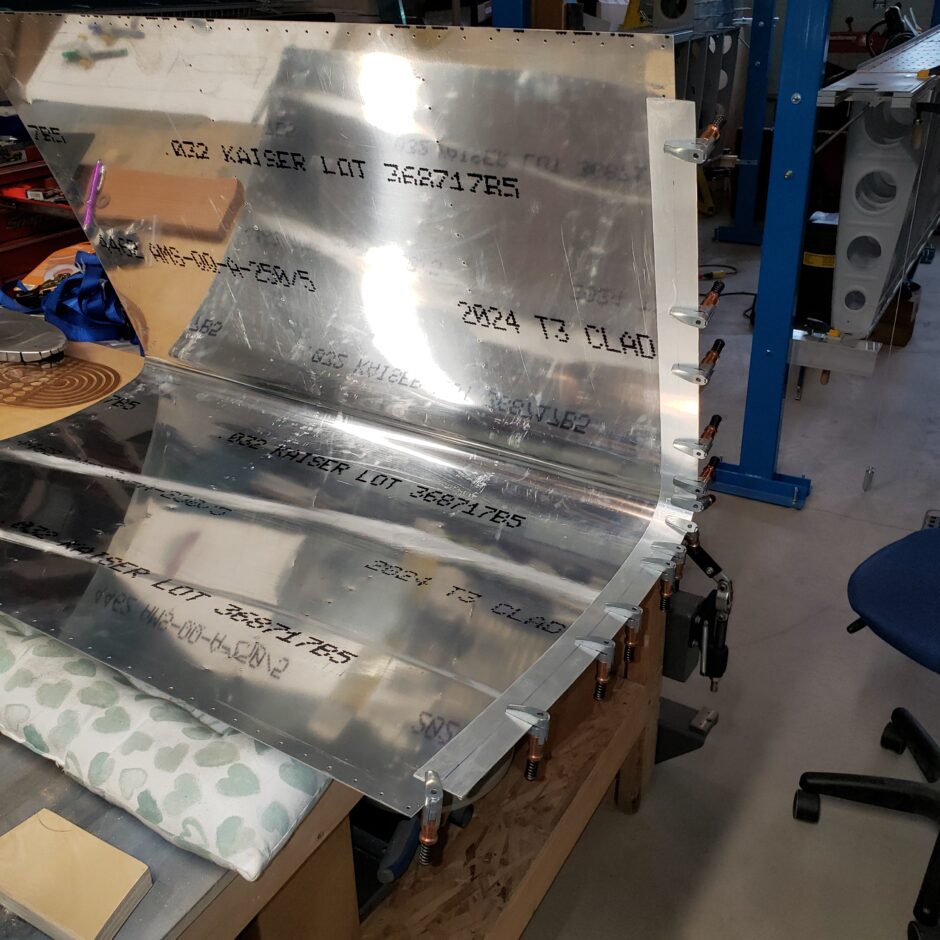
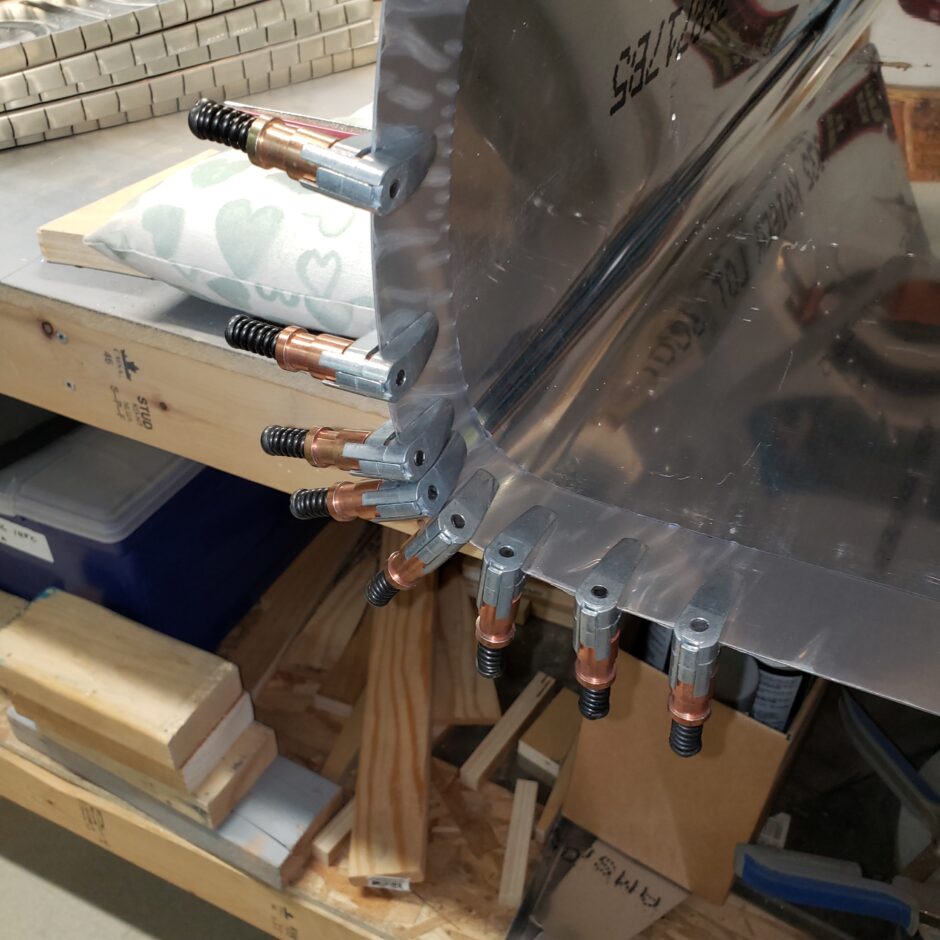
Here’s a shot of the inside radius, you’ll definitely need a lot of clamps here to get the strip into the leading edge bend.
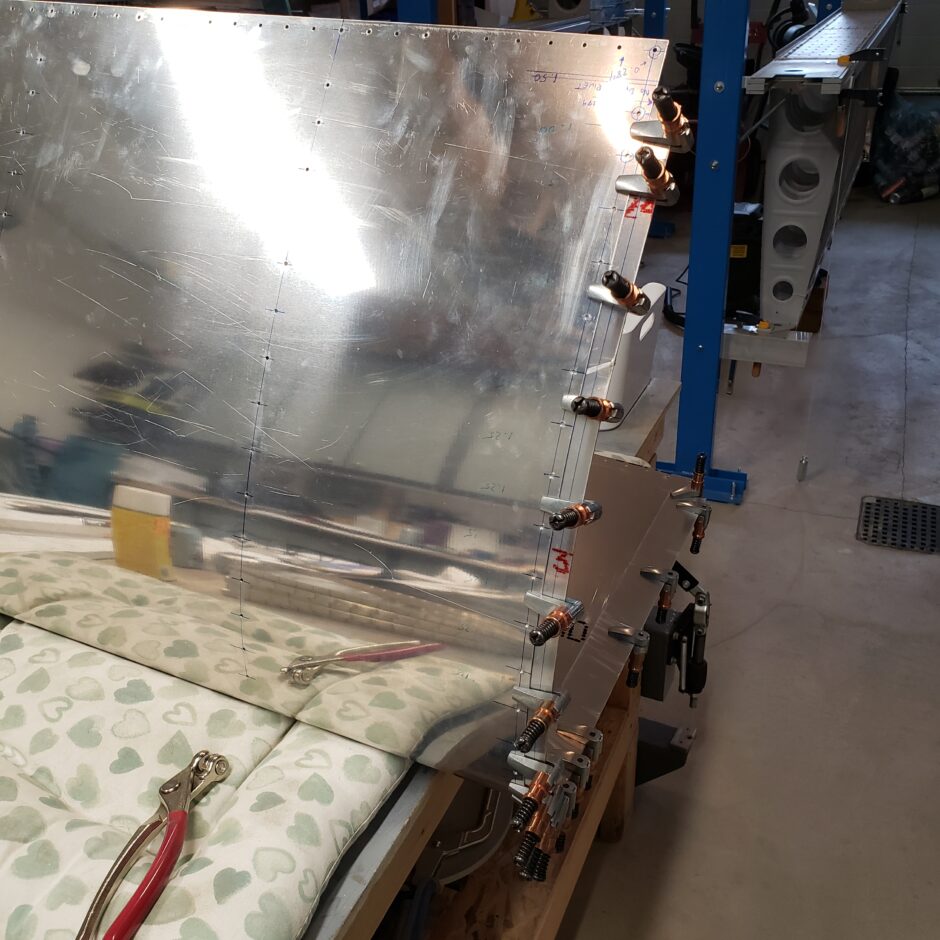
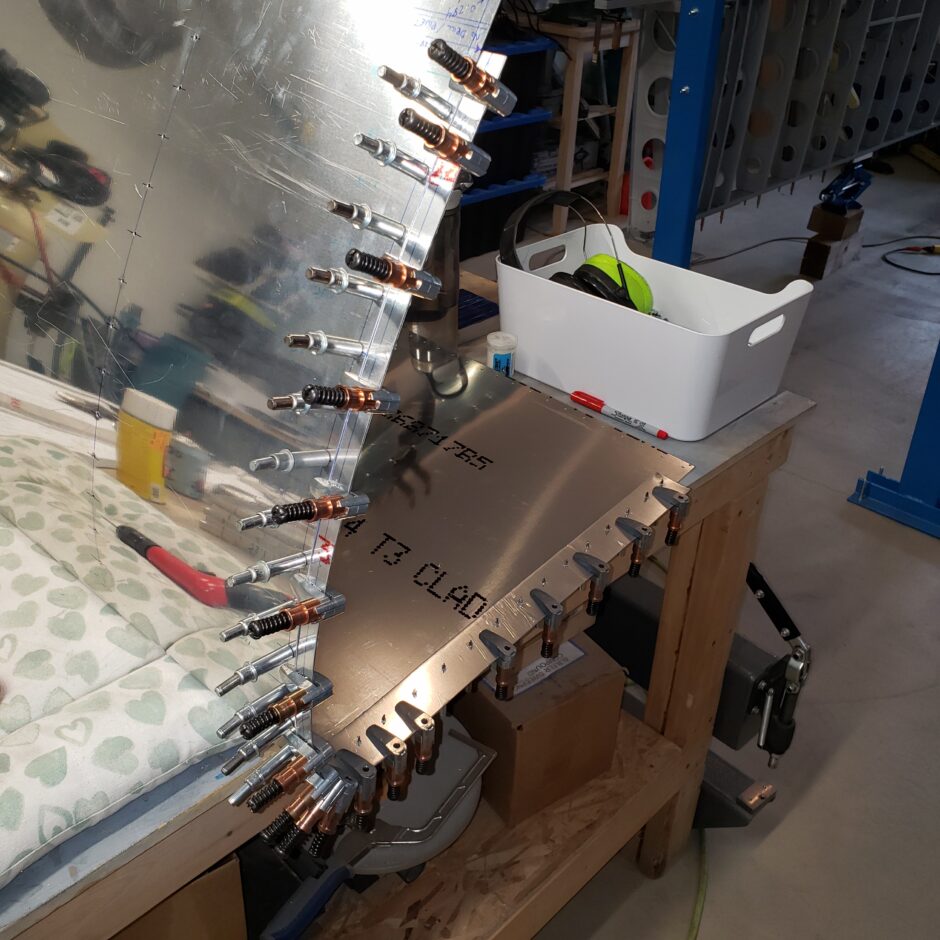
Here’s a shot of the outside after it’s all been drilled.
Below is an excerpt from the plans. As the plans are drawn full size in this area, I used it to help me determine the dimensions required for the strips and their placement. Again, I have a note here about the length being to short.

Once I had the strips match-drilled to the skin, installing the skin on the wings (with the strip) was an easy process. I’m really happy with how this turned out.


That’s all for today folks! Please comment. I love to hear from my readers. Thanks again for coming along for this ride, you make my work worthwhile.
Leave a Reply