Good day, today I’m working on the fuel tank stiffeners and finishing up the fuel tank forward root rib bracket.
I began with laying out all of the lower fuel tank skin stiffeners from the AA3 stock that came with the RV-4 wing kit. However, as I’m building the large 55 USG extended range tanks, I needed to order a few extra lengths of this angle to have enough for both tanks.
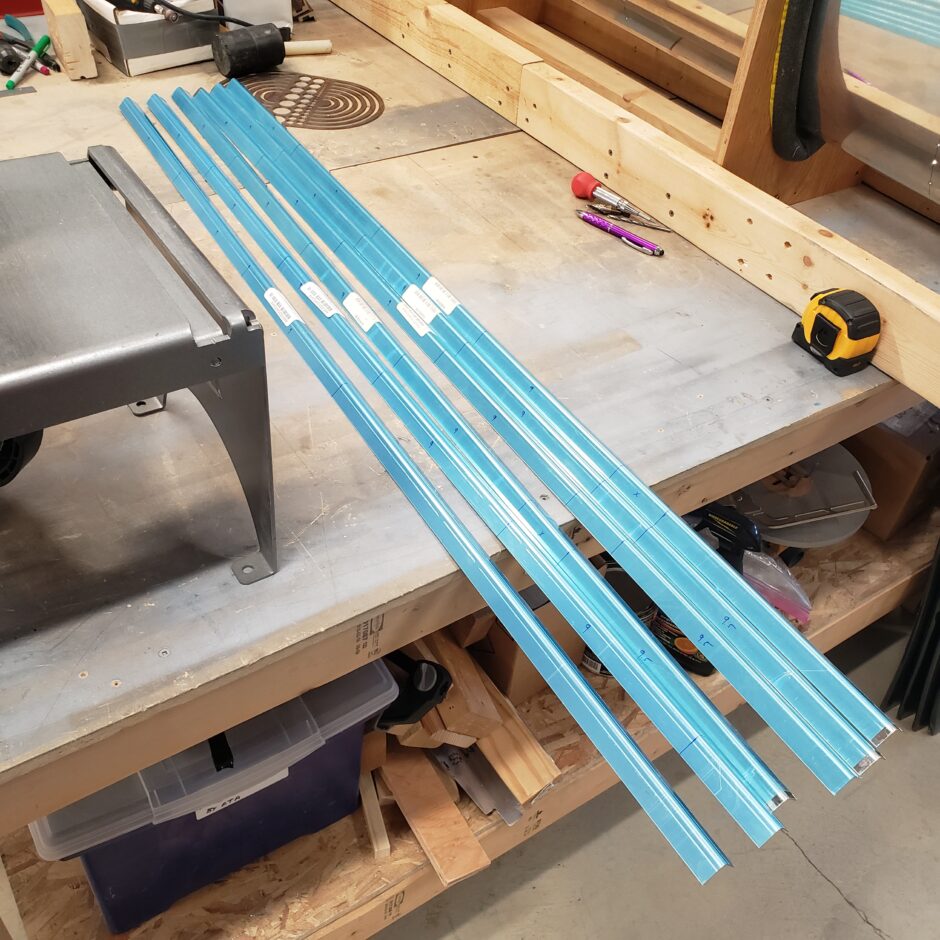
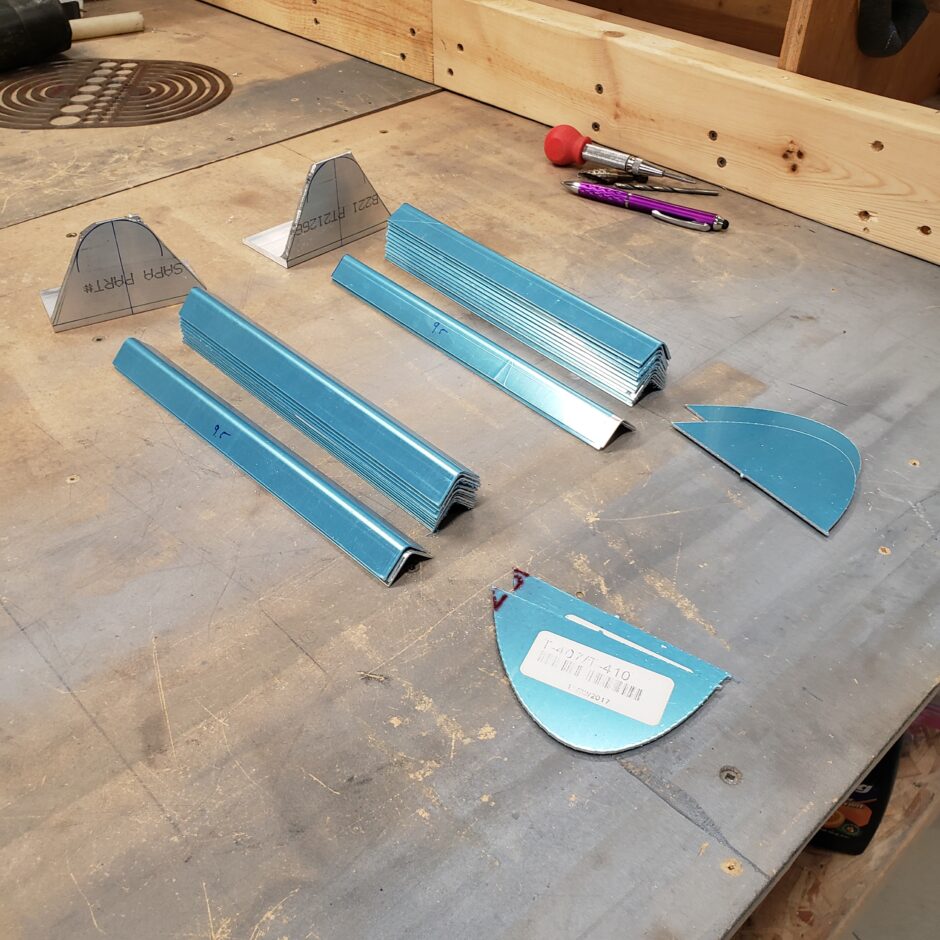
With all of the stiffeners cut to length, I moved on to finishing the forward root rib support bracket (T-405). I previously cut the one side of the flange to the rough size. Now I need to cut the other flange, the part that attaches to the rib. This part needs to be match the shape of the leading edge of the rib, so I used the T-410 nose reinforcement plate as a shaping template.

As you can see in the picture below the T-410 plate is larger than the bracket flange, so there will be a little bit of overhang on the aft side.
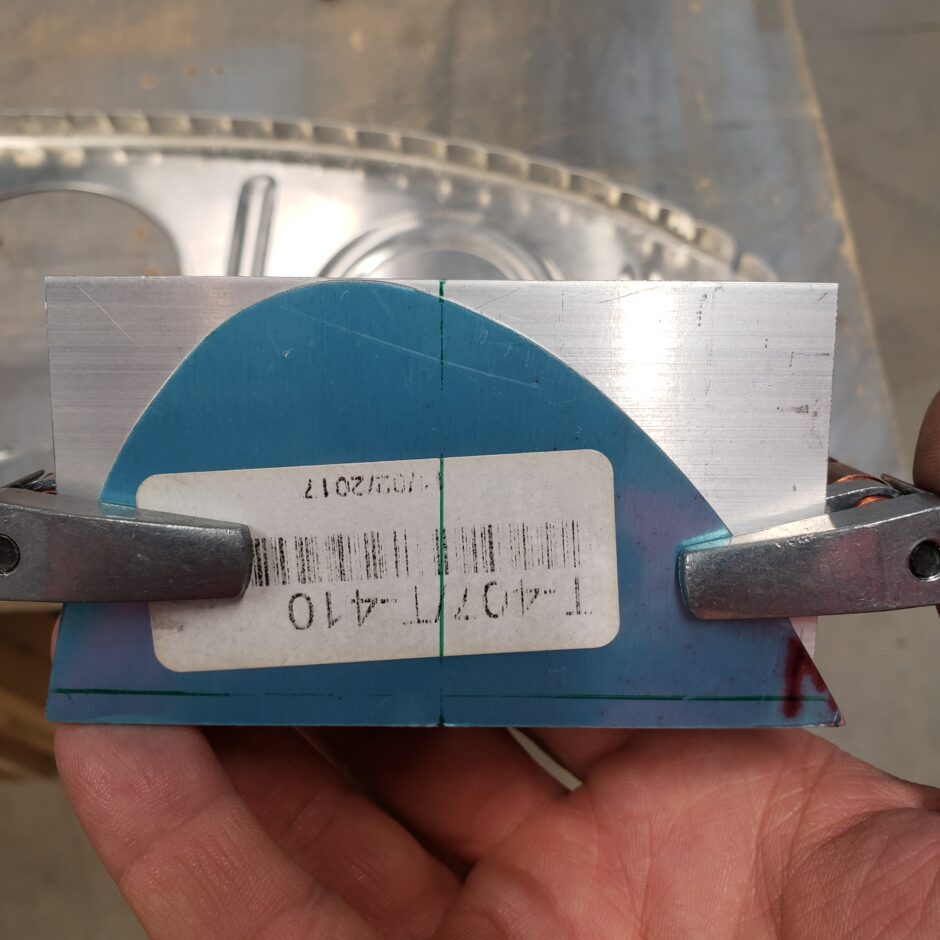
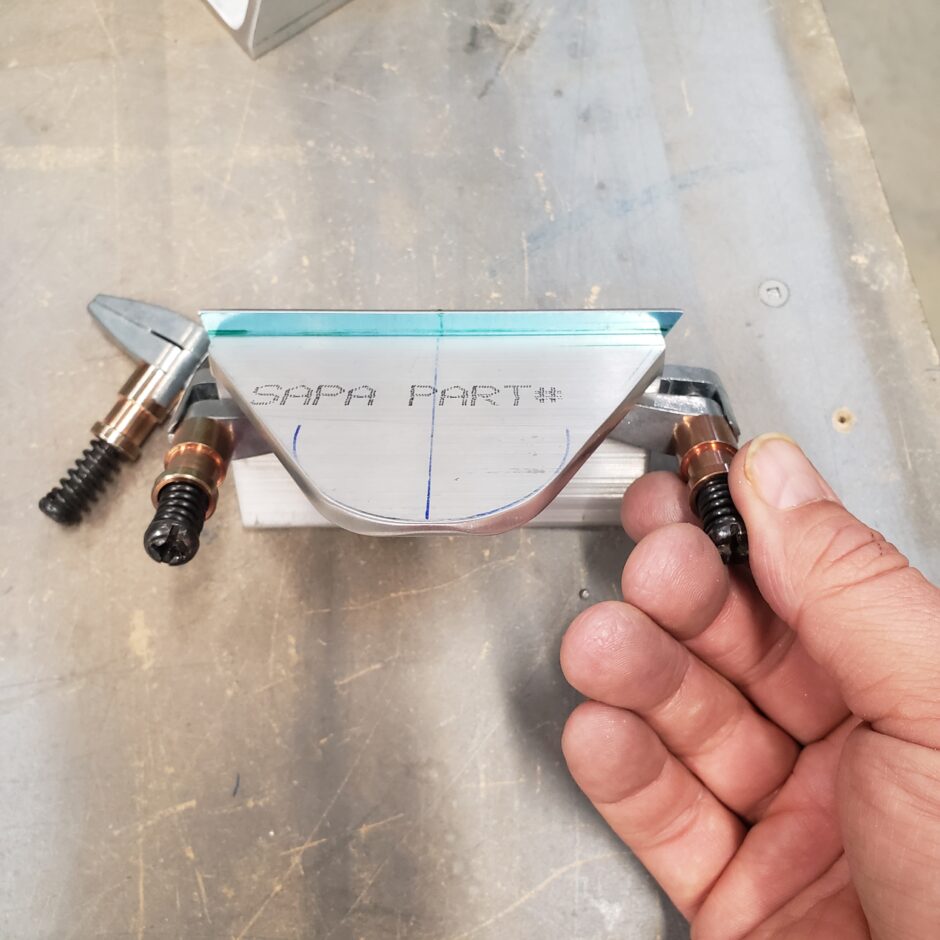
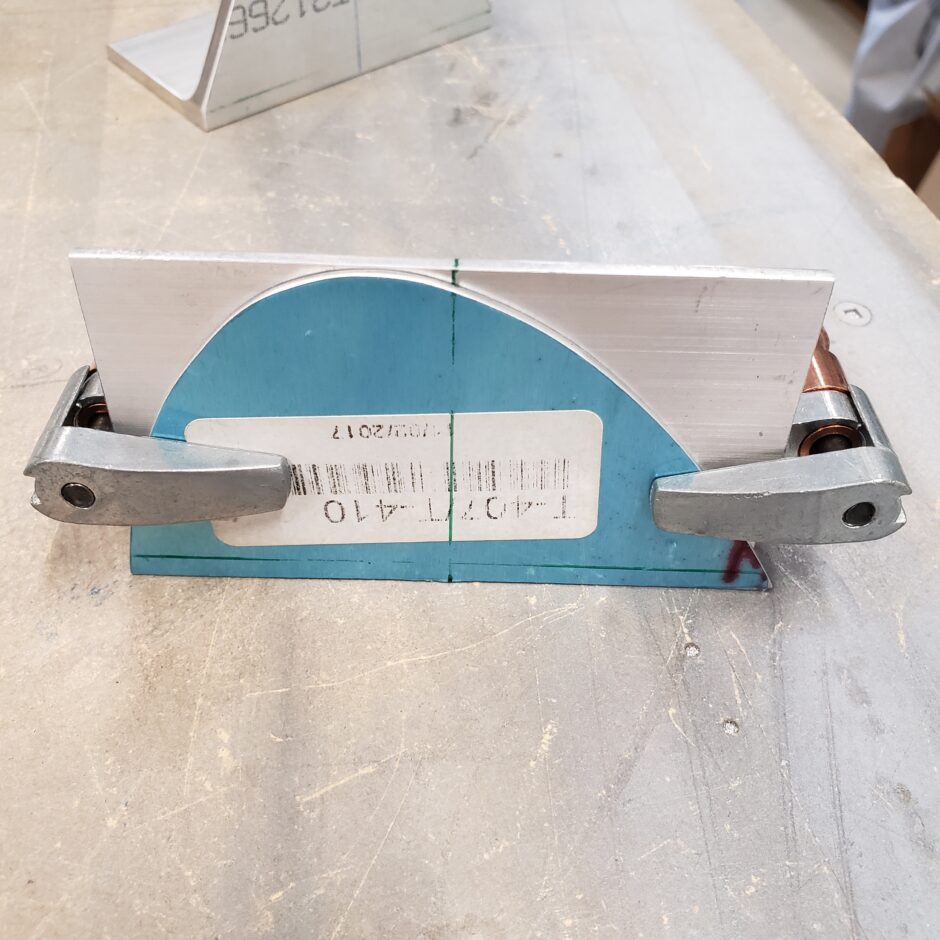

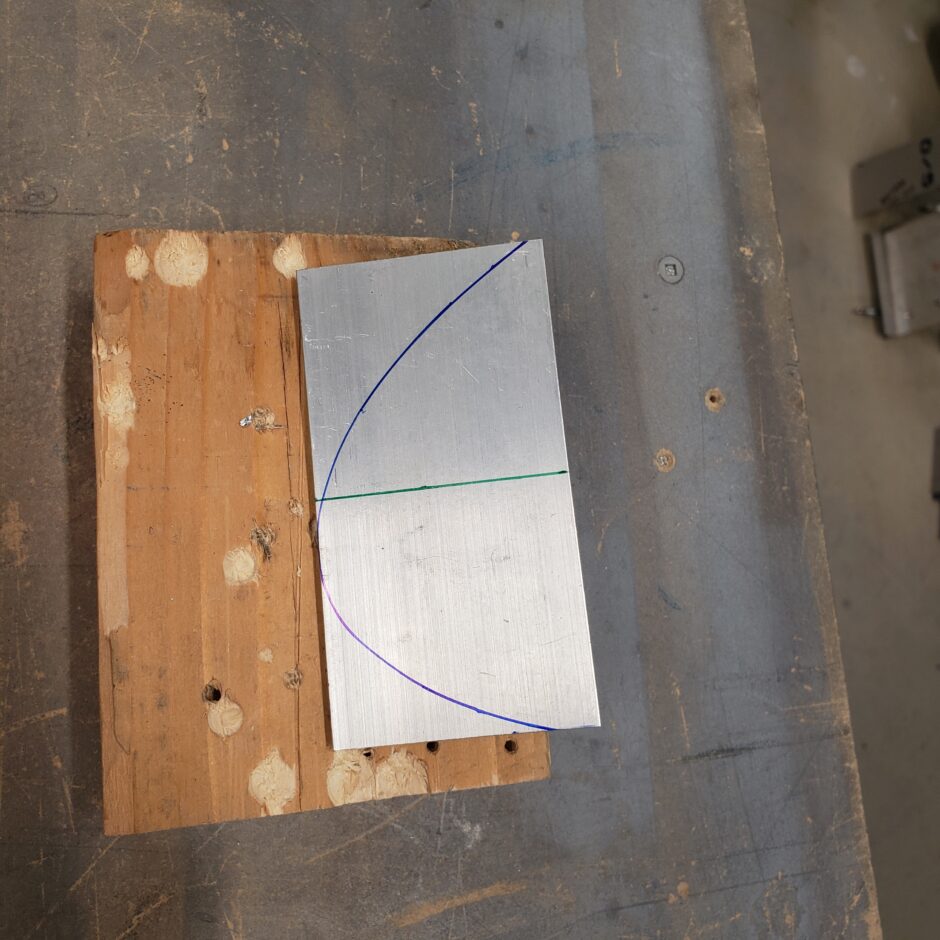
The template worked well. After cutting the shape of the flange, the initial fitting of the bracket is really good.
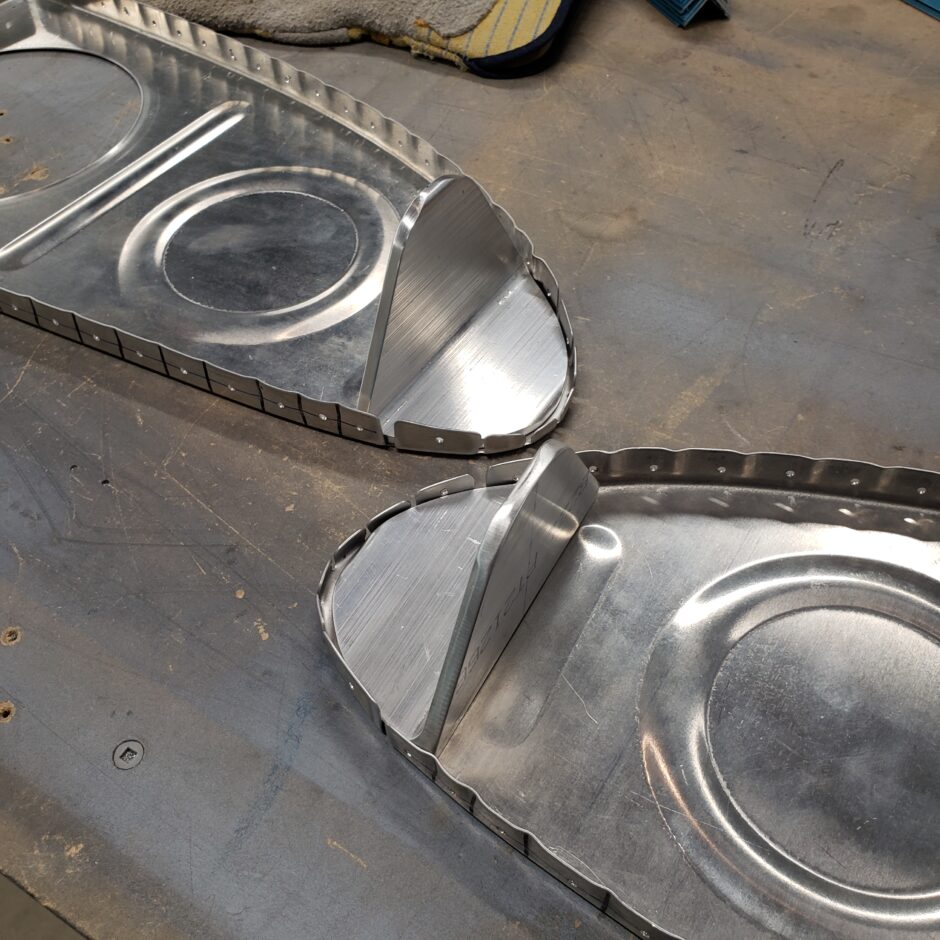
Next I laid out the rivet pattern and drilled the holes on the drill press to ensure they were nice and straight. Also note, that if you’re using flop tubes or standard fuel pickup lines, the hole layout will be different as the flop tube AN fitting needs to go through this bracket. The one pictured below is not the flop tube bracket.

The next task was moving on to making the root rib tank access plates. As I’m using the fuel capacitance sender system, I’m not using the T-408 tanks access plates that were supplied with the kit, as they have a big fuel sender probe hole. I ended up making a new blank plate out of some scrap 0.063 I had.
Using the old T-408 plate as a template, I was able to drill all of the fastener holes, and on the right side, the hole for the fixed fuel pickup line. I left this hole blank on the plate for the left tank, as that side will have the flop tube installed for aerobatic flight.
As you can see in the picture below, I was able to cut the blanks as close as I could on the foot shear, but I still needed to round off the corners.
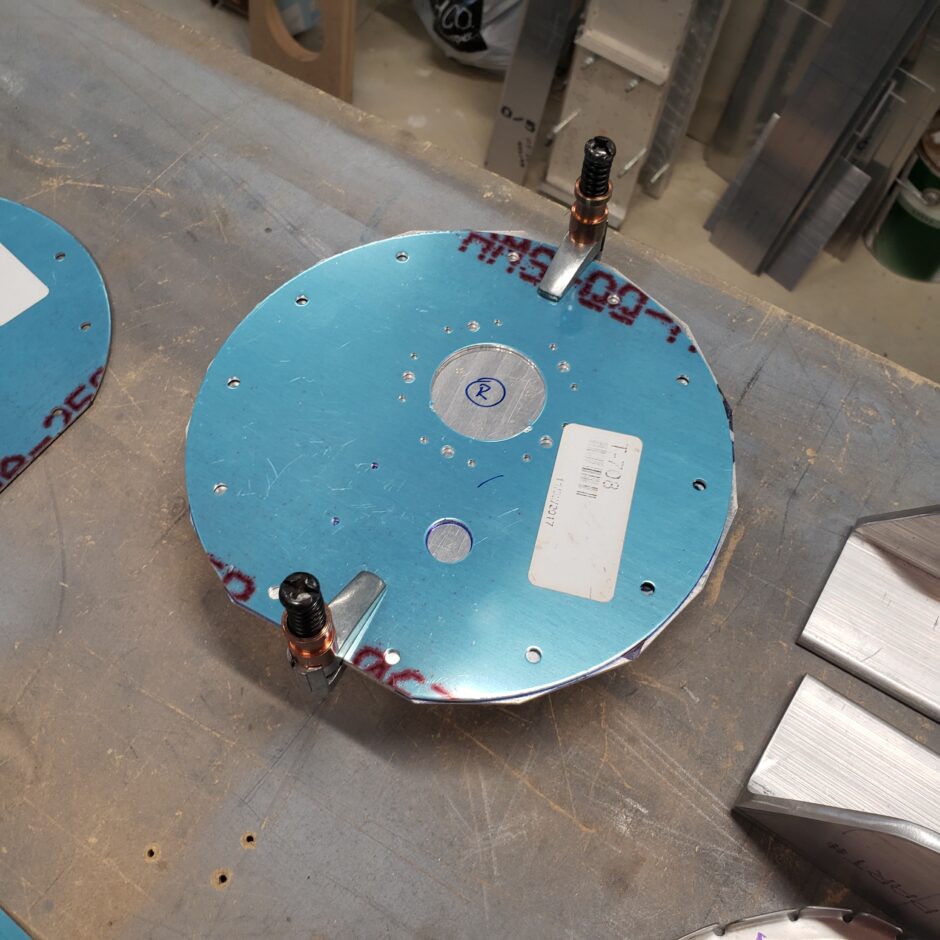
Here’s the plate after a little shaping on the scotchbrite wheel.
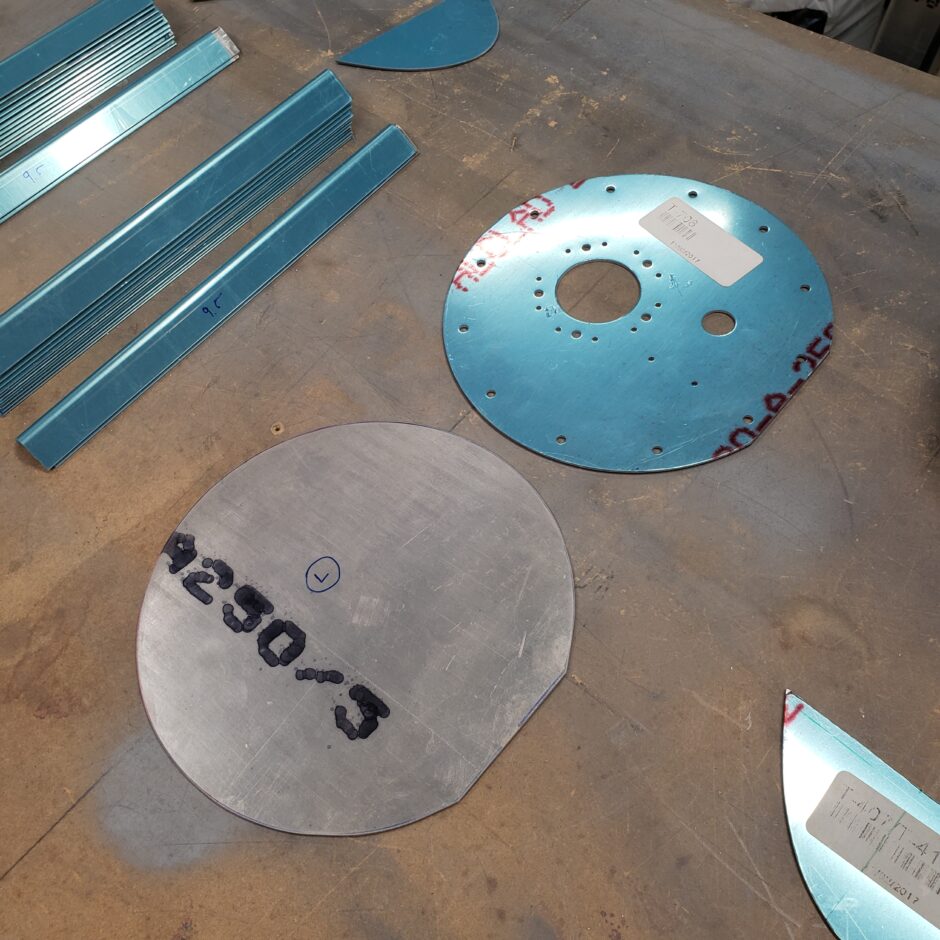
Drilling the plate is pretty easy. I just clamped it well and used a transfer punch to align the holes. When drilling I stated out small (#40) and then worked by way up to the #18 hole for the #8 screws.

OK, now getting back to the fuel tank skin stiffeners, I started by angling the vertical flats to remove some excess material. Again, this is a very tedious job.
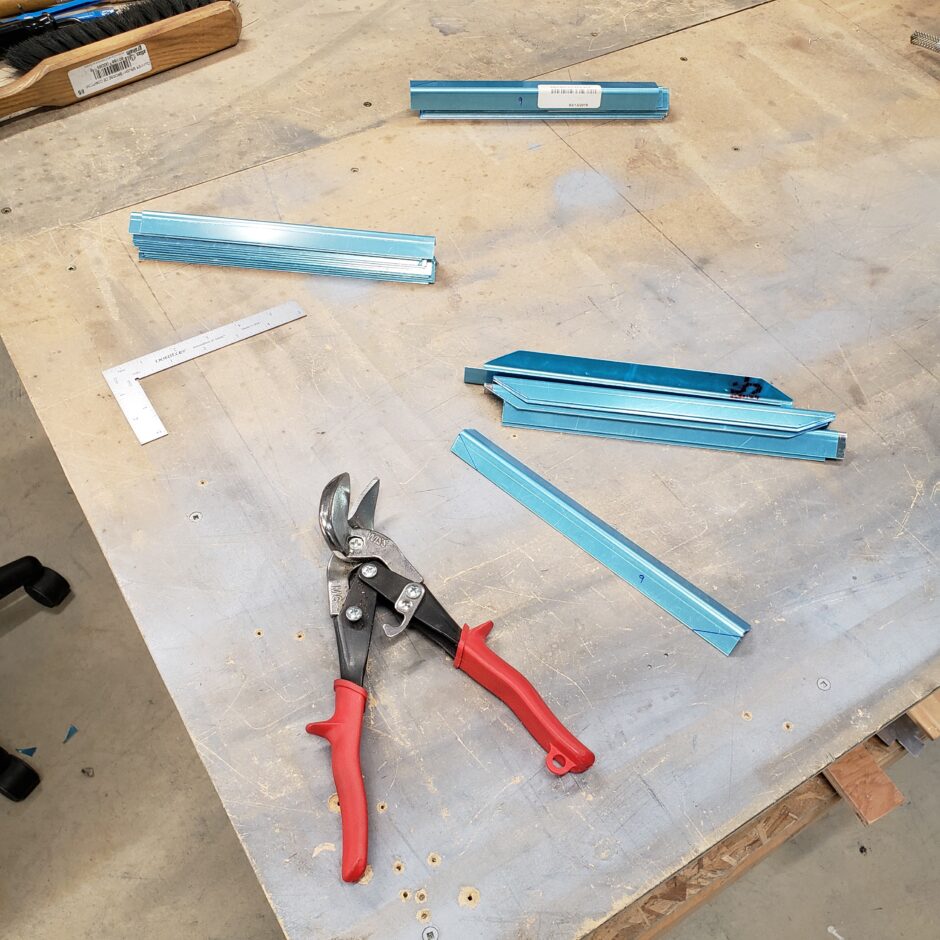
With all the parts trimmed, I then marked out the appropriate edge distance on either end. Drilled the end holes and used the rivet spacing fan to determine the appropriate rivet spacing.
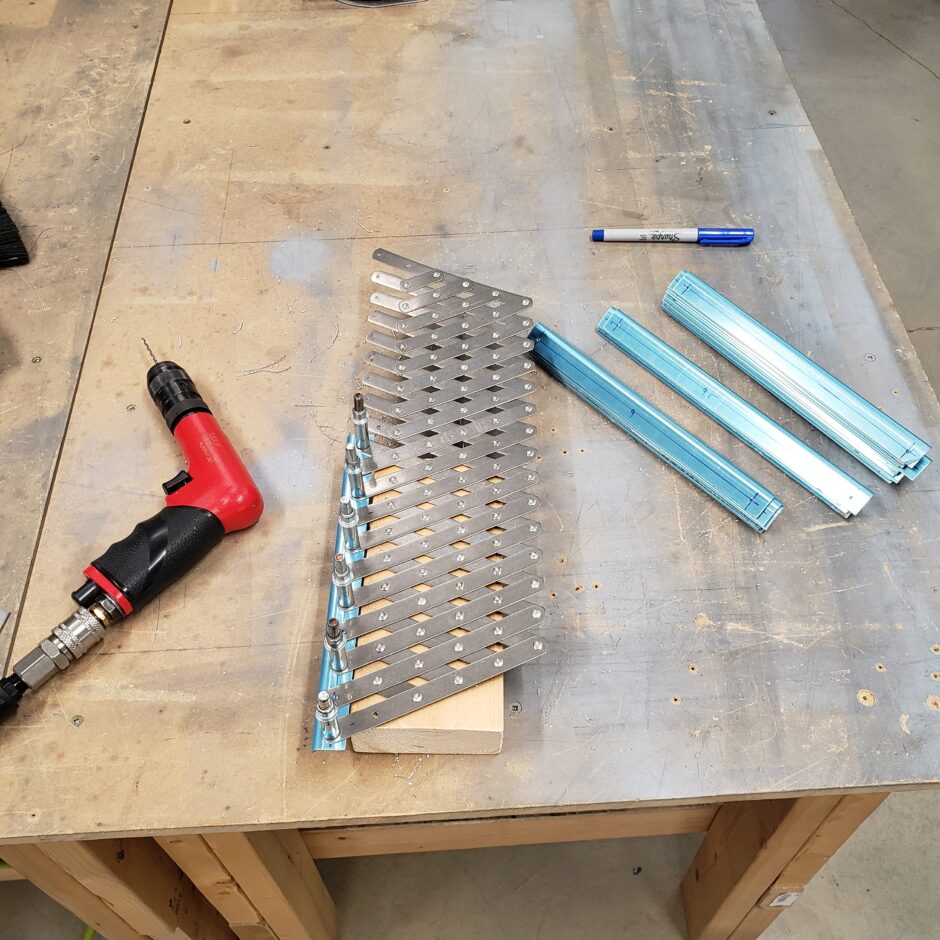

With all the stiffeners cut and drilled, it was time to get them alighted and drilled to the skin.

I did this by marking the center of each stiffener, and the center of the fuel tank bay. Then aligned the centerlines, aligned the stiffener with the spanwise location lines and then drilled away.
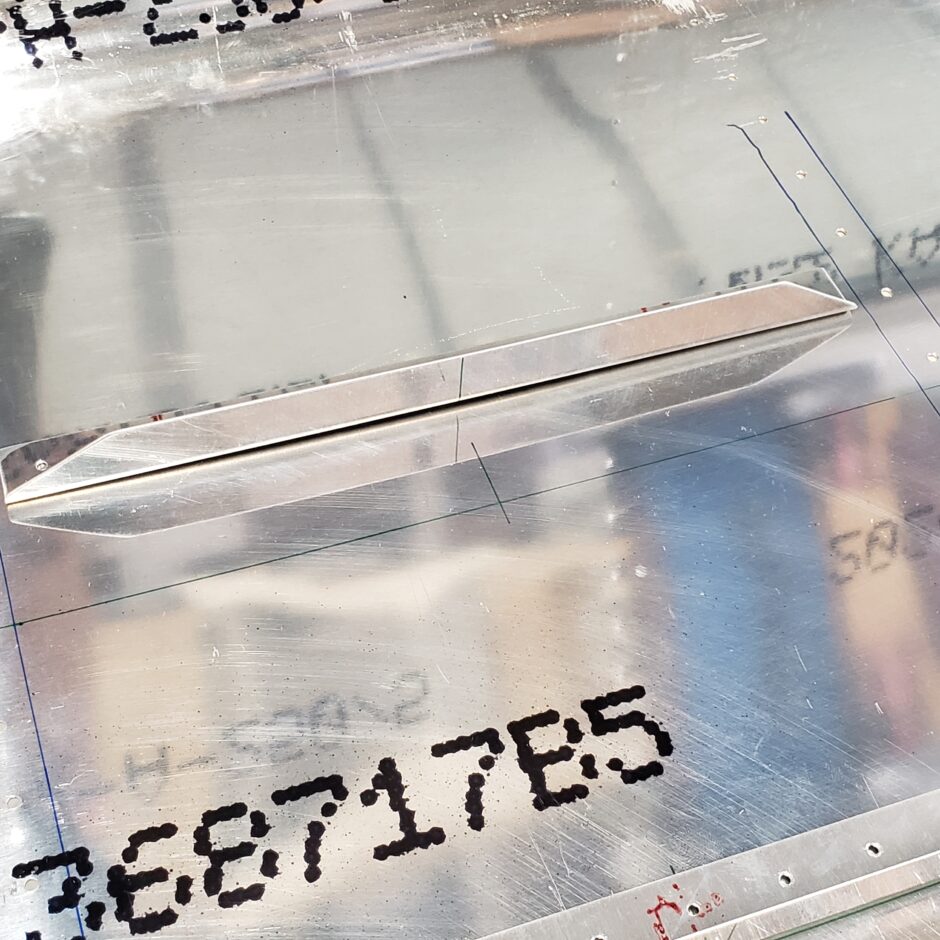
And here they are! Wow…again, that’s a lot of drilling!!!

That’s all for today folks! Please comment. I love to hear from my readers. Thanks again for coming along for this ride, you make my work worthwhile.
Leave a Reply