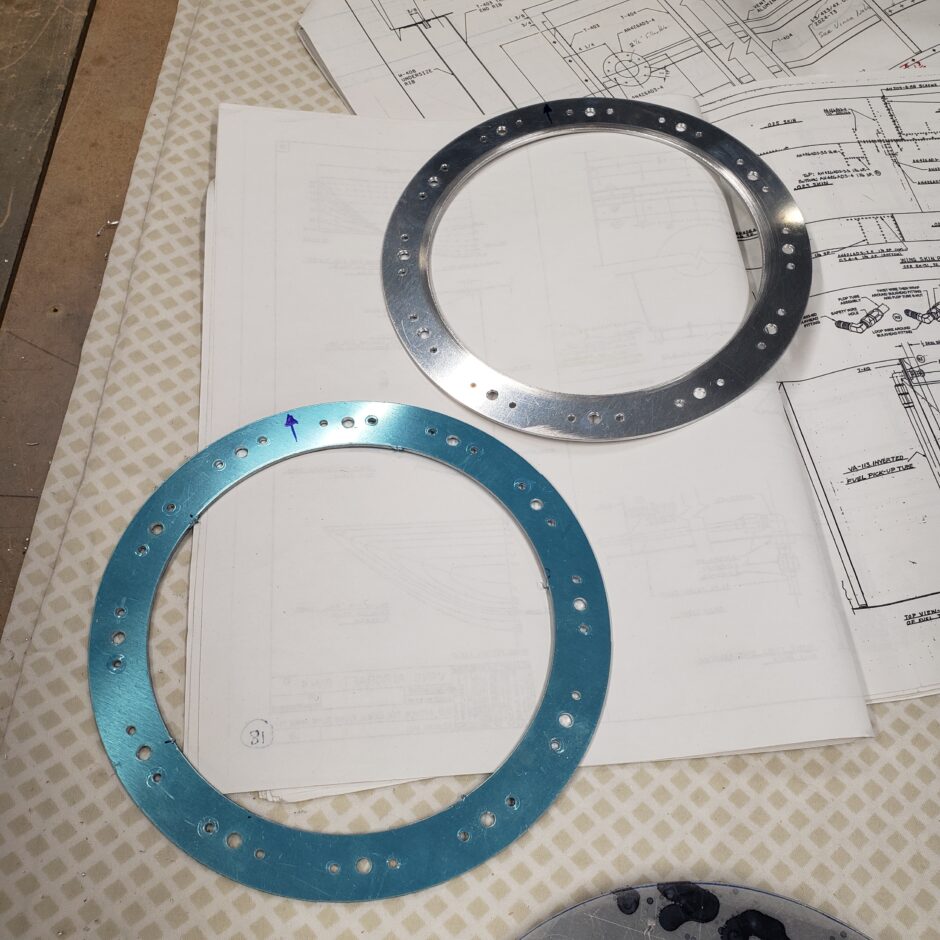
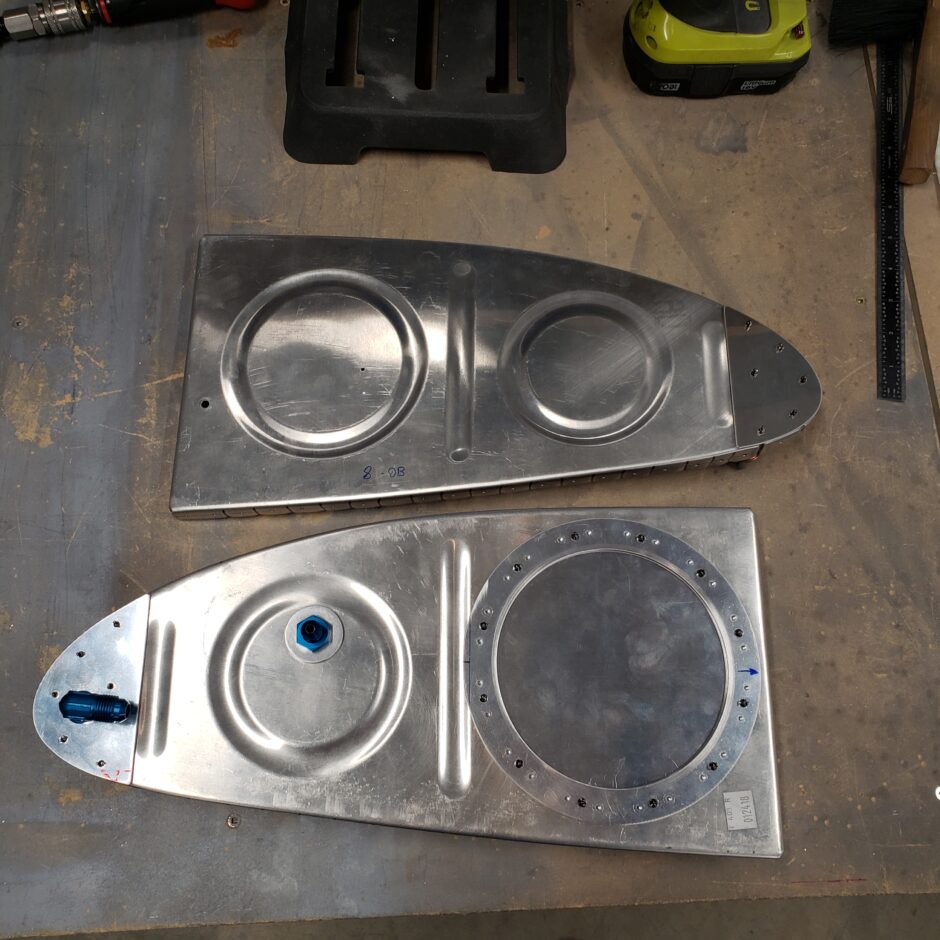
Good day, today I’m going to be continuing with working on the fuel tank root rib. I starting off with finishing up the T-407 reinforcing rings that I made, using the RV-4 supplied parts as a template. I made a bunch of these rings because I need a total 14 of these as I need them also for the fuel tank rear baffle access panels.
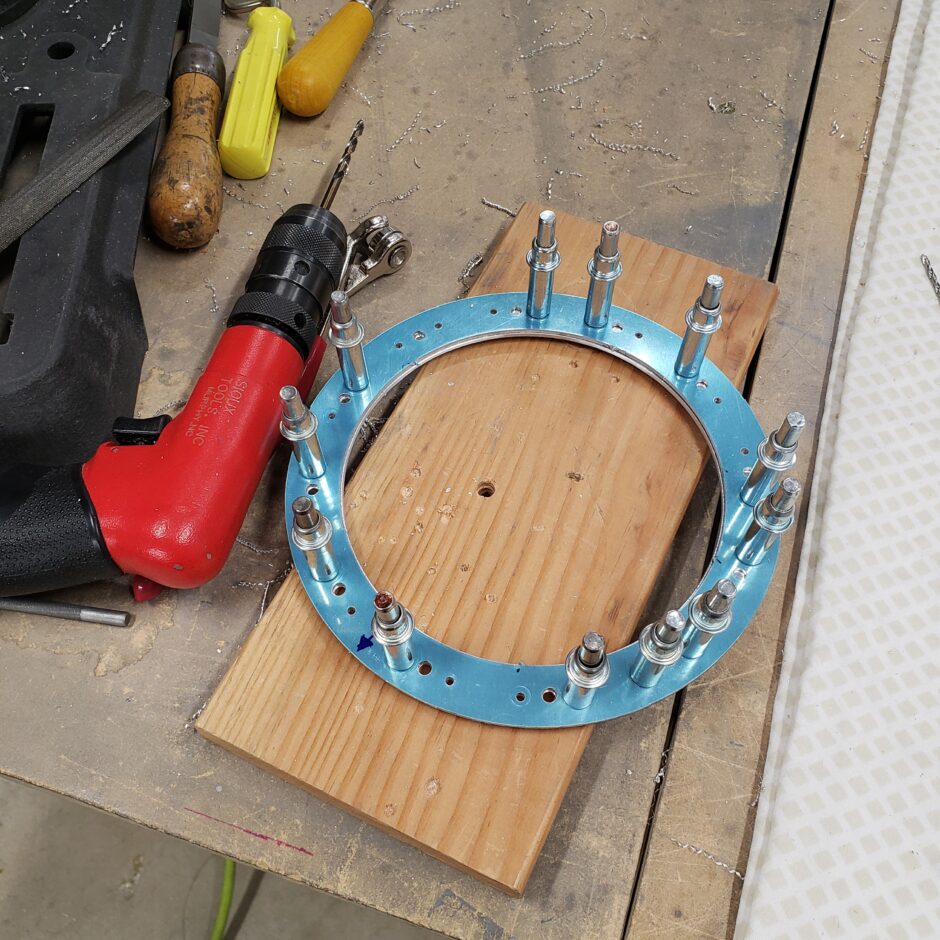
I’m really happy for how these turned out!
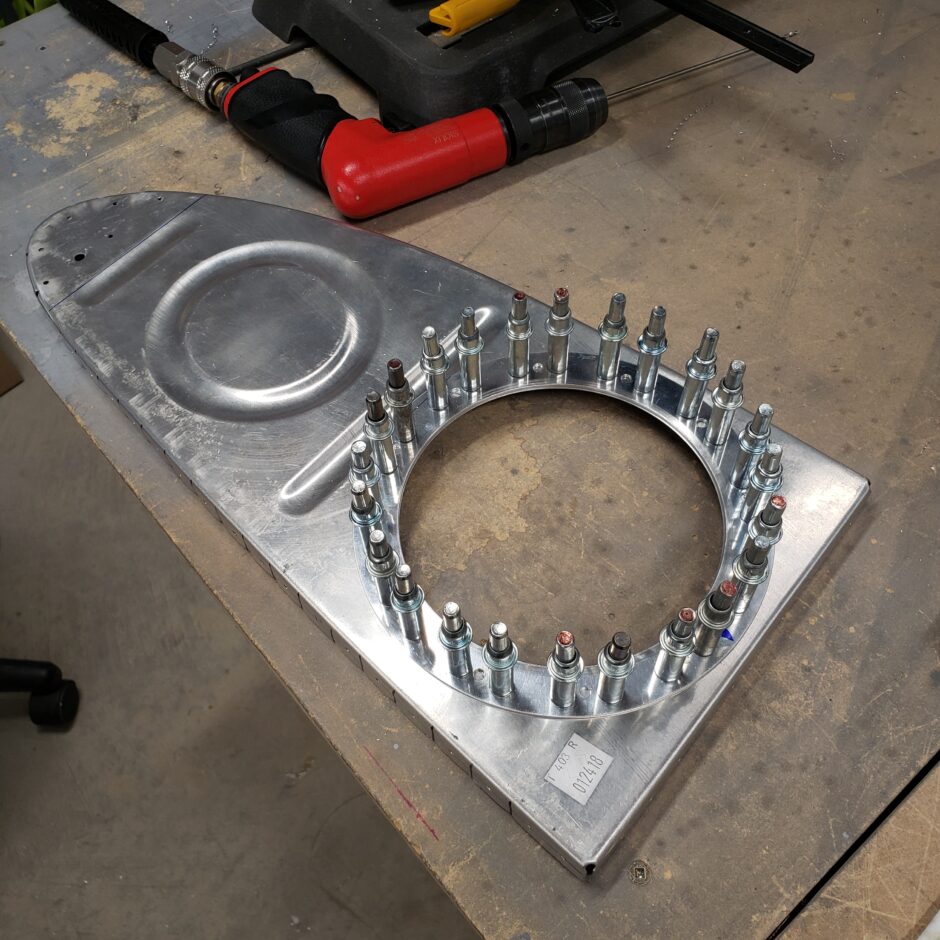
With the rings made, I started by getting them located in the proper orientation. This is important because the T-408 access plate has a flat edge on it, so you want to make sure it is properly aligned.
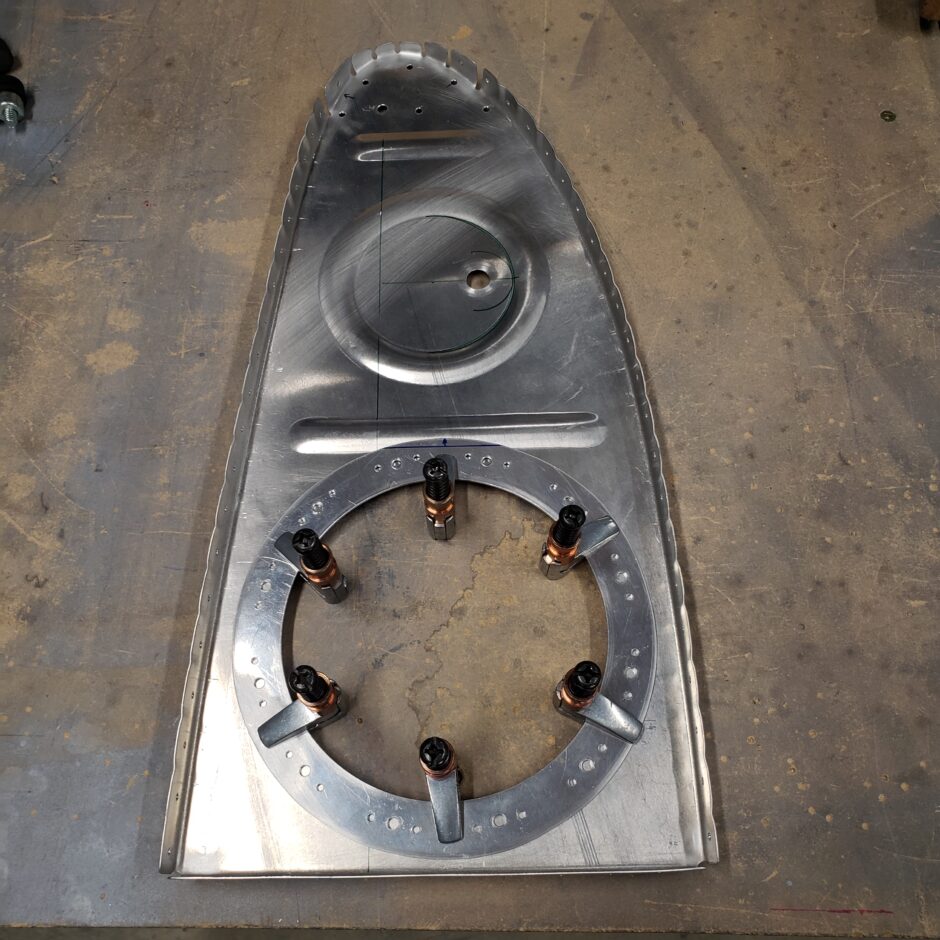
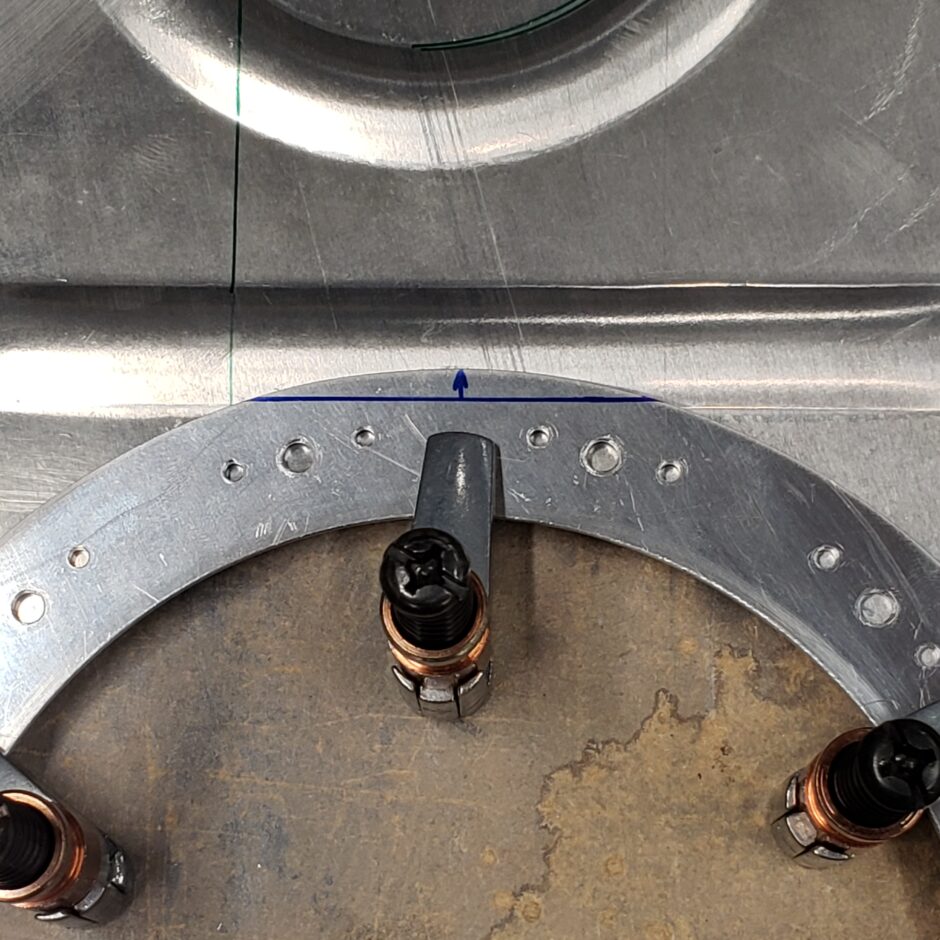
Here’s a closer shot of how I aligned the rings. What isn’t shown is that I clamped it together with the T-408 access plate, and marked along the flat edge of the plate for where it needs to be aligned. You might also note that I’ve got the ring clamped on the outer surface of the rib. I did this because I can keep this ring in the same orientation as when it’s going to be installed on the back side, but still able to keep the alignment mark visible while I match drill.
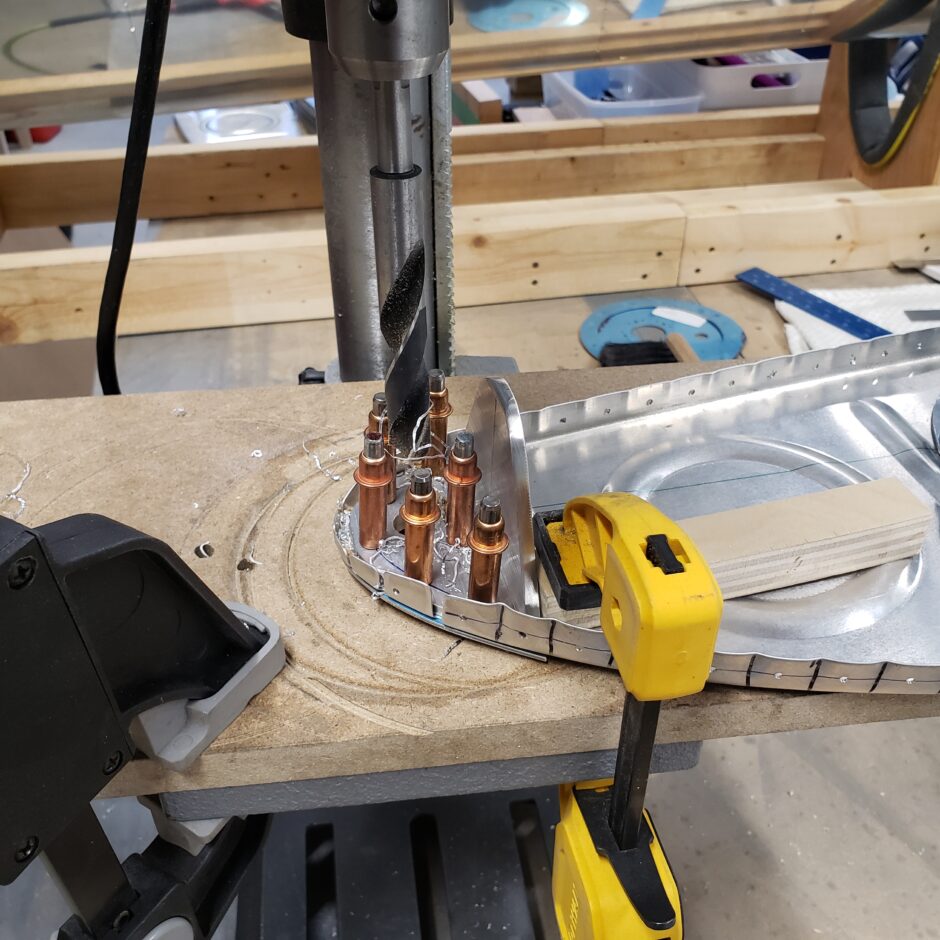
I started by drilling all of the nut plate holes.
Once all the nutplates were located, I used the transfer punch to mark and drill all of the screw holes.
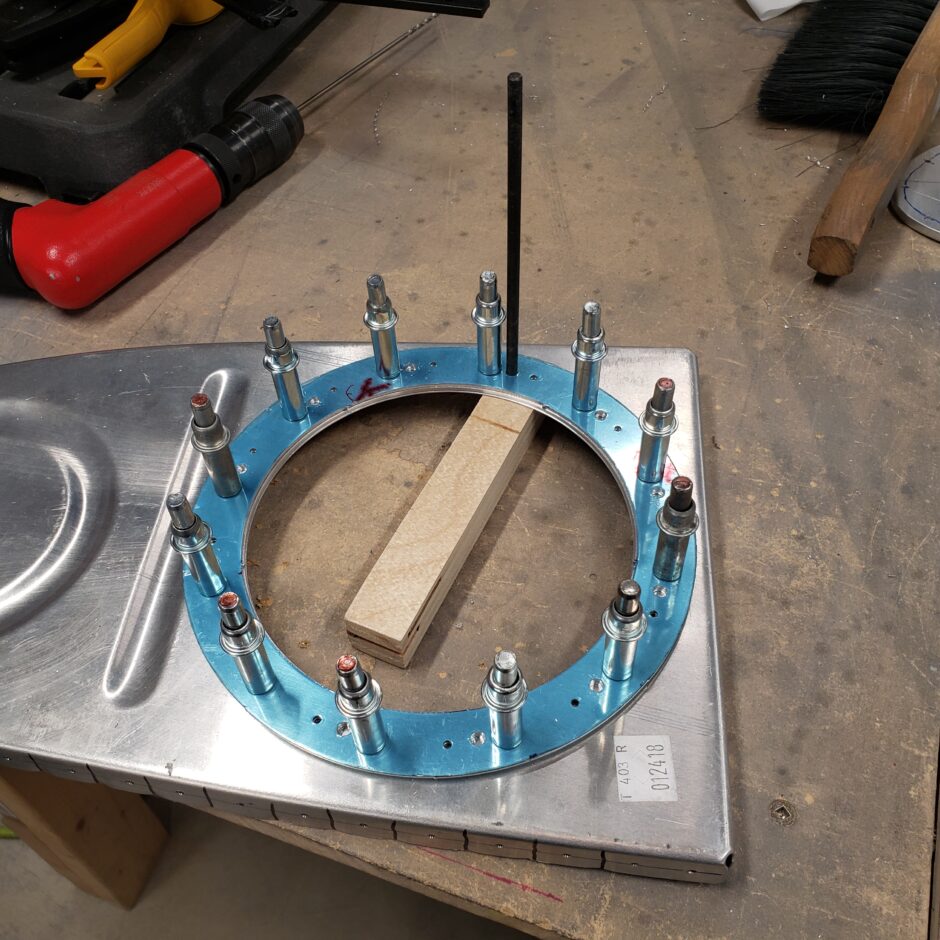
Eventually, the screw holes are all upsized for the #8 screws, the ring goes on the back side and the access plate is all drilled.
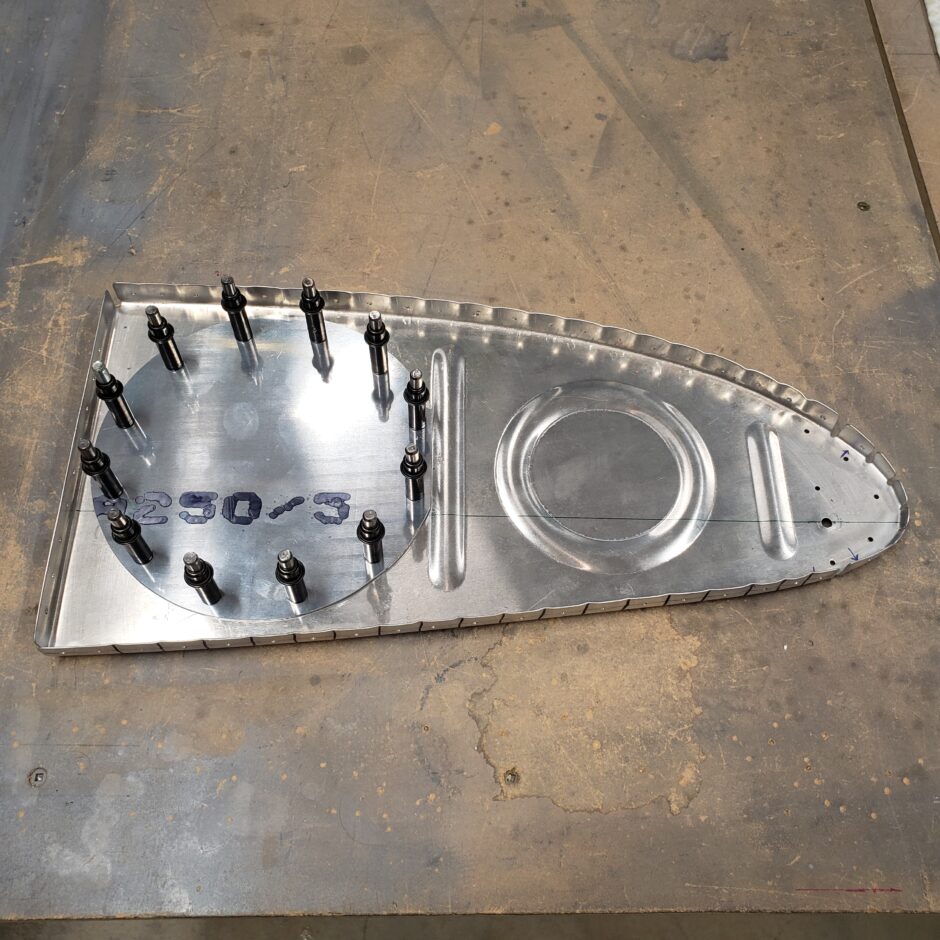
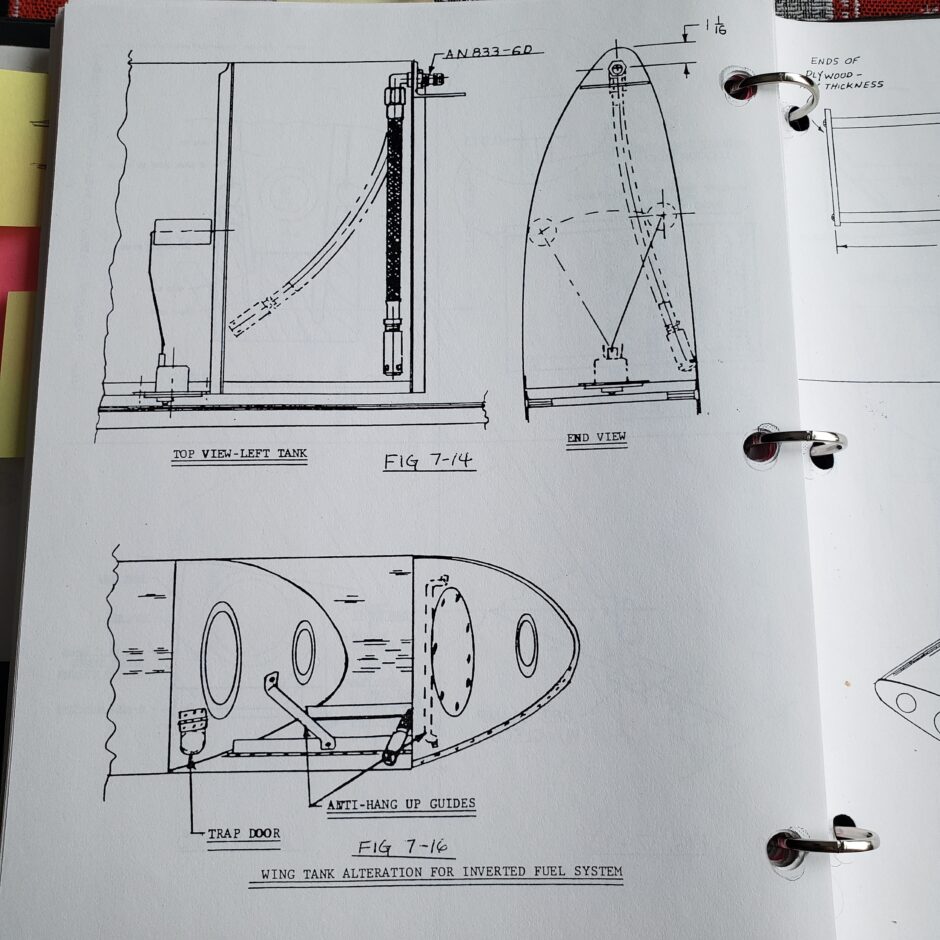
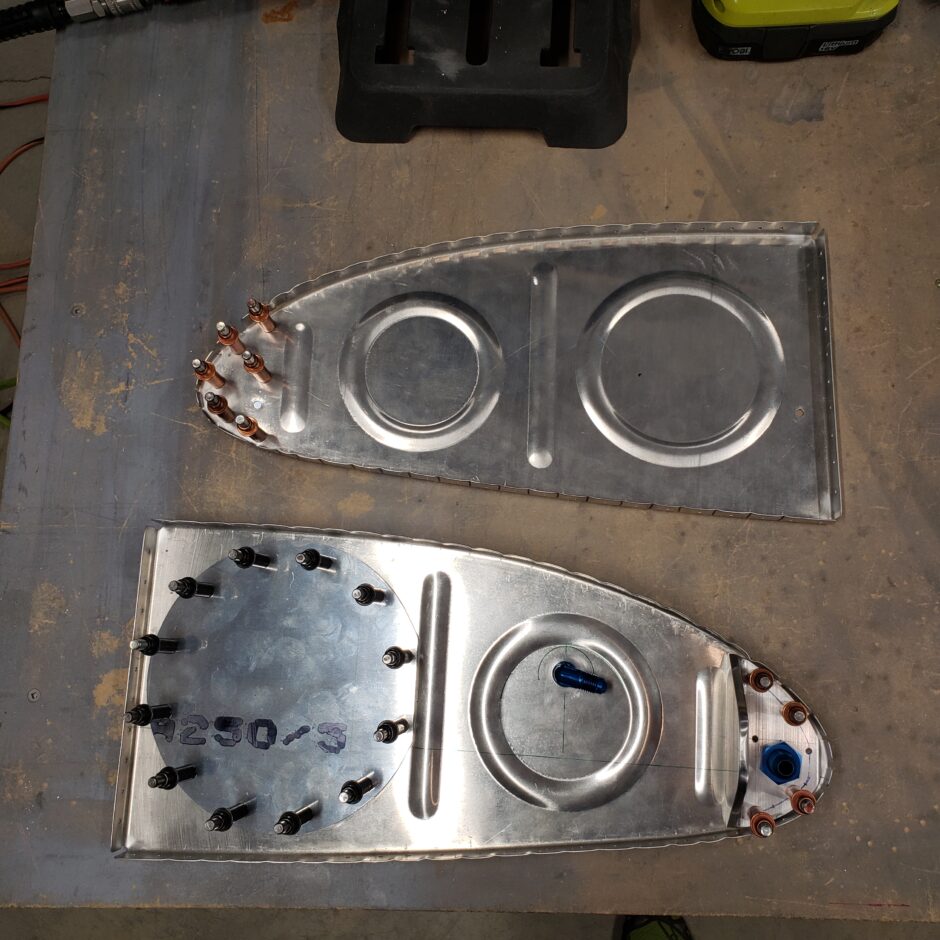
Next I drilled the T-405 tank/fuselage attach angle. I don’t think I took any pictures of the layout of the flange which was drilled to the rib, but in the pictures both above and below you can see how I did this. As you can see, this being the left tank, is going to be my aerobatic tank equipped with the flop tube. The guidance for the measurement of the placement for the AN833-6D fitting location in the forward bracket is found in the RV-4 written builder notes, on Figure 7-14 (see image below).
Here my layout for the AN833 fitting location before I drilled.
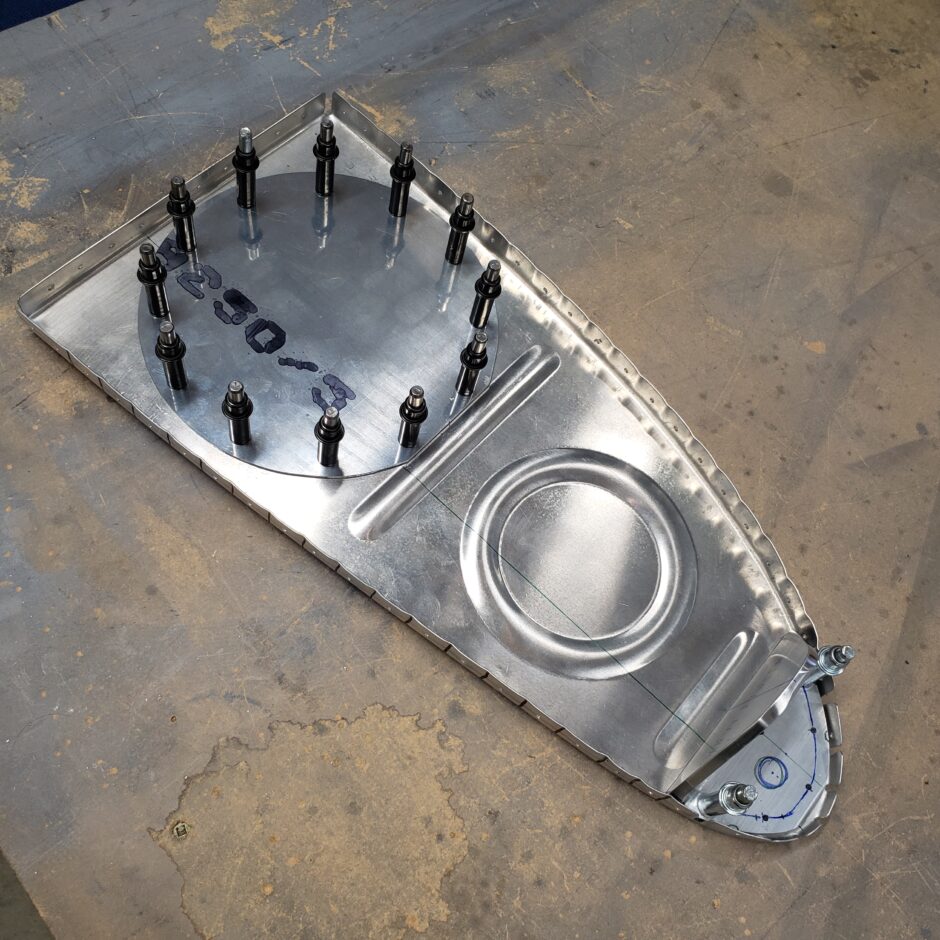
Next was to get the T-410 nose rib reinforcement plate located on the inside of the rib and match drilled to the angle bracket.
Then, with all these components stacked as an assembly, I began to drill the large hole for the flop tubes AN833-6D elbow fitting.
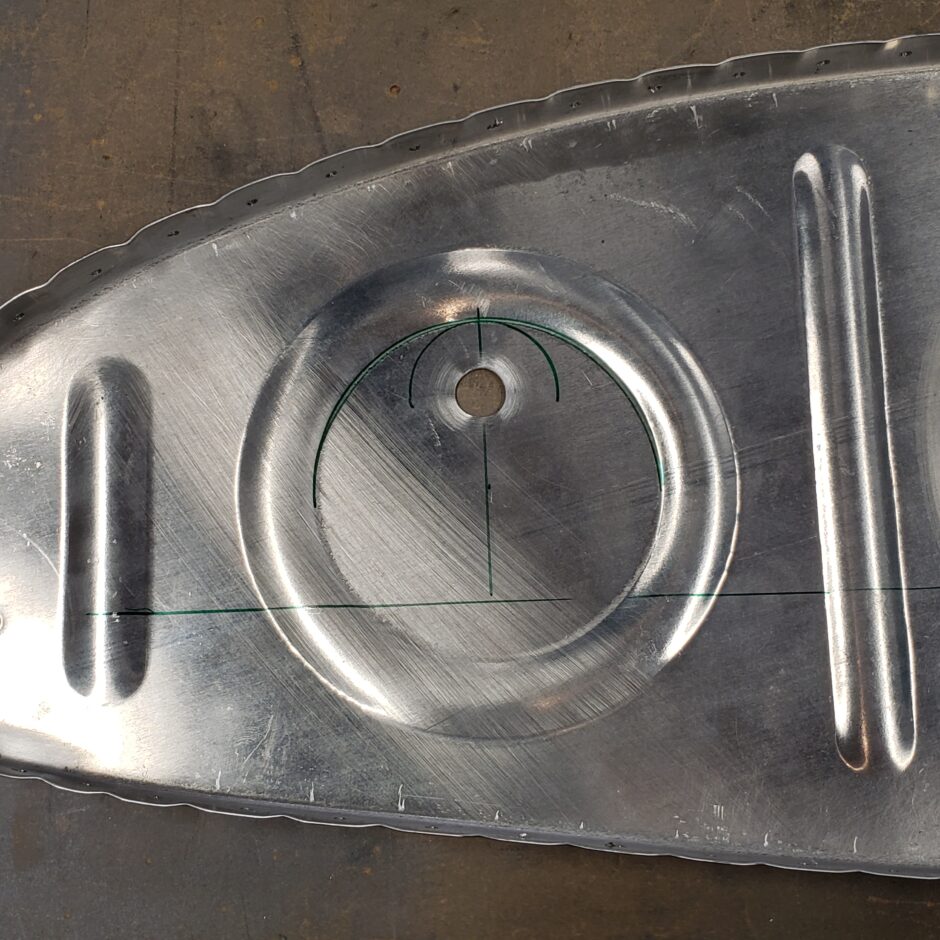
The final thing to do at this stage is to drill the hole for the root vent line fitting.
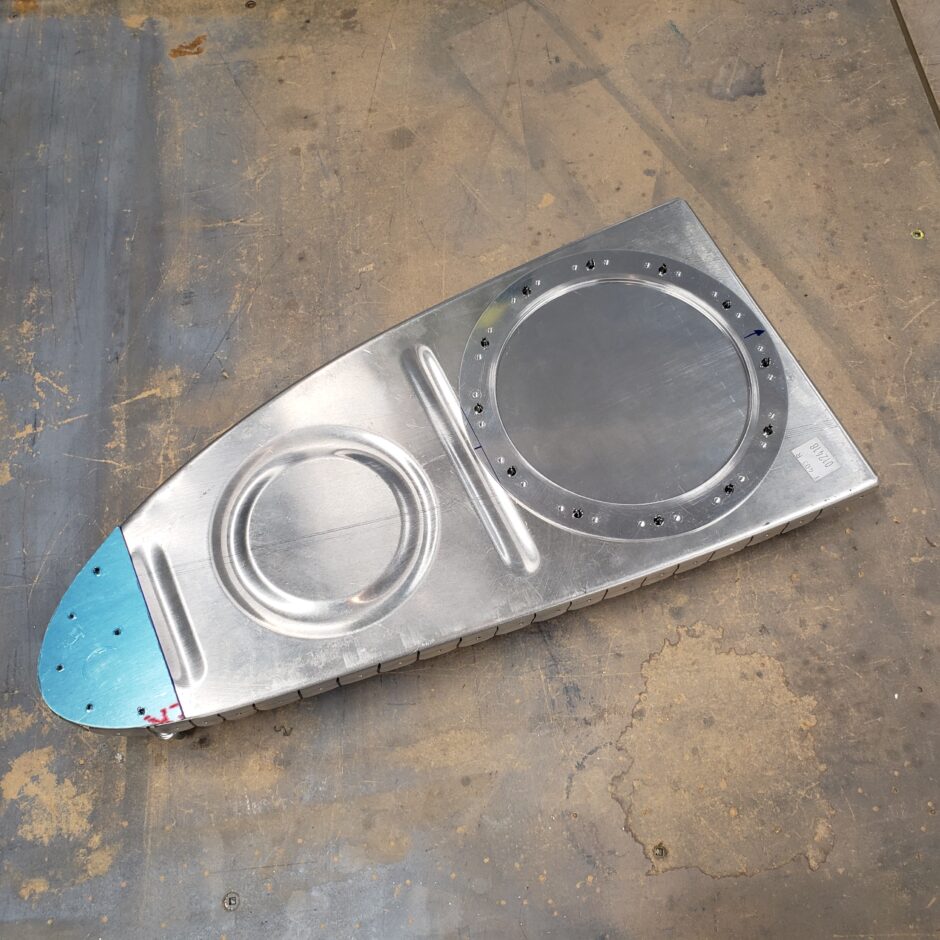
Here are pictures of both sides of the inboard and outboard ribs up to this point.
That’s all for today folks! Please comment. I love to hear from my readers. Thanks again for coming along for this ride, you make my work worthwhile.
Leave a Reply