Good day, today I’m starting on the right fuel tank rib preparation to get ready for sealing and assembling the fuel tanks. I’m starting with the ribs by using scotch-bright on the flanges. The RV-4 plan instructions detail the scuffing procedures to be used on all the surfaces which will be getting sealant. As per the Vans RV Fuel Tank Construction Tips Video, which recommends to do all the scuffing before any dimpling, is the guidance that I’m using.
This video is a fantastic supplement to the written instructions provided with the plans. My suggestion is that is anyone prepping themselves for sealing fuel tanks, this is really mandatory watching (it’s that good!). The video provides the reason for scuffing before dimpling. The reason for this is to ensure that the surfaces are all well scuffed, particularly on all dimple surfaces, such as the ribs and skins, because it is difficult to properly scuff the dimpled surface. Therefore, if you do all the part scuffing before the dimpling is done, you’re sure to have proper scuffing in all of the dimples, when they’re formed afterwards.

I don’t have a lot of pictures to show of the progress today, it’s just been a lot of scuffing of the rib flanges. After the scuffing is done, the parts are cleaned really well. We’re not talking of just wiping the parts, they have to be absolutely clean. This is imperative to get good adhesion for the sealant.
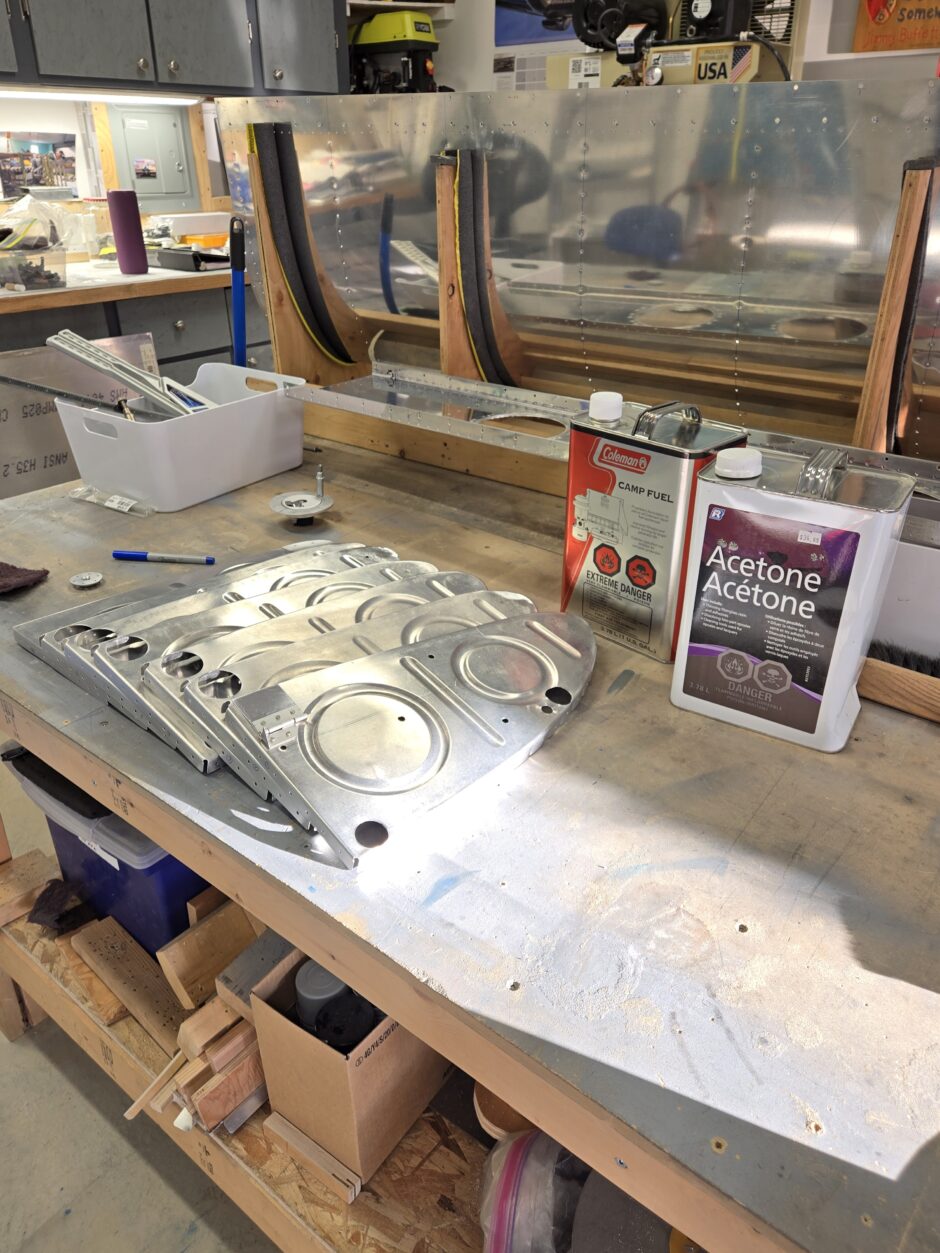
A note on cleaners: A good choice for cleaning the surfaces to receive sealant with a wax & grease remover used for paint prep. You can also use Naphtha (Coleman Camp Fuel, or White Fuel). Keep in mind that many of these products are not super-fast drying solvents, like Acetone. You don’t want to be wiping down the parts and then assembling one or two minutes later. Be sure to provide enough time to ensure that the parts are dry. Additionally, keep cleaning the parts until you don’t get any more residue on the wiping rag.
As you can see in the image below, I’ve chosen to go with using the camp fuel. My reasoning is that it works extremely well for cleaning and you get much better bang for your buck when compared to buying an automotive paint prep wax and grease remover.
That’s all for today folks! Please comment. I love to hear from my readers. Thanks again for coming along for this ride, you make my work worthwhile.
Leave a Reply