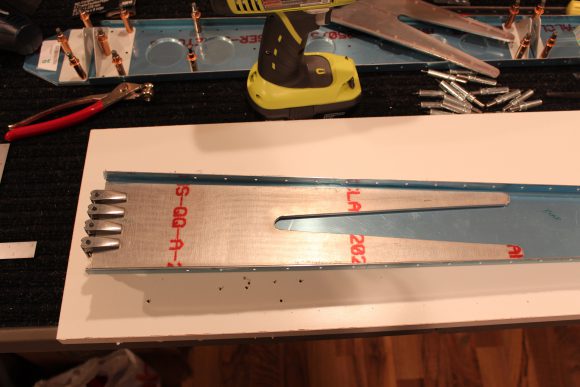
Continuing with the layout of the vertical fin forward spar doublers, shown below is the VS-002 doubler clamped in place, on the rear side forward spar. What isn’t shown here is the marks I made on the bottom (where the clamps are) to help keep the alignment when I transferred this doubler from the front side (see yesterdays post) to its proper placement as shown below.
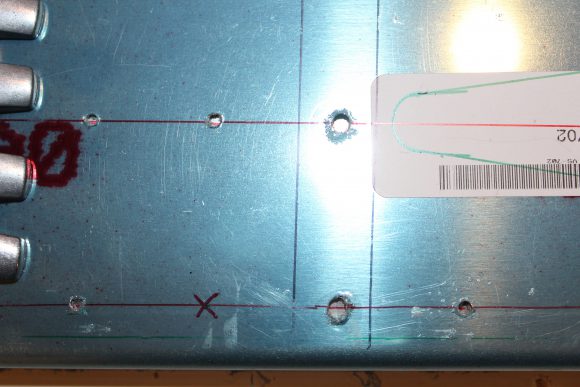
In the picture below, I have now turned the spar over and we are viewing the forward side. As the Van’s kit comes with some predrilled holes, it was easy for me to see that I had the rivet layout lines in the right place (because they are shown in all the pre-existing holes.
Vertical Fin – Trial Assembly
I assembled the
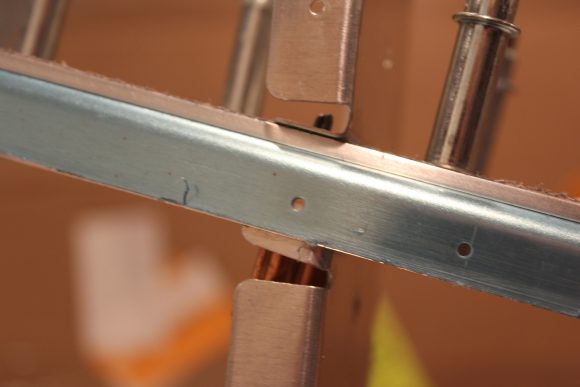
In the image below, you can see the doubler end markings I used to help with alignment. Another point I need to make note of here is for the reader to notice the thickness of the VS-001 and VS-002 doublers. The material is 2024-T3 aluminum, 0.125 inch thick.
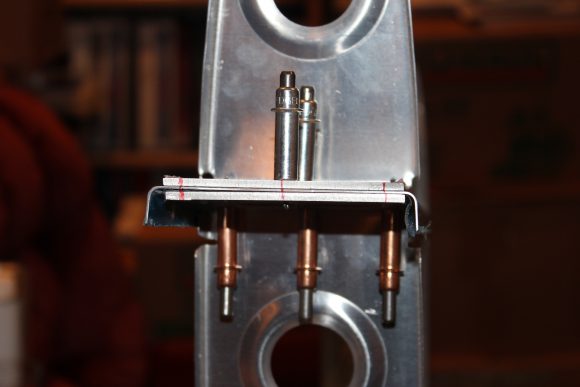
As I’m working with an RV-8 kit as my foundation, all the ribs and skins are match-drilled. What I will eventually have to do is to trim off those rib flanges that mate to the VS doublers and make new flanges to rivet on, so that the rib and skin can still remain properly aligned. As you can see below there is significant thickness in these doublers.
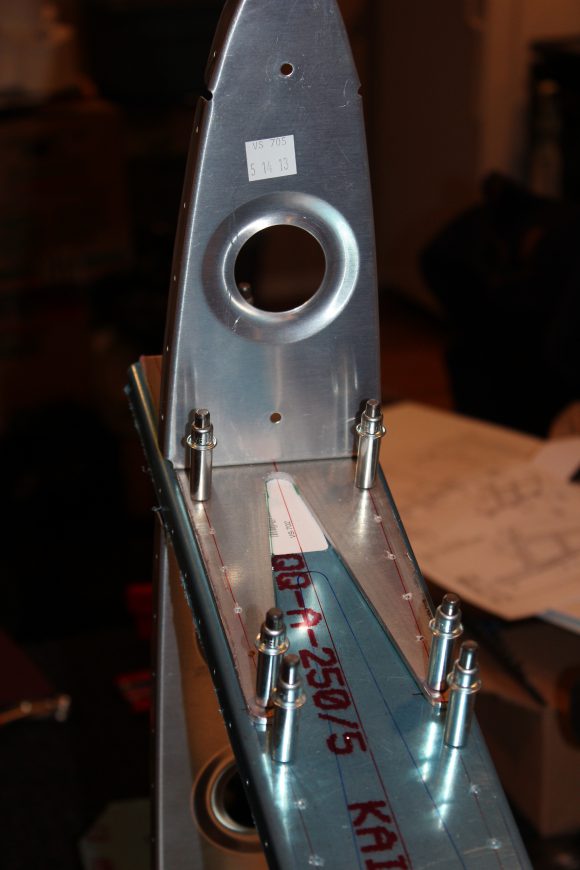
The next photo shows the VS-001 doubler now in place on the forward side of the front spar with the rivet holes drilled. Also if you look closely you can see a blue line which indicates where the VS-002 doubler is on the rear side of the spar. The VS-002 doubler is larger than the VS-001.
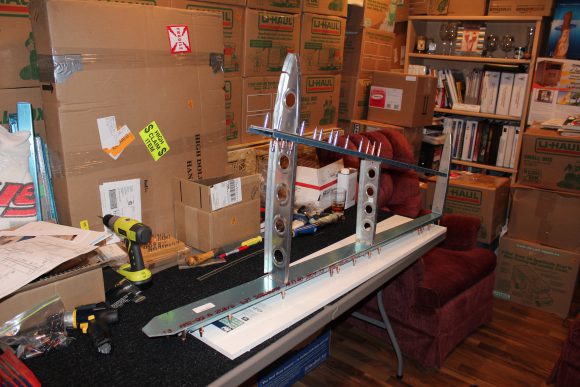
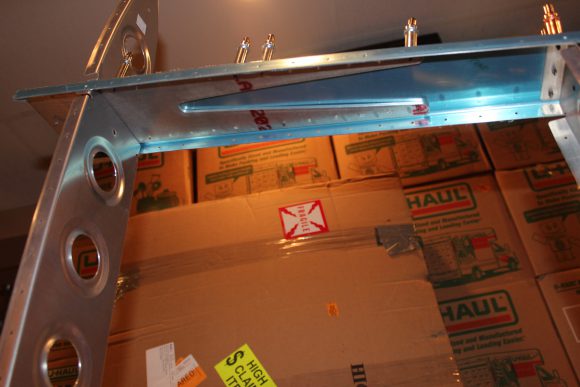
Below is a picture of the assembled front spar and here you can get a good look at the VS-002 doubler.
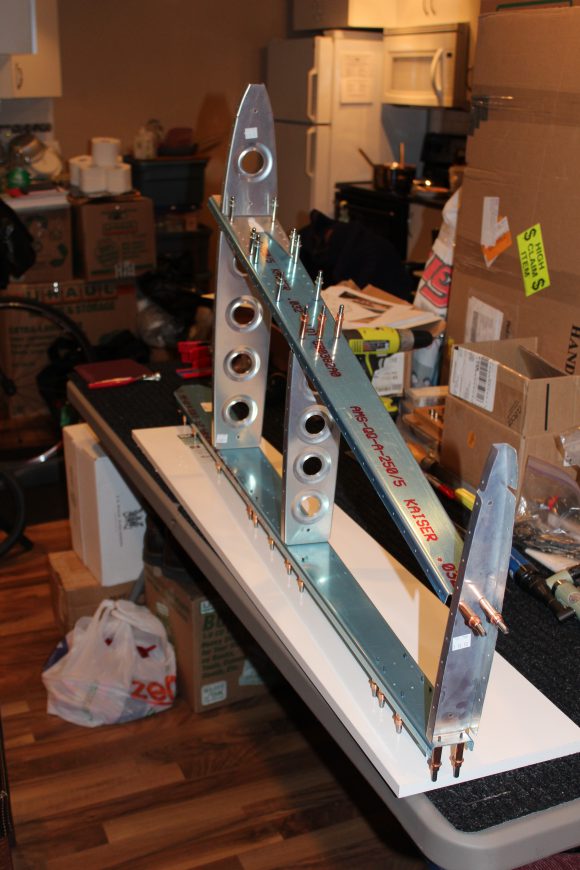
Another picture of the vertical fin while assembled.
Please comment, I love to hear from my readers. Thanks again for coming along for this ride, you make my work worthwhile.
Leave a Reply