Today I wanted to finish up all the riveting on the horizontal stabilizer spars. After my last building session, all that remains on the rear spar is bolting on the center hinge assembly, and 2 rivets on either side.
One thing that was overlooked about this whole thing was that had only pilot drilled these holes and none were drilled to the final size. Drilling the rear spar in this area included the standard spar web, the reinforcing bars supplied with the RV-8 kit, and the additional .125 inch doubler (F1 Mod) added to the forward side of the spar.
Drilling Holes
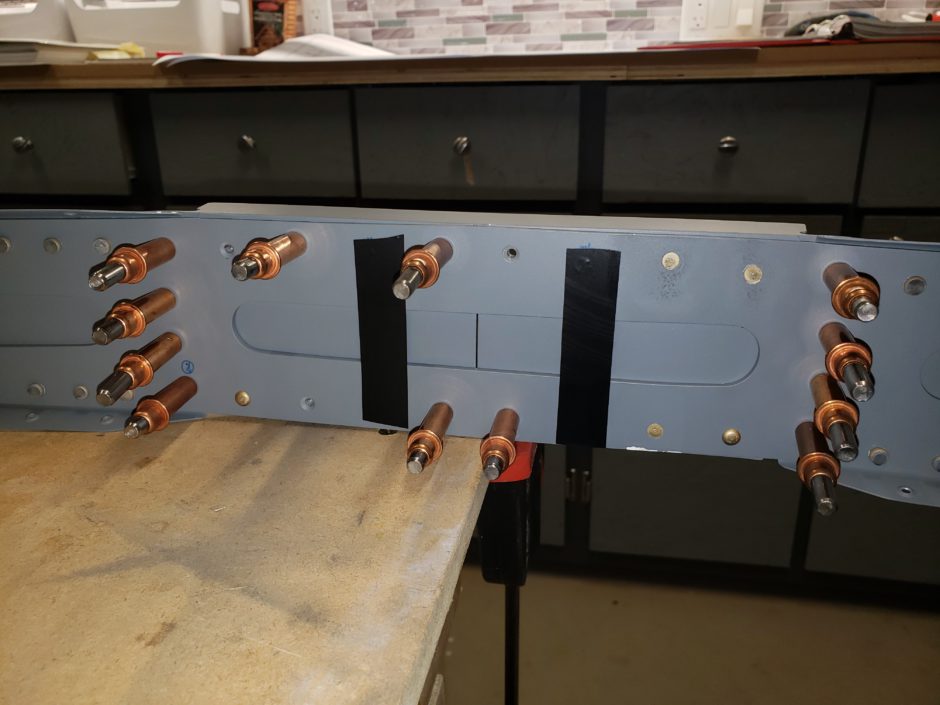
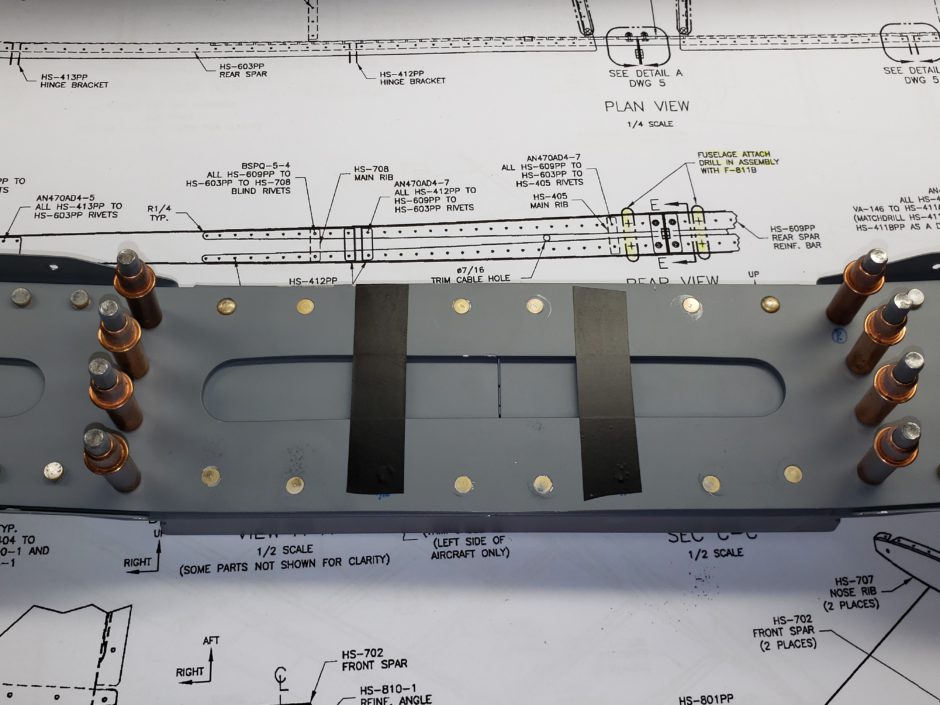
I didn’t want to attempt this free-hand, so I broke out the benchtop drill press. In the image below, I have the bolt holes for the center hinge taped over. I started with drilling the rivet holes, and in this area the F1 mods, call for 5/32 rivets.
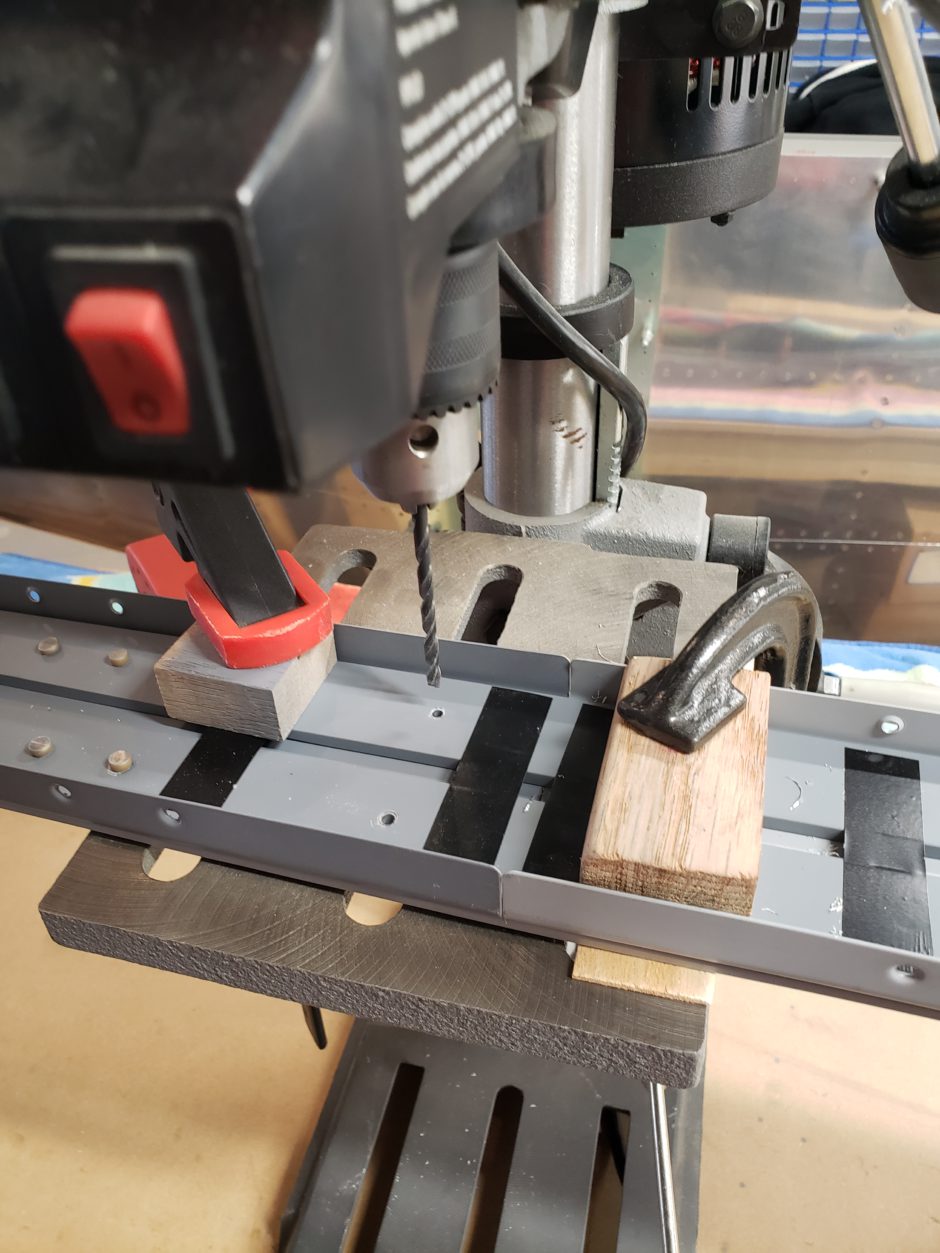
I then continued to drill out the 3/16 holes for the center hinge bolts.
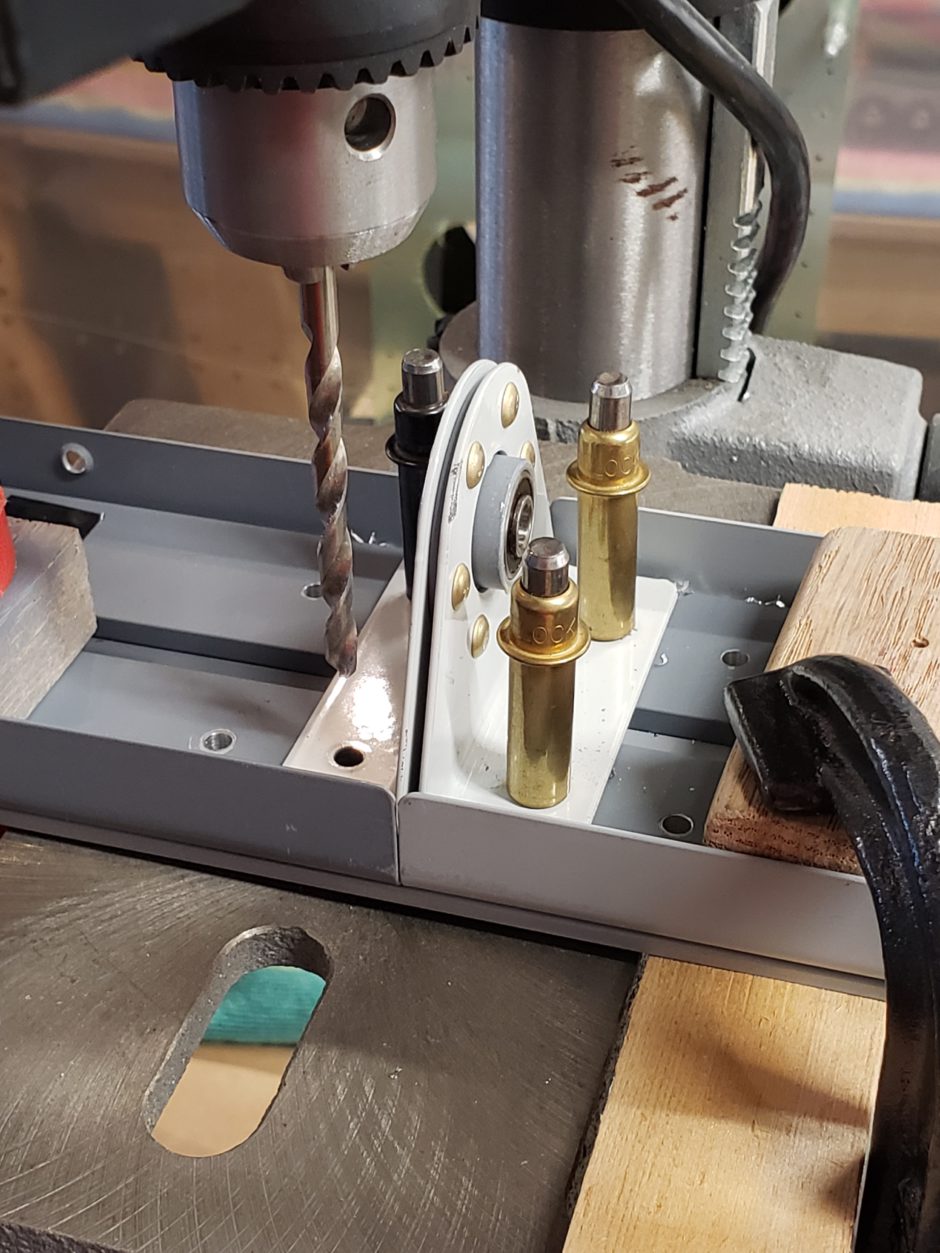
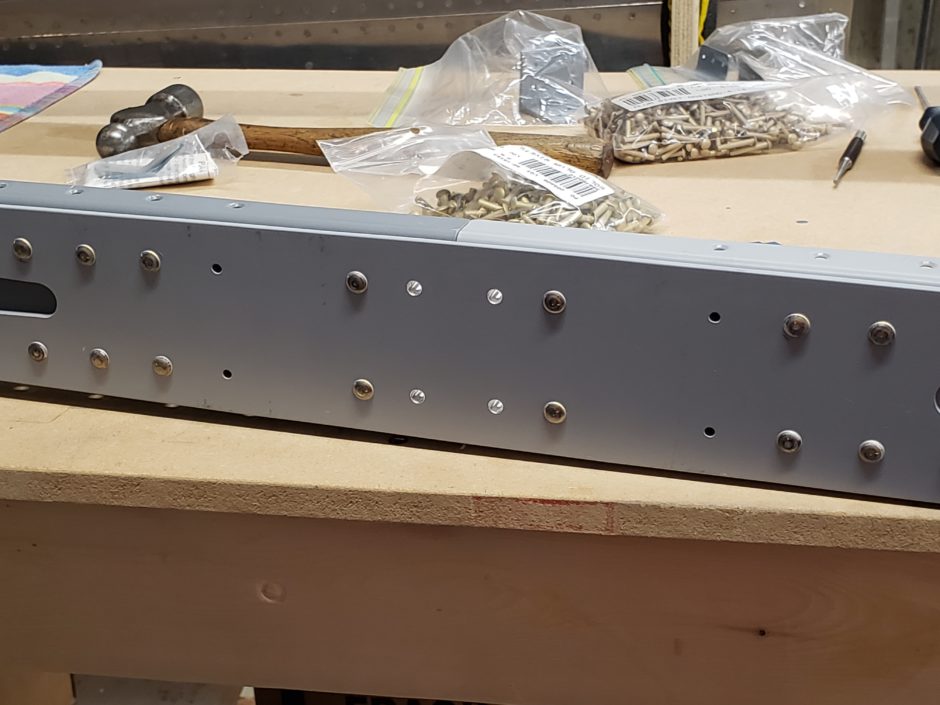
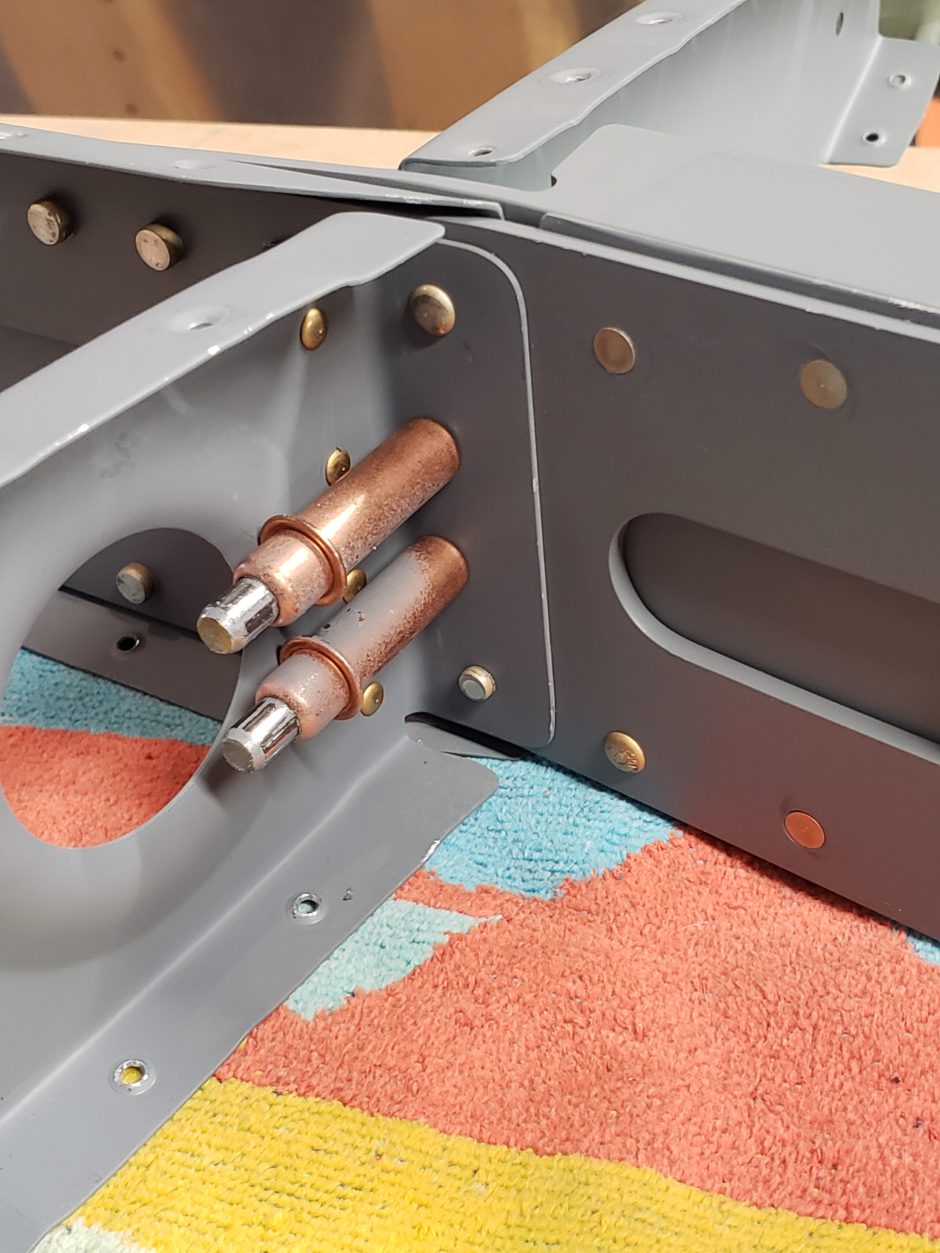
After drilling was complete, the -5 rivets were set. In the background of the image below, you can see some of the AN470-5-12 and -14 rivets that I was using. As you can see below, there is a lot of material thickness to rivet through and obviously the rivets supplied with the RV-8 kit were no longer any use. I ended up using the -14 rivet length and still had to cut a wee bit off to get the proper lenght.
Center Hinge Placement
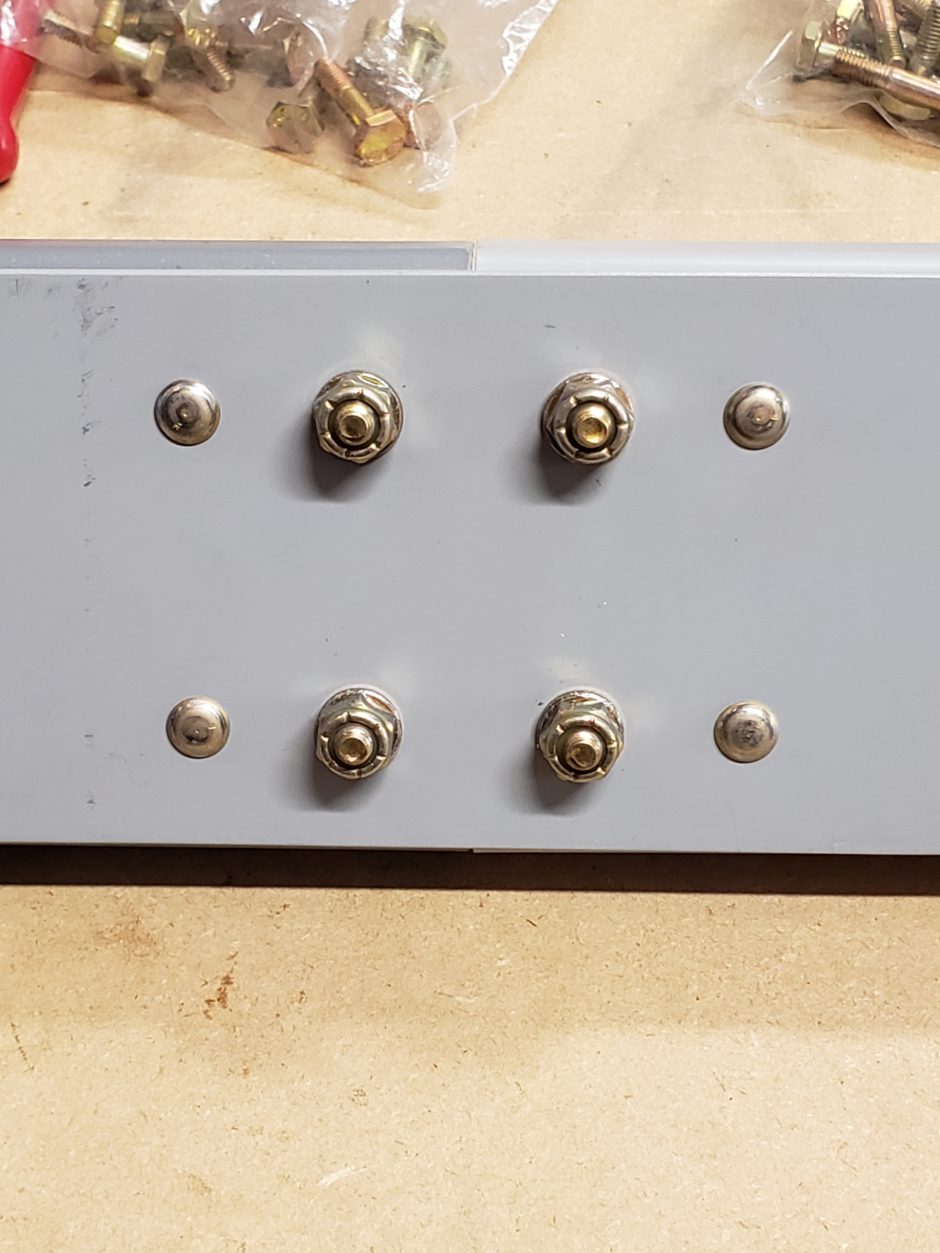
After the riveting was complete, I proceeded to attach the center hinge assembly. Pretty straight forward.
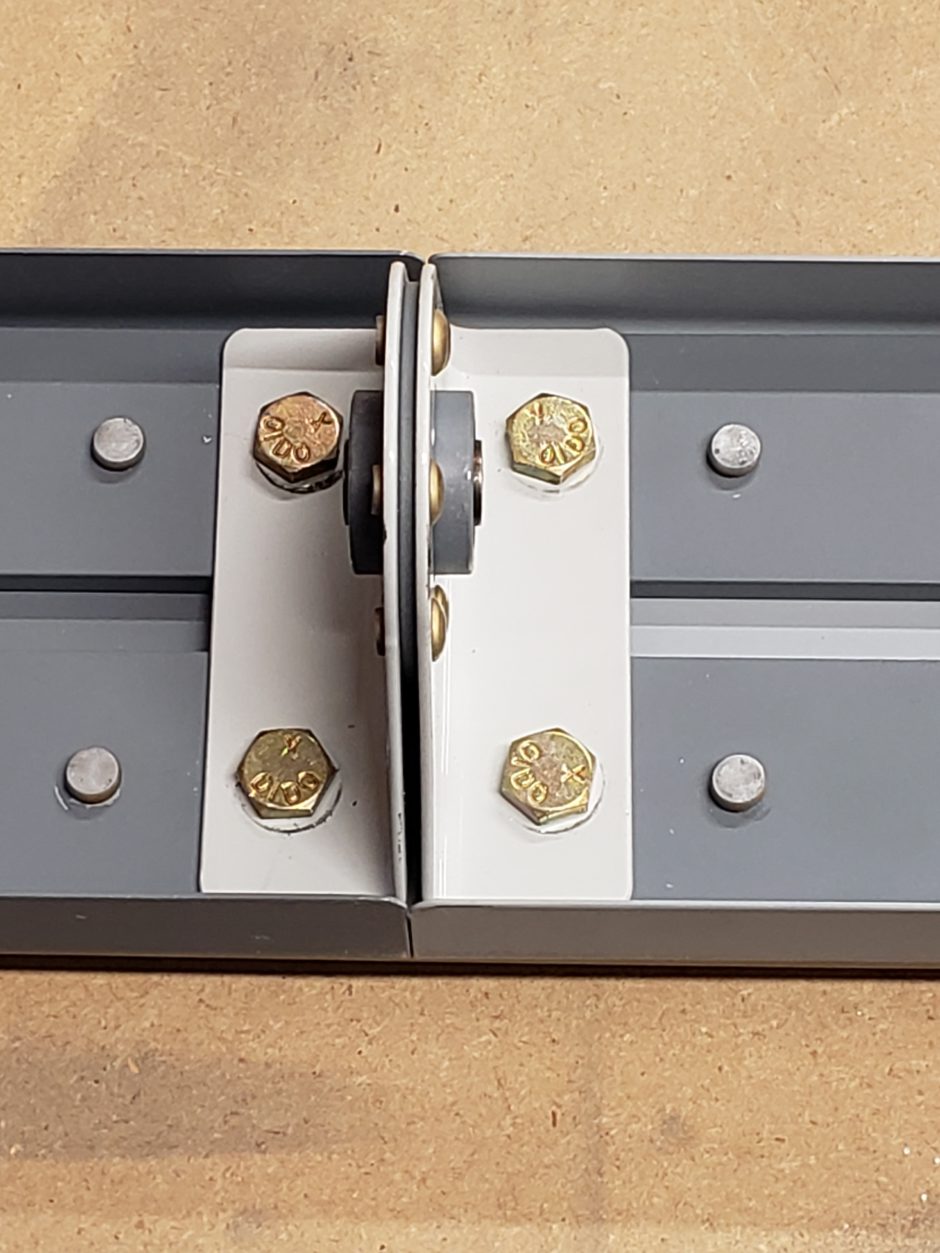
In the image below, the hinge bolts are in place, however not torqued yet. I didn’t want to torque these until I can identify them as being torqued with some torque seal. My torque seal was old and crumbly, so I’ll follow-up with this in a future post. To be continued…
Forward spar riveting
Moving on to the last bit of riveting in the center portion of the forward spar. This is pretty straight forward…right?!? Well it should have been. However, I decided to “…Set these rivets really good!” because they are in the spar. So I used the rivet gun and bucking bar. The issue here is that the front spar is pretty lightweight, and tricky to secure to the workbench. I did the best I could but still struggled.
The rivets being set here were AN426-4’s and one that got set, had a head that was sitting just slightly proud. I could have probably left it, but know that I could do better. So I set out to replace it. I drilled the head off, then went at it with a punch and hammer….
And I hit…and hit…and hit…
I continued to beat on that poor -4 rivet shank for over 30 minutes. My hand was getting sore (I don’t always hit the small head of the punch!).
I finally decided to drill out a little bit more…
Then continued with the hammer and punch.
Then drill out some more…
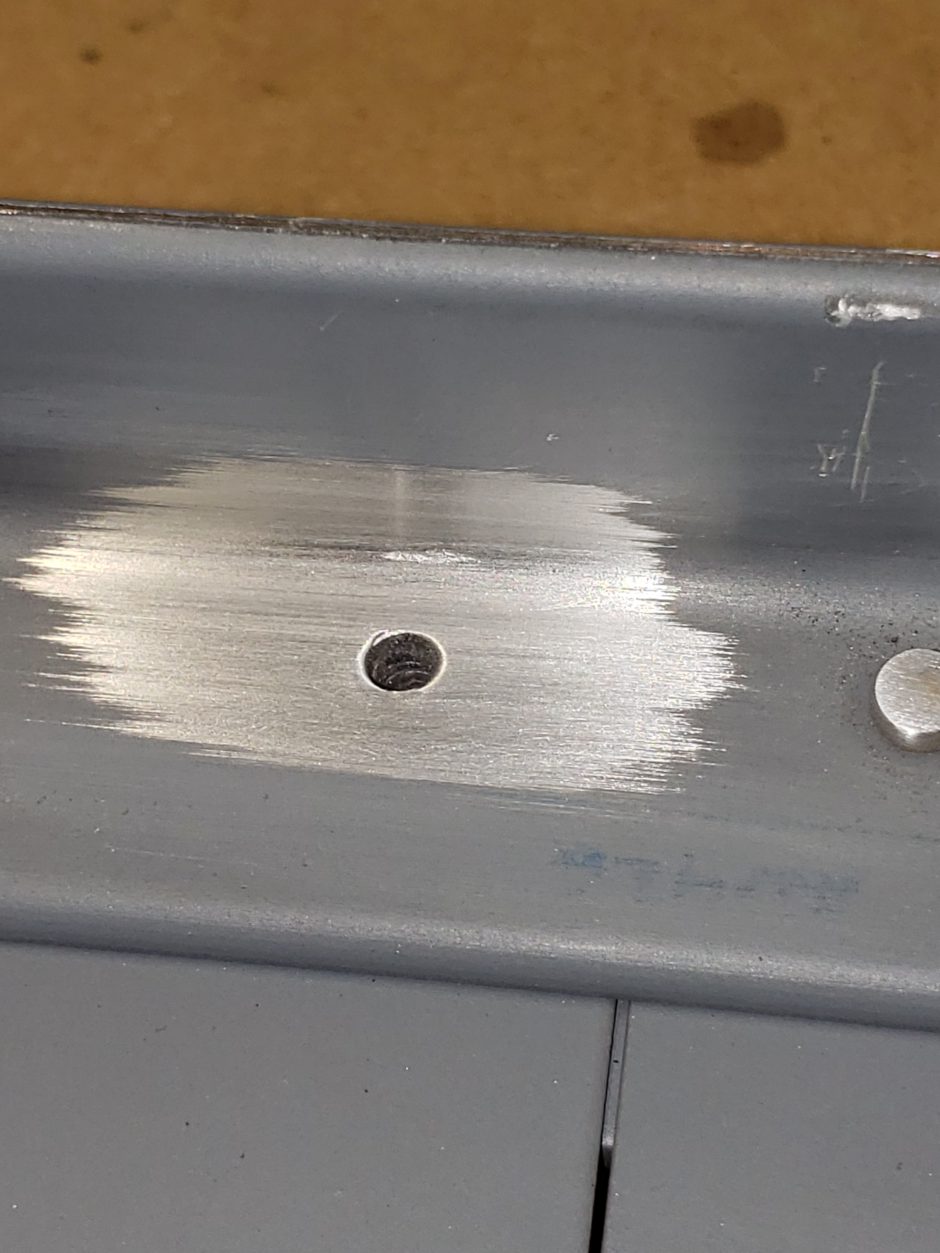
Finally, I got the sumbitch out…but not without damaging the spar reinforcing angle. (sigh…)
In the image below, you can see that I’ve started polishing out the damaged area with some scotchbright, however you can still see the damage. What happened here was that I was using a piece of metal to support the area around the shop head in hopes to drive out the rivet easer. I didn’t have the metal fully taped up to prevent contact of the sharp edge, and the corner impacted.
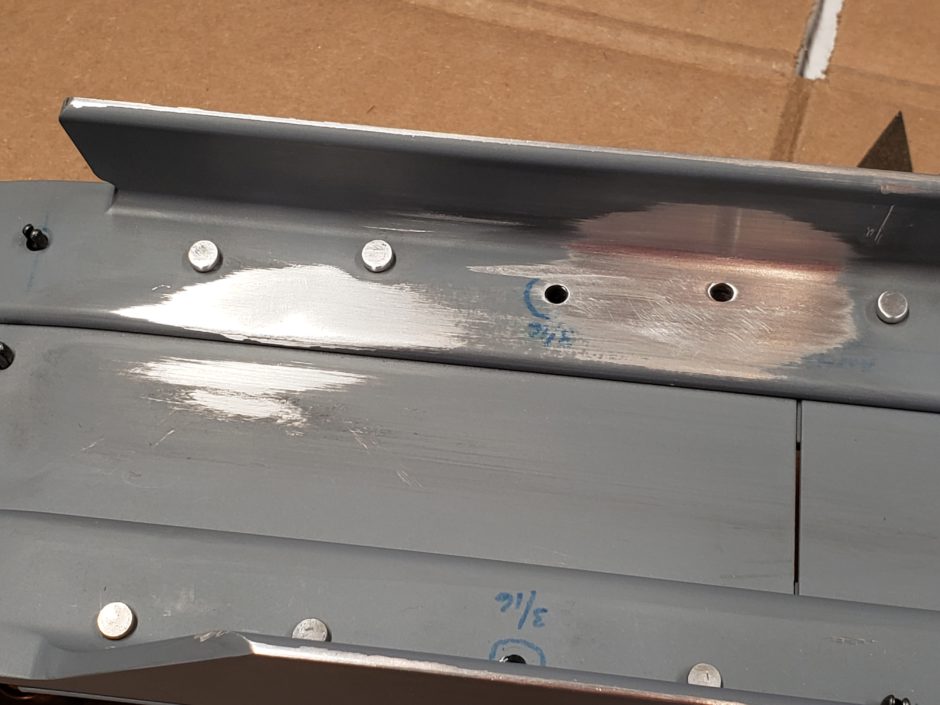
After dressing out the damage, I re-primed the area. I also touched up an area beside where the bucking bar slipped.
After all this unnecessary excitement, I proceeded with using my handsqueezer and the remaining rivets turned out very nicely. I should have just used the hand squeezer in the first place as it provides much more control…especially on an assembly that is wiggly and not secure to the bench.
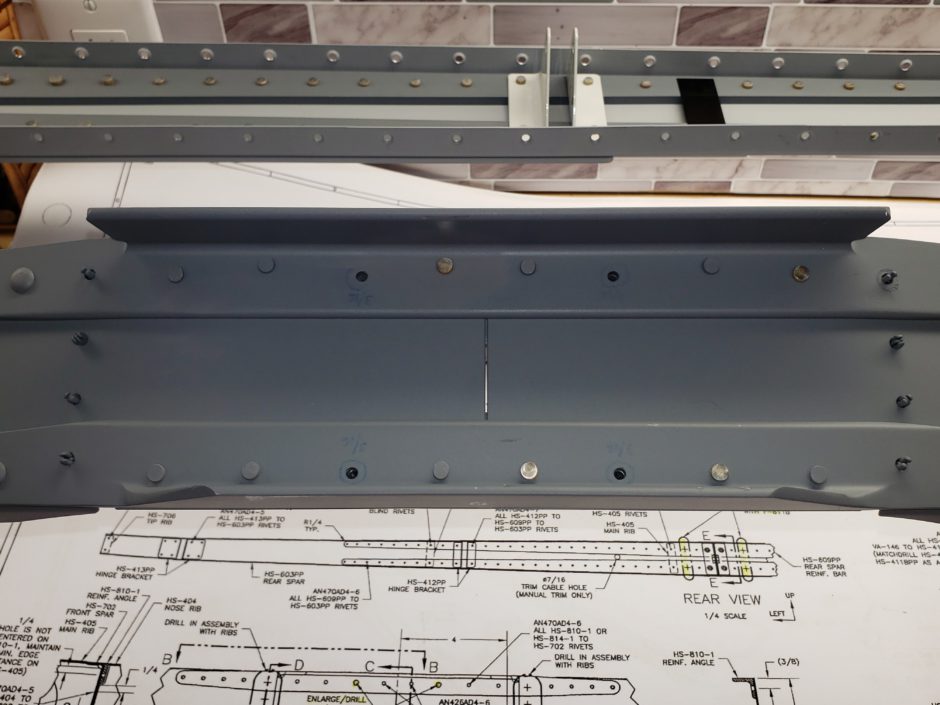
Horizontal stabilizer spar riveting complete!
Horizontal Stab Skin Stiffeners
Next up, is riveting the skin stiffeners on to the horizontal stabilizer skins. These skin stiffeners are another one of the F1 Rocket mods to help prevent “Oil Canning” of the horizontal stabilizer skins. This again was straight forward. I used the back riveting technique for this and it worked really well. No issues!
I start by putting all the rivets in the appropriate holes, then run a strip of electrical tape down the skin surface to hold the rivets in place when I flip the skin over to back rivet.
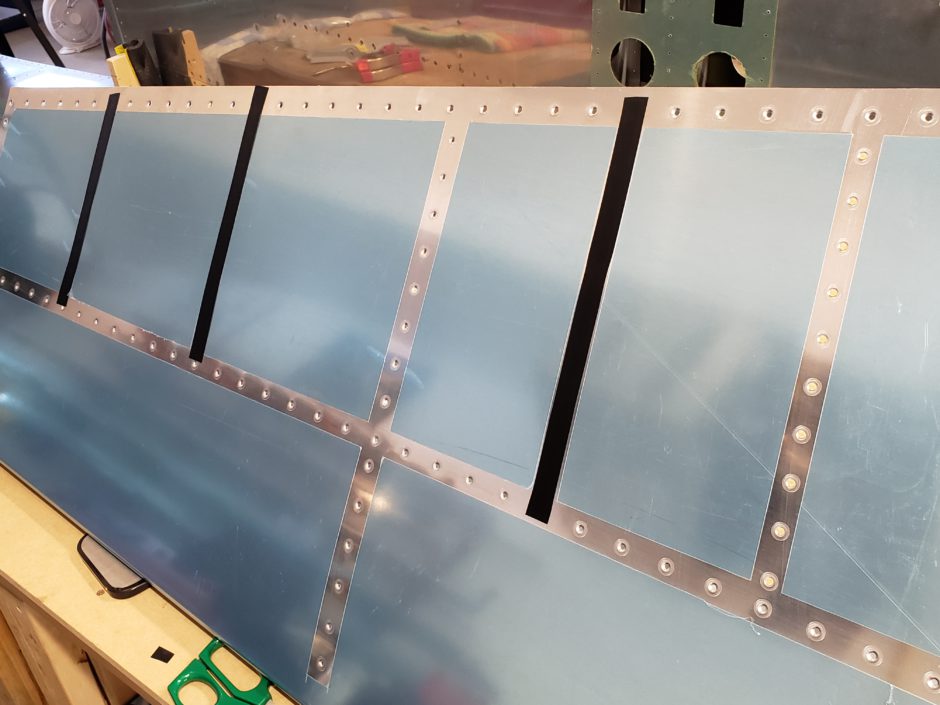
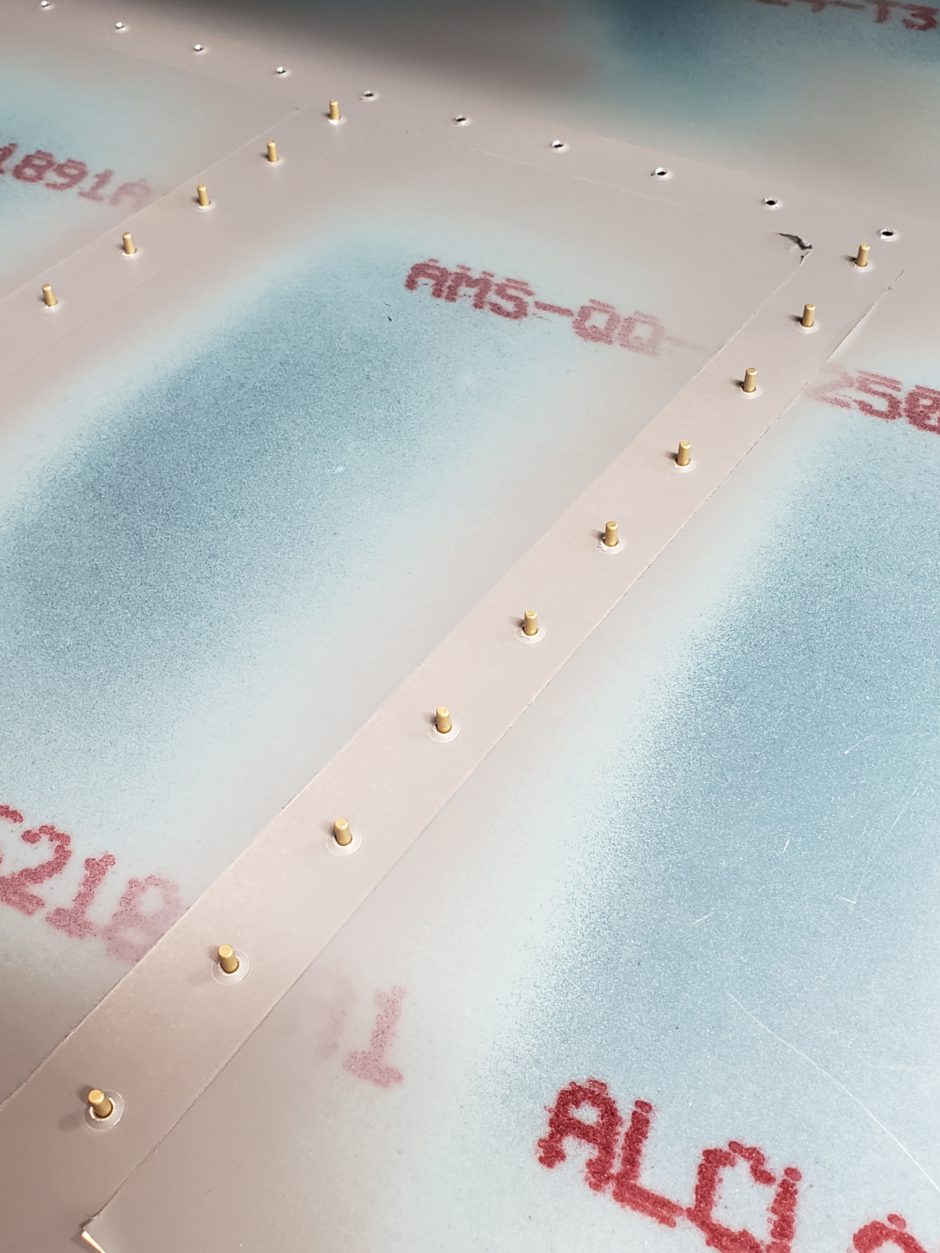
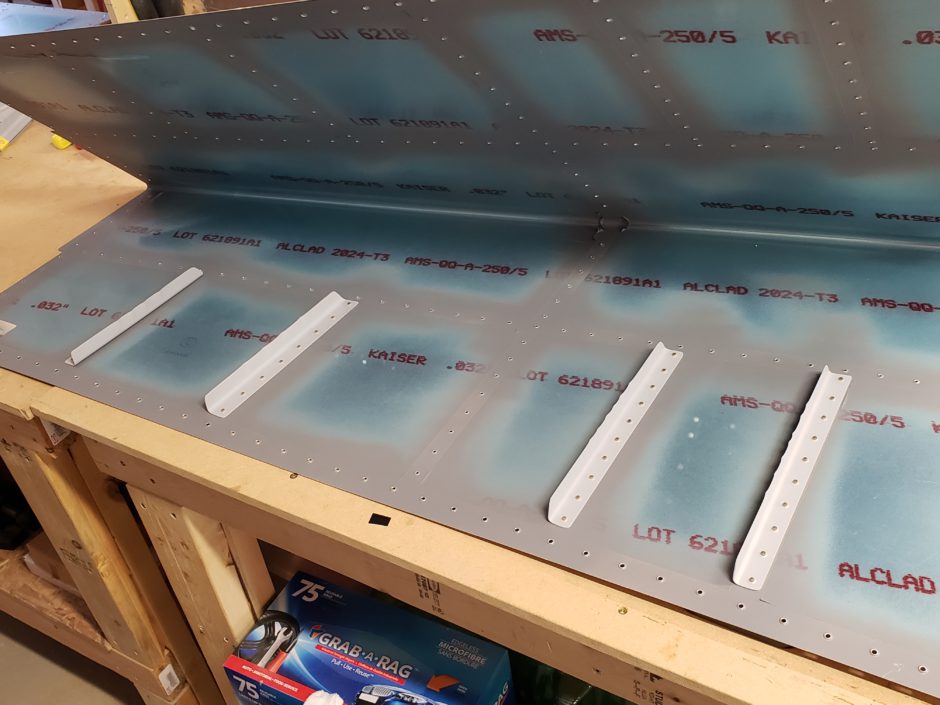
Horizontal stabilier skin prep complete!
Forward spar assembly
Now that the horizontal stabilizer skins are ready for final assembly, the instructions move on to completing the assembly of the forward spar. This next step was to rivet the HS-404 and HS-405 ribs to the front spar assembly.
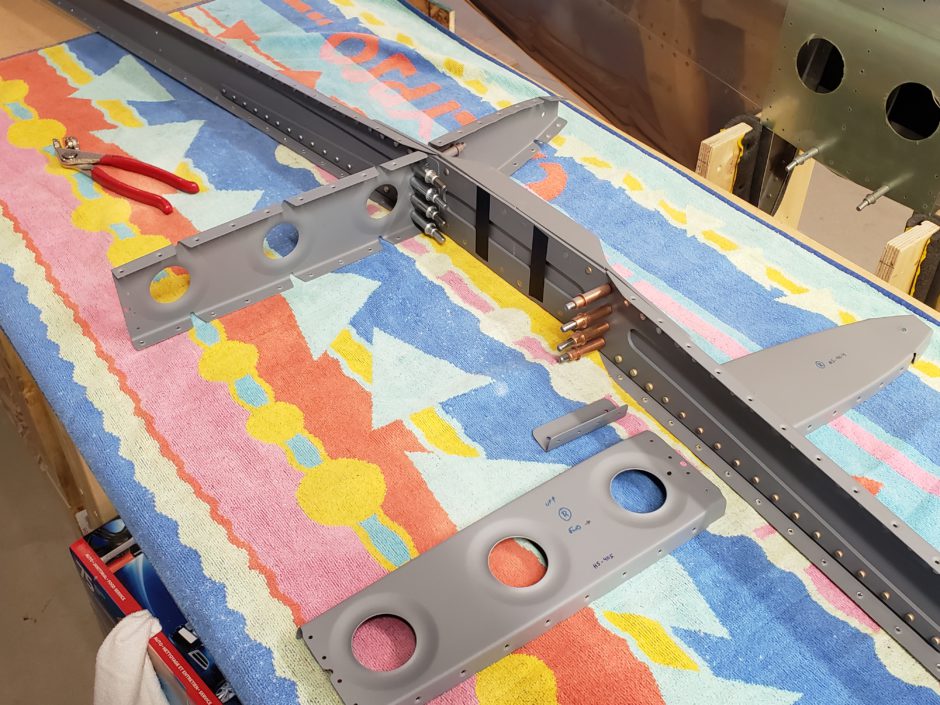
As mentioned in an earlier post, building this section was a bit of a challenge because the HS-405 ribs were too long after I added the F1 Rocket .125 inch doubler to the back side of the forward spar. I needed to cut these ribs shorter by cutting off the forward and rear flanges. New flanges were made and those needed to be riveted on to the HS-405 ribs before they could be attached to the front spar.
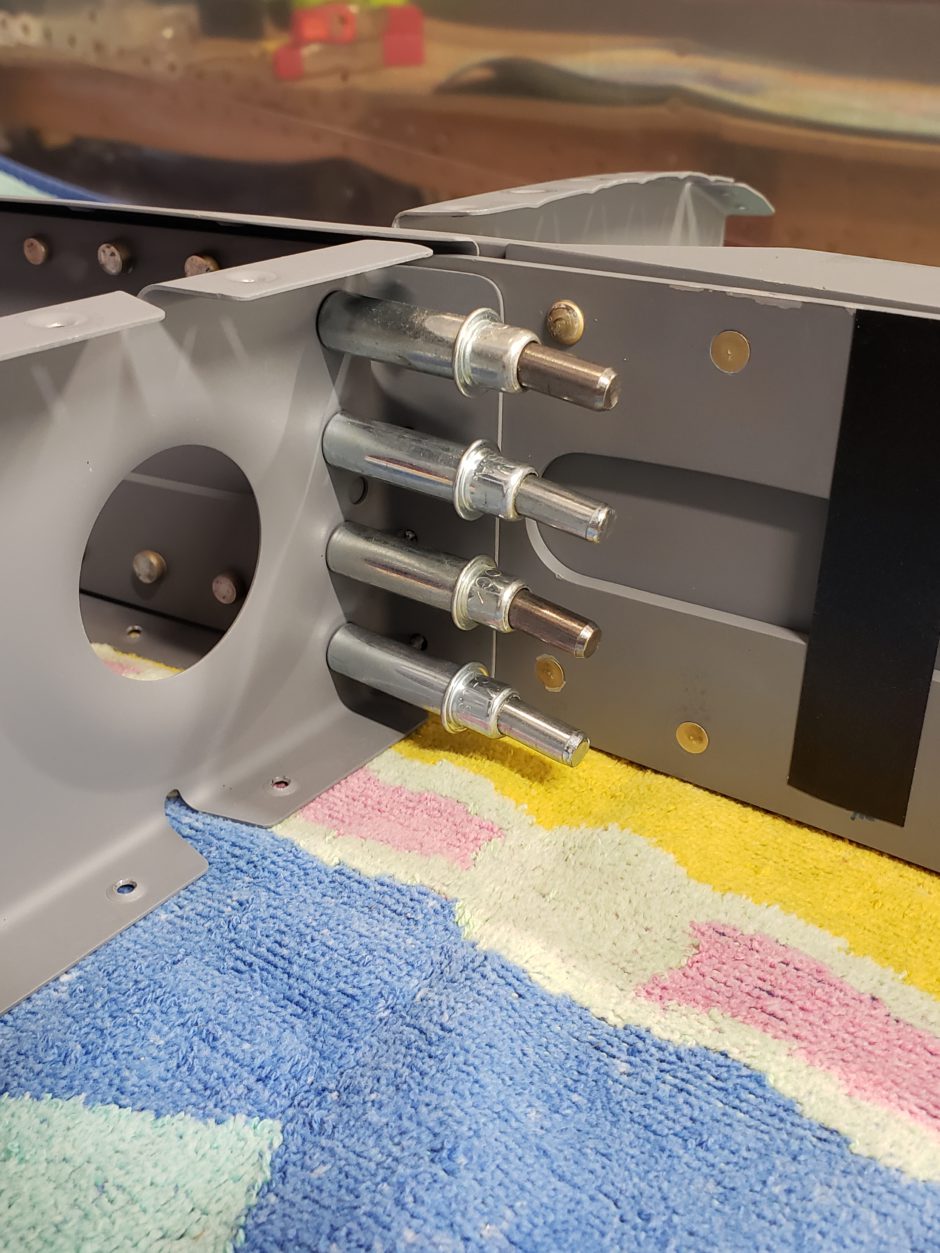
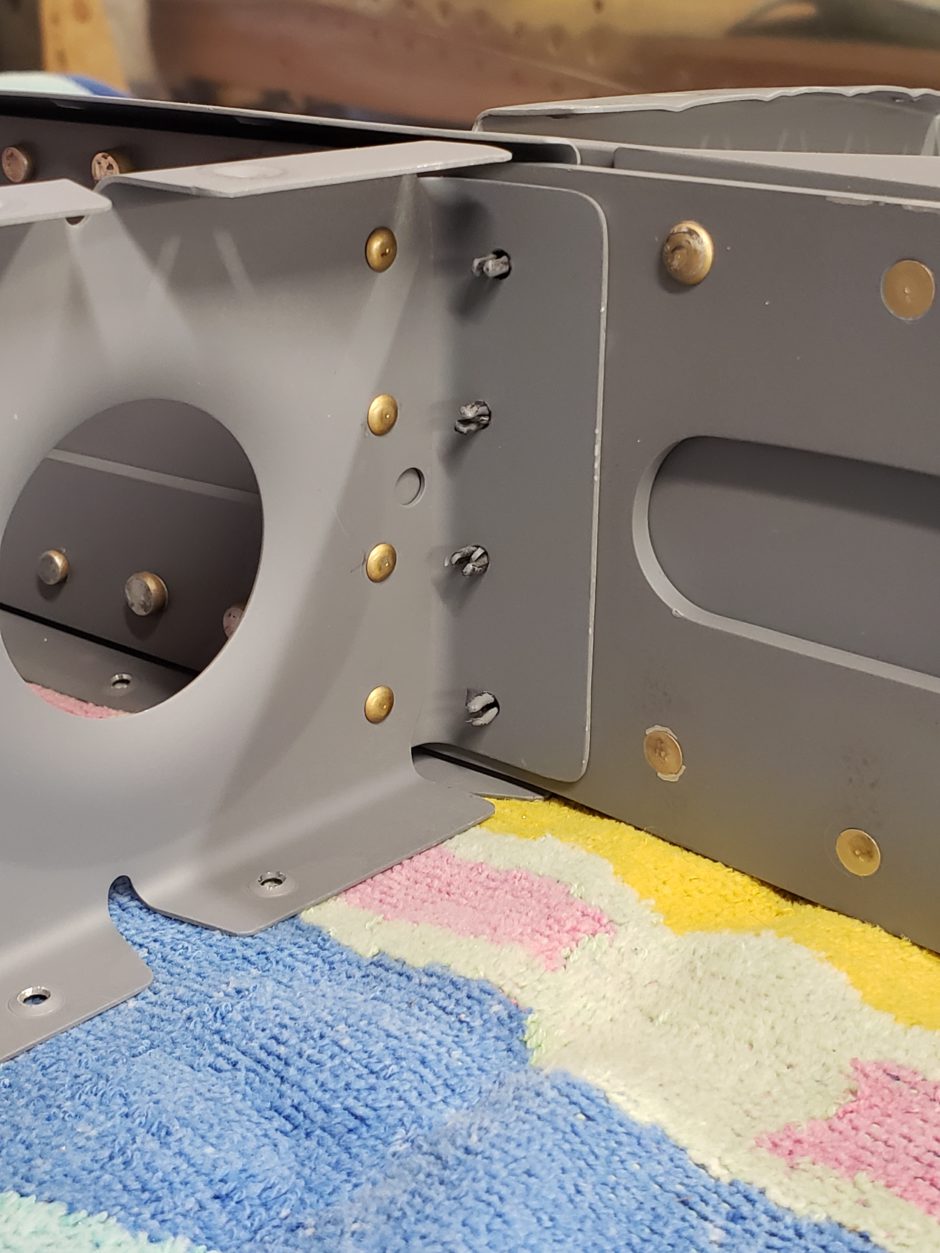
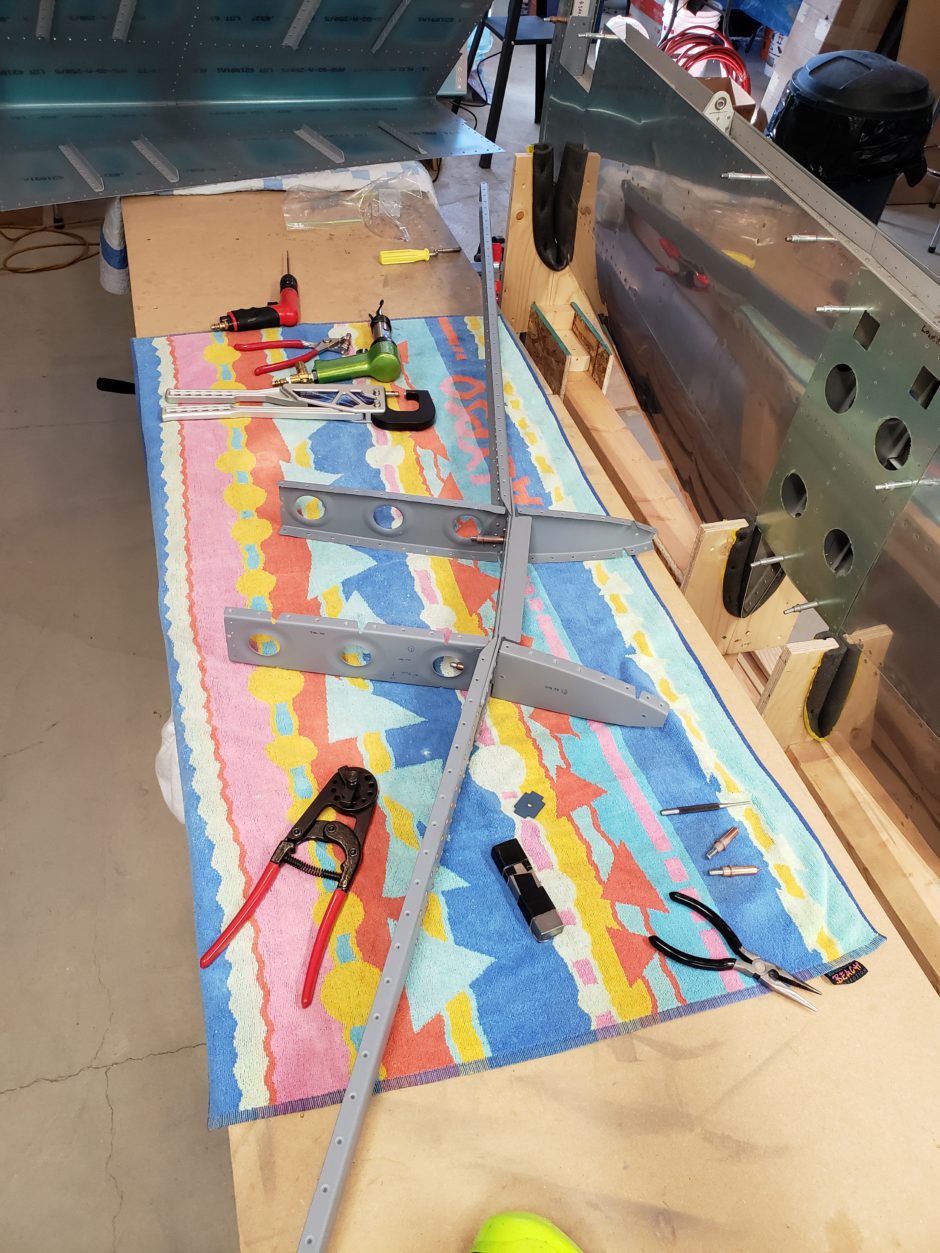
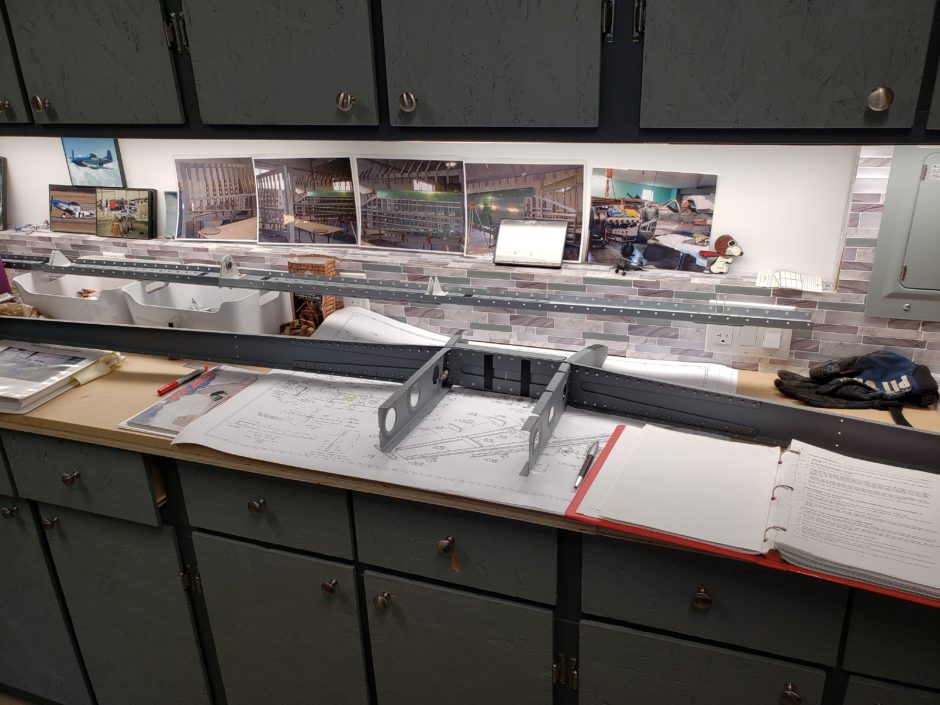
Next was to rivet the HS-404 and HS-405 ribs to the front spar. I was able to get the upper and lower rivets set with the squeezer, however I can’t get at the mid-rivets. The squeezer heads won’t reach in there, and my rivet set is too short, so the gun interferes with the HS-405 rib. You can lightly bend it slighly out of the way…but not enough to get squarely on the rivet with the gun.
So I’m now at a standstill. I’ll see if I can borrow one locally, but I will also order a new rivet set as I’ll probably need it for future work. Until then…
I’m on hold.
Please comment. I love to hear from my readers. Thanks again for coming along for this ride, you make my work worthwhile. Remember, if you don’t see any activity on this build log, check out my other one as I could be working on the other project!
Leave a Reply