While reading other build log posts about this part of the Horizontal Stabilizer assembly there are a few different approaches to getting good results when drilling. This is critical because if you screw up and don’t drill something straight, not only will you ruin the rib, but also the forward spar.
What is documented here is my approach to drilling the HS-404 to HS-405 ribs. I achieved good results and didn’t have too much in the way of trouble. The key here is to take it slow, do your homework and don’t drill anything until you are absolutely sure that you have good alignment.
The work performed during this log entry didn’t all happen in one build session. The work was carried out on May 11, 19 and 23, 2017. I’m combining all these days into one entry to make it easier for anyone who might want to use this as a reference. Being that this is a critical area, I wanted to keep all the information together. I hope you find it helpful.
Here is a picture of the ribs that I’m working with.
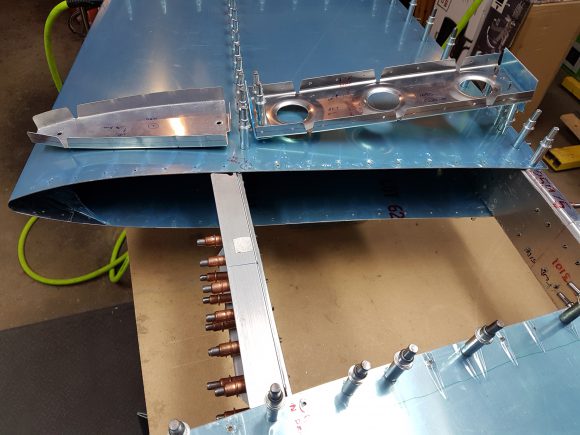
I started with HS-404 nose rib layout. I marked the centerline on both sides of the flange, and edge distance for the 1/8″ rivets.
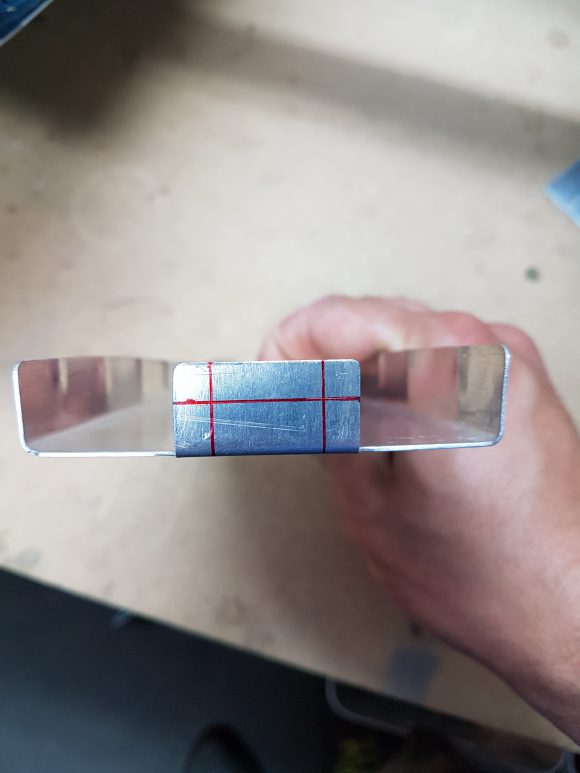
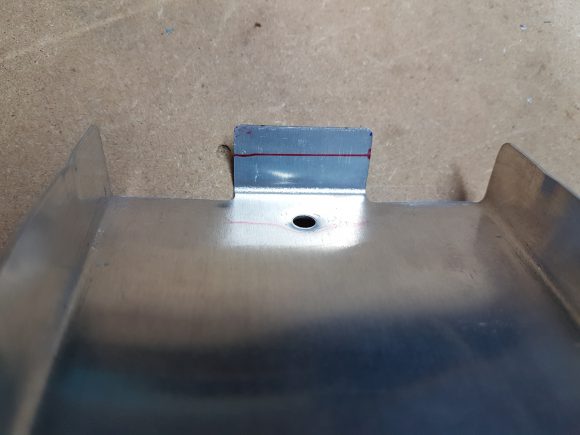
Next I identified the centerline on the HS-405 root rib. Because I have the HS-3201 F1 Rocket forward spar stiffener added I needed to make a new flange on the HS-405 rib to account for the additional 0.125″ thickness of the HS-3201. In the following pictures you’ll see the new flange is clecoed on to the HS-405 rib.
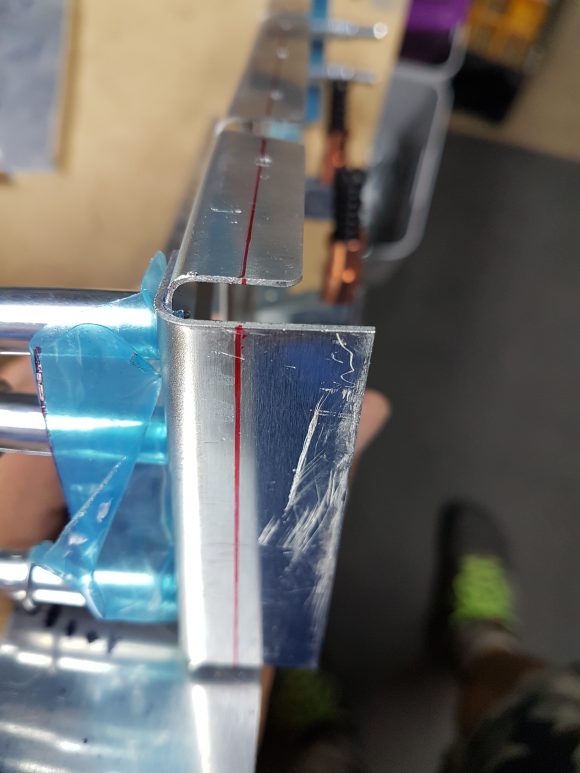
Here is a picture of the aft side of the HS-405 rib forward flange.
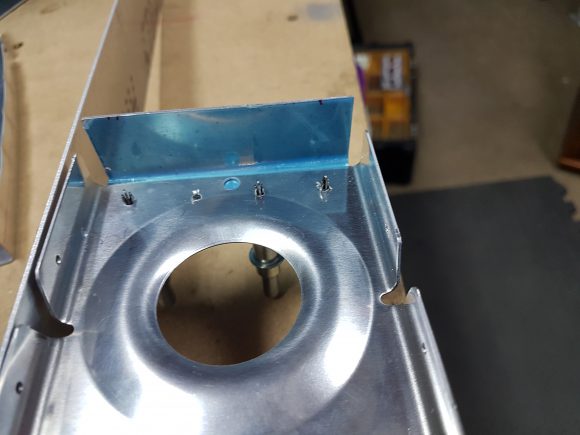
Then I clamped the HS-404 and HS-405 ribs together. While doing this I used some scrap aluminum strips to act as the HS skin to help keep the parts aligned. This worked really well.
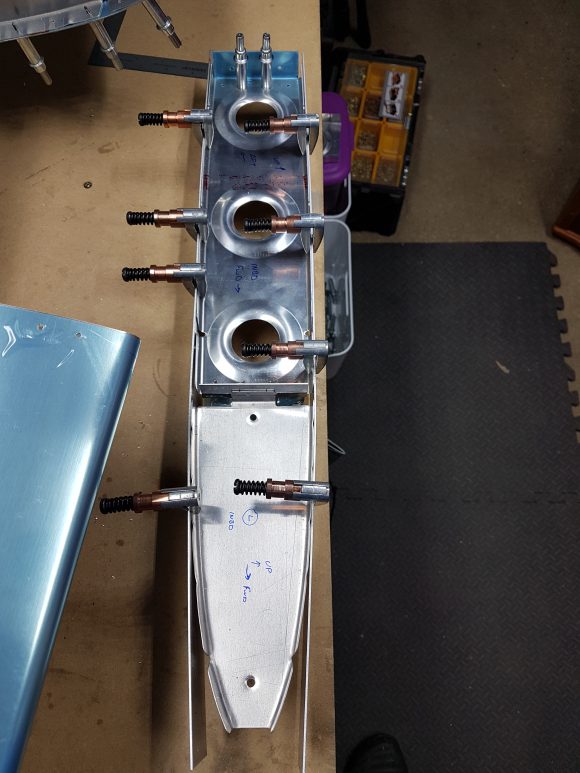
Additionally I clamped the flange of the HS-404 rib to the HS-405 flange, just to keep everything nice and tight. After this entire assembly was aligned and I was happy with it, I traced the outline of the HS-404 nose rib flange onto the HS-405 flange.
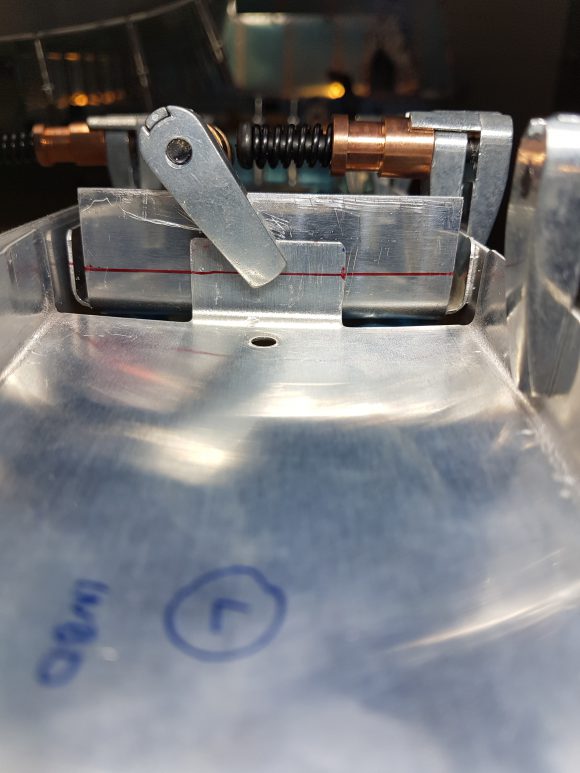
Here you can see where I traced the flange, and I have also identified the rivet locations on the HS-405 flange as per the RV-8 build instructions.
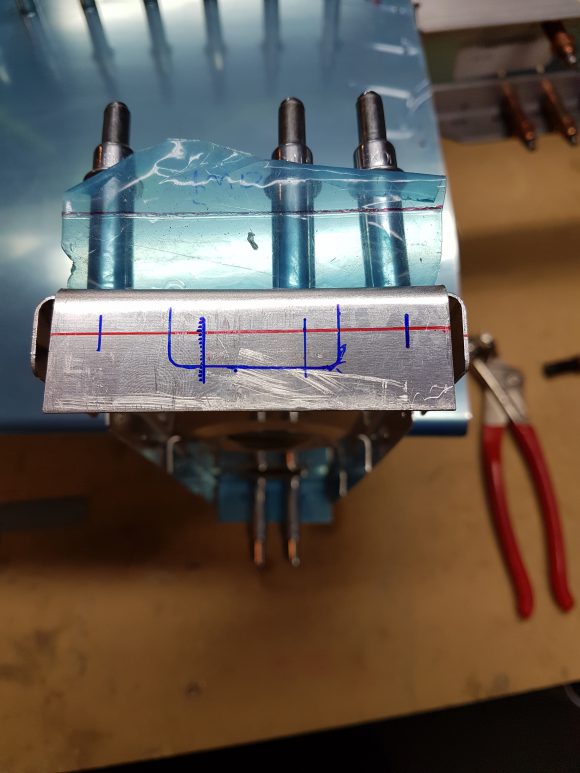
I then circled the pilot hole locations to be drilled on the HS-405 flange. And also identified what not to drill.
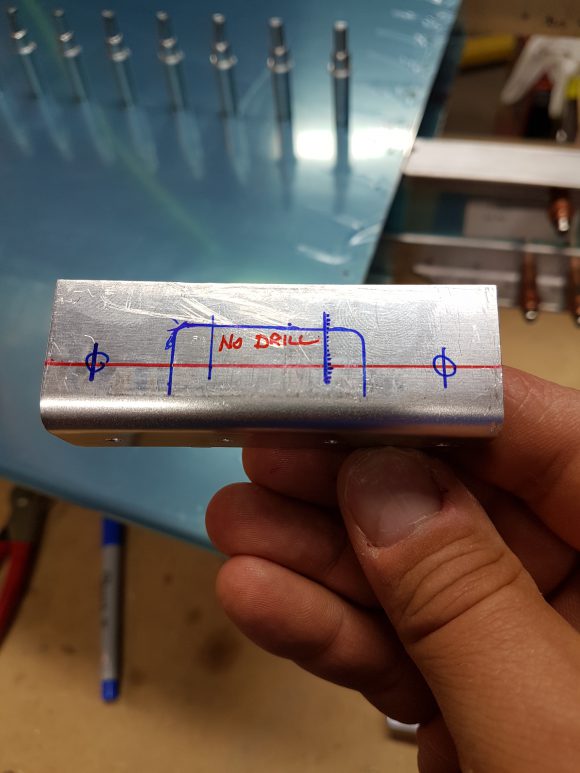
I also did the same on the HS-404 flange.
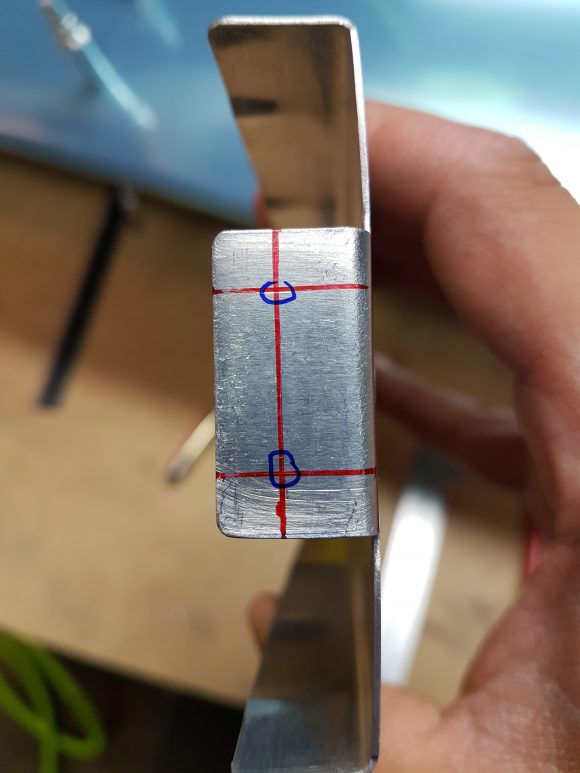
Next I center punched the HS-405 flange where the holes are to be drilled. I drilled these with just a small pilot hole.
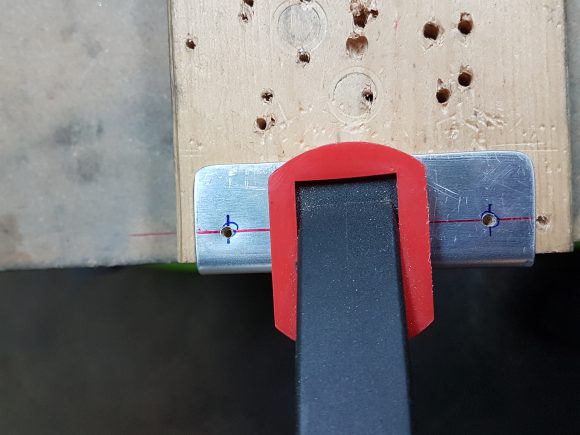
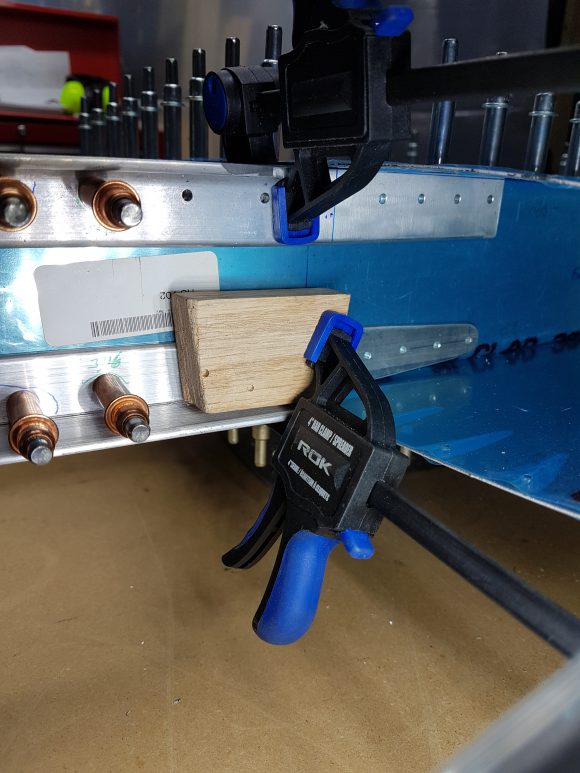
I reinstalled the HS-405 root rib and clecoed all the holes to make it as solid as I could. I clamped the forward flange tight against the forward spar. In the picture, you’ll notice I have a shim between the flange and the spar. At the time it looked like I might need one there so I match drilled it just in case I needed it. In the end once this assembly was all clecoed tight the flange sat tight against the spar and I didn’t use the shim.
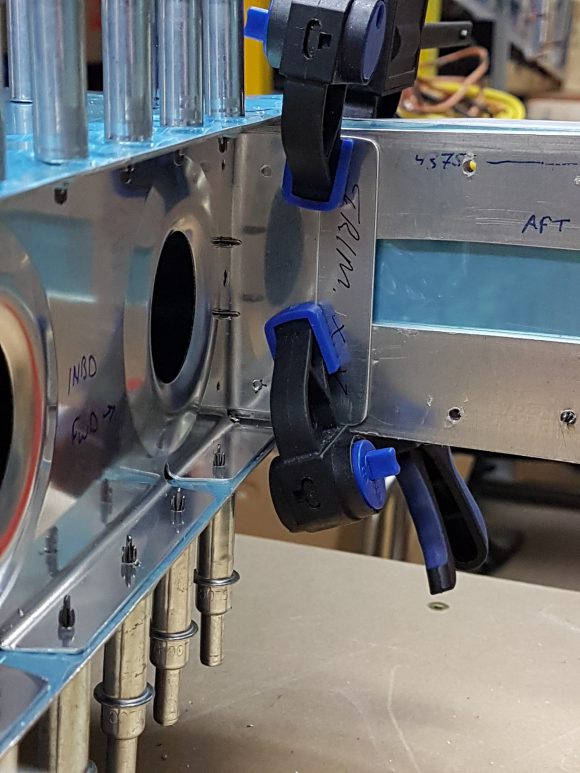
And here is a picture on the forward side of the spar and how I clamped it together.
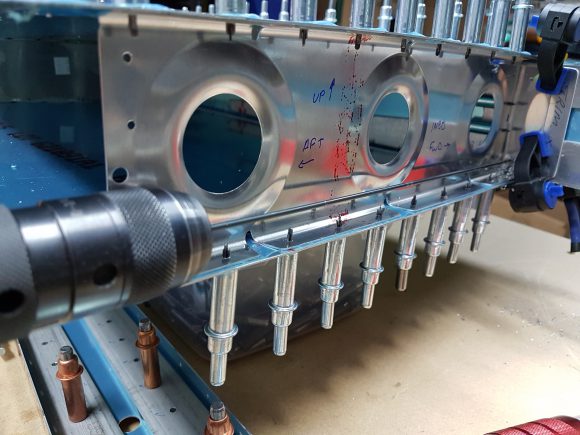
With the HS-405 rib and forward flange as secure as I could make them, it was time to take the plunge and drill some holes through the forward spar! I accomplished this using a long #40 drill bit. These hole will be final drilled to accept 1/8″ rivets, so the #40 drill bit is good to use to make a pilot hole.
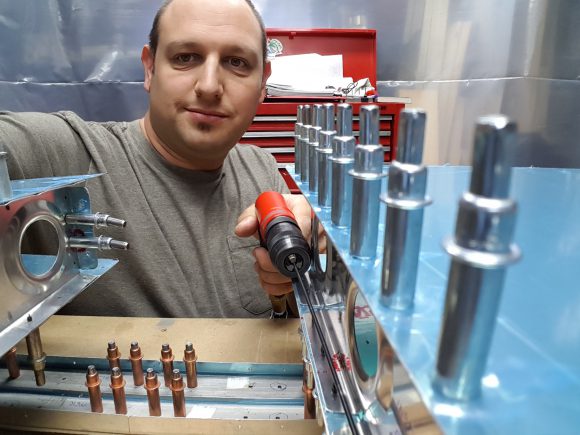
Here’s a selfie to prove that I’m actually doing some work.
And here is the forward side of the spar after drilling the pilot hole on the lower side. I’m happy with how close I came to the centerline. Again, this is why you want to take your time and not rush this process.
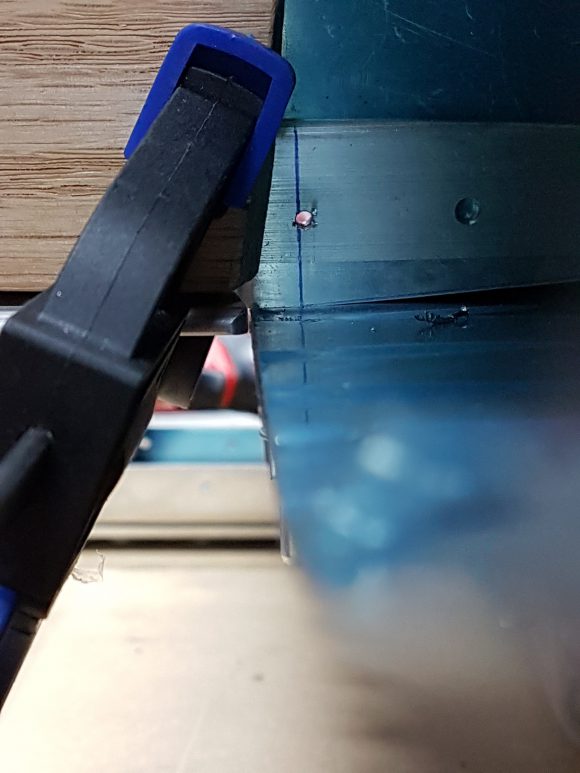
And here is the upper hole. It’s slightly inboard of the centerline, but still touching. Again, I’m happy with this progress.

Once the holes are pilotdrilled, I clecoed them.
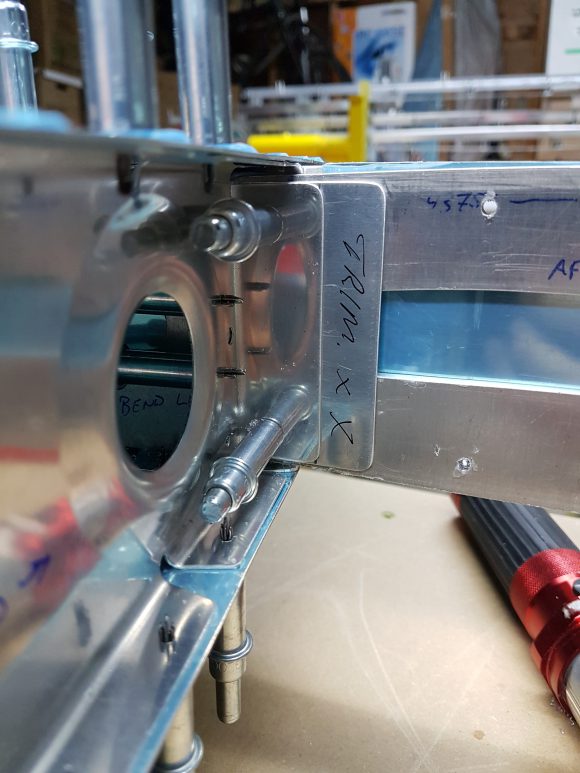
Okay, now that the HS-405 flange has been match drilled to the forward spar. It’s now time to drill the HS-404 nose rib flange to the spar. Again, I started with center punching the hole locations on the HS-404 flange, and then pilot drilled them. The HS-404 rib is then placed back into the HS and clamped into place. As you will see in the pictures I used A LOT of cleco clamps. These are really helpful tools to have in your bag of tricks.
In the picture below I already drilled the lower hole in the HS-404 flange through the spar.
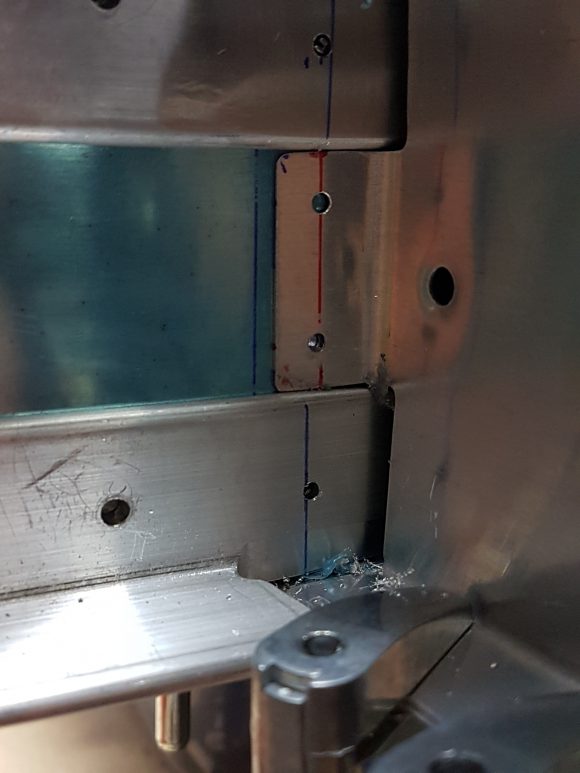
Cleco that hole and then drill the top hole.
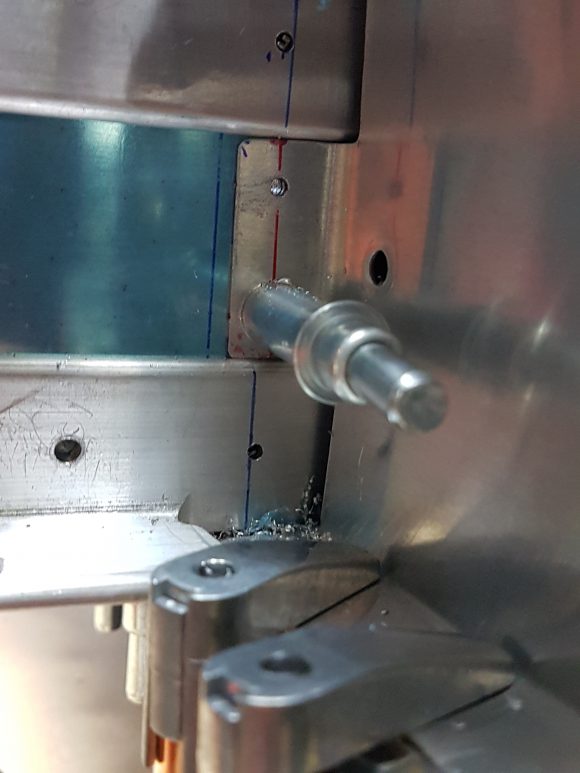
Here is a picture of the back side with all 4 of the HS-404 and HS-405 flange holes drilled with #40 pilot holes.
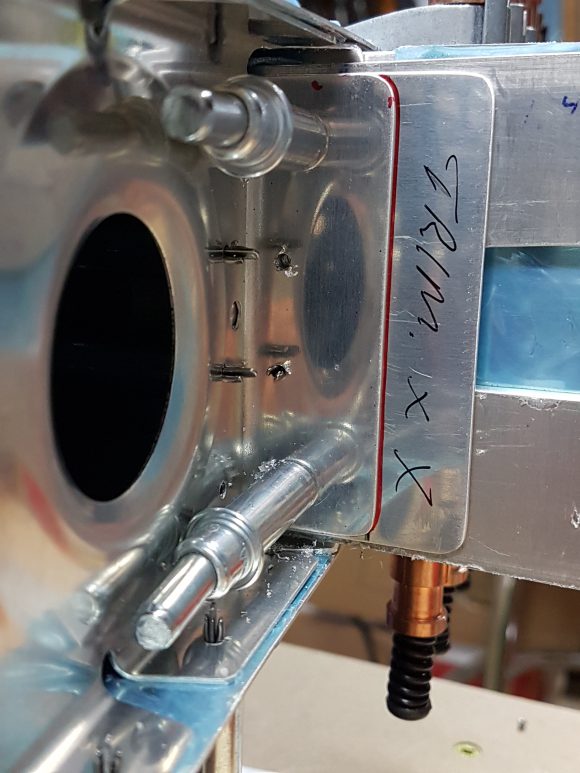
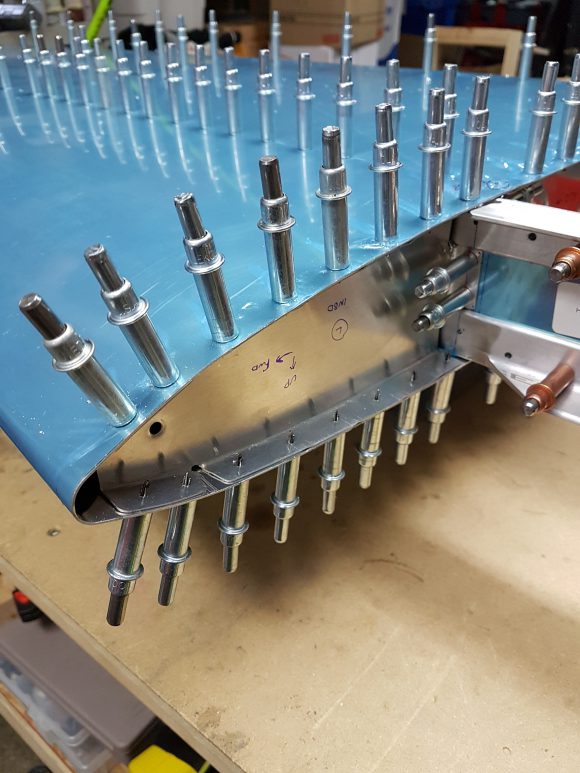
Once the flange holes are drilled I then proceeded to drill all the rivet holes in the HS-404 nose rib. In the picture below I have the top surface drilled. The lower surface is still clamped tight.
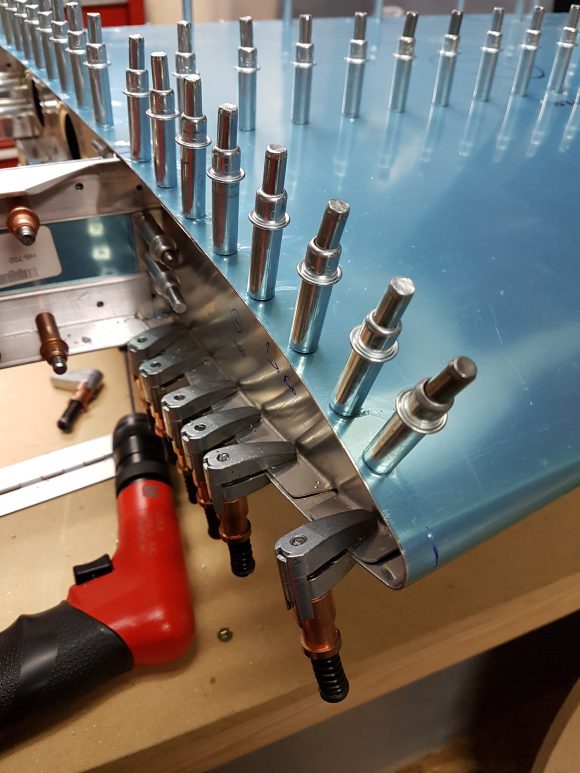
And here is the HS-404 nose rib all drilled.
Please comment, I love to hear from my readers. Thanks again for coming along for this ride, you make my work worthwhile.
Leave a Reply