The next project I’m moving forward with is going to be assembling the flaps and ailerons. I’m tackling this now, mostly to assemble some of the loose pieces that have been sitting around the shop for the last little bit and I’m eager to get these into an assembly to only have to move one piece around.
Not shown in the pictures is that prior to starting the ailerons, I fabricated new aileron spars (which I don’t have a picture of right now). The reason for this is because the spars supplied in the RV-4 kit are drilled with lightening holes. As the Sport Wing is shorter, therefore also are the flaps and ailerons. The flap spars were undrilled so that’s not an issue, however as you can see in the picture below, the aileron spars are drilled full length, and leave you no room to shorten the spar and still be able to fit in all the pieces of the structure. So when if you’re going to be working from an RV-4 wing kit, keep in mind to omit the aileron spars or to try and get them sent undrilled.
As my new spars are obviously undrilled, the old RV-4 spars actually came in handy for drilling the A-408 spar reinforcement plates (which come undrilled). I used the spar as my template, to matchdrill these plates, which I could then transfer over to the new spars and once again matchdrill which made this task quite straightforward.
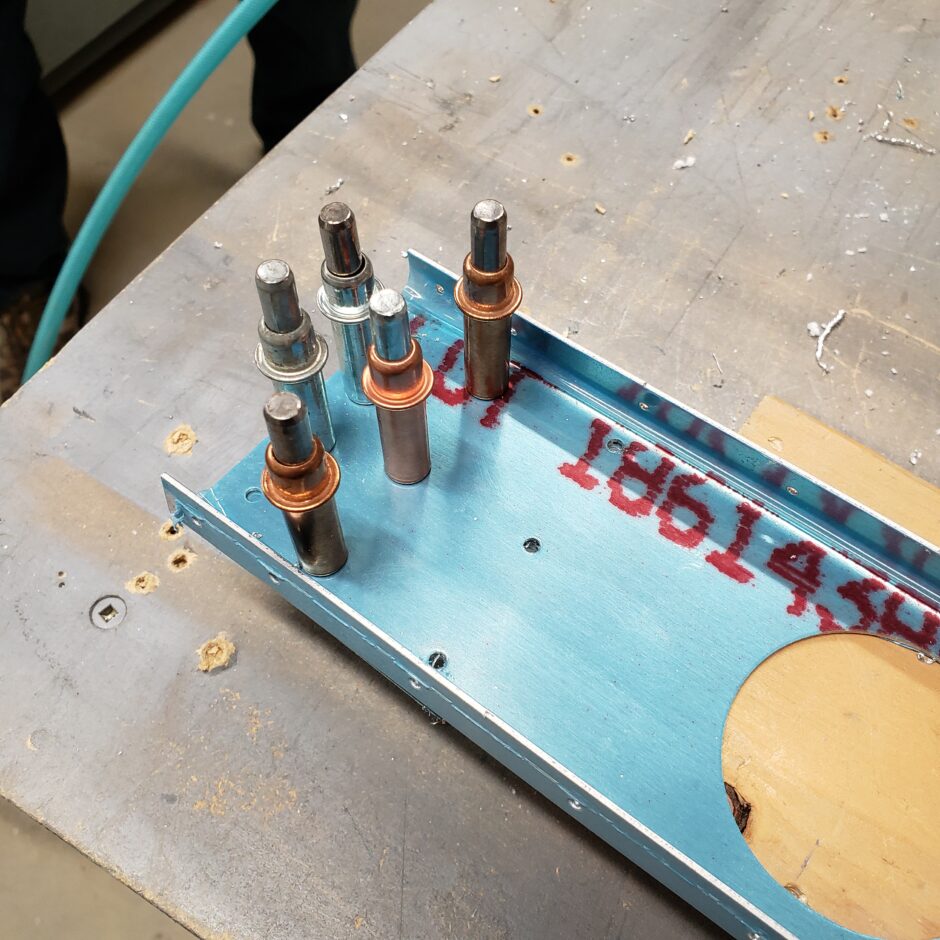
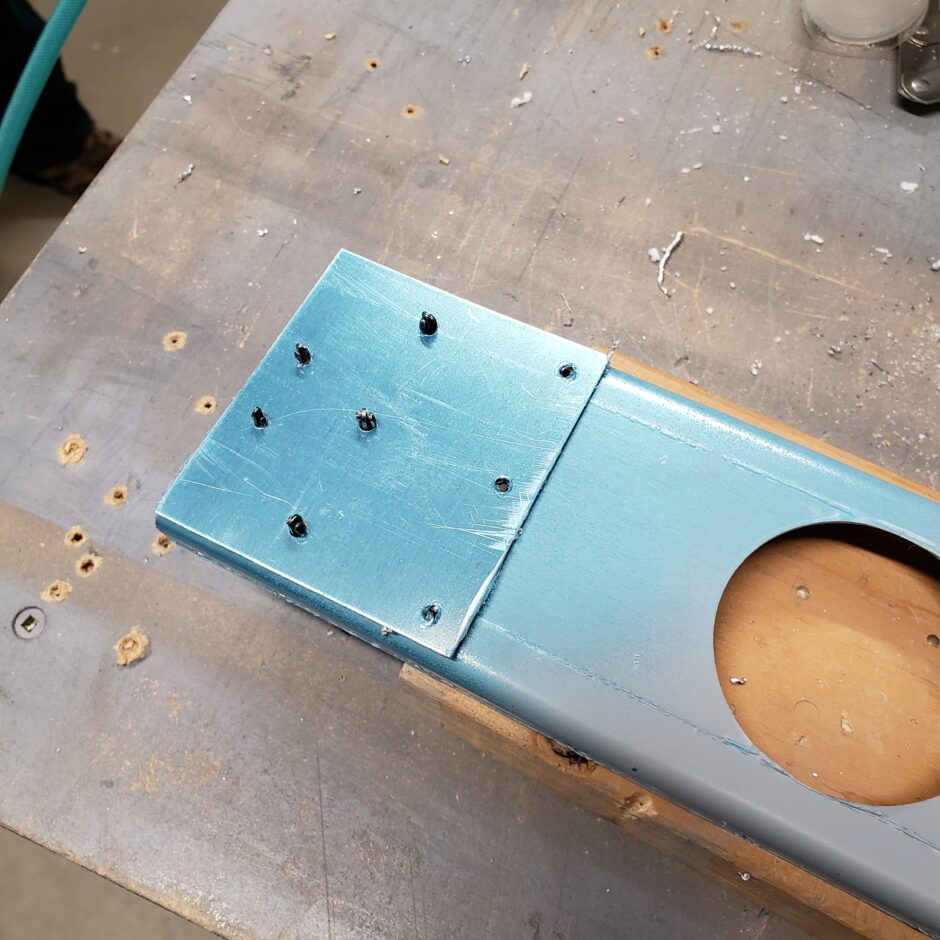
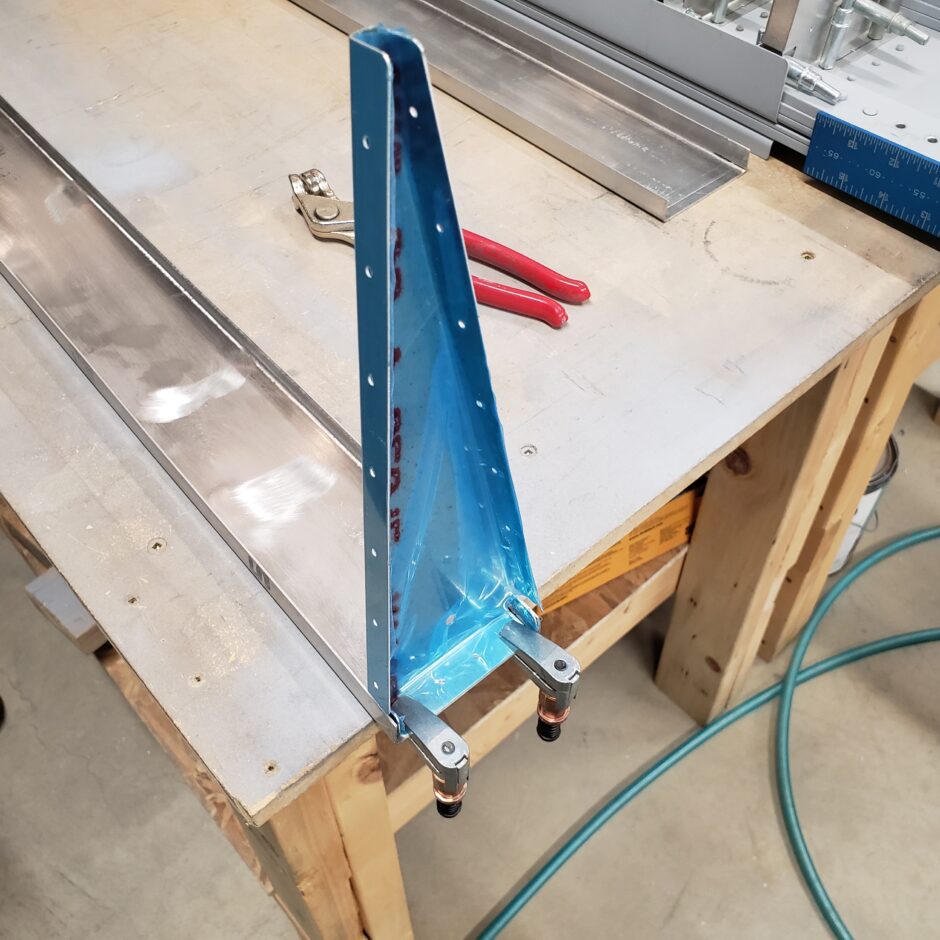
The ailerons (similar to the rudder and elevators) uses ribs on the ends only, and relies on the skin stiffeners elsewhere to hold its shape. In the picture below I’m locating and installing one of the aileron ribs. As my spar is undrilled, I’m getting the rib properly aligned, and will use the predrilled holes in the rib to match drill the spar.
Also note that the aileron ribs are not symmetrical, so be sure to locate them properly (inboard and outboard). Additionally, locate the aileron spar for (inboard/outboard, front/back etc). This is an area where it’s easy to get yourself mixed up!
As you can see below, the match drilled holes of the rib will also drill into the A-408 spar reinforcement plates.
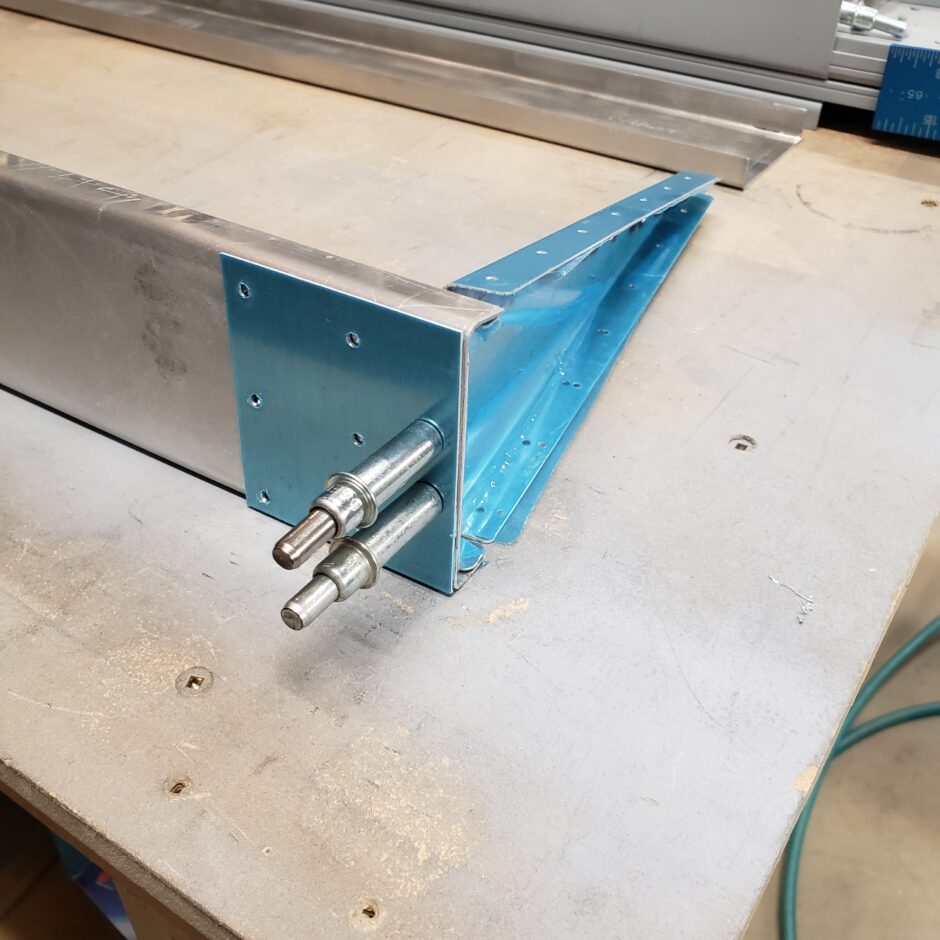
With the end rib installed, I then added the A-704 nose rib. This was easy as it’s pre-drilled to match the holes already pre-drilled in the A-408 reinforcement plate.
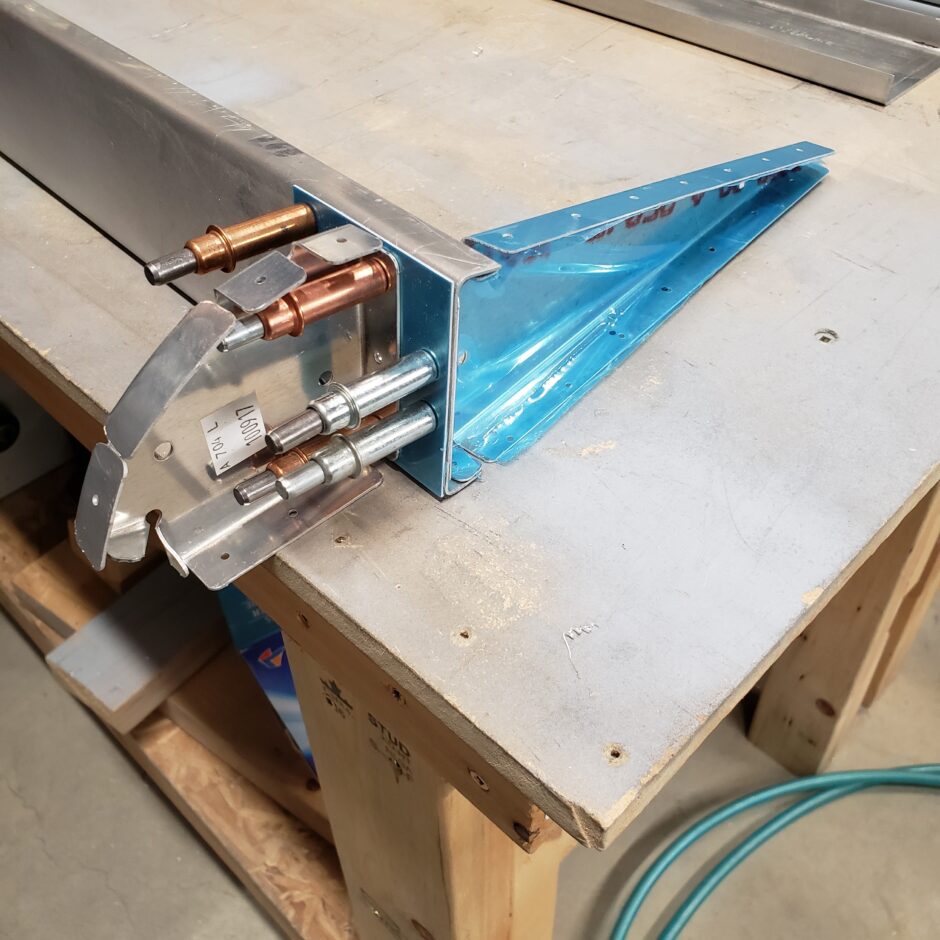
With the end of the aileron getting built up, the only thing left to do was to drill the tabs of the end rib to the spar. Be careful of edge distance here. You may have to push / clamp the end rib into the spar, and maybe give a little push on the tab to ensure all these parts are sitting nice and tight before you drill. The rib has the hole, so you need to back drill into the spar. It’s not difficult…just exercise caution to make sure you don’t screw it up!
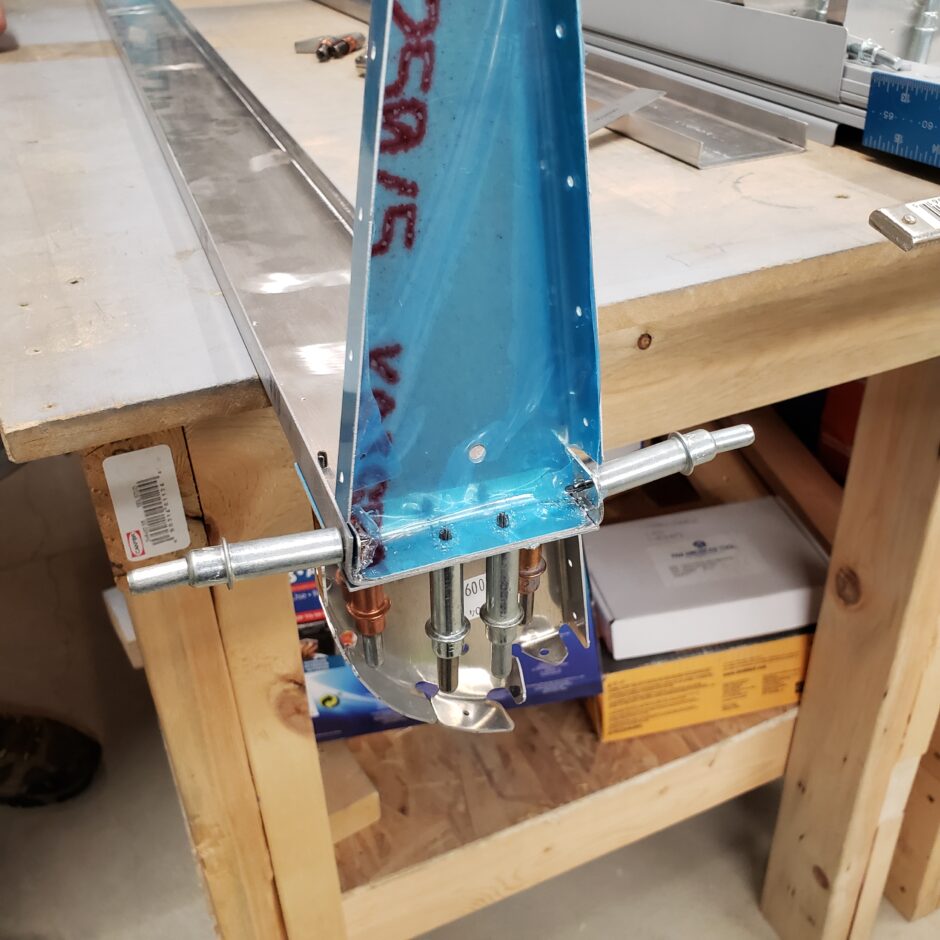
In this next picture I’m jumping ahead pretty quickly, as you can see I have both ends of the aileron spar assembled, the spar assembly located in the skin, and also have the leading edge skin in place. Before I move along too much further, I need to get the skin stiffeners on the skin. As I don’t have them cut yet, this is as far as I was able to proceed this evening.
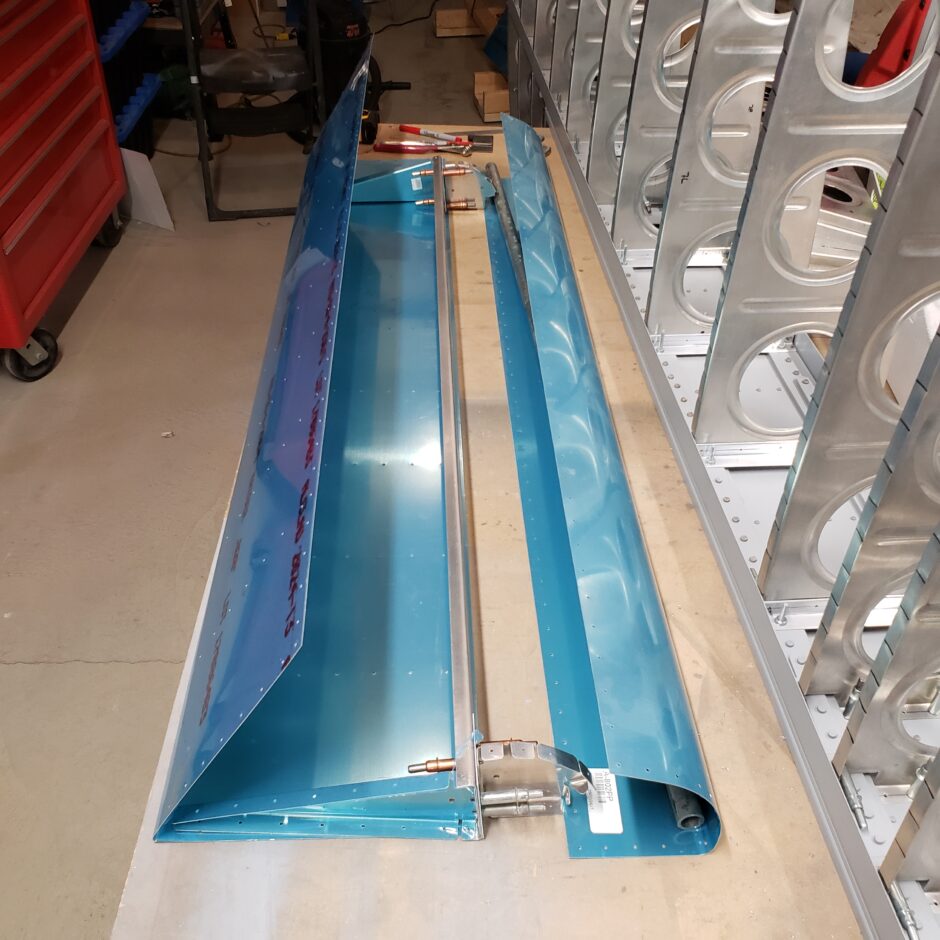
The next day, I was able to spend some time cutting out the stiffener angles. As with the other flight control surfaces, the stiffener angle comes pre-drilled and notched directing you to the cut lines. In the picture below, you can see one of the angles of material marked and ready for cutting.
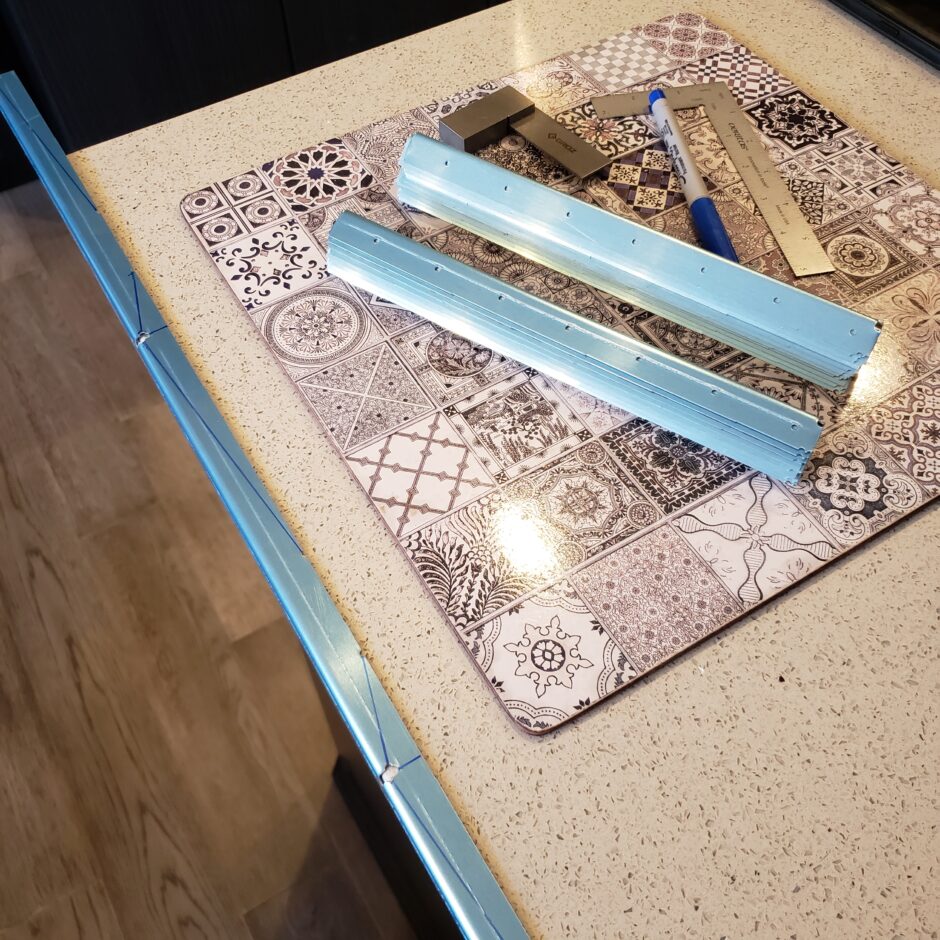
After cutting the stiffeners, I cleaned up and smoothed the edges on the 3M Scotchbrite wheel. Then they were ready to install on the aileron skin. As the Sport Wing is shorter than the stock RV-4 wing, you don’t need to install all of the stiffeners.
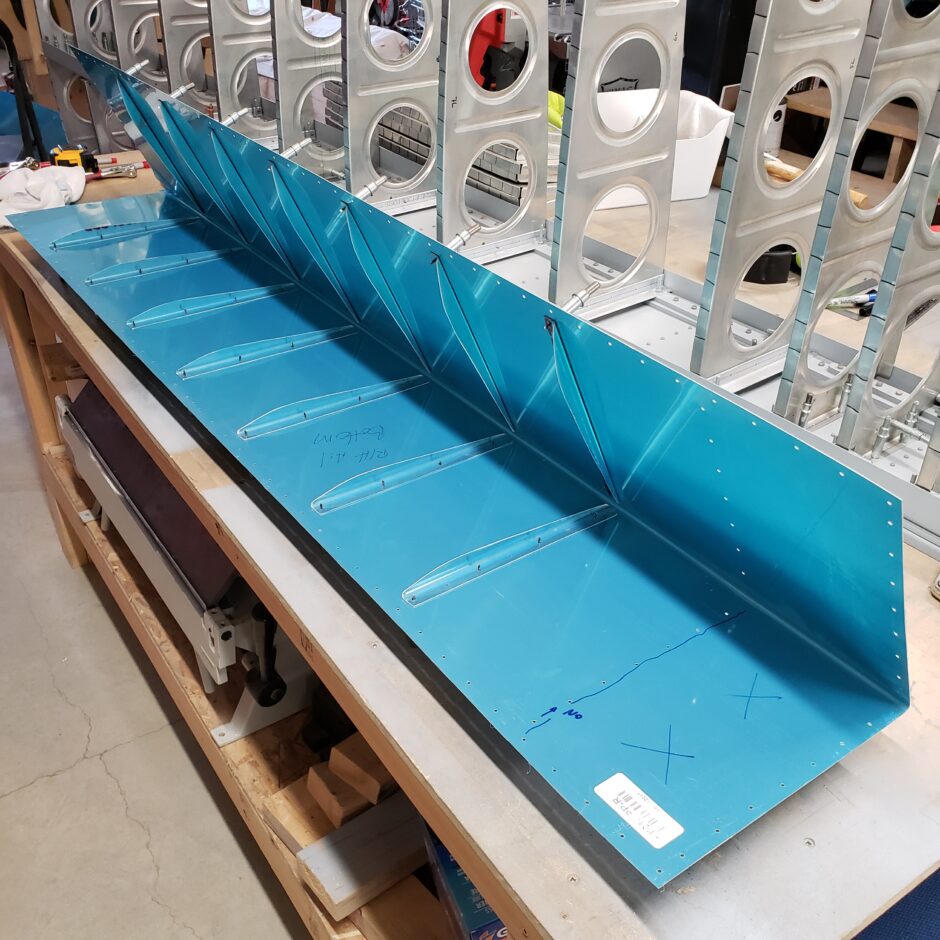
As shown in the picture below, you can see roughly how much of the aileron is trimmed off to shorten the length.
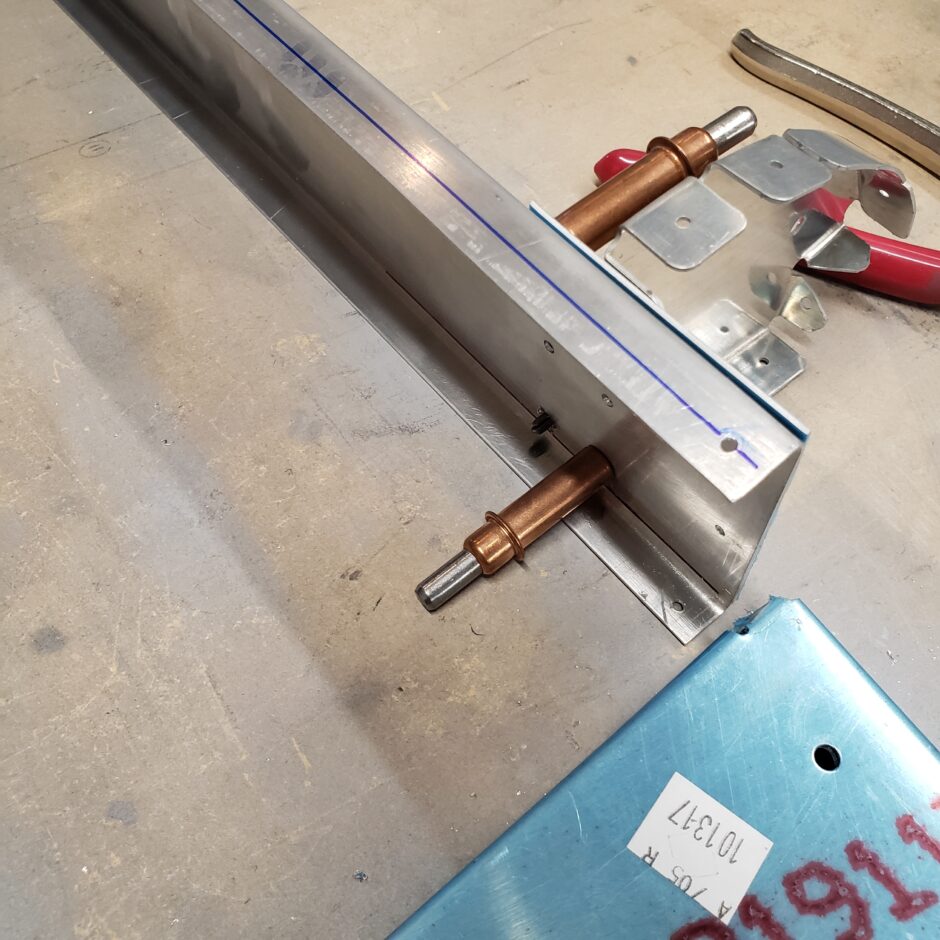
Before proceeding too much further with match drilling the aileron skin to the spar, I needed to mark the spar rivet centerline. Again, as mentioned before when drilling the end rib tabs to the undrilled spar – this is why it’s critical to make sure you have proper edge distance! I used the two end rib tab holes as my centerline guide.
Moving forward, when you get the aileron skin in place, you’ll be able to cleco it to these two end rib holes, but everything in between will need to be drilled. As the skin in pre-drilled hopefully (if you did it right) you’ll see your centerline through all the pre-drilled holes of the skin.
I was able to get the skin clecoed in place by the pre-drilled holes of the outboard end rib, and the two holes (upper and lower) for the inboard end rib tabs. The inboard rib will not be able to be clecoed as the aileron is shortened, thus the inboard rib doesn’t line up with any pre-drilled holes in the skin.
I then used a few clamps to hold the skin tight to the spar before I started to drill the holes in the spar.
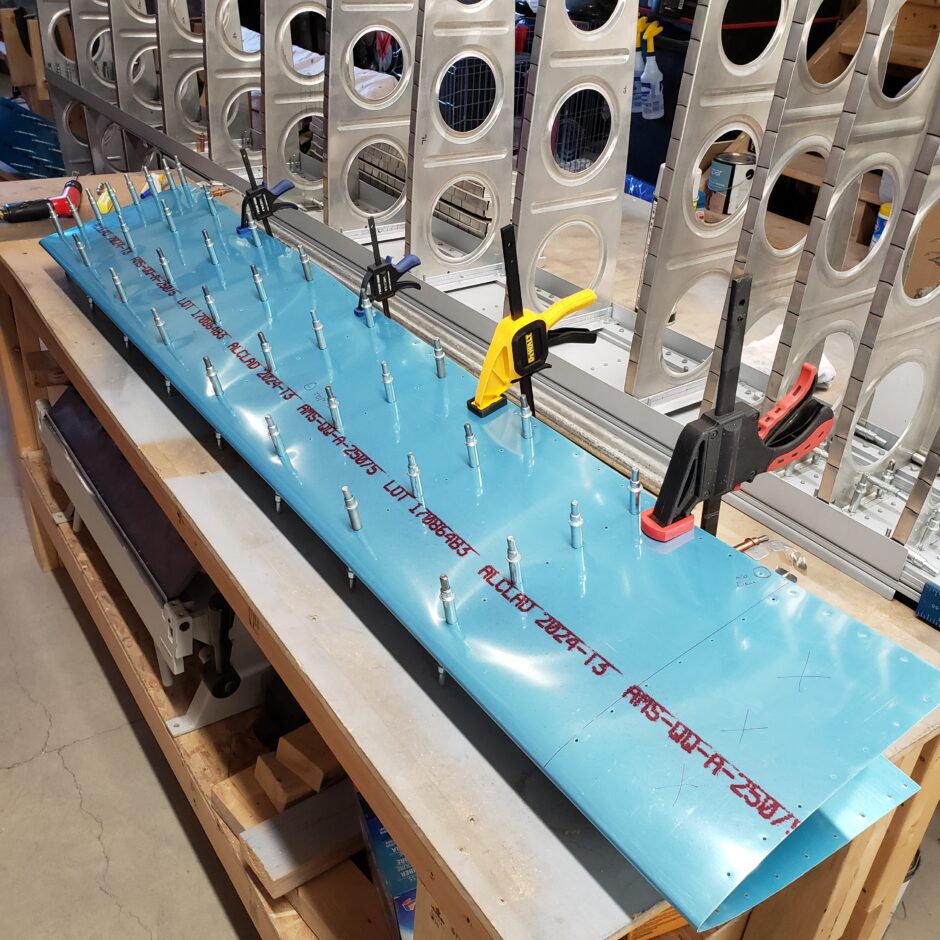
In the picture below, you can see that both the upper and lower surfaces of the skin are drilled to the spar. Also note, I opted to leave a couple fastener holes at the inboard side of the skin undrilled to the spar (for now). The reason for this is because they will be dictated by the pre-drilled holes on the leading edge skin. These holes (again, because the leading edge skin is cut down) may not (will not!) end up aligning with the pre-drilled holes in the skin. In particular the hole by the A-704 now rib. Mark these and for now don’t drill them!
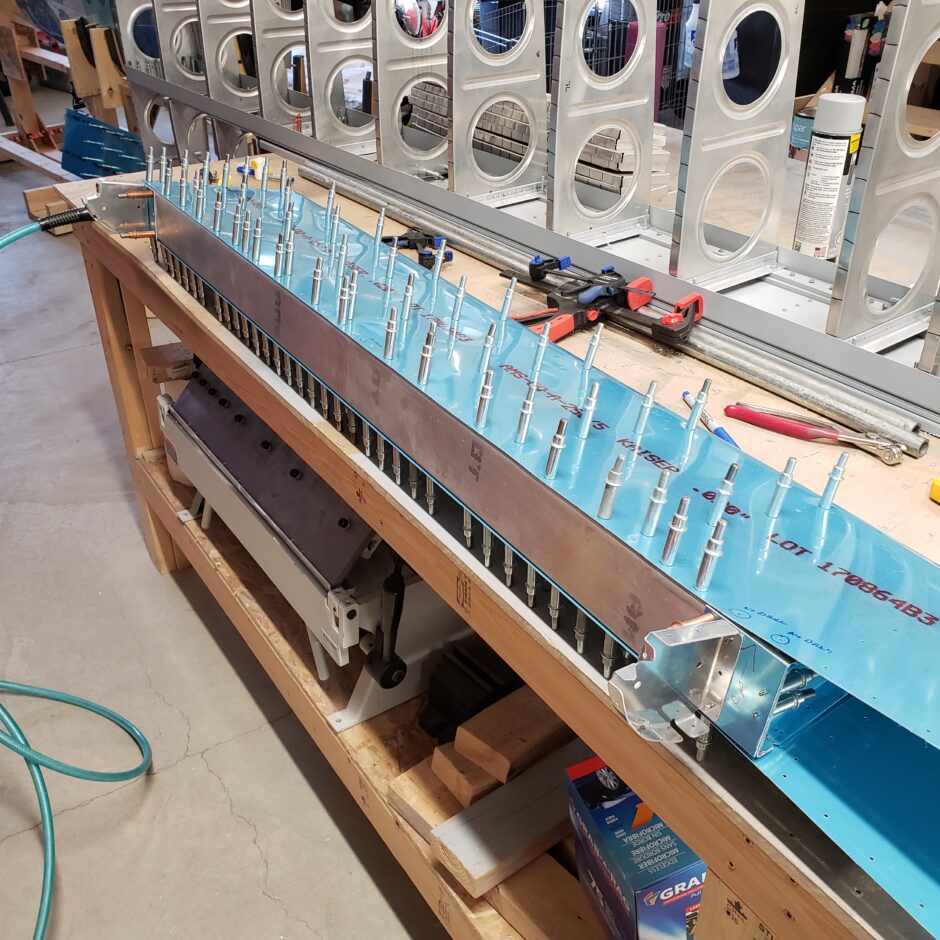
Here is a closer picture of these 2 holes. The outboard one doesn’t align with the hole in the spar of the end rib tab. Rather than having these two rivet holes so close together, I’m preferring to keep the hole in the skin drilled but not the underlying spar. I’ll then only have one hole at the end of the spar, which aligns with the end rib tab. As for the “no drill” hole on the left, I’m just leaving it for now until I can better understand what will happen with it (and what aligns with it).
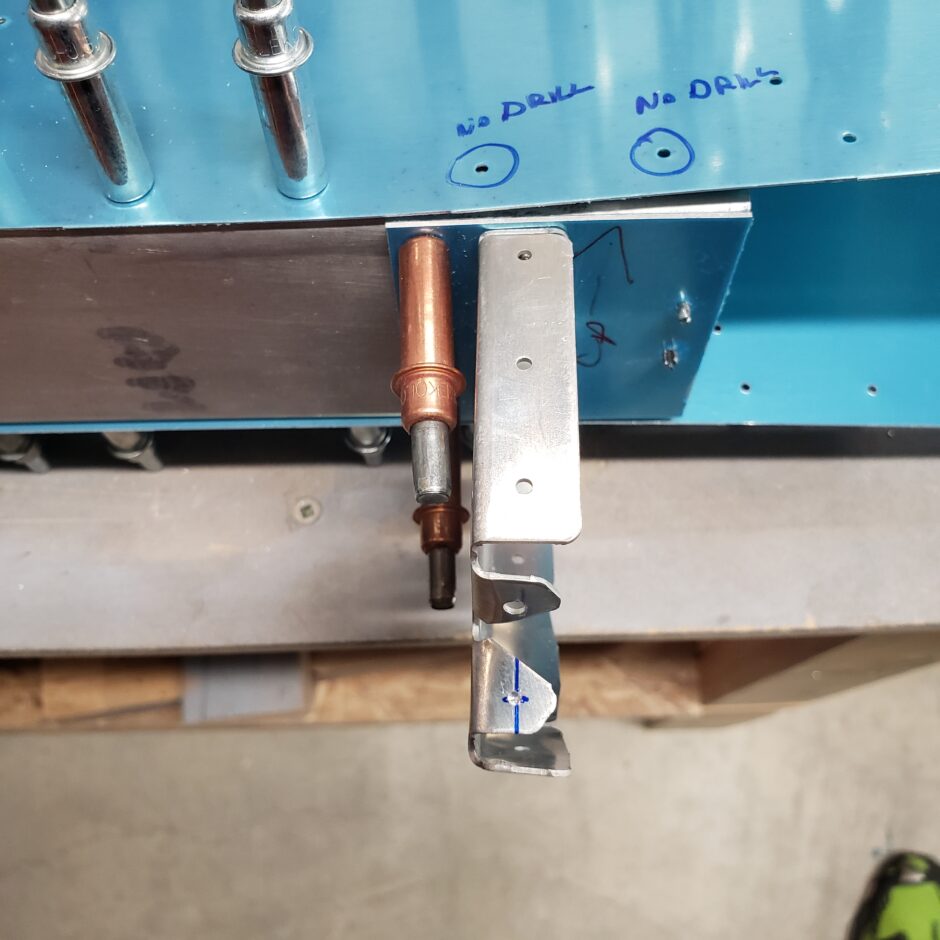
Again, here are those 2 holes marked on the leading edge skin. I also made my official screwup of the night. I was trying the match drill the inboard nose rib to the leading edge skin, as the skins isn’t predilled due to the shortening of the aileron. I was attempting to use an 90 degree angle drill. I was sure that I was aligned and square…so I drilled. Well, looking at the hole that resulted, I was surely on a significant angle as I came through the leading edge skin.
What made this difficult is that I haven’t trimmed the leading edge skin, so I’m reaching in about 5 inches (from the edge at the top of the picture, down to where the nose rib would be

Have I ever mentioned that I hate using the 90 degree drill….I just don’t trust it.
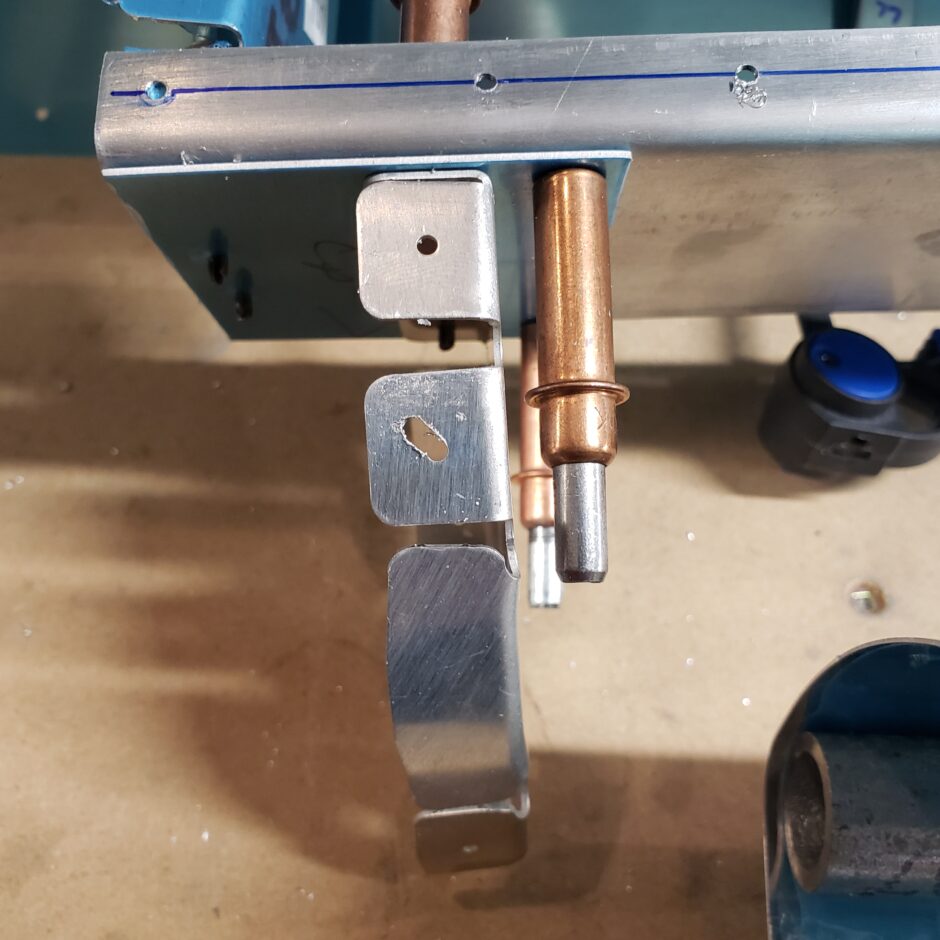
Anyway, in the picture below, it how the rib looks from my drilling. Needless to say, I now need to order a new A-704 rib and leading edge skin! So at this point, I’m calling it a night.
Please comment. I love to hear from my readers. Thanks again for coming along for this ride, you make my work worthwhile.
Leave a Reply