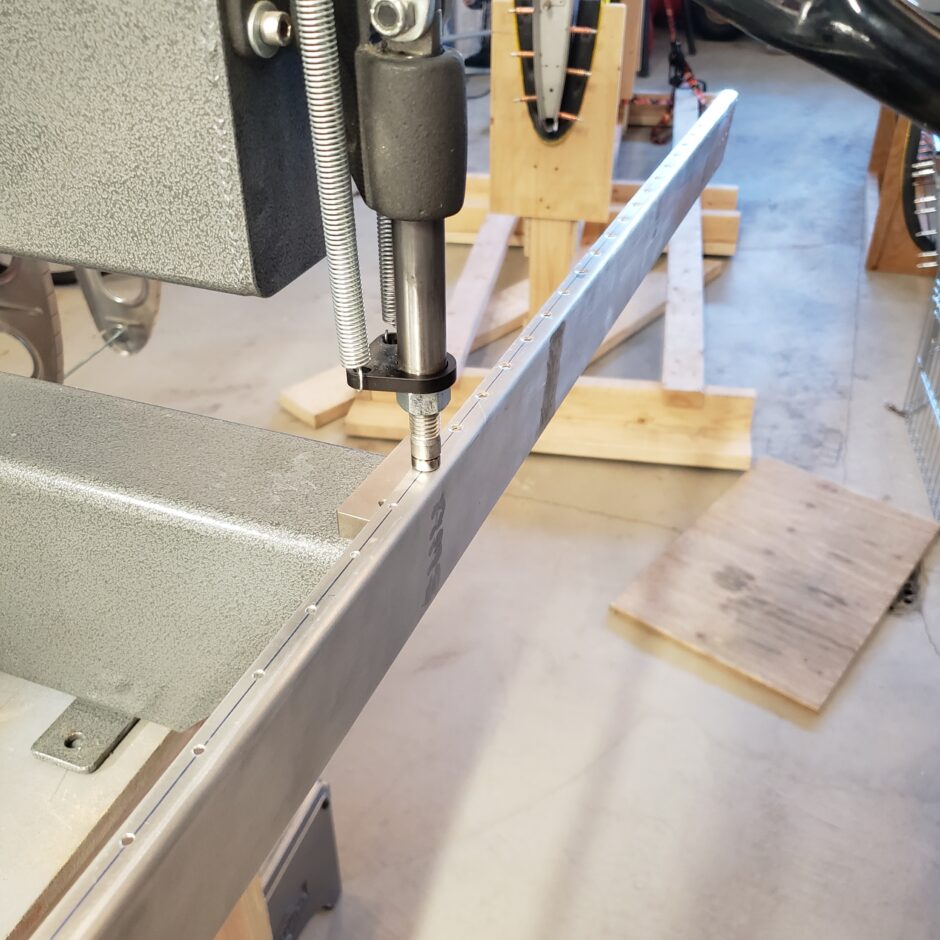
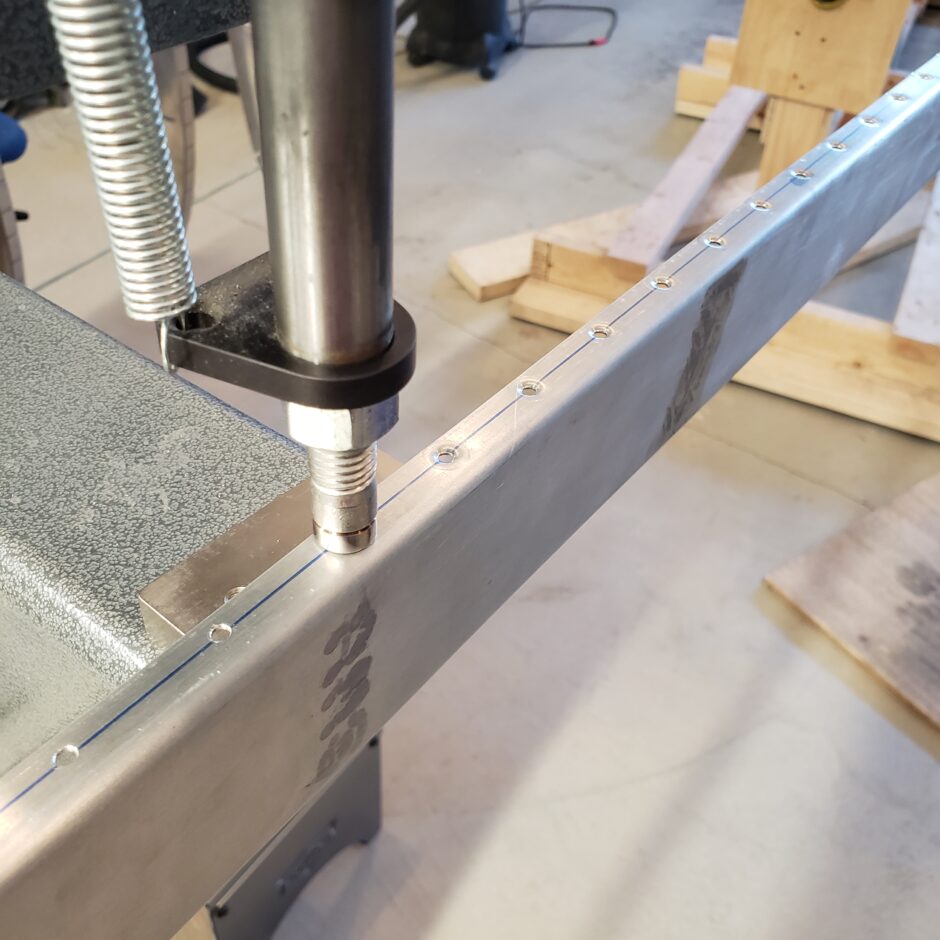
Now that the aileron assembly is pretty much put together, I now need to focus on the aileron spars which still have a bit of work outstanding. What I need to do now is to dimple the spar caps, and also to cut out the lightening holes that run the length of the spar.
I started with the dimpling because it’s easy to do.
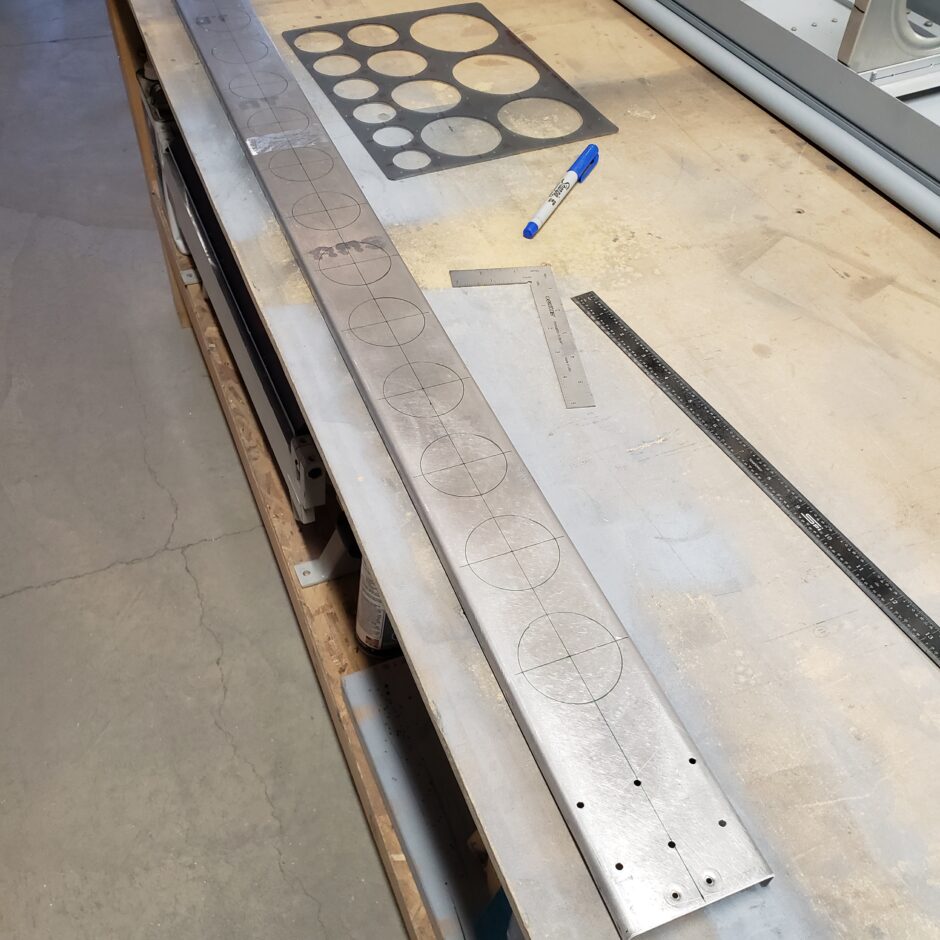
Lightening hole layout
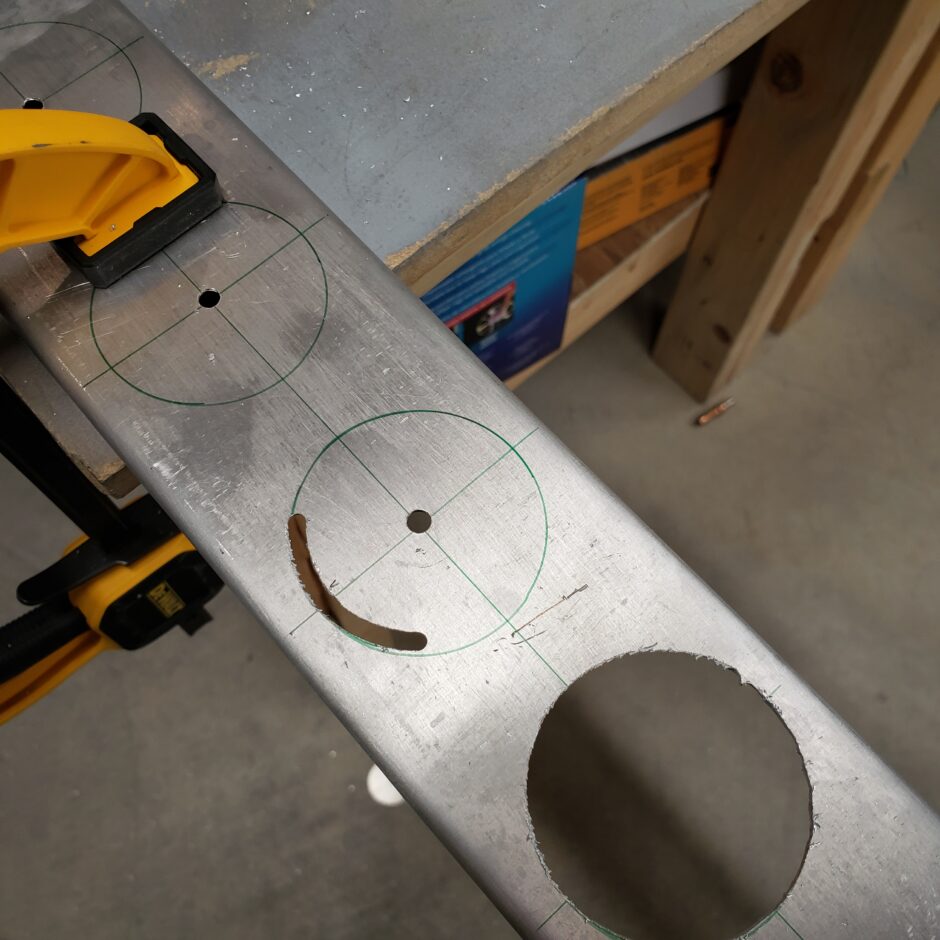
The first task of cutting out the lightening holes was to measure the location of the holes along the spar. I started by measuring in 5 inches from the inboard end. The holes are 2 inches in diameter and are on 2-3/4 inch spacing.
For cutting the holes, I started with a piloted center hole in each location. Then I used the Noah Industries ARC-360 hole cutting tool. It’s basically an angle grinder with a cutting bit and a hole cutting frame assembly, which is adjustable for holes from 1.5 inches up to 10 inches. It’s available from Aircraft Spruce and costs about $150 USD. This tool worked really well to make accurate holes. I prefer using this over a hole saw. I feel it gives me much more control. If you plan to use one, just make sure your pilot hole is quite a snug fit, as that centers the pivot of the entire tool.
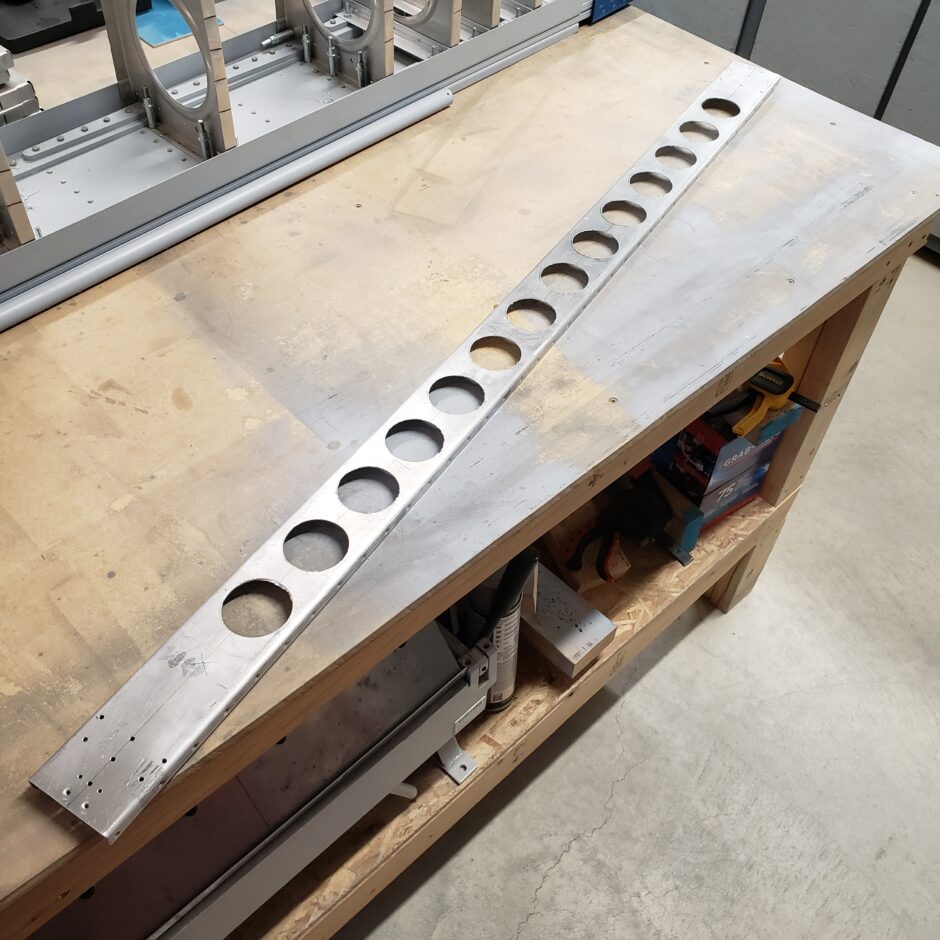
Once the holes are cut, they are a bit jagged, but they clean up quite easily with a file and some scotchbrite.
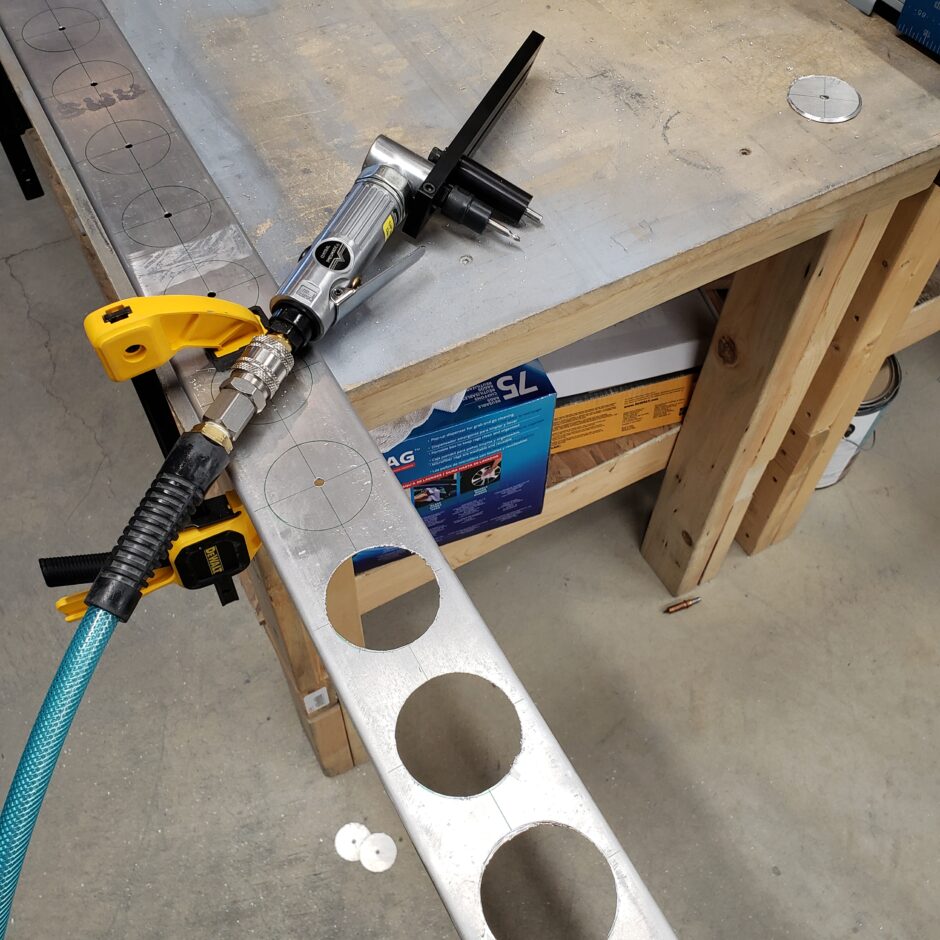
Here’s another view of the ARC-360 tool and the radius adjustment plate.

When cutting the holes, I just clamp the spar material to the workbench and start slowly working an area with the cutting bit until I break through. Then It’s just a matter of working the cutting bit around in a circle.
And before you know it, all the holes are cut and then I moved on to the other spar.
A little riveting
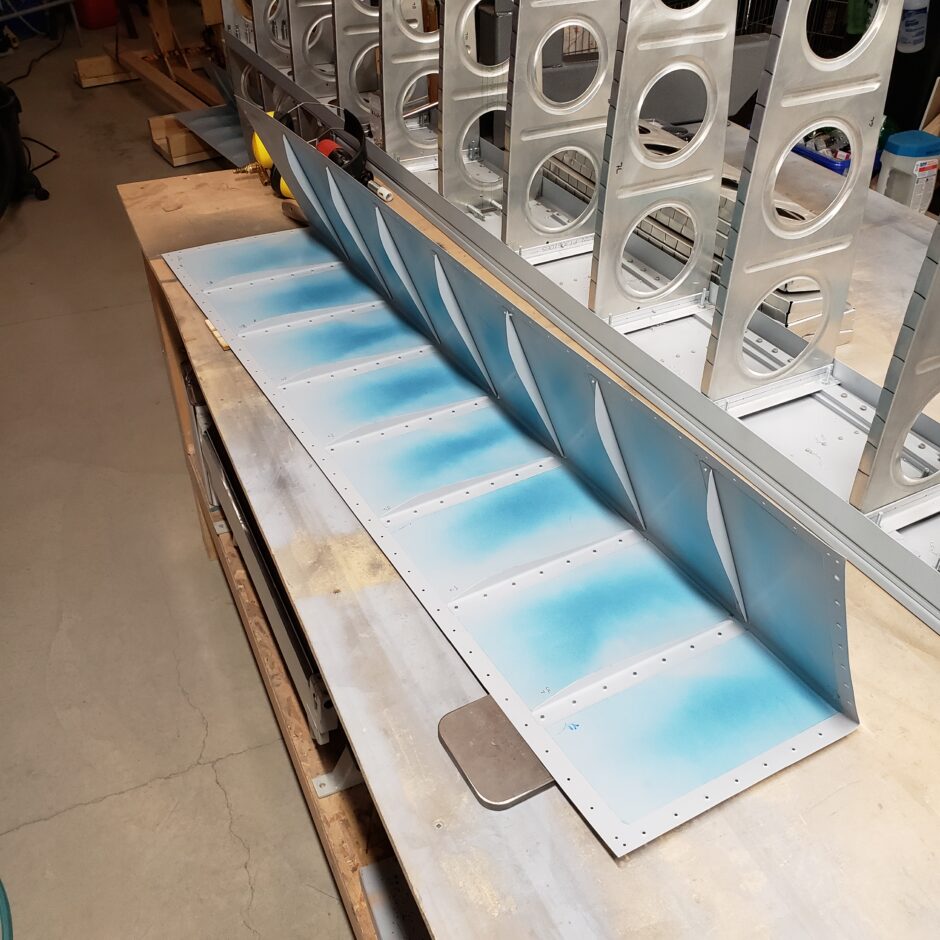
With the spar lightening holes done, I was able to get the spars primed. While waiting for the primer to dry, now was a good time to get the stiffeners riveted on to the aileron trailing edge skins.
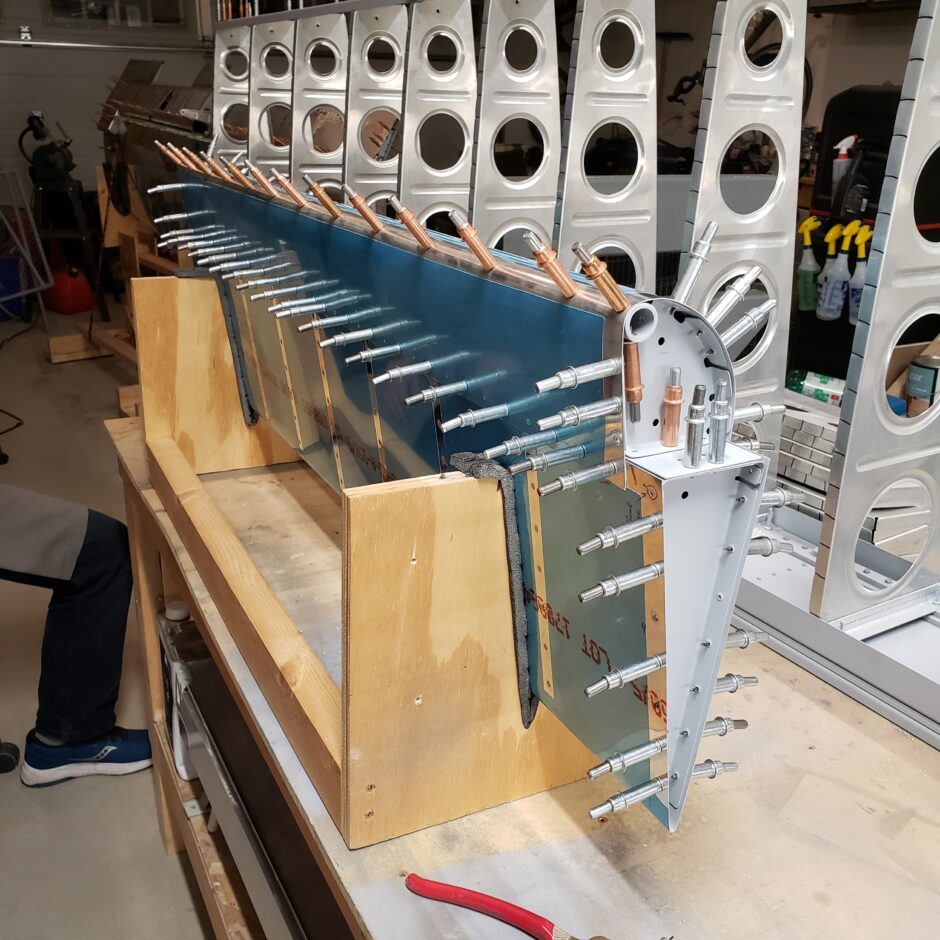
Once the stiffeners were riveted, I was able to put the aileron together as a complete assembly. There isn’t much more I can do here on the ailerons until they go through their pre-cover inspection. So for now, the ailerons are as complete as I can make them. Time to set them aside and move on to other parts.
Please comment. I love to hear from my readers. Thanks again for coming along for this ride, you make my work worthwhile.
Leave a Reply