An exciting day today as I’m finally able to start riveting the ailerons together! I started with the spar, and getting the end doubler plate and nutplate riveted.


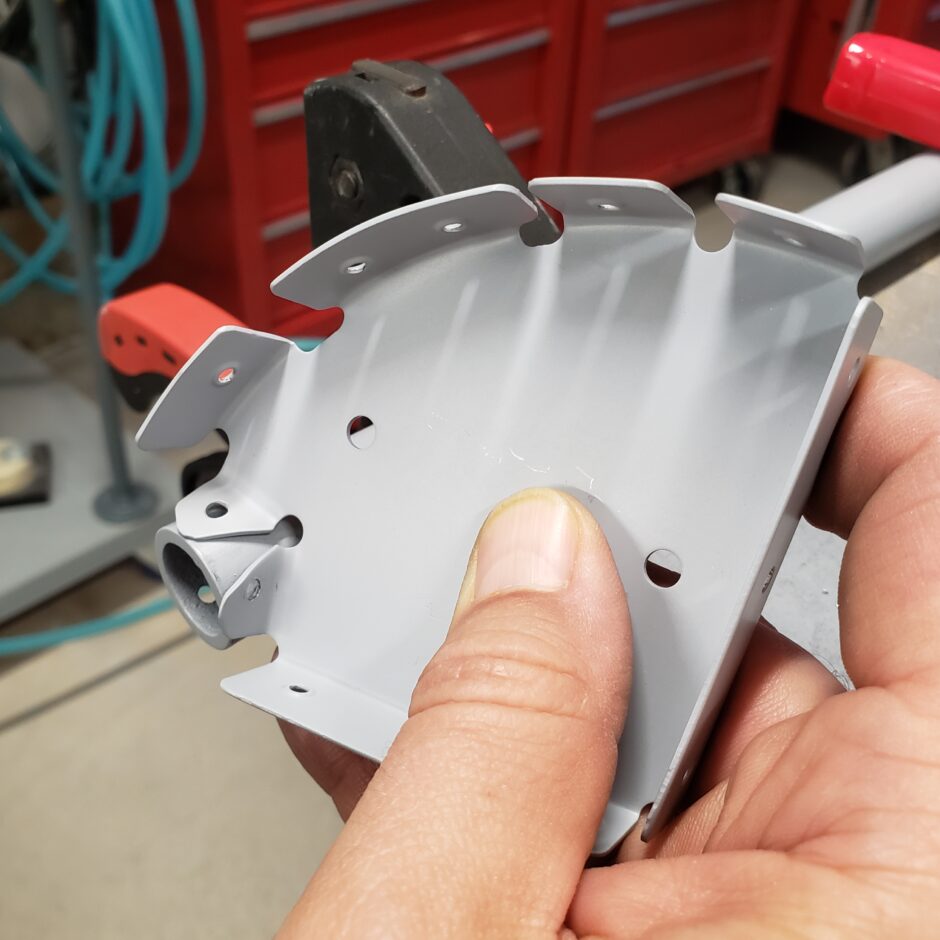
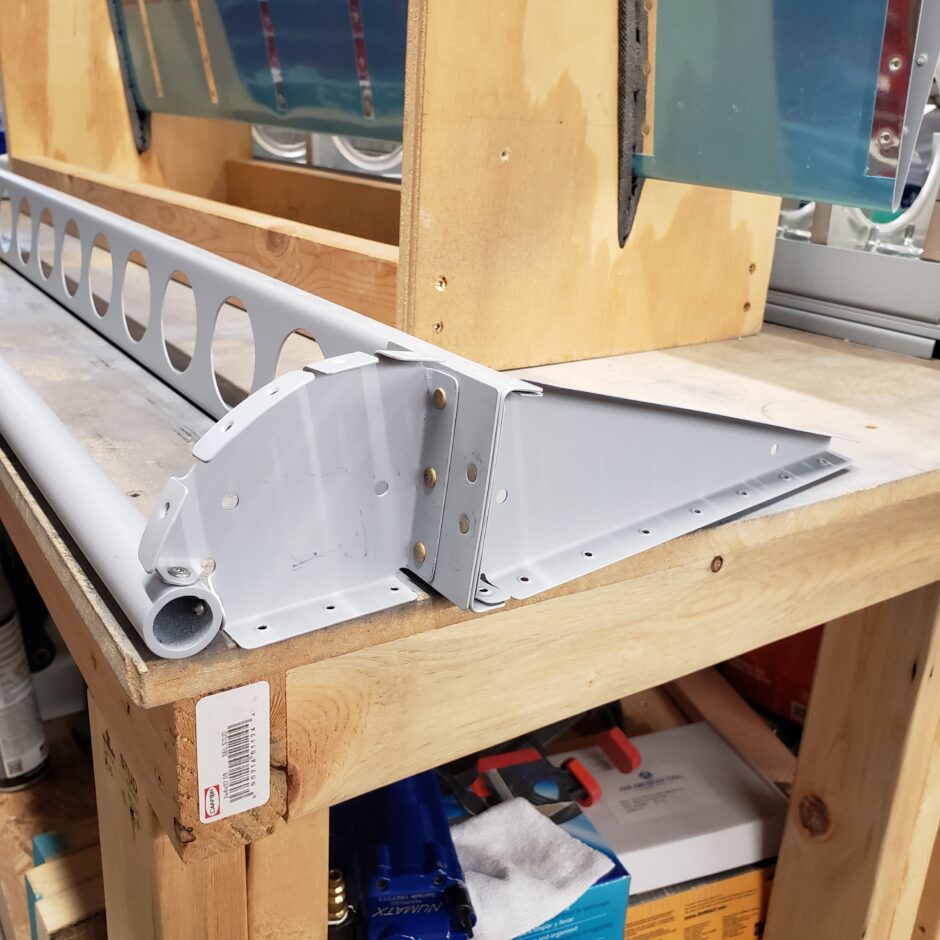
Next I started to assemble the leading edge assembly, and this is done by first getting the leading edge end ribs fastened to the balance weight pipe. It’s a bit tricky to get the tabs of the leading edge end ribs riveted to the pipe, because it’s very tight here.
In the picture below, you can see that I bent the upper tab to be able to move the rib out of the way so that I have sufficient clearance to get the rivet puller tool in that tight spot.
With the rib pushed back to provide clearance to the tab, it was quite easy to get the rivet puller tool in to set the rivet.
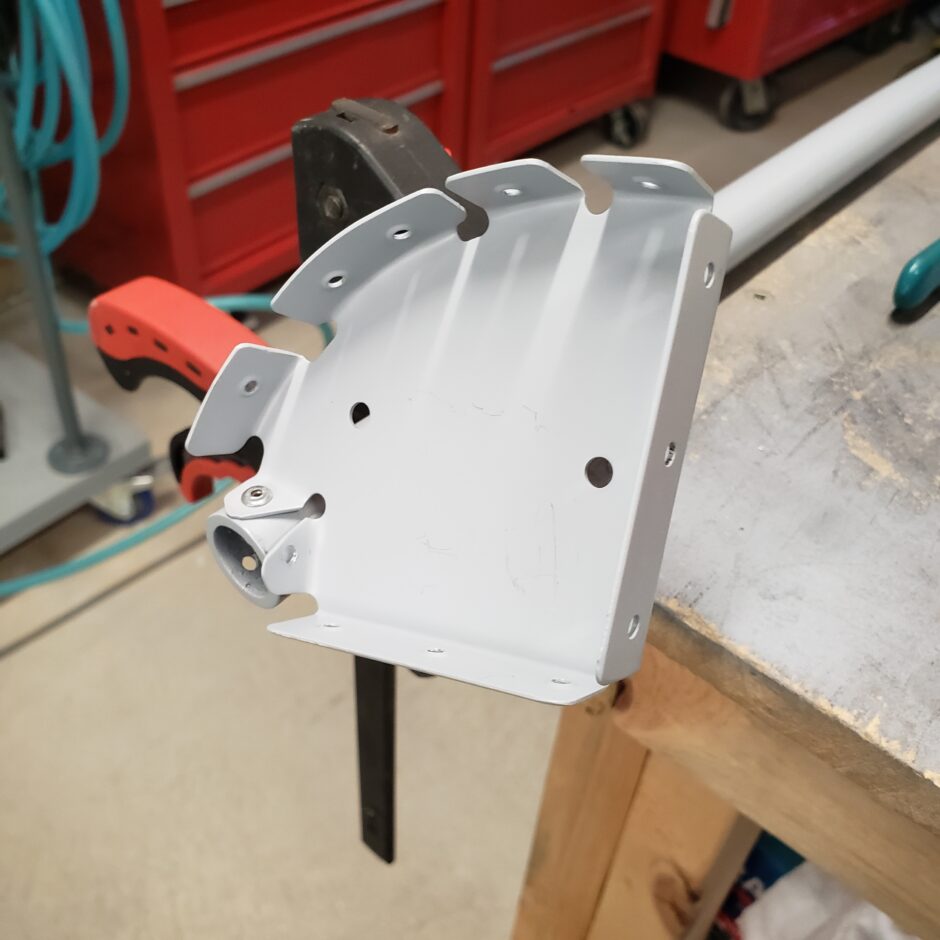
Then I was able to get a shorty cleco in the hole on the aft side. With the rib attached to the balance weight pipe, I could then get the rib bent back in place so it was perpendicular to the pipe.

The magic tool to use here is the Close Quarters, “POP” Riveter. This was the only rivet puller that I had success fitting in this tight spot to set these two nose rib rivets. The hand riveter is available at Aircraft Tool Supply and cost about $247.00. It’s definitely not cheap (especially for me converting the USD to CDN and then to pay shipping and duty/taxes on top!) … which I why I borrowed this from another local builder.
In the picture below, you can see how well it works in this situation.
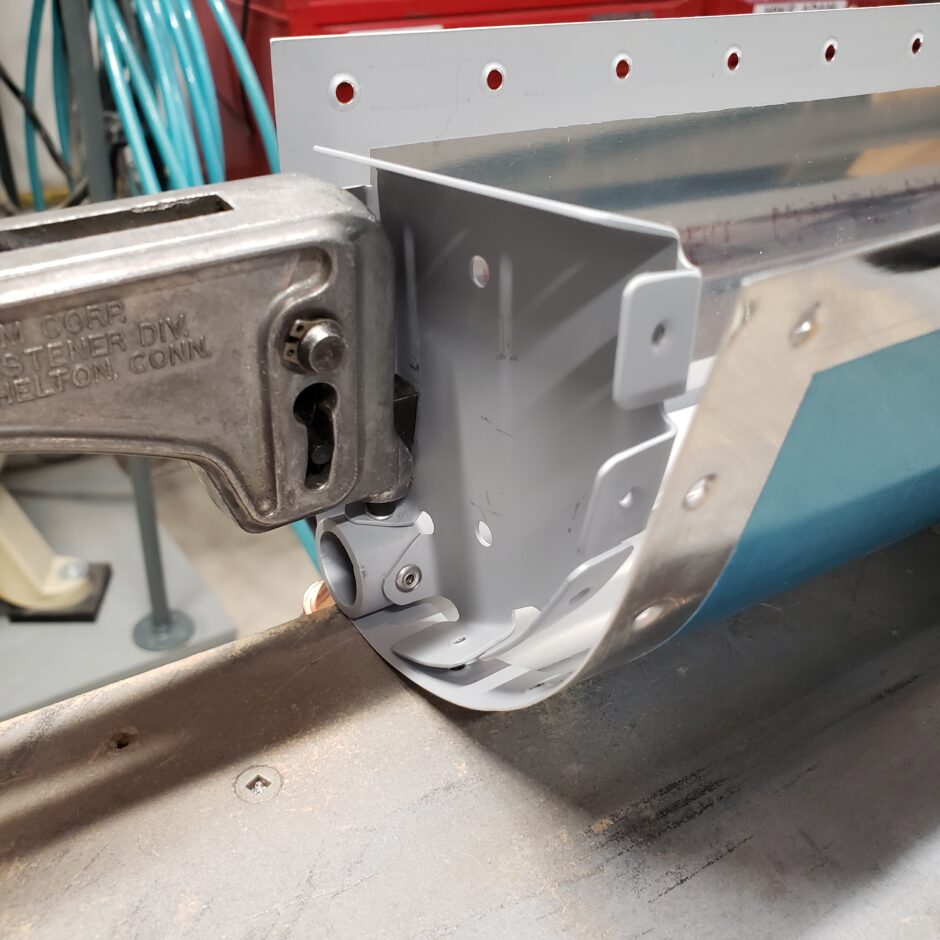

As shown below, this tool worked extremely well to set these rivets. Really happy with it.
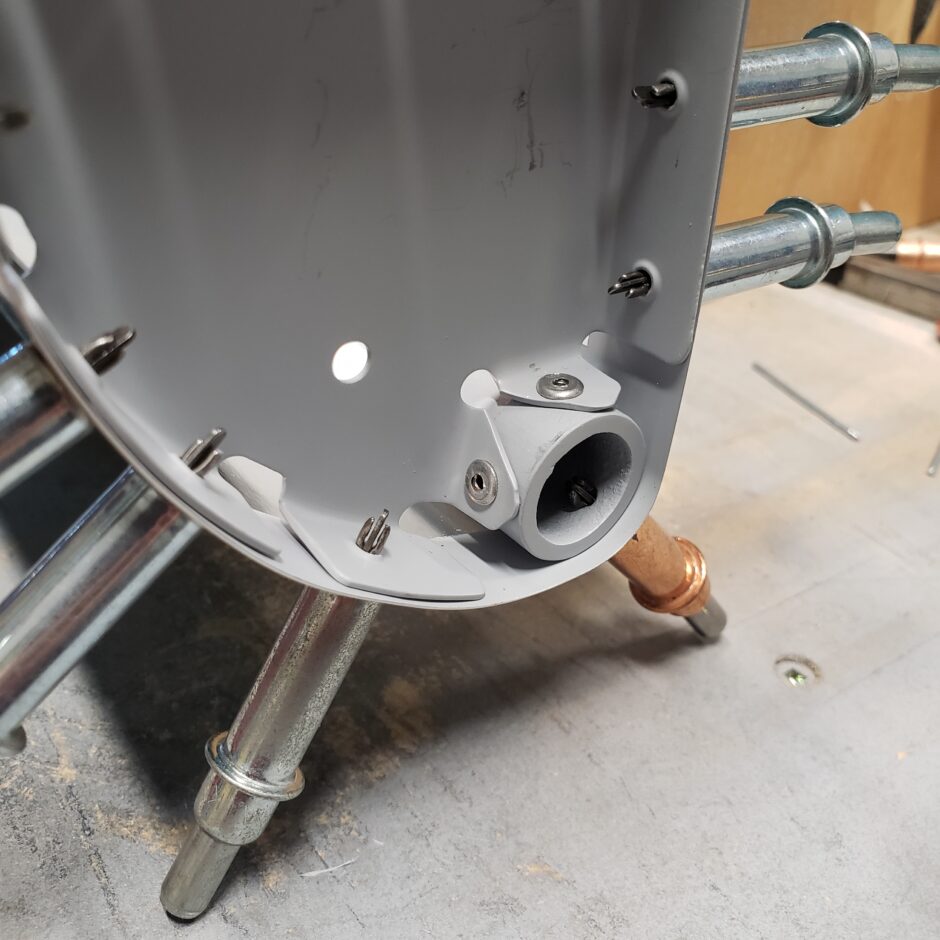
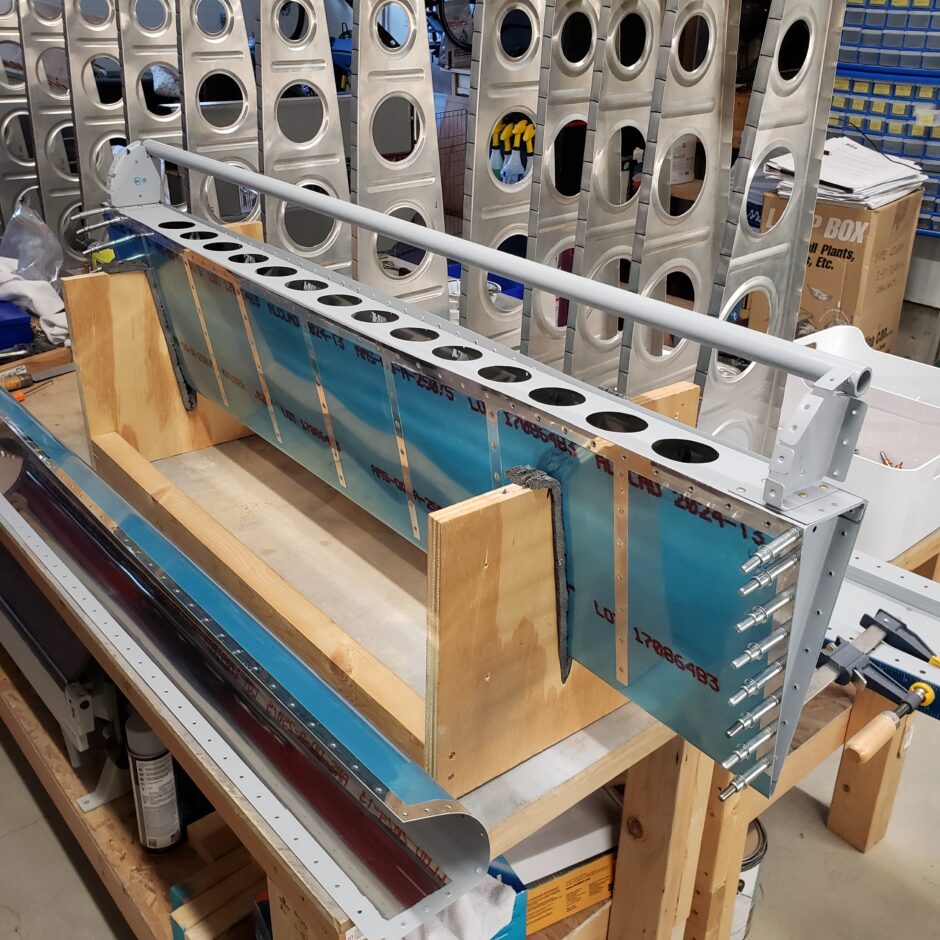
Now the structure of the aileron (ahead of the spar) is now complete!

Then I riveted the end ribs on the aft side of the spar.
Now that the substructure is assembled, I started to build up the aileron assembly to get it ready for riveting.


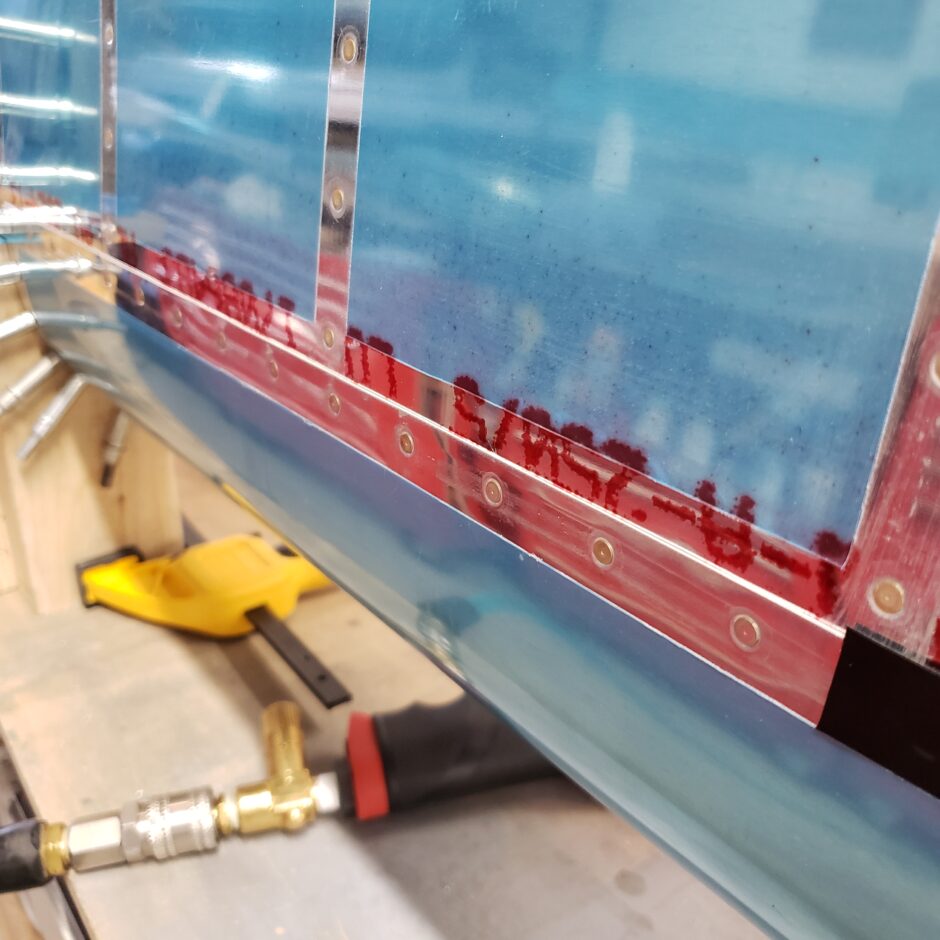
You start riveting the aileron skins by the line of rivets along the top surface spar. To do this you need to make a fixture where you can hold the rudder with the leading edge down. This orientation works well for being able to get access for riveting.

It was hard to get a picture of myself while riveting, but the positioning I found to work best to get the bucking bar in, was while sitting on my little workshop chair, slouched down (as kind of shown in this picture).
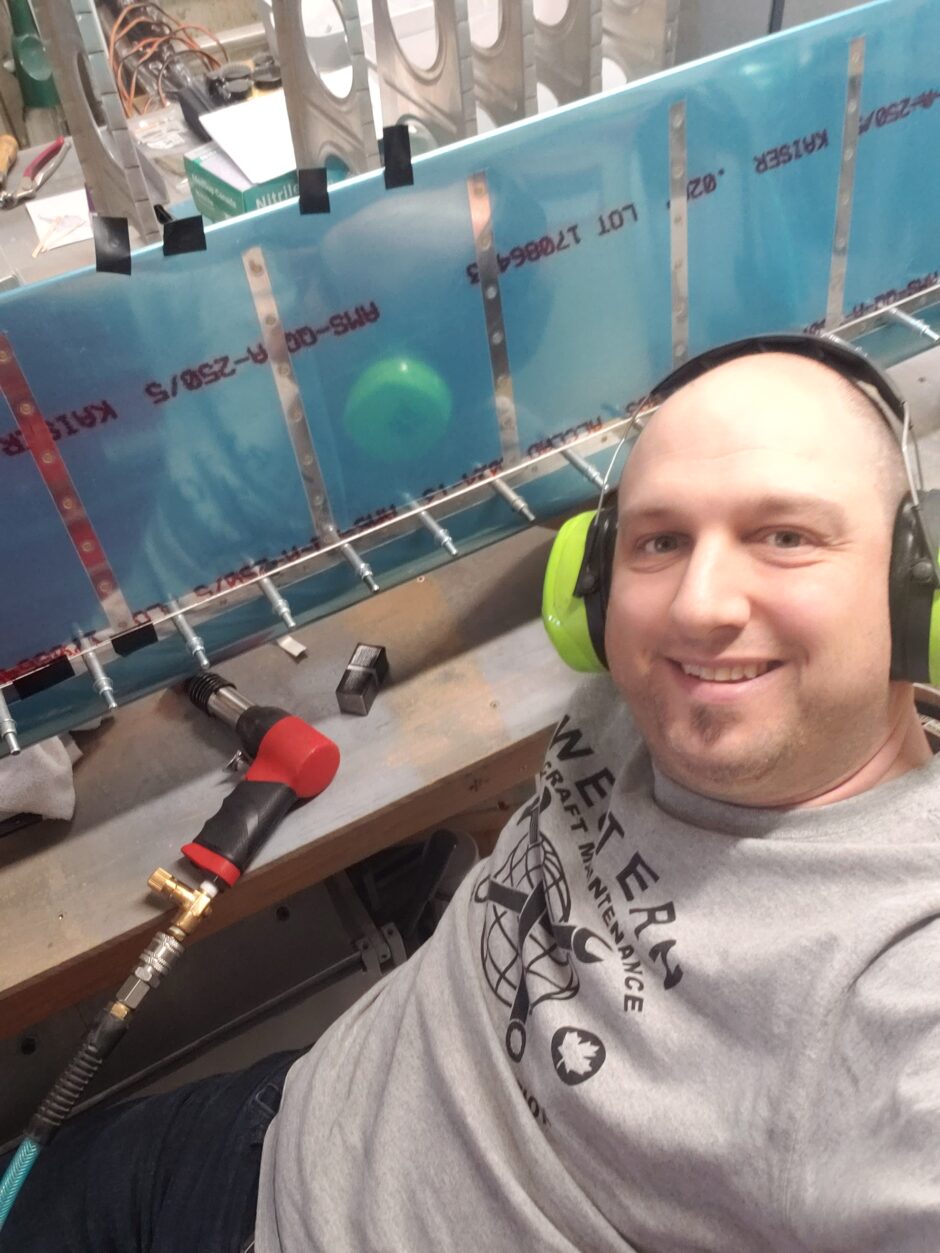
Slowly but steadily!
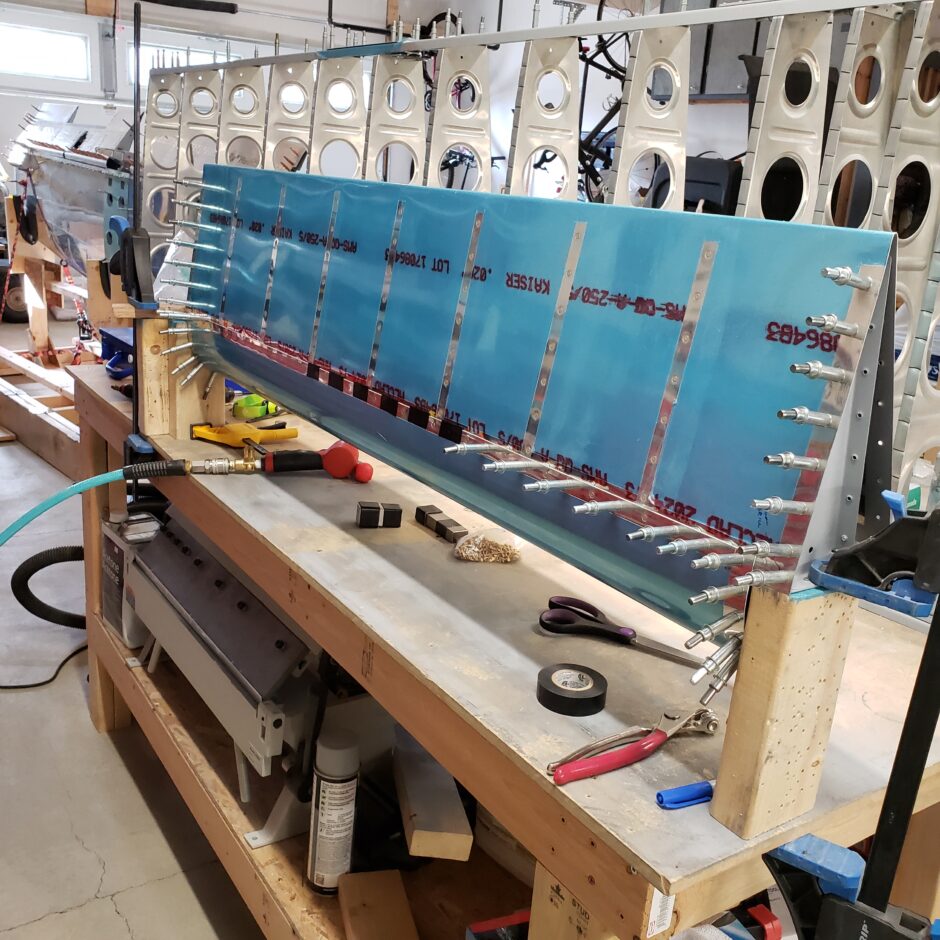
With the top of the spar riveted on the ailerons, that is about as far as I can go with these for now, because I need to keep them open for the pre-cover inspection. After that, I’ll finish up the riveting and close them up for good. But for now, I’ll just place them off to the side.

Please comment. I love to hear from my readers. Thanks again for coming along for this ride, you make my work worthwhile.
Leave a Reply