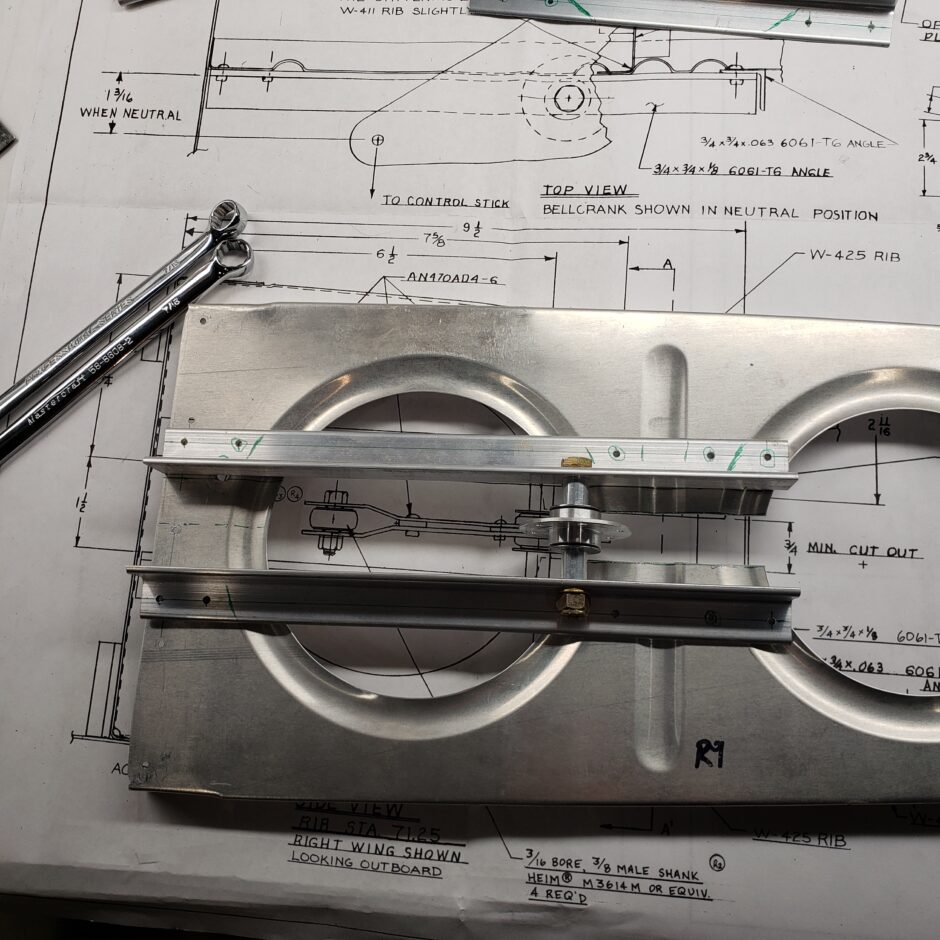
Today the task as hand is to install the left wing aileron bellcrank structure. In the picture below, I have the angle pieces already pre-cut and match drilled to the bellcrank rib.
The next step was to add the wing rib supports. These two shown below are pieces from the RV-4 wing kit. They work, but will need to be slightly modified as the rib spacing is closer together on the F1 than that of the RV-4. Also the RV-4 only has 2 of these on one side of the rib, whereas the F1 has an extra set which end up supporting both sides of the rib.
In the picture below, you can see how I’ve cut back some of the flanges. This will enable me to bend the end tab closer in, to shorten the length.
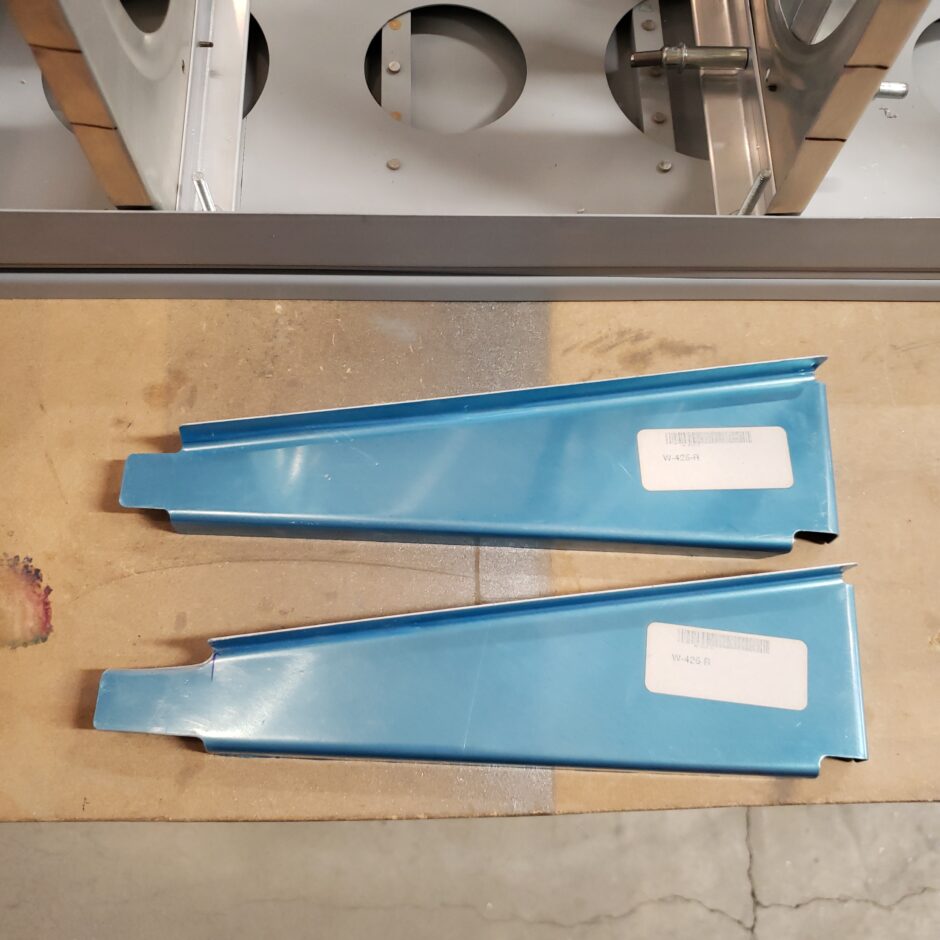
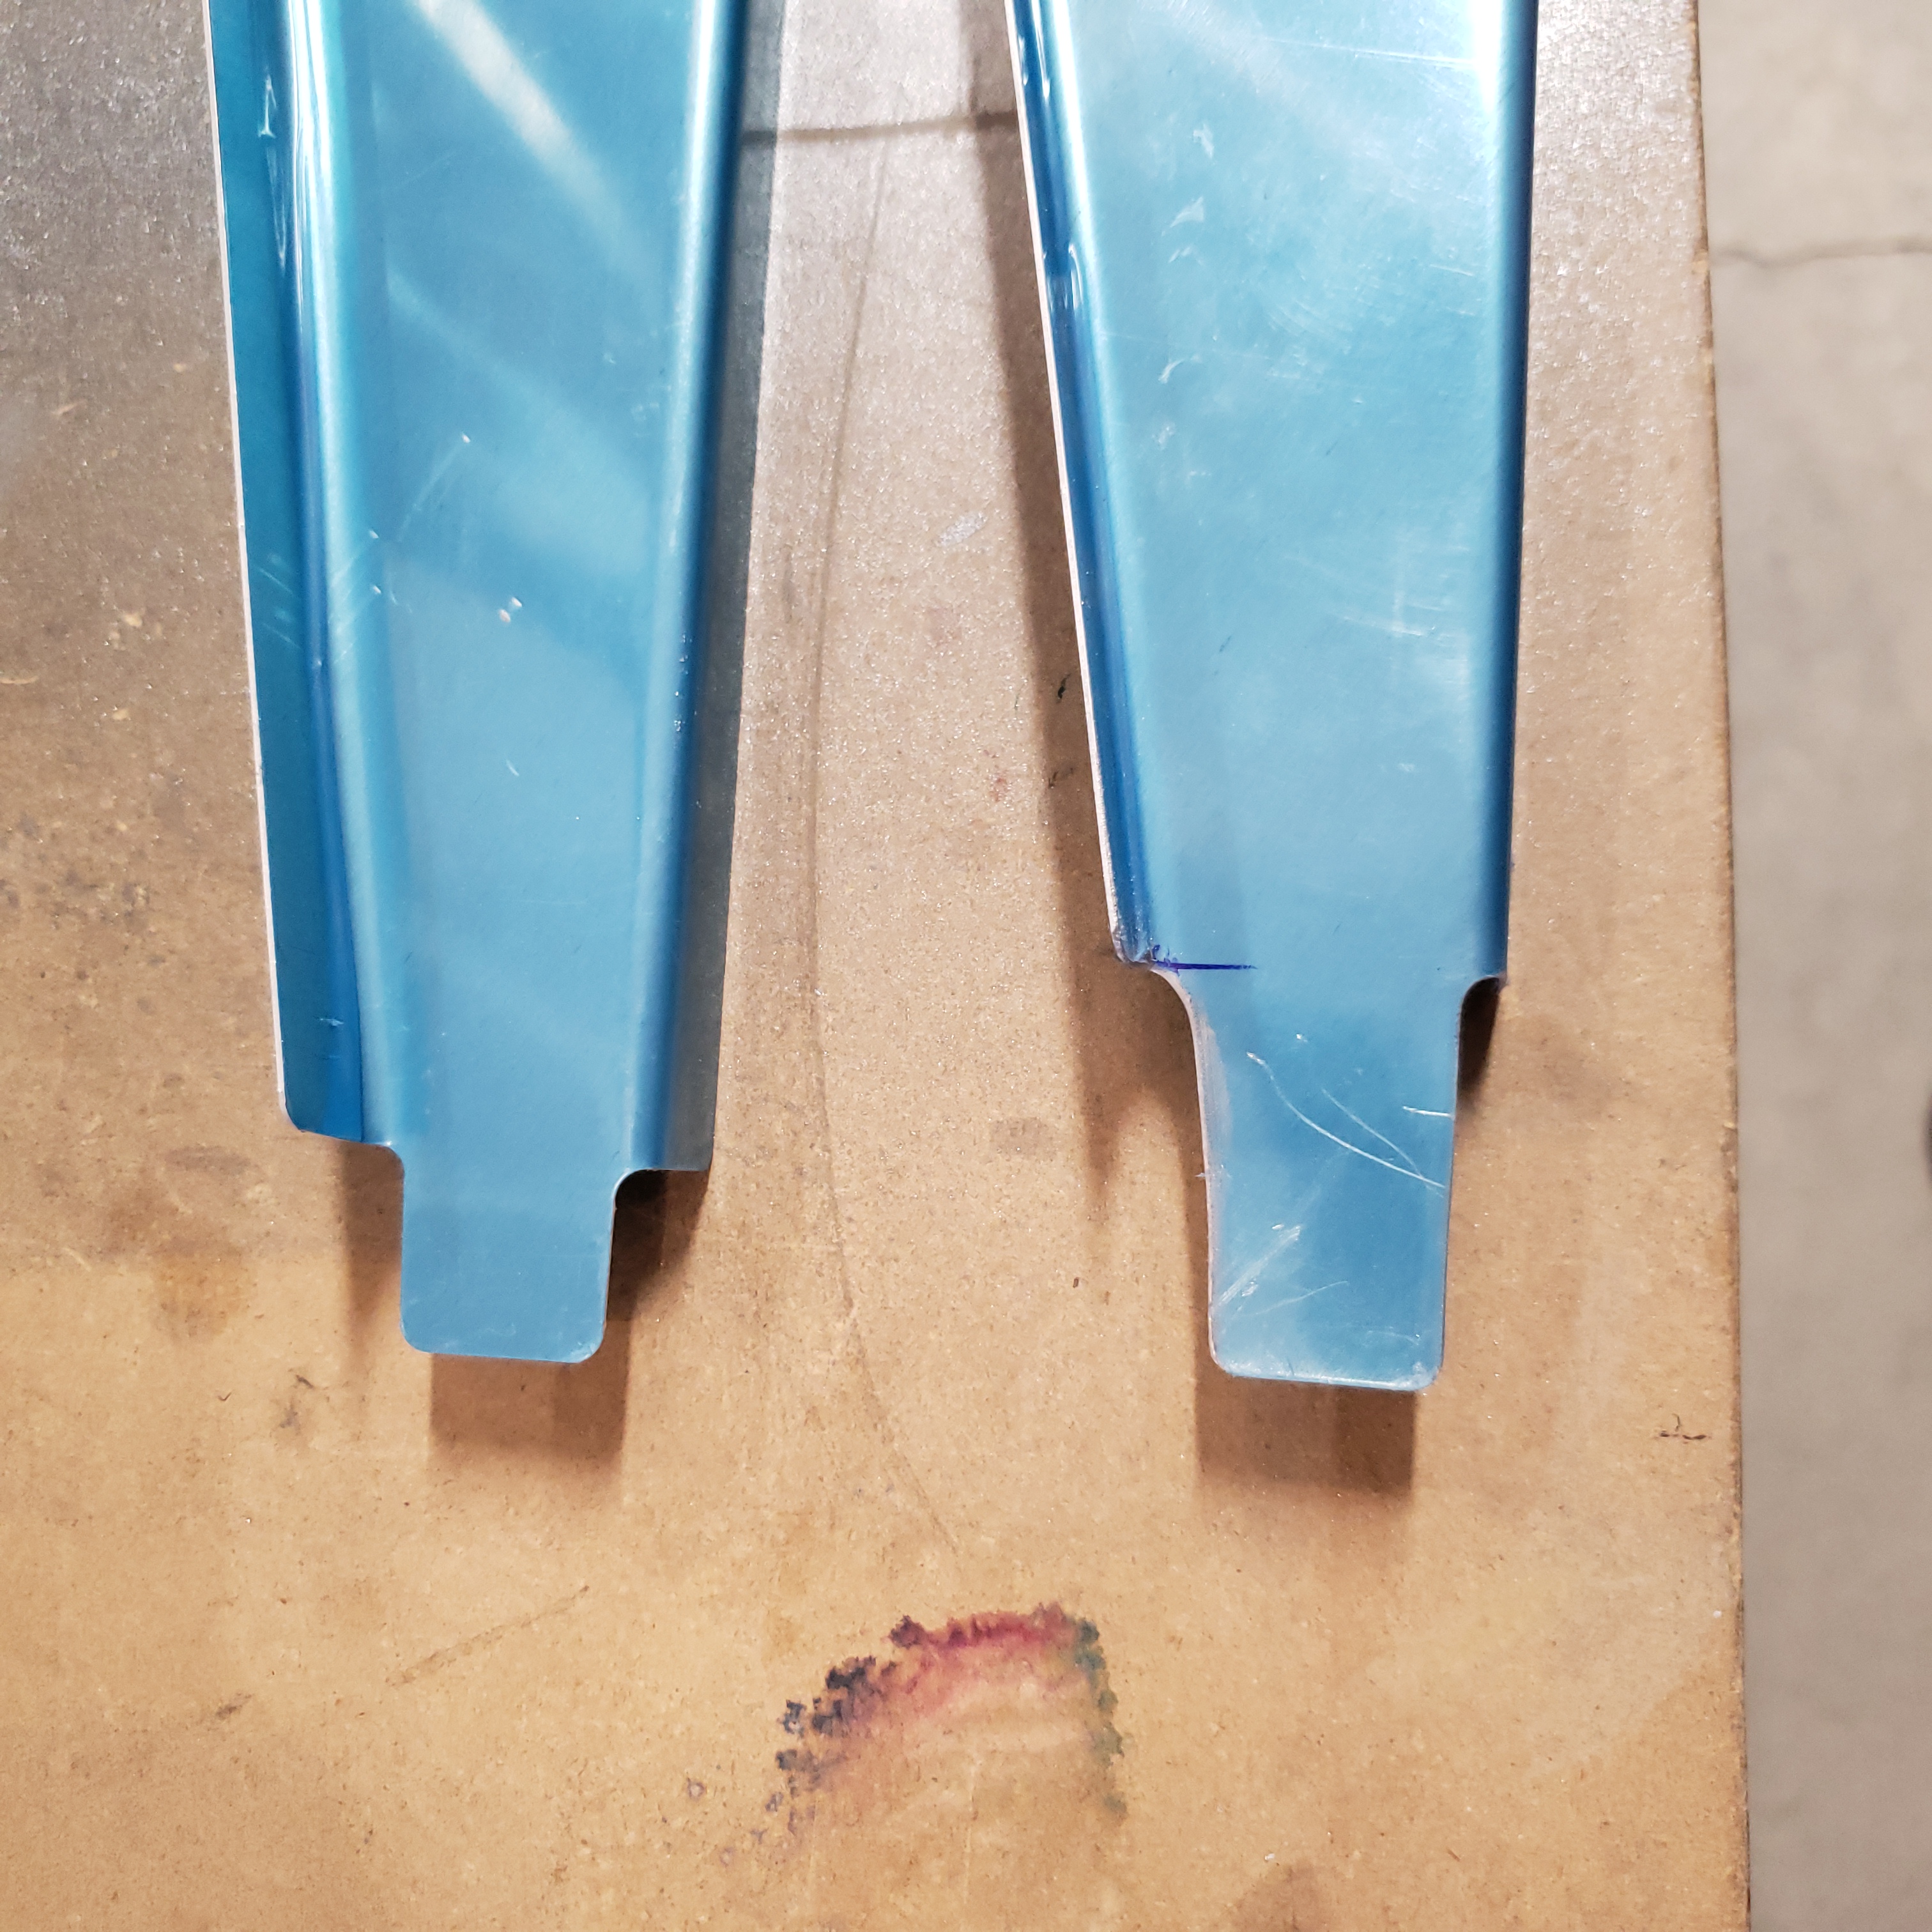
Here is the support rib in place.
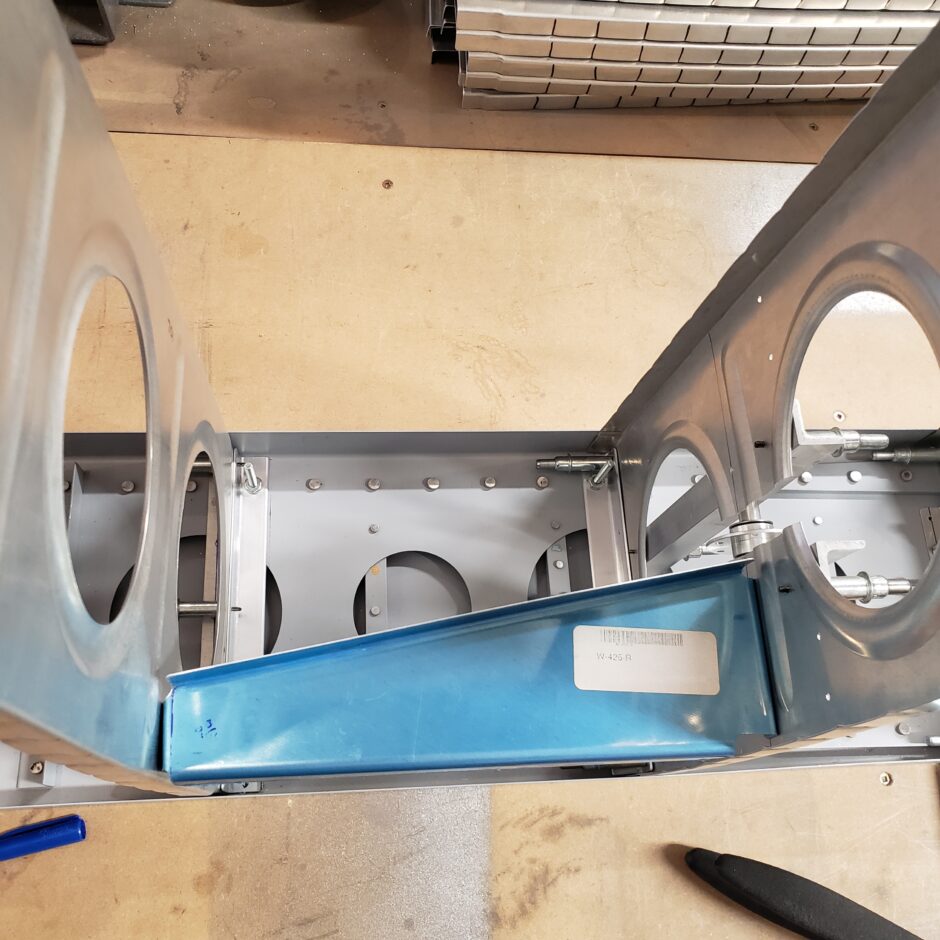
On the lower side you can see that there is a large tab now. This will get trimmed down later, but for now this is great.
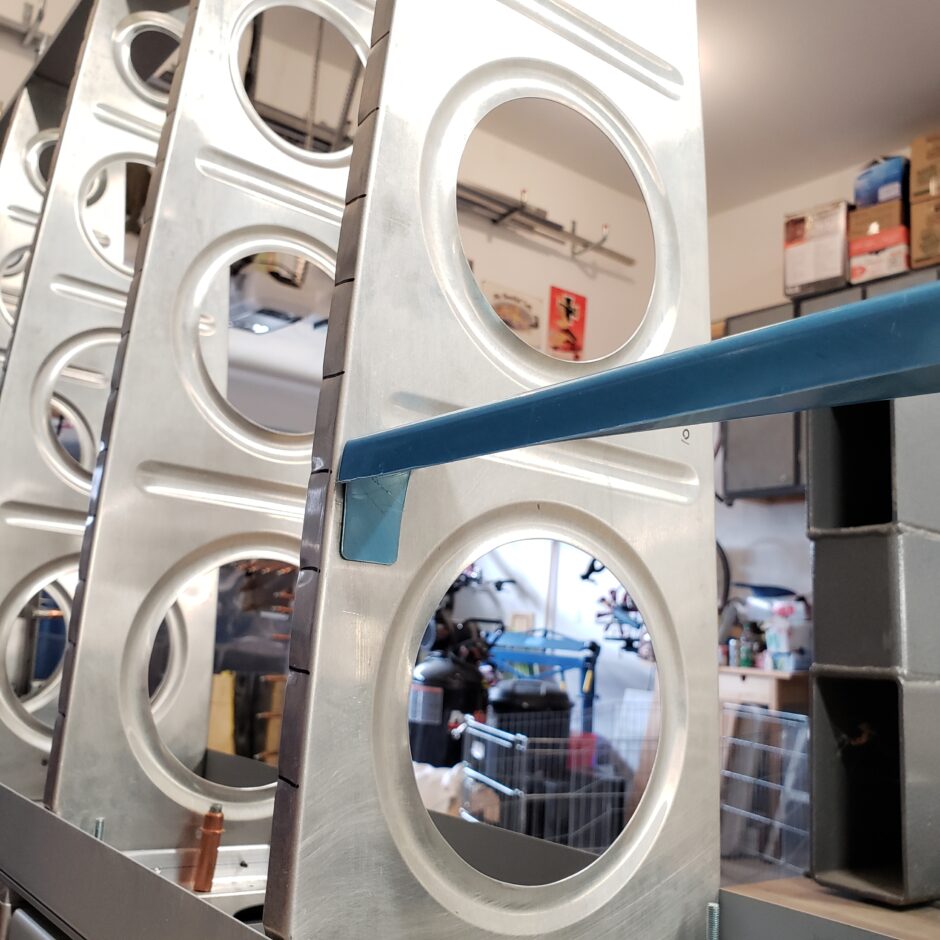
Here is a shot of the other end. I drew a centerline to help locate the flange to the hole I’ve already pre-drilled for one of the support angles on the other side of the rib. Once I get this rib clamped in place, leveled and flush with the upper (skinned) surface of the main wing ribs, then I can match drill the flange (which I also have a centerline drawn on it).
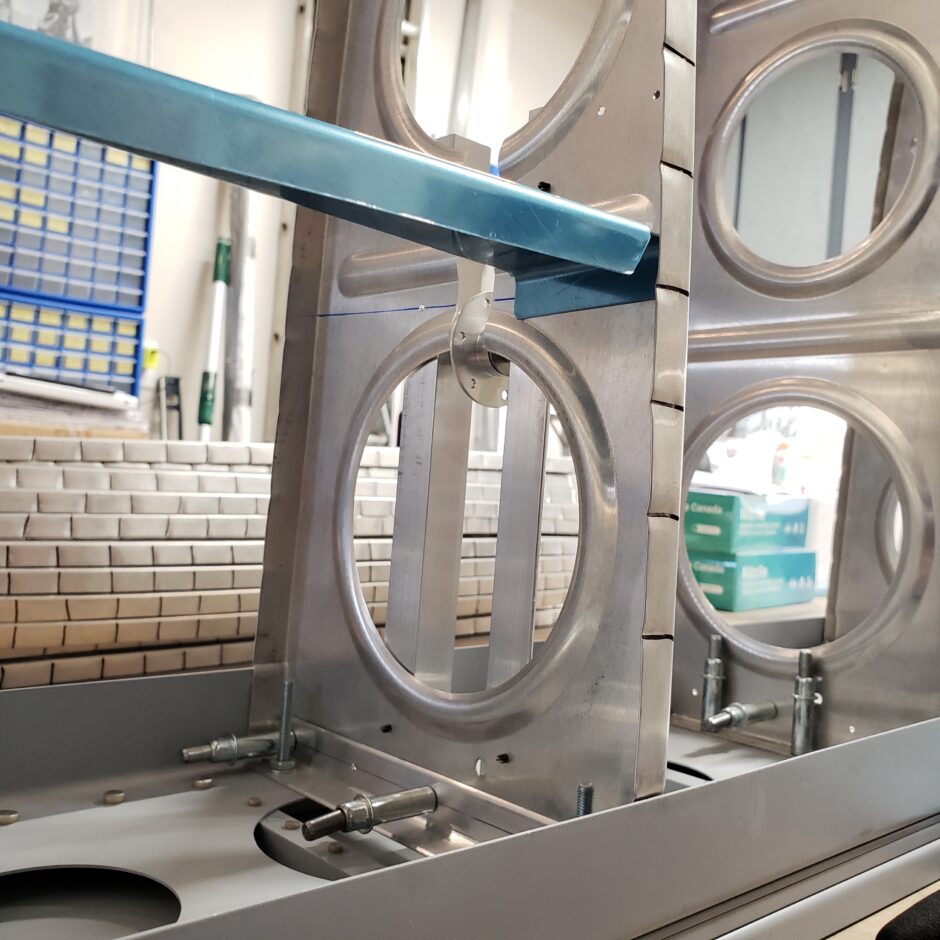
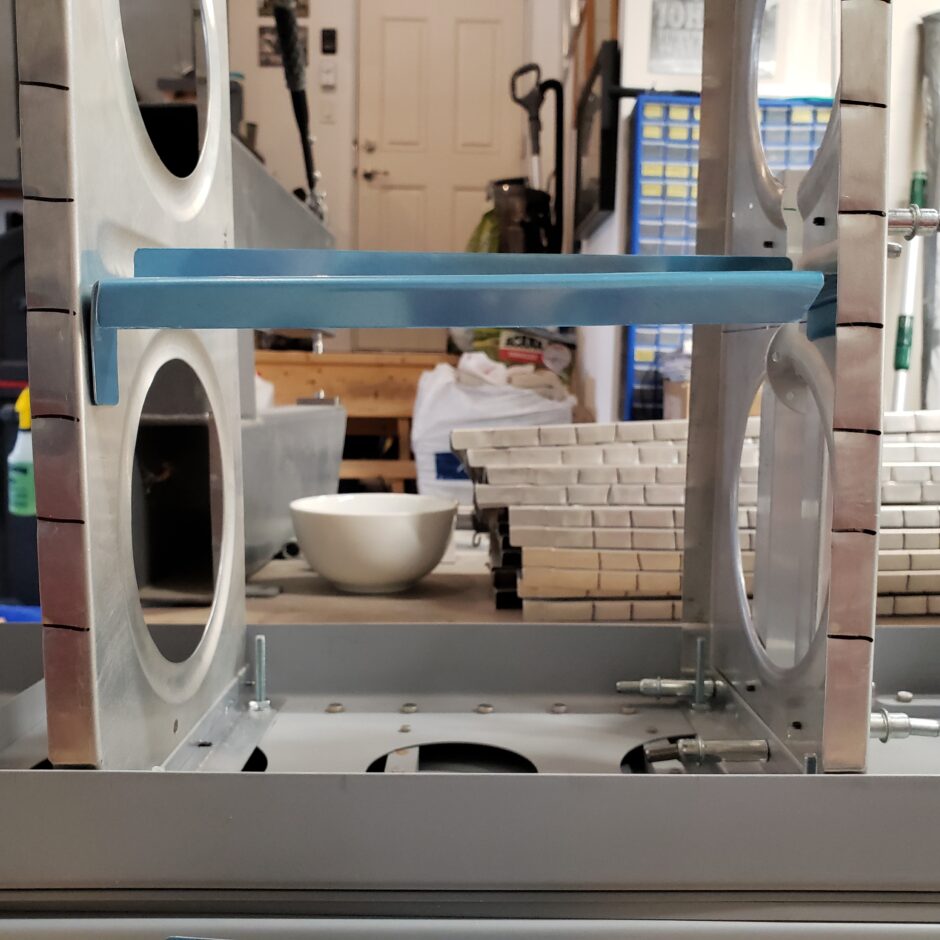
Here is that centerline I’ve drawn on the flange, with the edge distance identified on both ends. You can also see here where the pre-drilled hole lines up to.
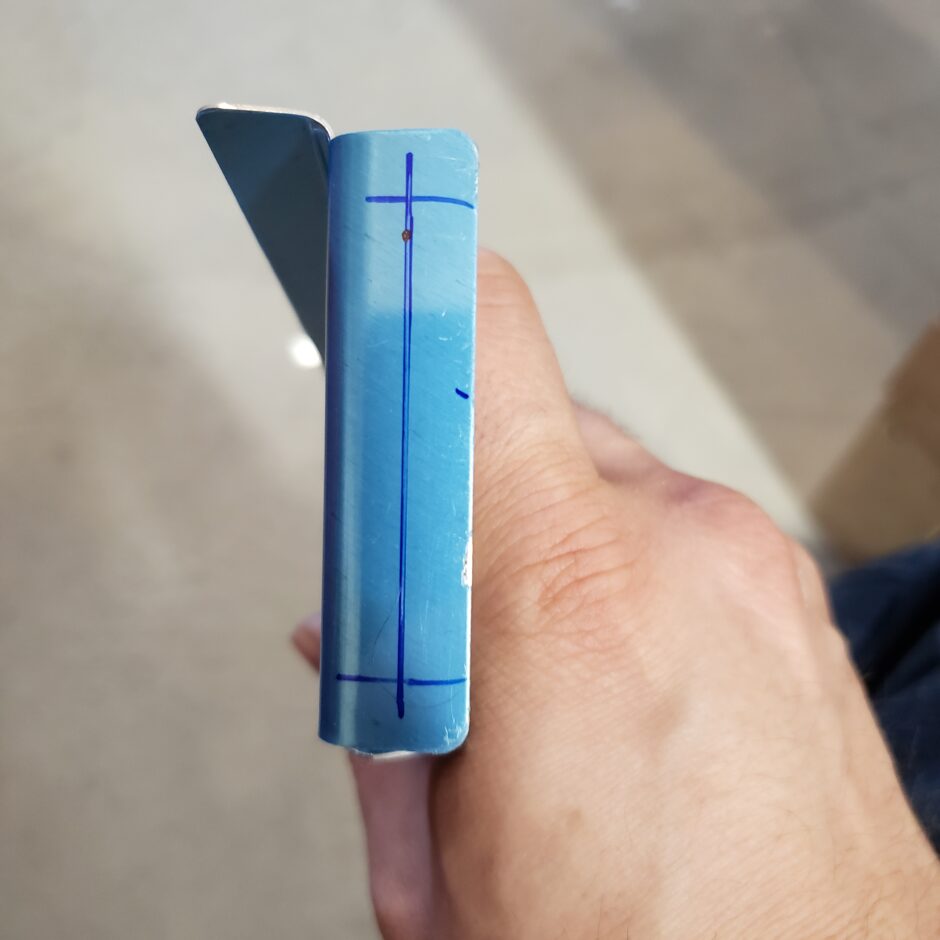
Now that I’m happy with the location of the rivet, it’s time to put it all back together again, re-clamp, re-align, and recheck before drilling. I found that using a piece of angle clamped to the ribs to act as a false skin was helpful.
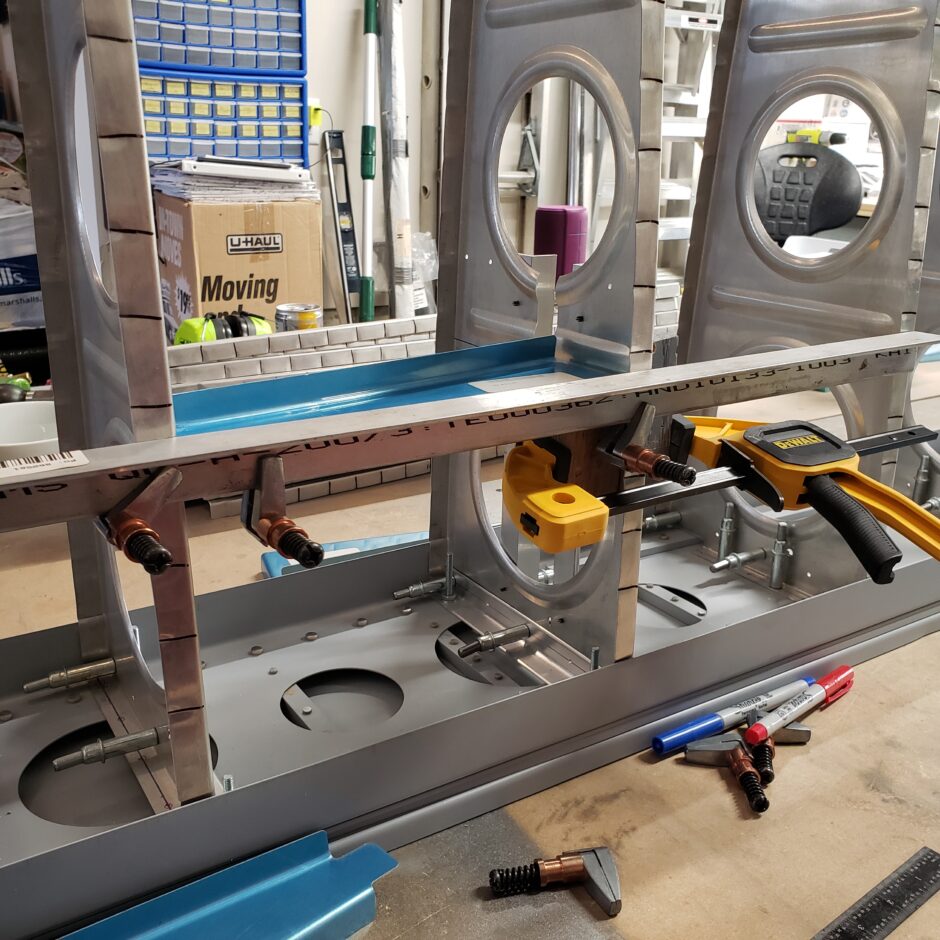
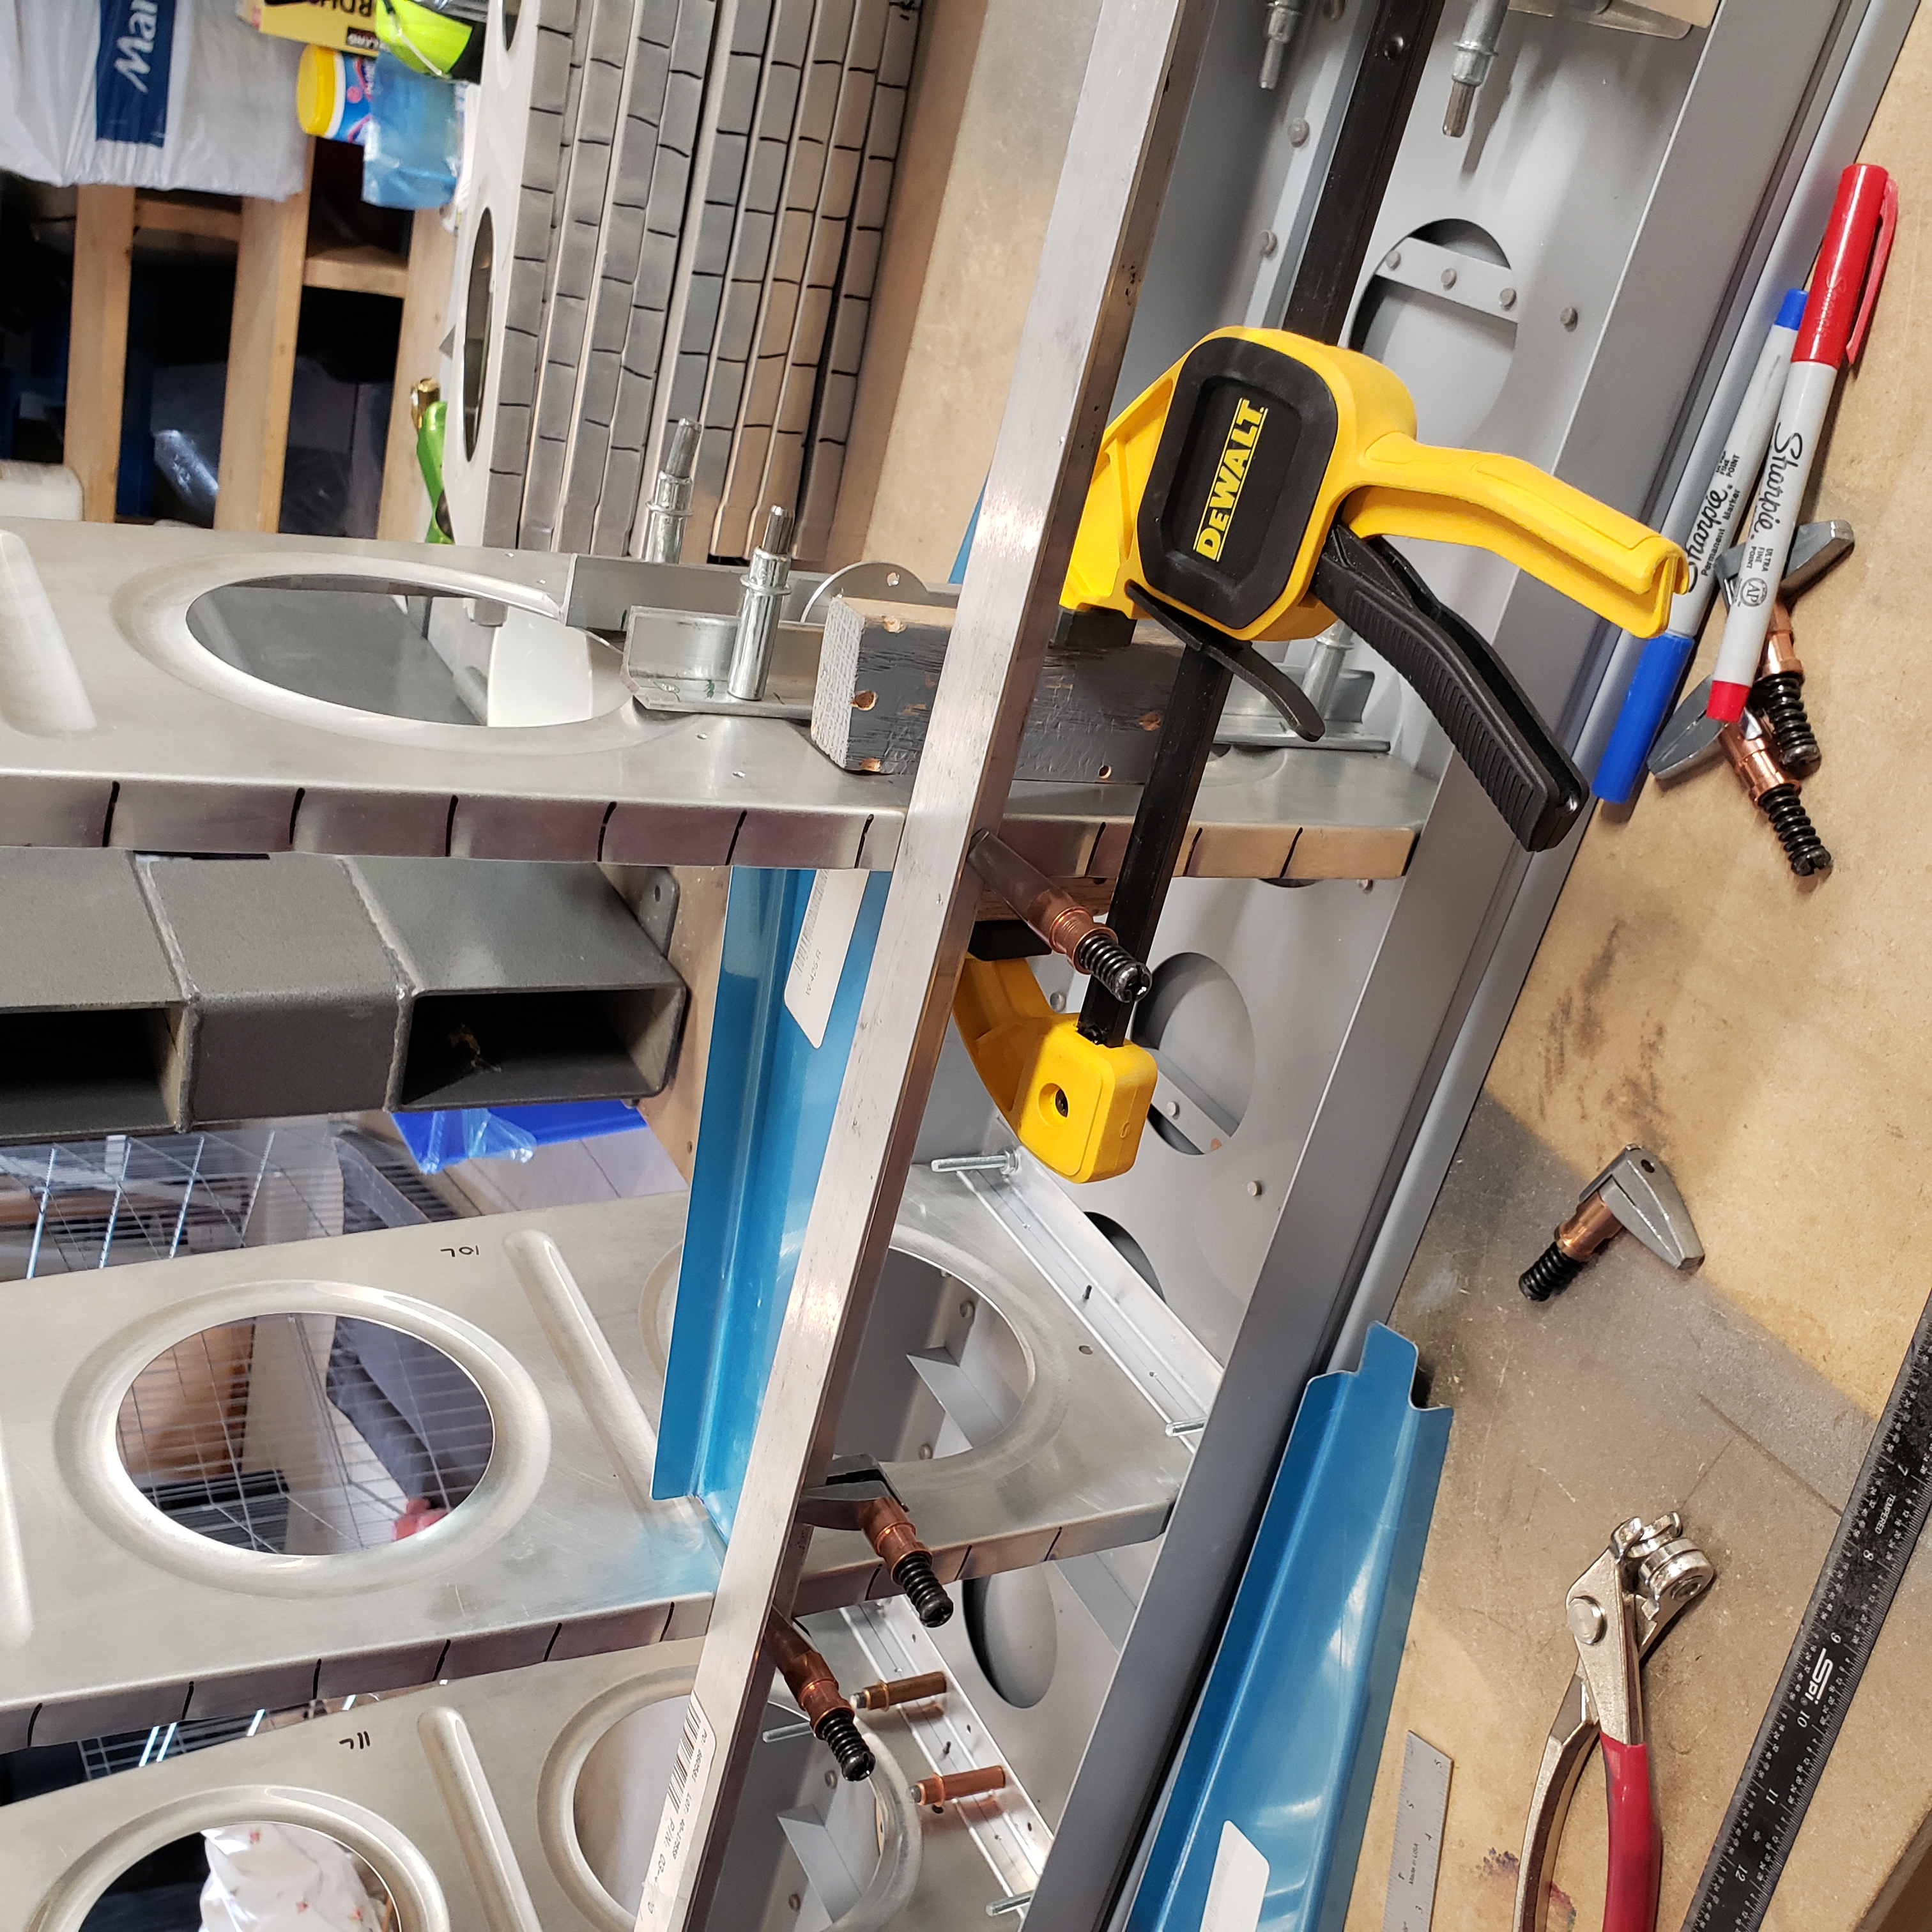
When I was happy with the rib, I drilled it.
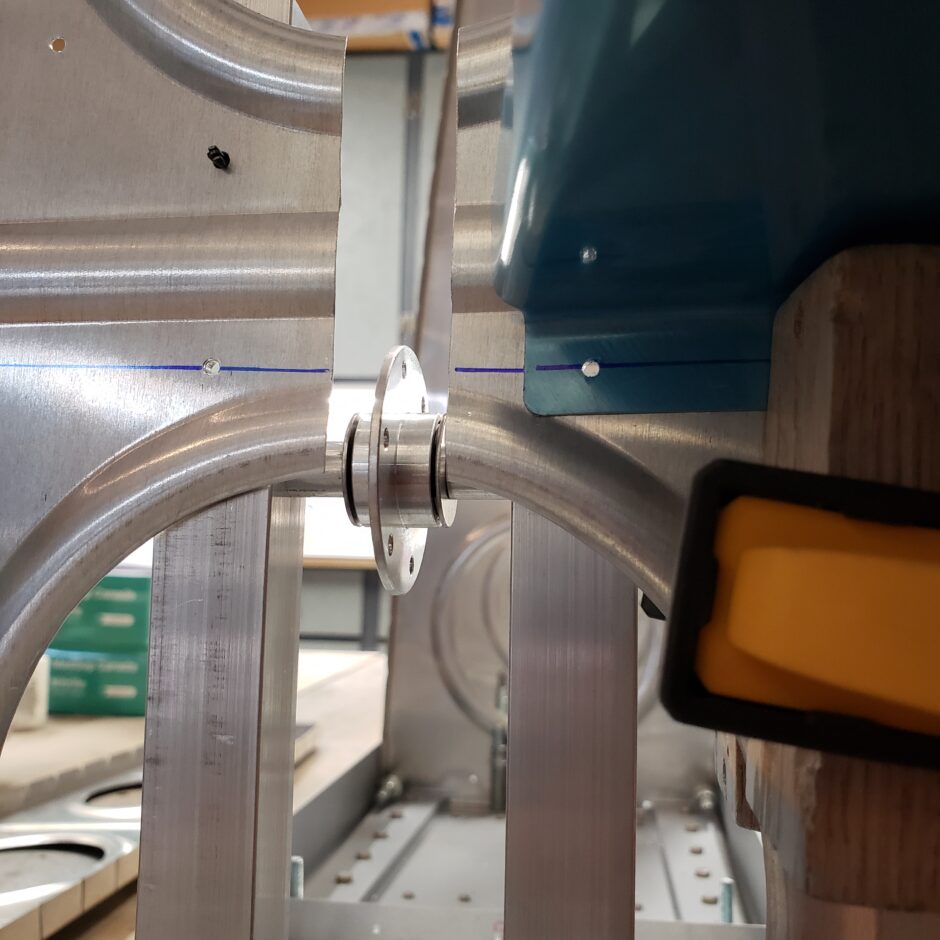
The next step I made, isn’t shown here, but I removed the rib and used a rivet spacing fan, cleco’d to the first drilled hole, and then evenly spaced out two more holes. Then I re-installed the rib, clamped it all again, but this time, I needed to remove the next rib outboard so I could squarely drill using a long #40 drill bit.
Here’s a view from the other side of the rib. All in all, pretty darn close to the line.
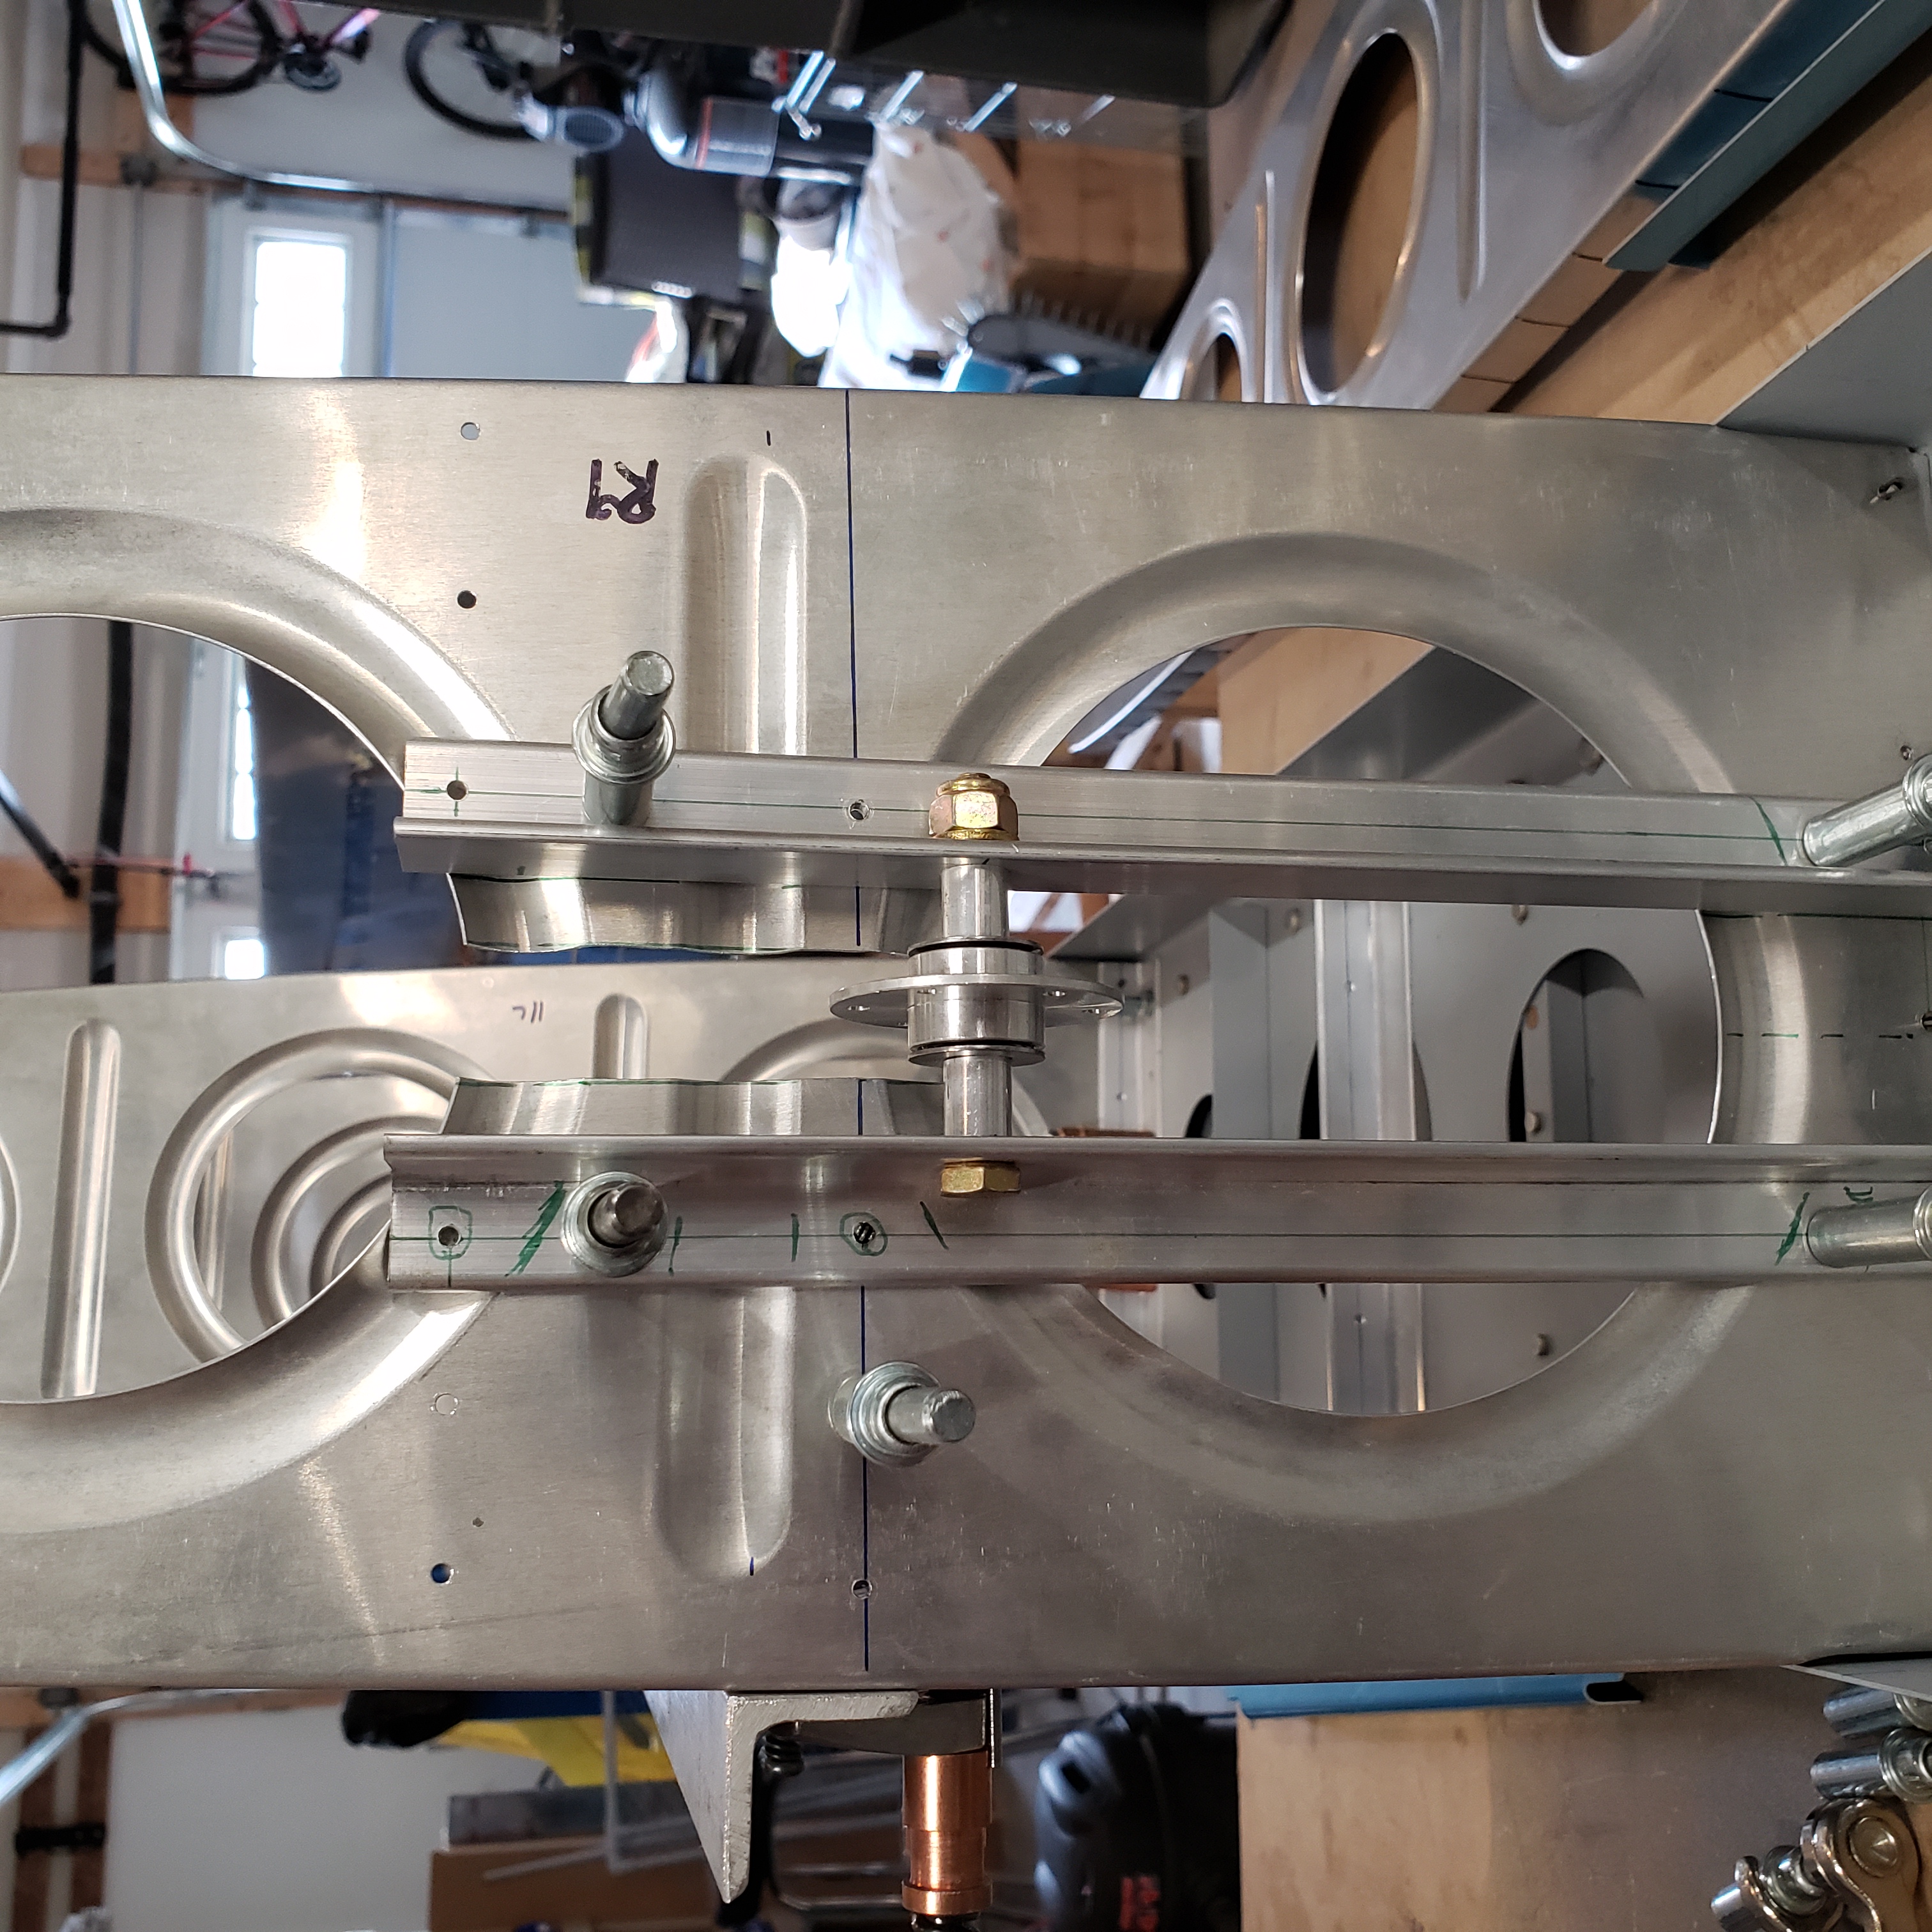
Then with the inboard end of the rib fastened, I drilled the outboard tab. Again, after re-clamping, re-leveling etc…
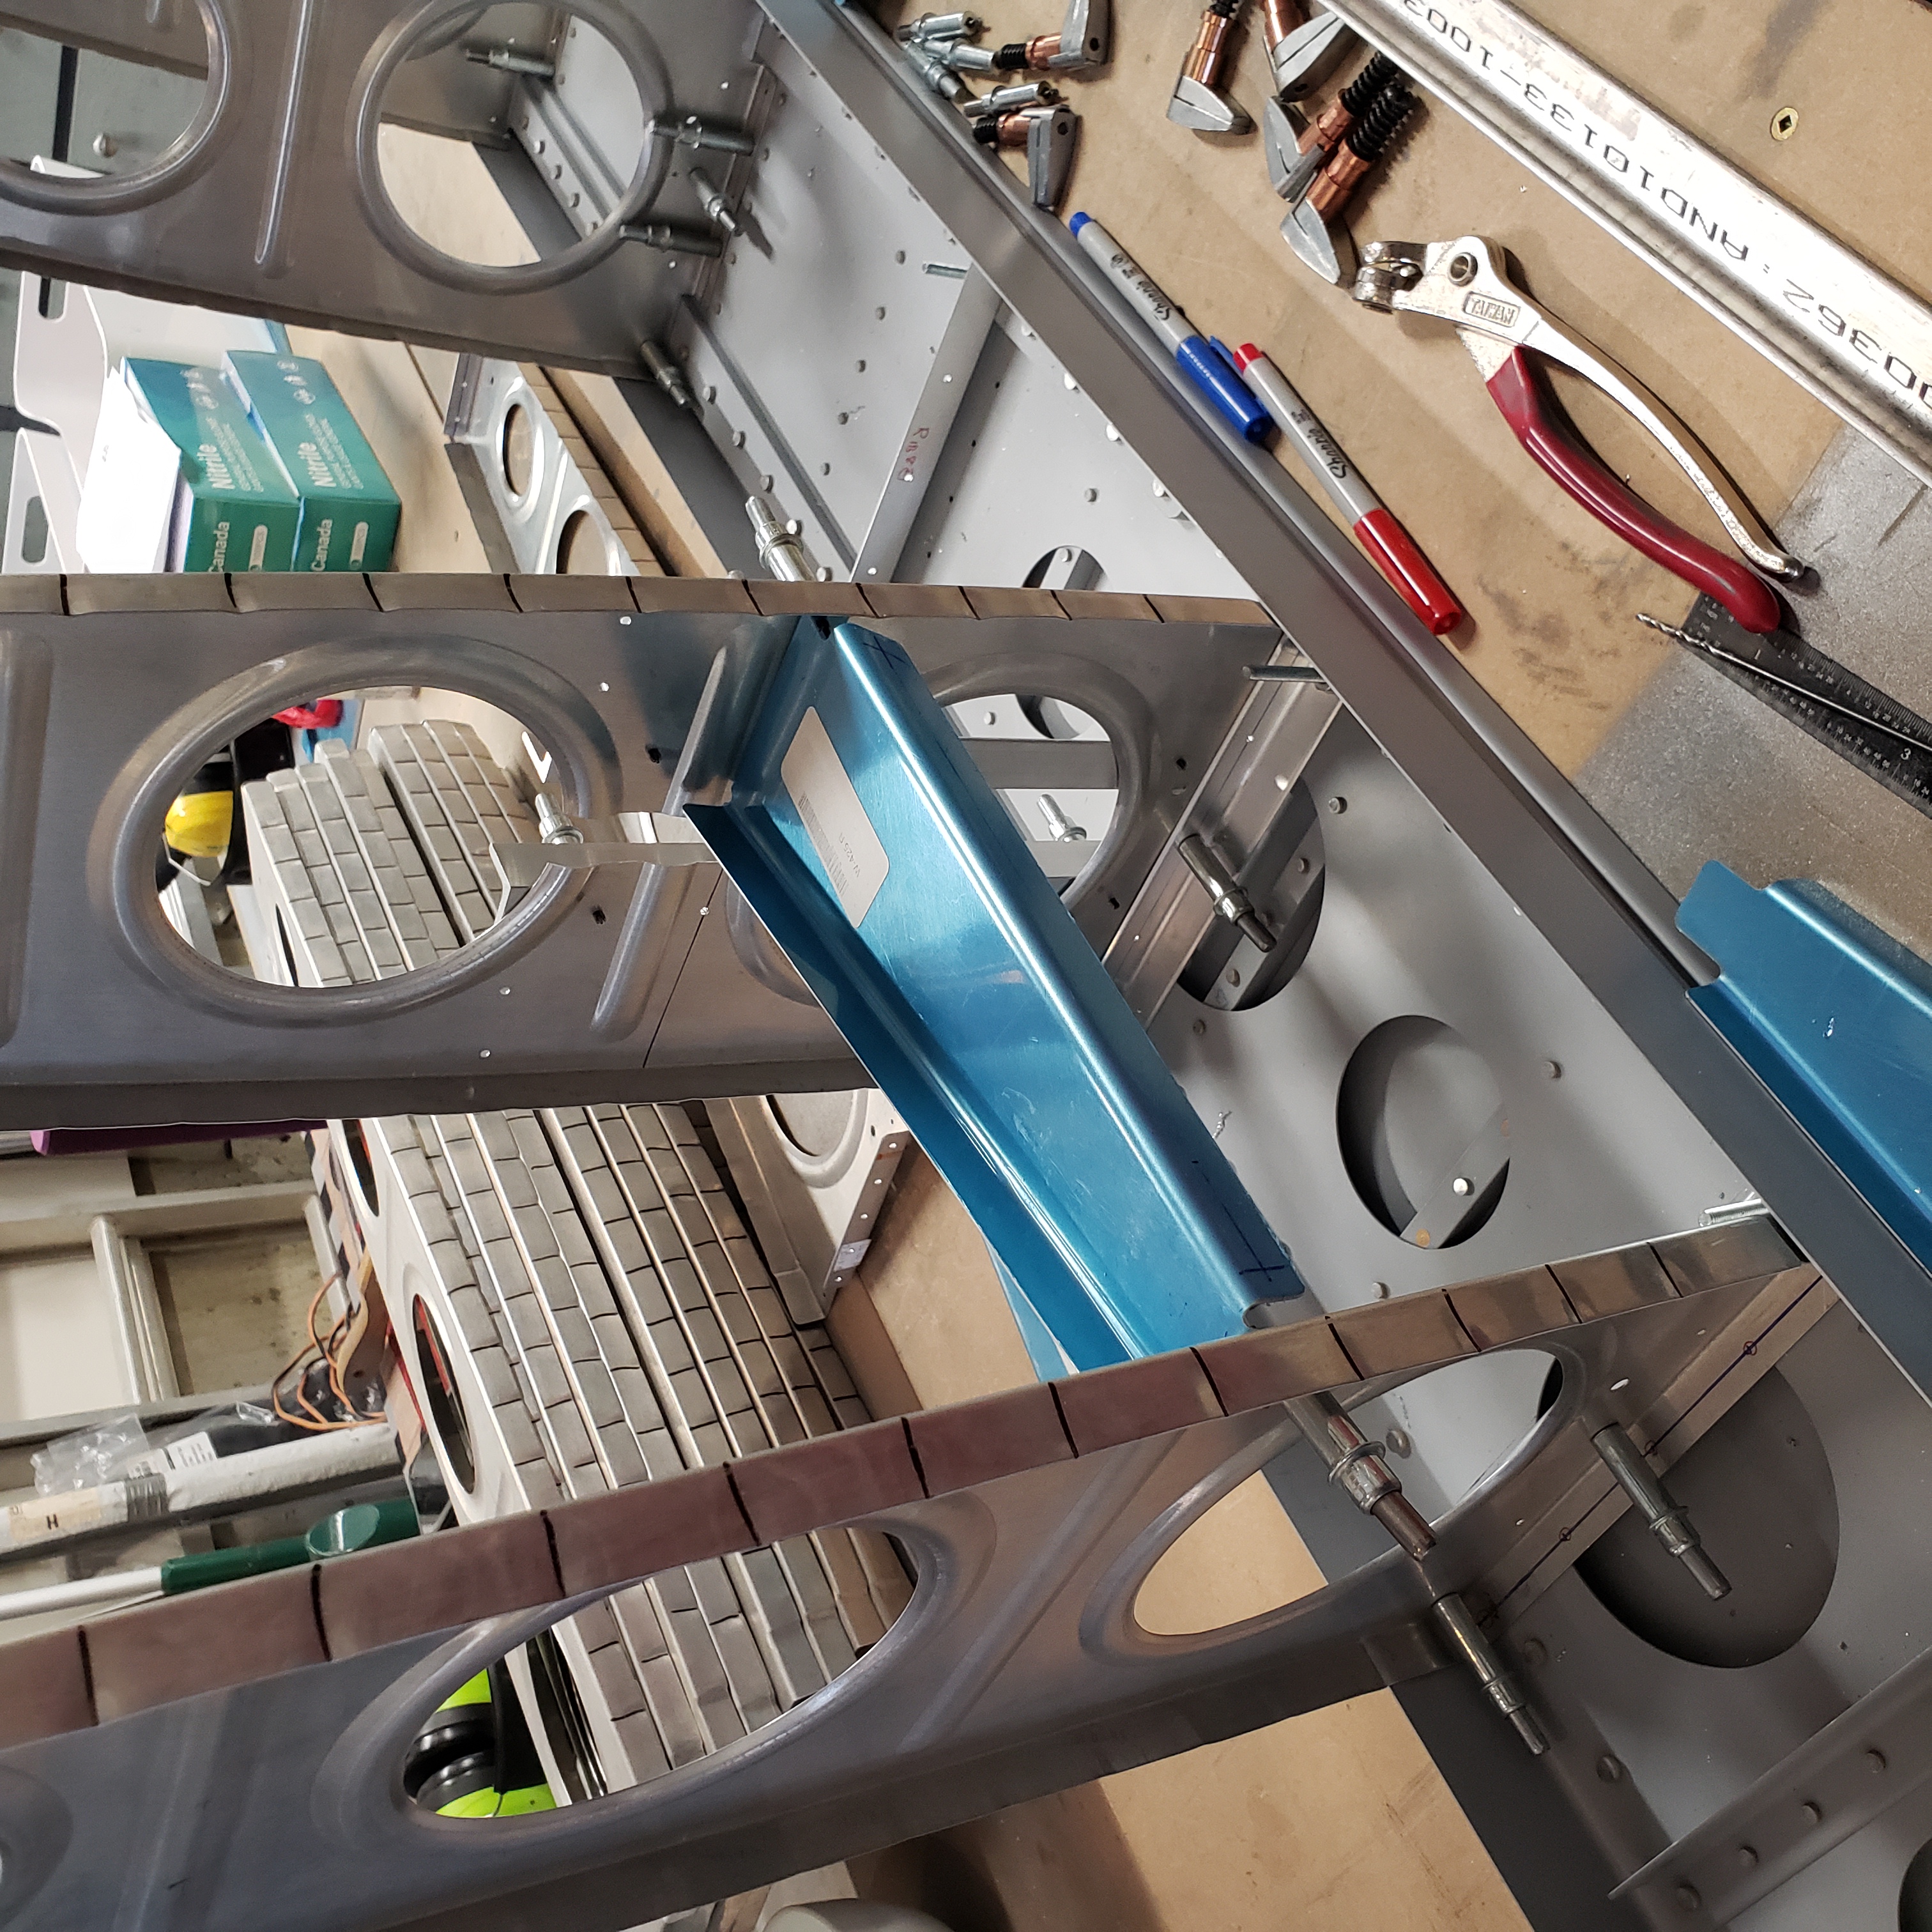
One of 4 complete! Now just to do that 3 more times.
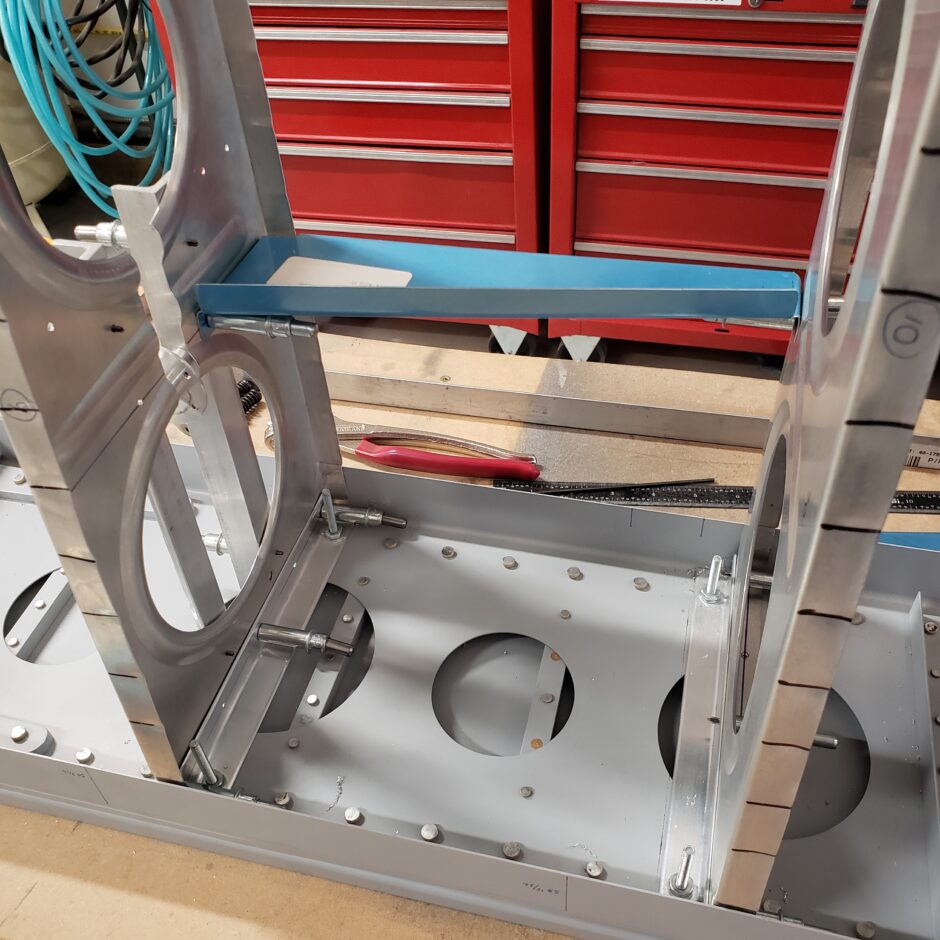
While installing the next support rib, I messed up drilling the flange, so I cut it off and added a new one, hence the clecos on the top side of the support rib. No big deal. It’s much easier to do that than to make a new rib.
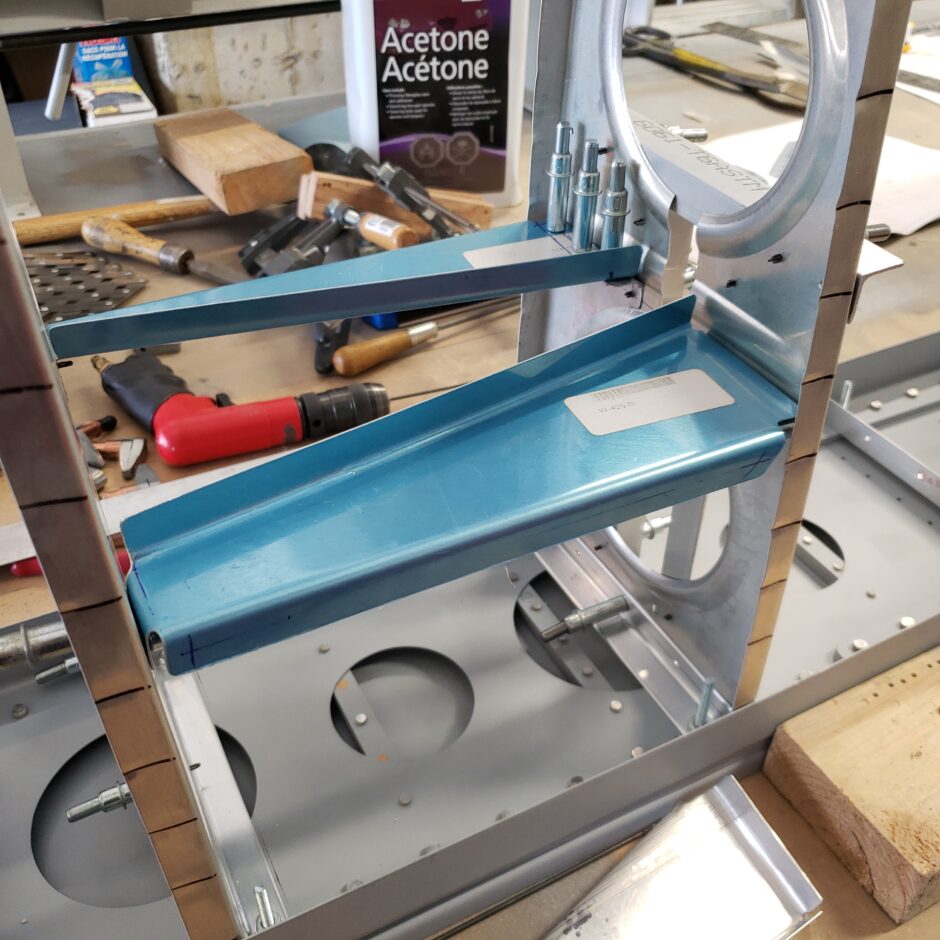
Again, here’s a picture of the inboard side of the main rib with both of the first two support ribs match drilled to the main rib.
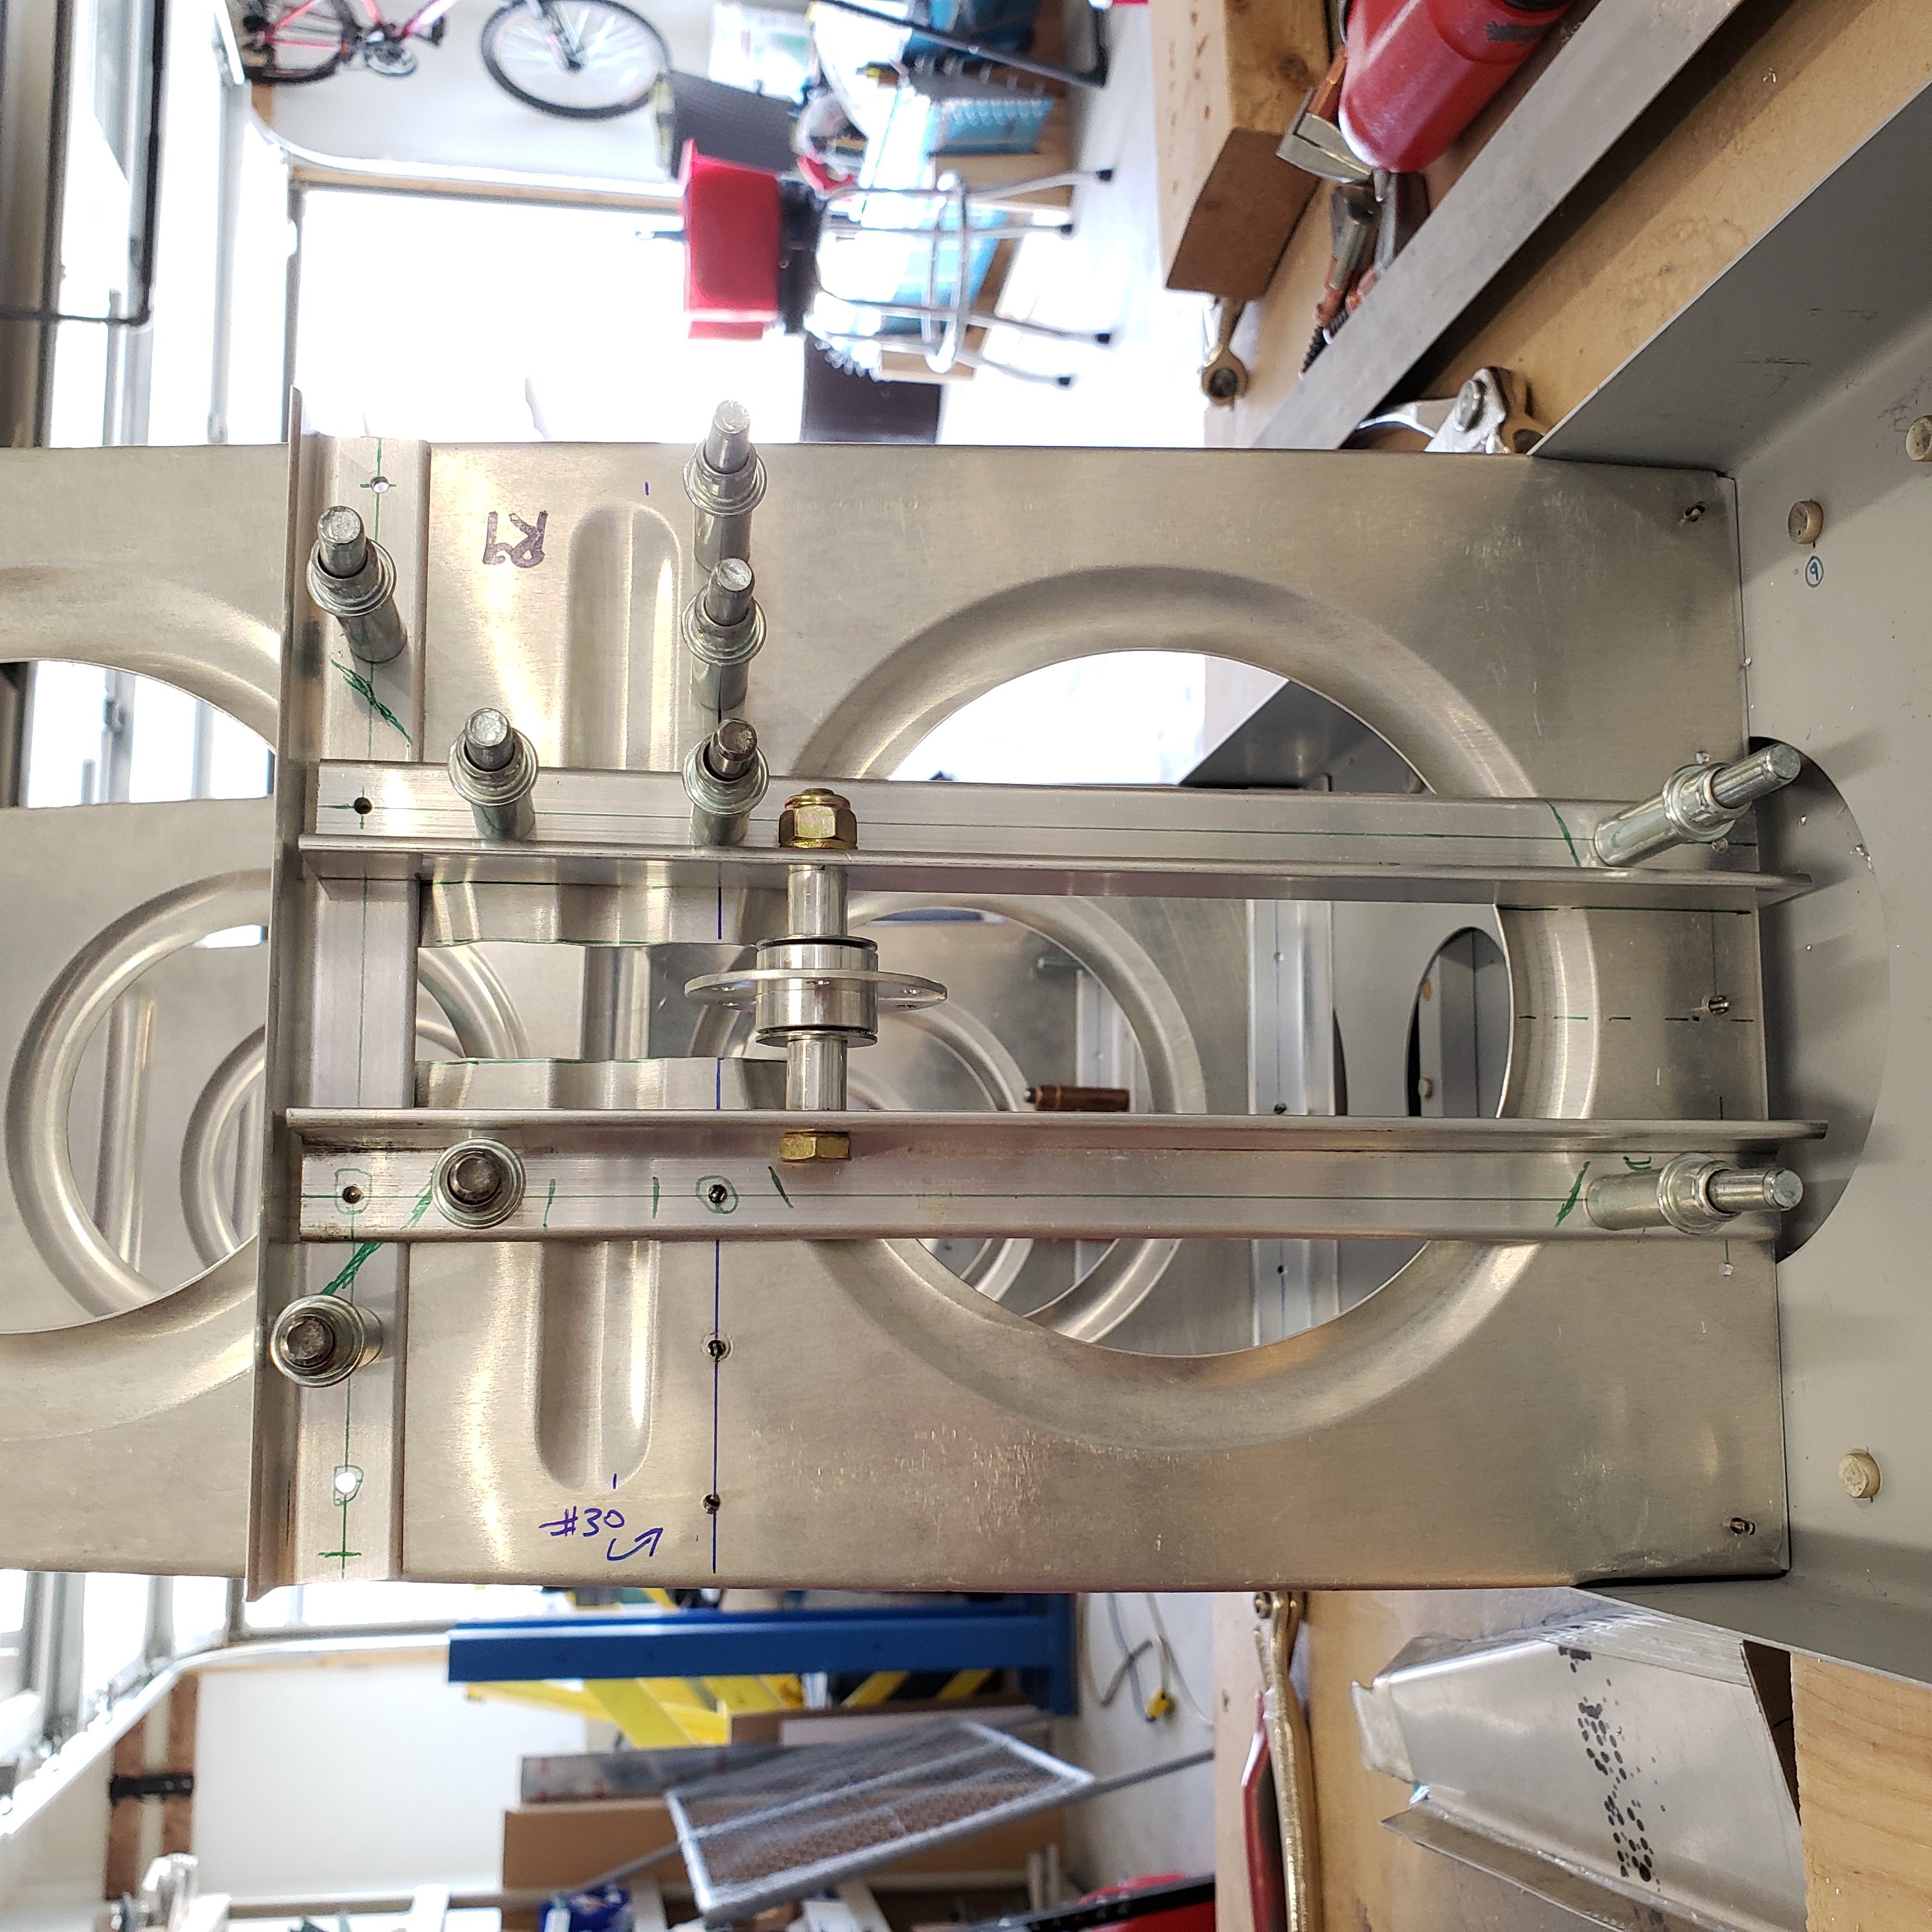
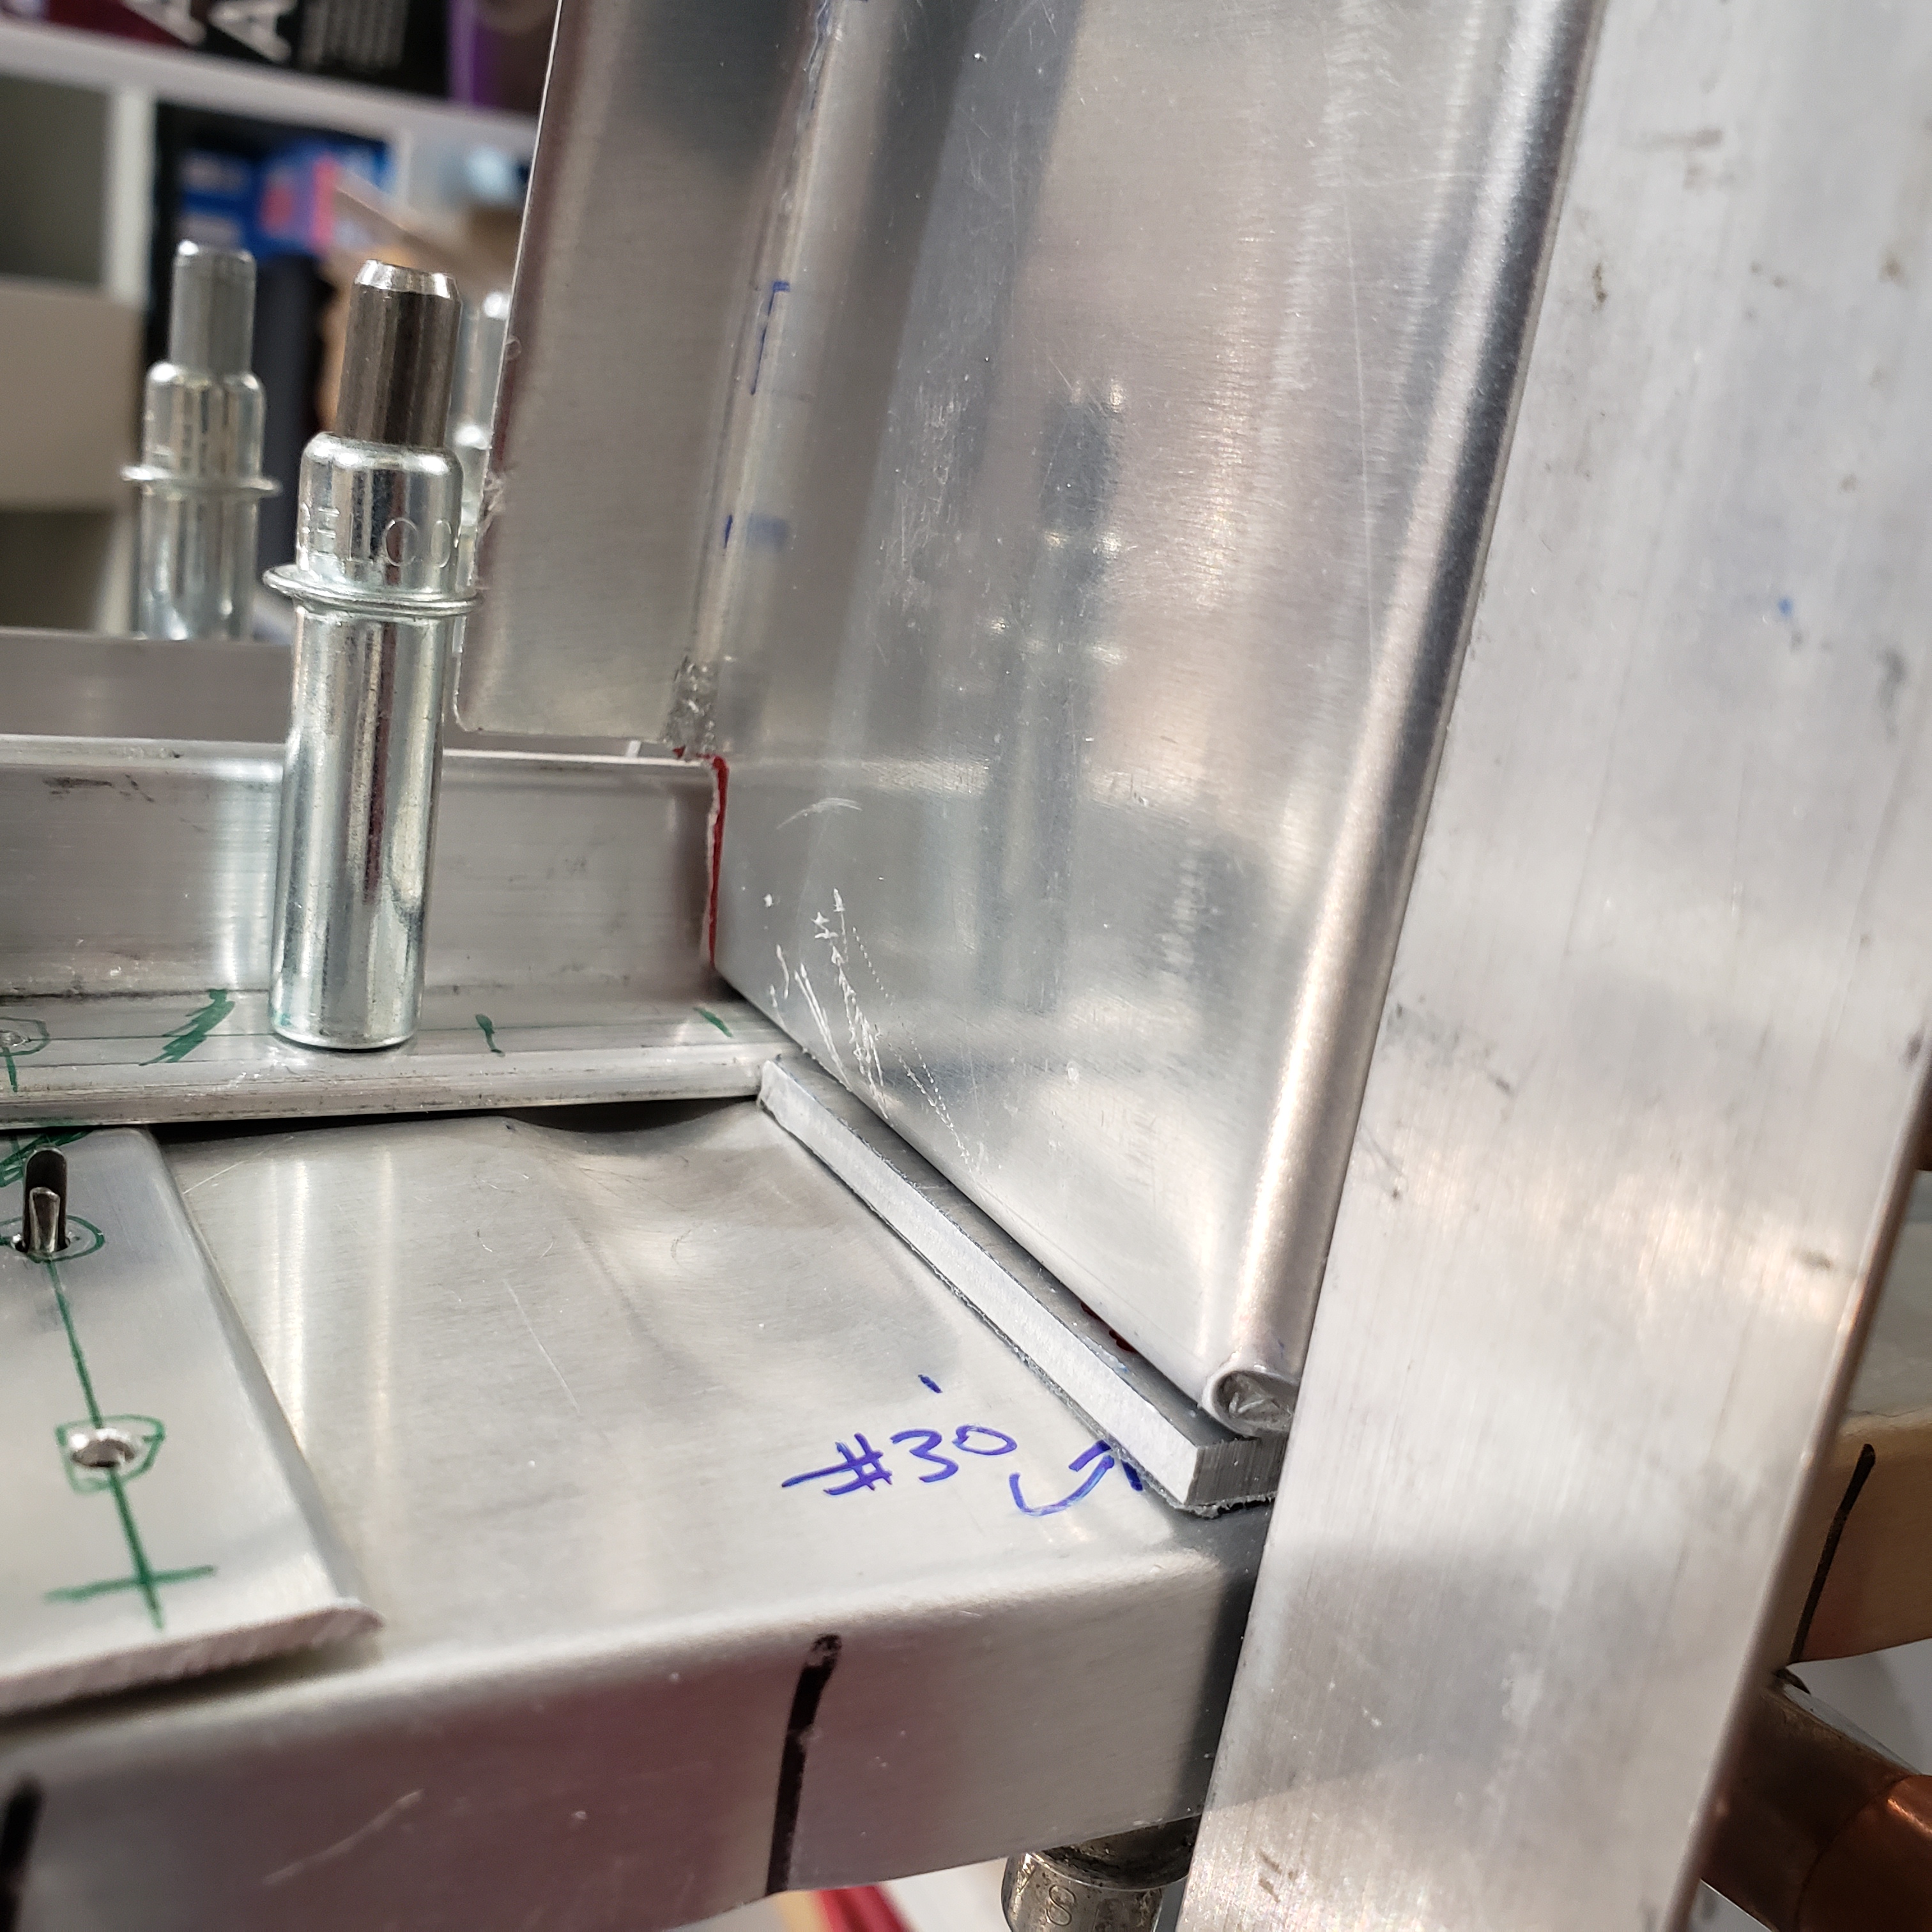
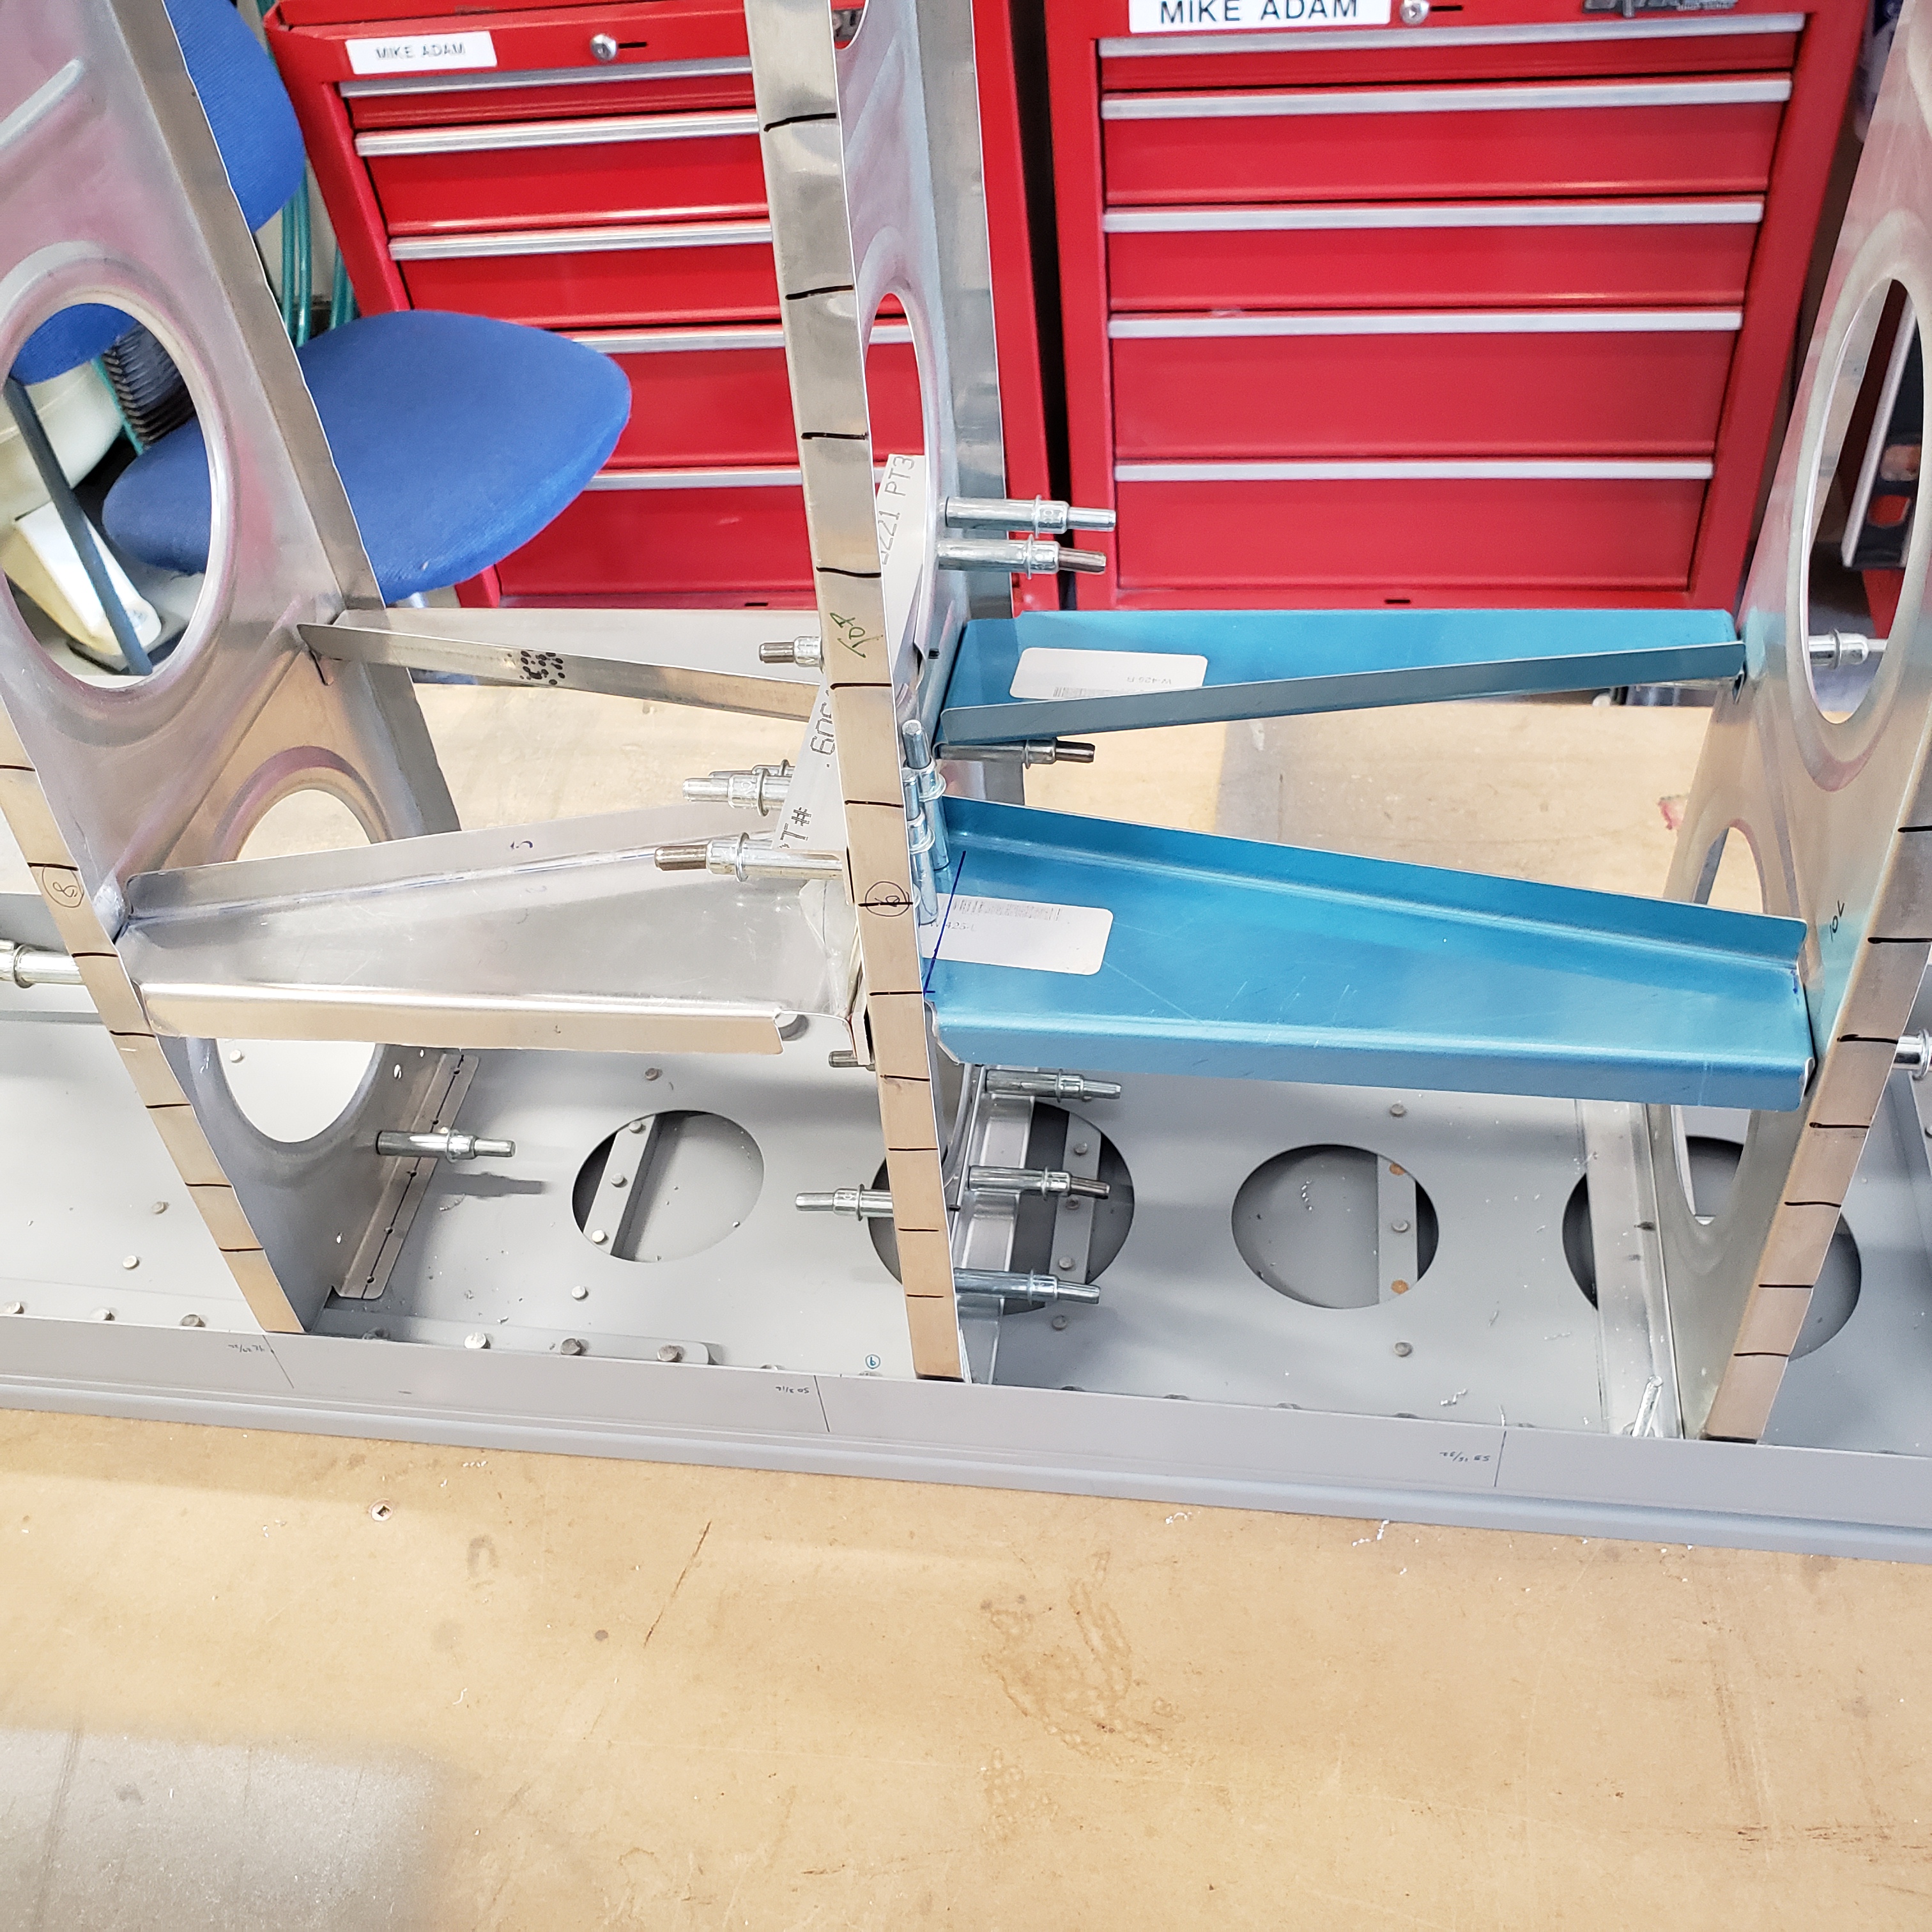
Moving on to the inboard side, here it gets a bit more complicated, but it’s really no big deal. As you can see below, the support rib will sit atop the bellcrank angles. In this case, I opted to make a spacer from 0.125 scrap to fill the gap. I’ve also seen some other builders make a tab in the flange of the support rib, where the flange would end up being stepped to accommodate for this difference. I didn’t plan for that approach when I made my ribs, so for me making the spacer was the easier route.
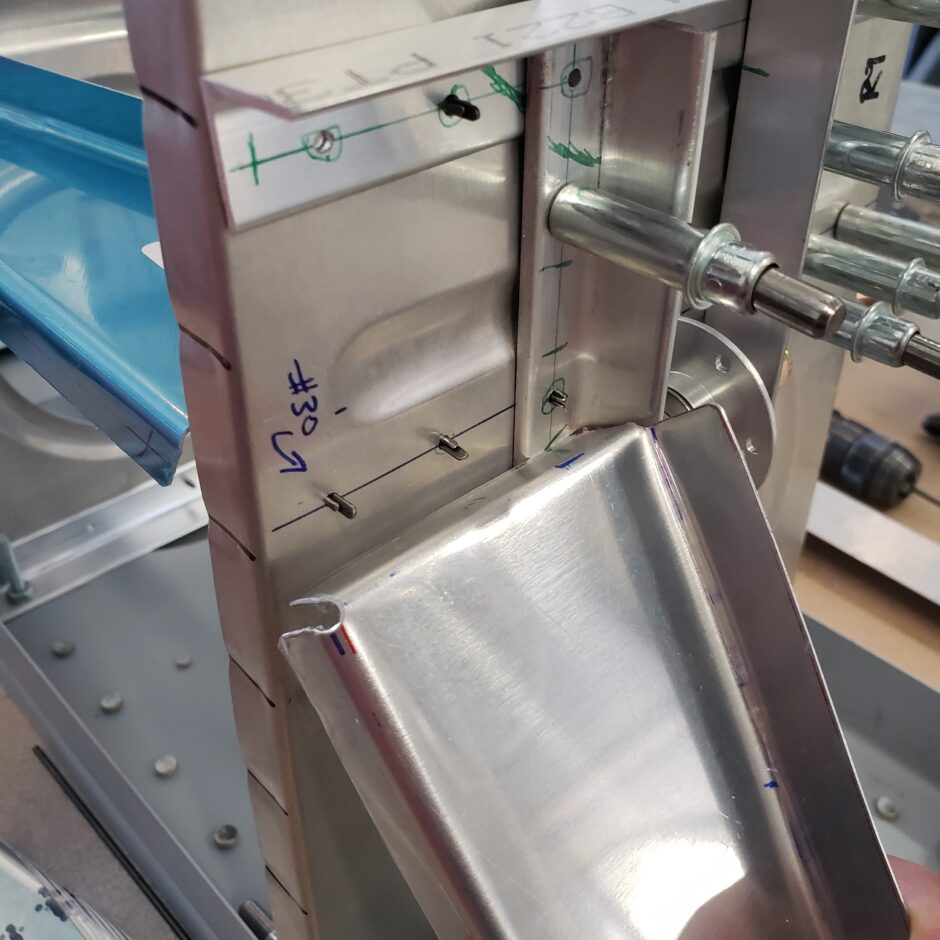
In the picture below, you can see how the spacer tucks in and builds up that low area.
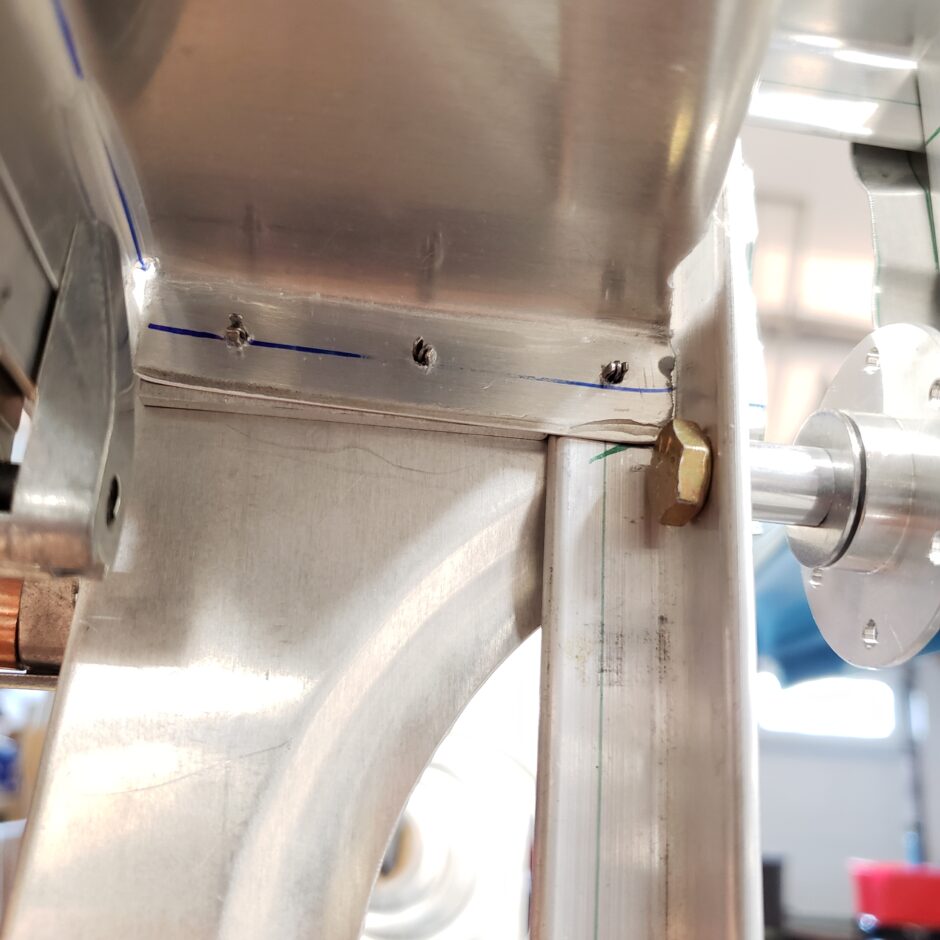
Here’s the other side with all the parts match drilled.
I should also comment that these ribs (in this case on the inboard side of the bellcrank rib) are all handmade as the RV-4 kit only provides for ribs on one side of the bellcrank rib. I looked at ordering some extra ribs from Van’s however at $20/rib…plus shipping….plus 30% exchange rate into CDN funds, was a price I just couldn’t justify for convenience. So I made my own. The F1 Rocket Sport Wing plans have the proper dimensions for these ribs so it’s easy enough to whip some up.
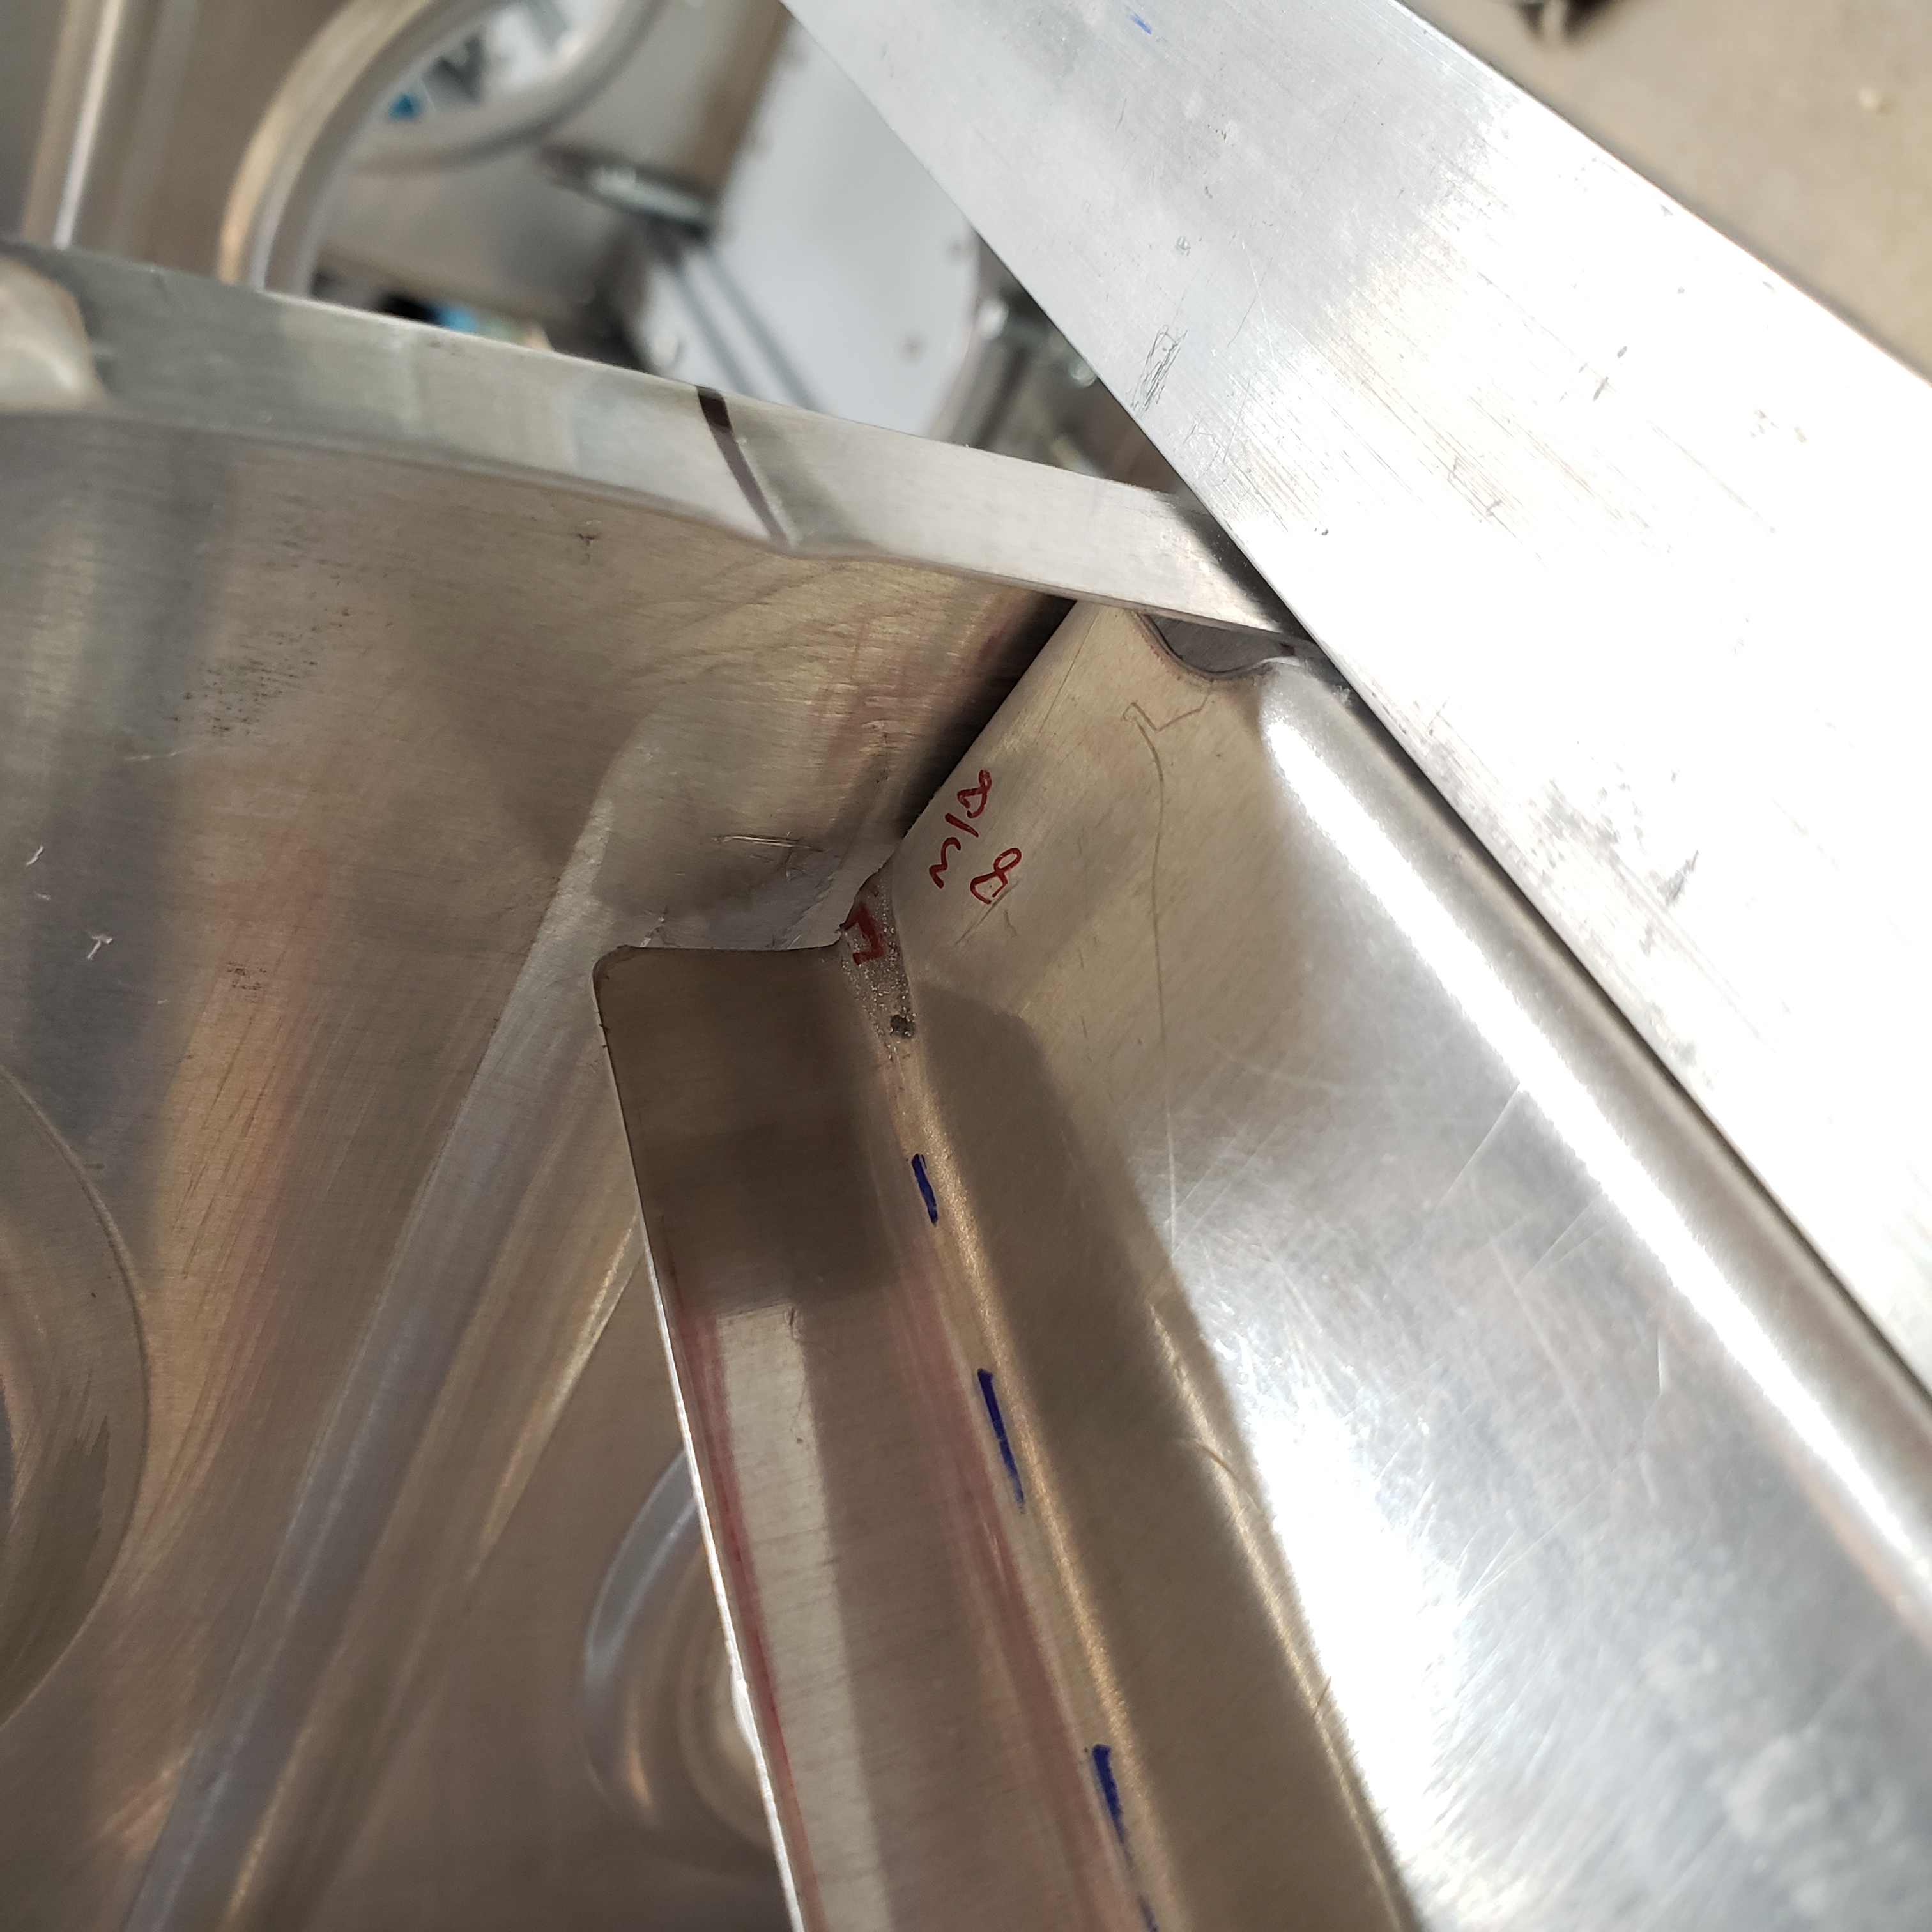
Which brings me to this next picture. Since I made my ribs, this is just a picture to show that you need to be mindful of the gaps and spacing around the ends and edges of the flanges. Just make sure they aren’t chafing on other parts of the structure.
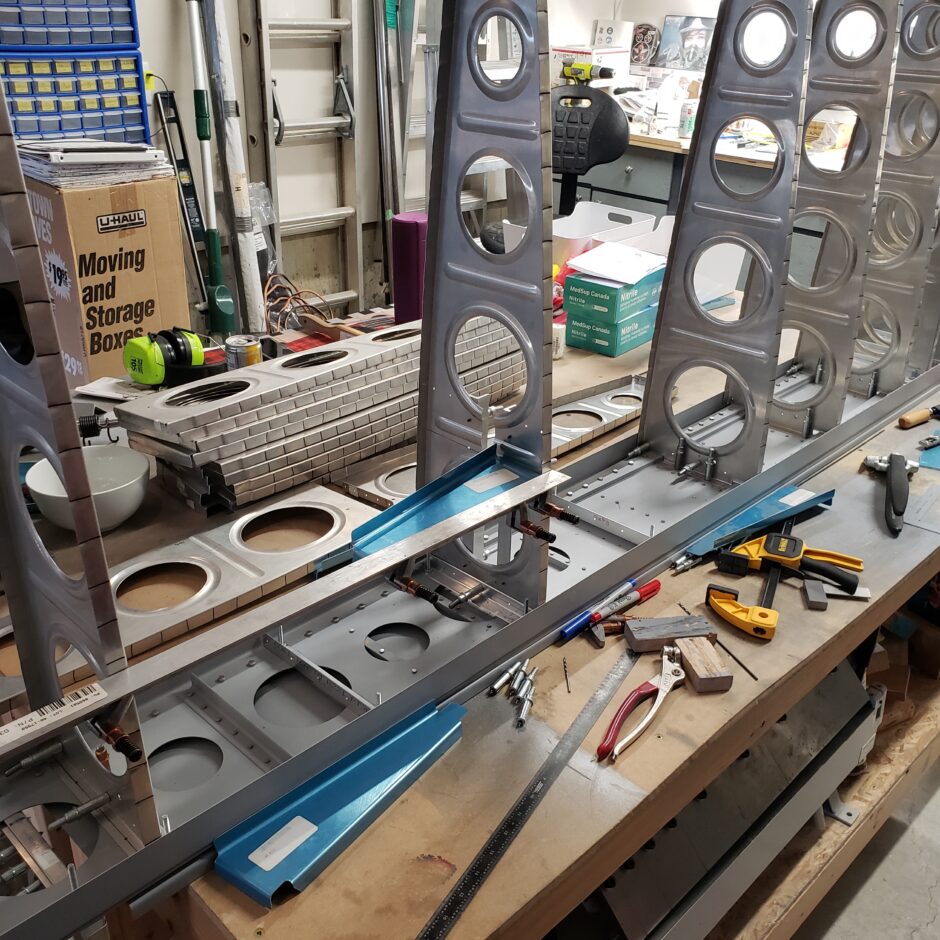
And here are some shots of all four of the support ribs in place.
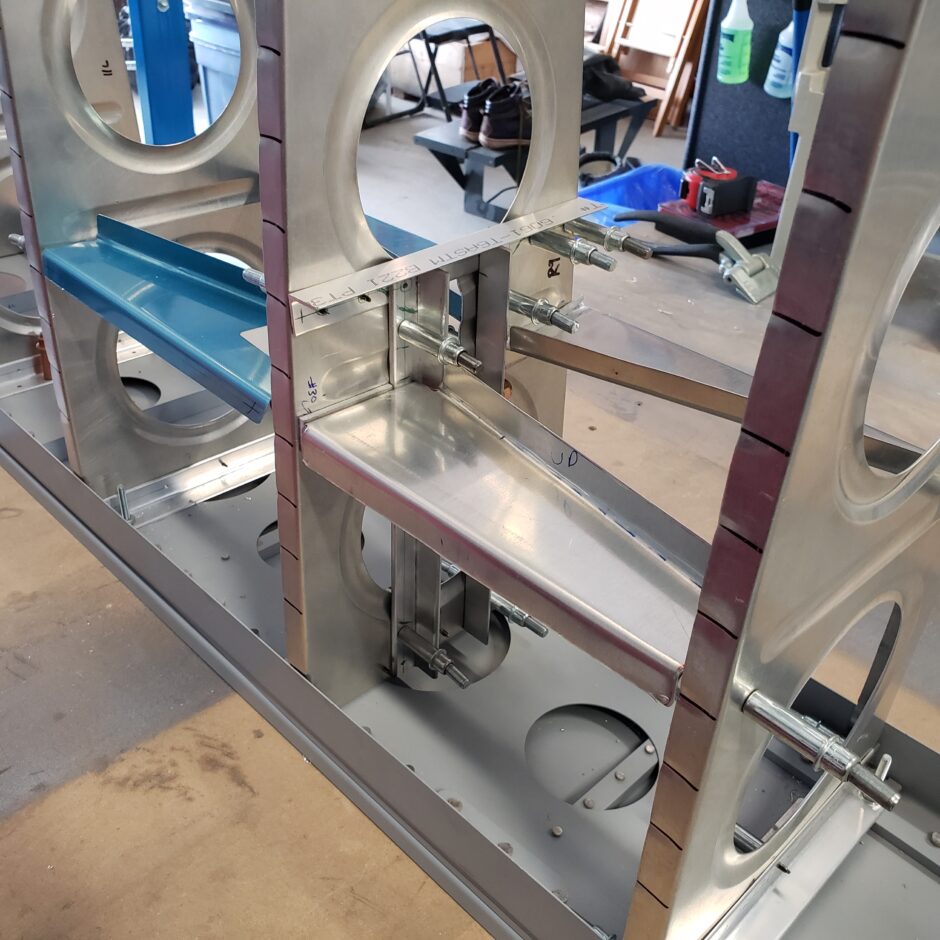
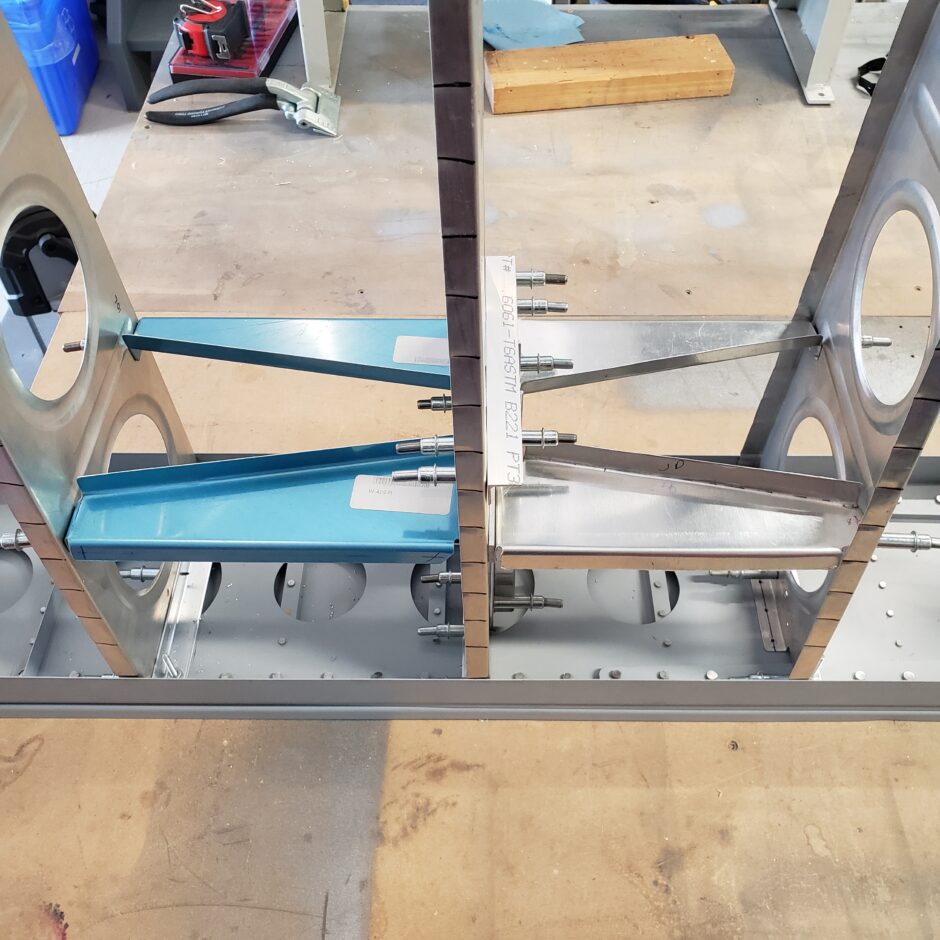
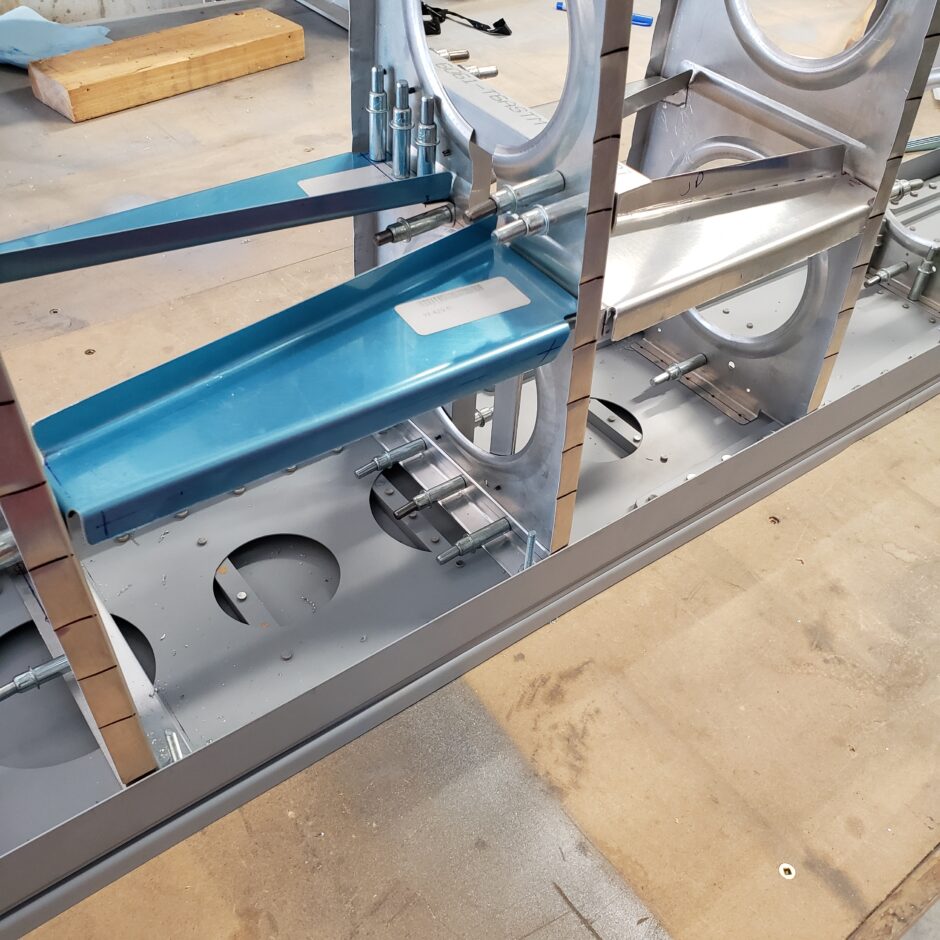
That’s all for today folks! Please comment. I love to hear from my readers. Thanks again for coming along for this ride, you make my work worthwhile.
Good day!
Leave a Reply