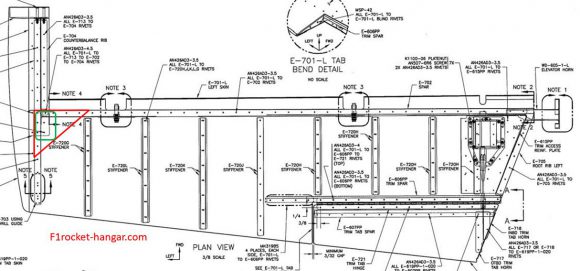
In this log entry I’m working on one of the F1 Rocket elevator mods to stiffen the elevator skins in the area of the counterbalance skin (E-713) and tip rib (E-703). See the diagram below to see the skin stiffener (red) and doubler (green).
In the picture below, you can see that I start with a triangular piece of aluminum. I can’t remember if it was 0.020 or 0.025 thick. This stiffener needs to be the same thickness as the counterbalance skin thickness (E-713). As you will note, on the piece that has been formed, I have cut a notch out (which is also marked on the unformed piece). This notch is cut around the counterbalance skin, which is why this material needs to be the same thickness. A doubler will be placed over the counterbalance skin and the doubler as shown in green in the diagram above.
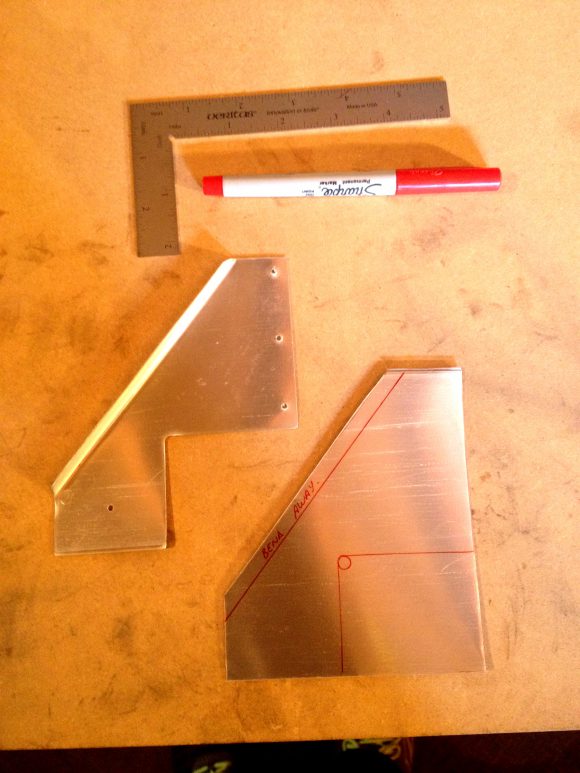
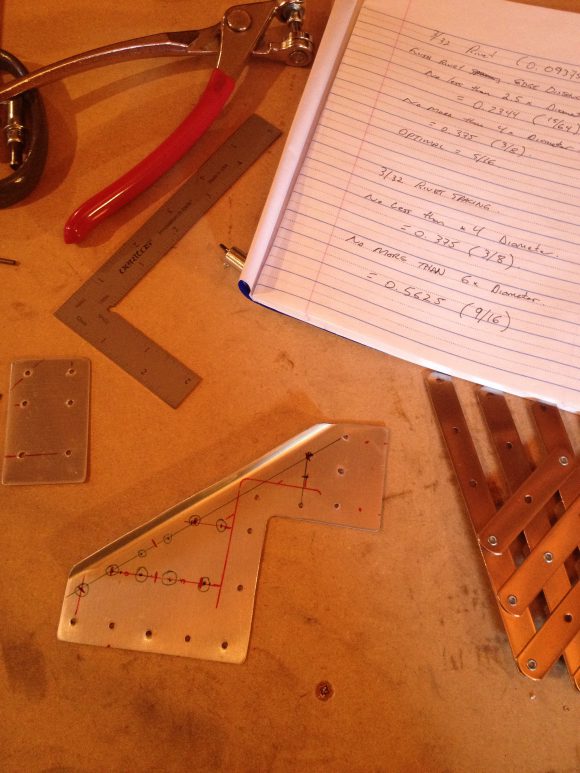
Here is a picture of some of my layout and planning during the design stage of this doubler.

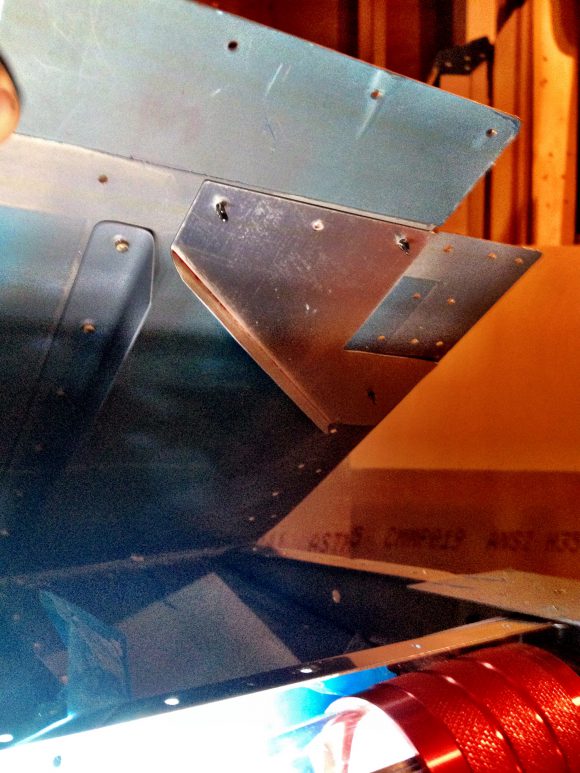
The skin stiffener is attached to (sandwiched between the elevator skin and both the spar and tip rib). The image below shows the stiffener in place around the counterbalance skin that sticks out past the spar and tip rib.
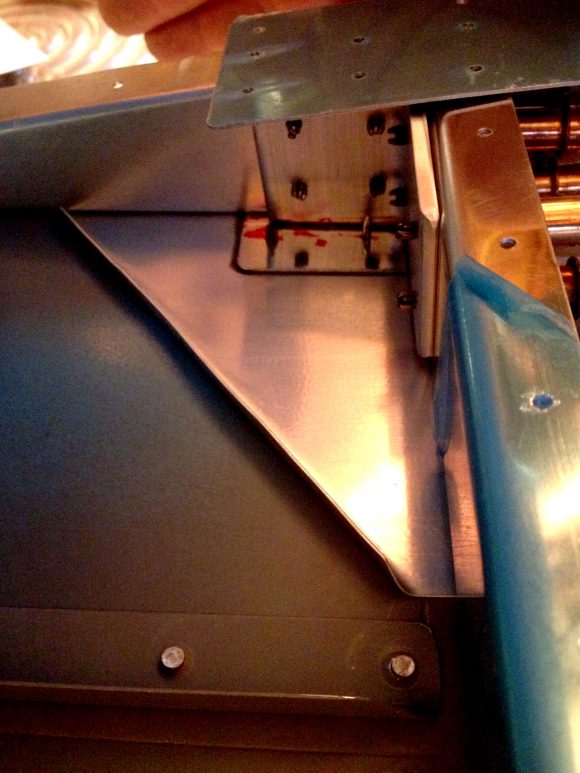
In the next picture, I have the doubler in-place over the skin stiffener. This doubler is to tie together the skin stiffener and counterbalance skin in this area. Also note that this mod is done on both the top and bottom side of the elevator skin, so you’ll be making 4 of these in total.
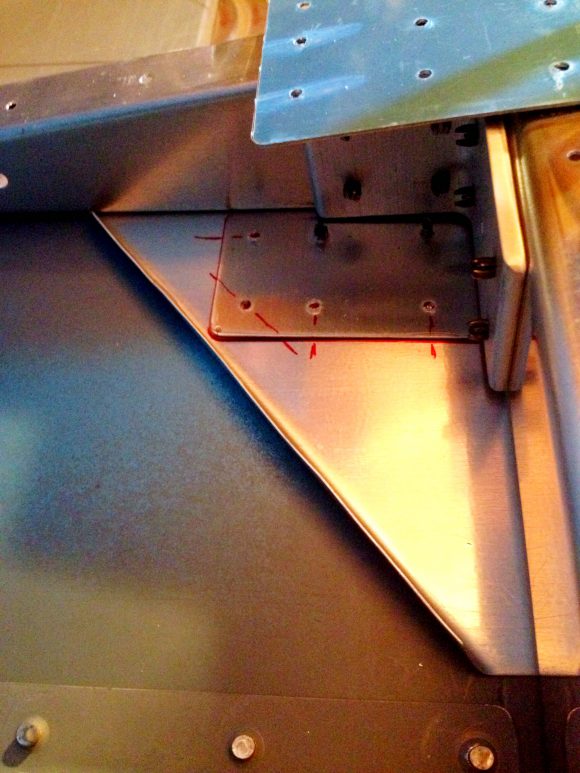
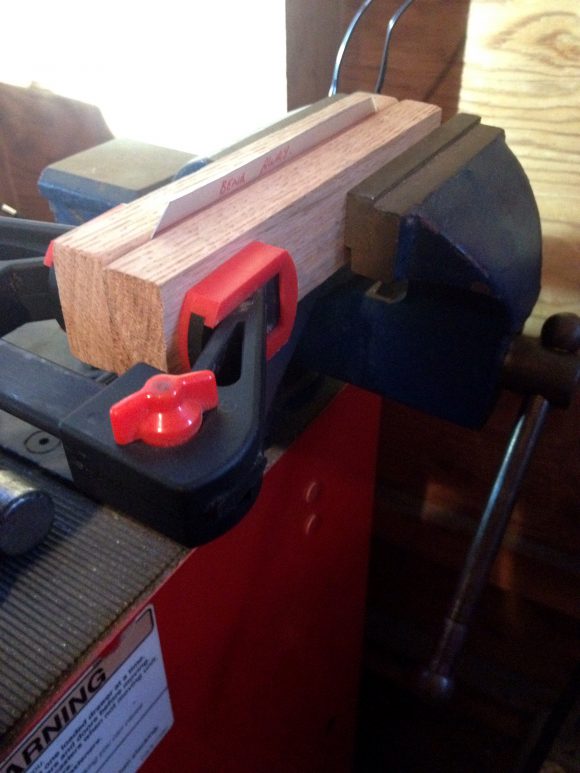
To form the flange on the skin stiffener, I just used a rubber mallet and the part held between 2 pieces of oak that I rounded the corners off.
I then test fit the doubler onto the elevator skin. Here you can also see where the skin is notched out to mate up with the counterbalance skin.
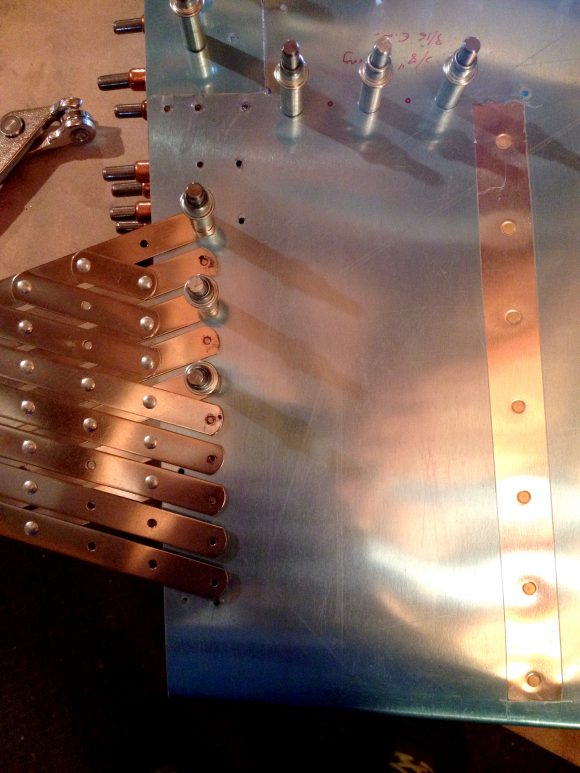
I then used a rivet fan to evenly space the additional rivet holes in the tip rib and elevator spar. Extra rivets are added in between the existing rivets.
Here is a picture of some of my layout tools and notes. To determine the rivet layout pattern, I referred to the AC-43.13 and Aviation Mechanic Handbook.
Here is a picture as I’m drilling the skin doubler.
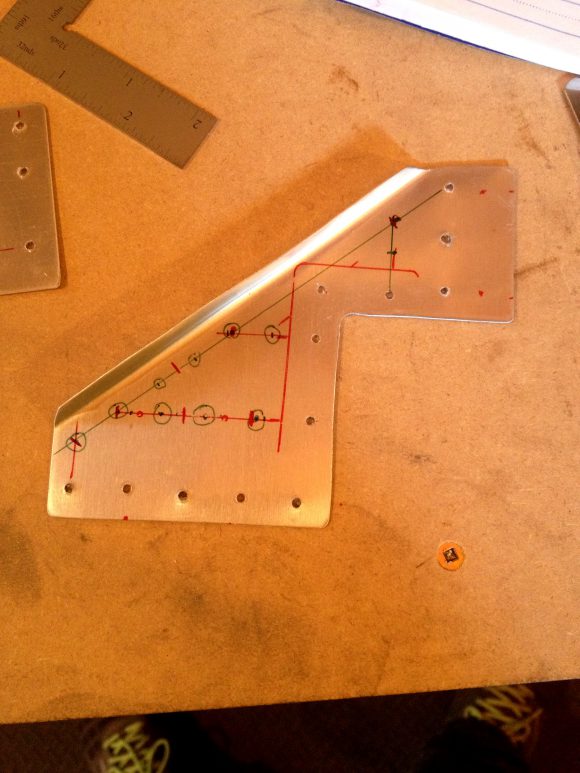
The next picture shows the final rivet pattern layout before I started drilling.

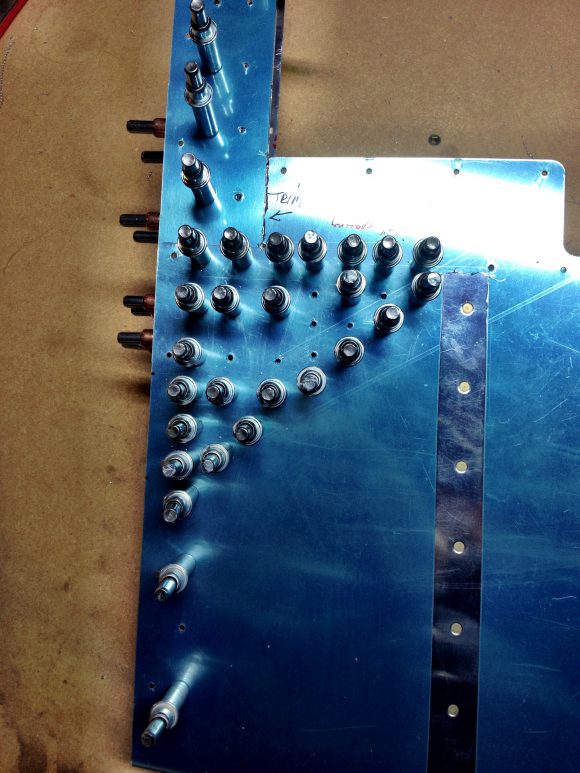
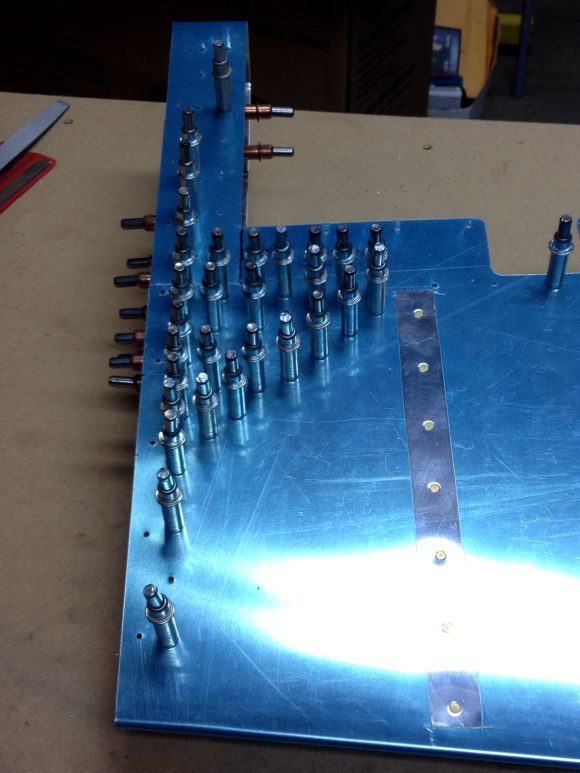
The following pictures are of the doubler match drilled to the skin. There sure are a lot of clecos! The rigidity added by this mod is significantly noticeable.
Please comment, I love to hear from my readers. Thanks again for coming along for this ride, you make my work worthwhile.
Leave a Reply