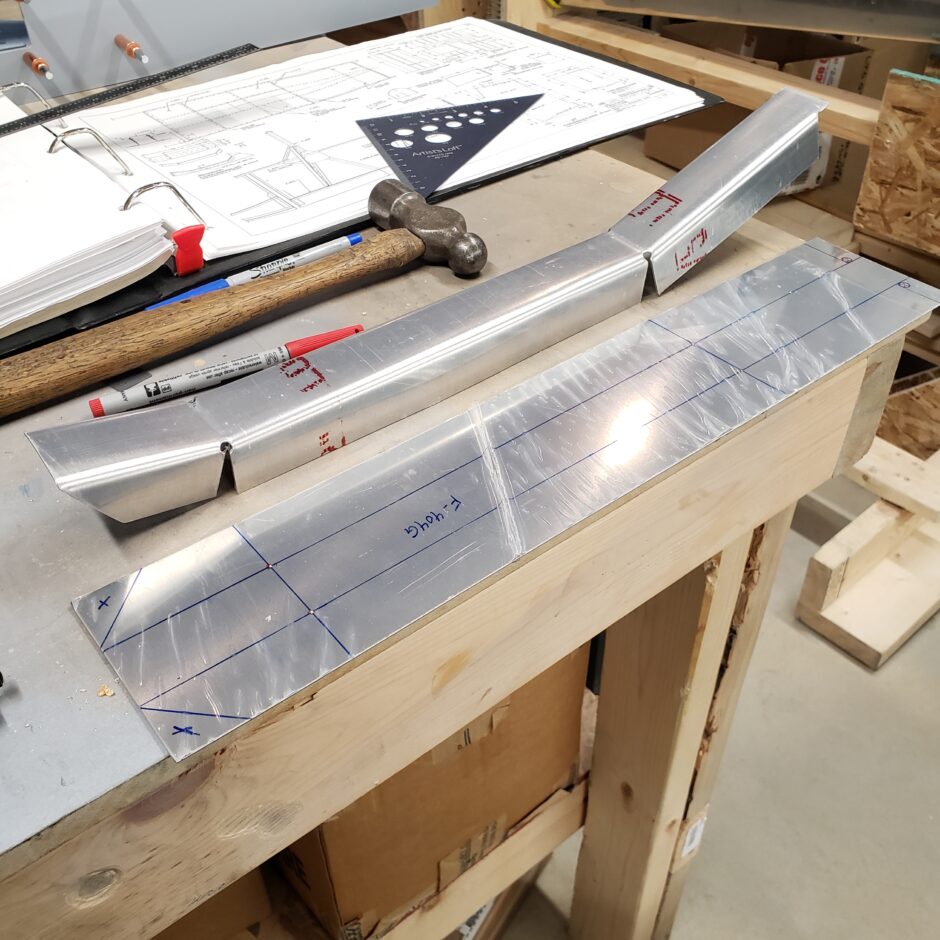
As I get close to finishing off the F-404 bulkhead, the only remaining part was to finish the interior side with the F-404G Bulkhead Caps. These are straightforward and as I forgot to order these with my RV-4 wing kit, I ended up fabricating them myself but as you will see, that’s no big deal.

As per the drawing show above, you can see that I easily made these with some simple layout and bending.
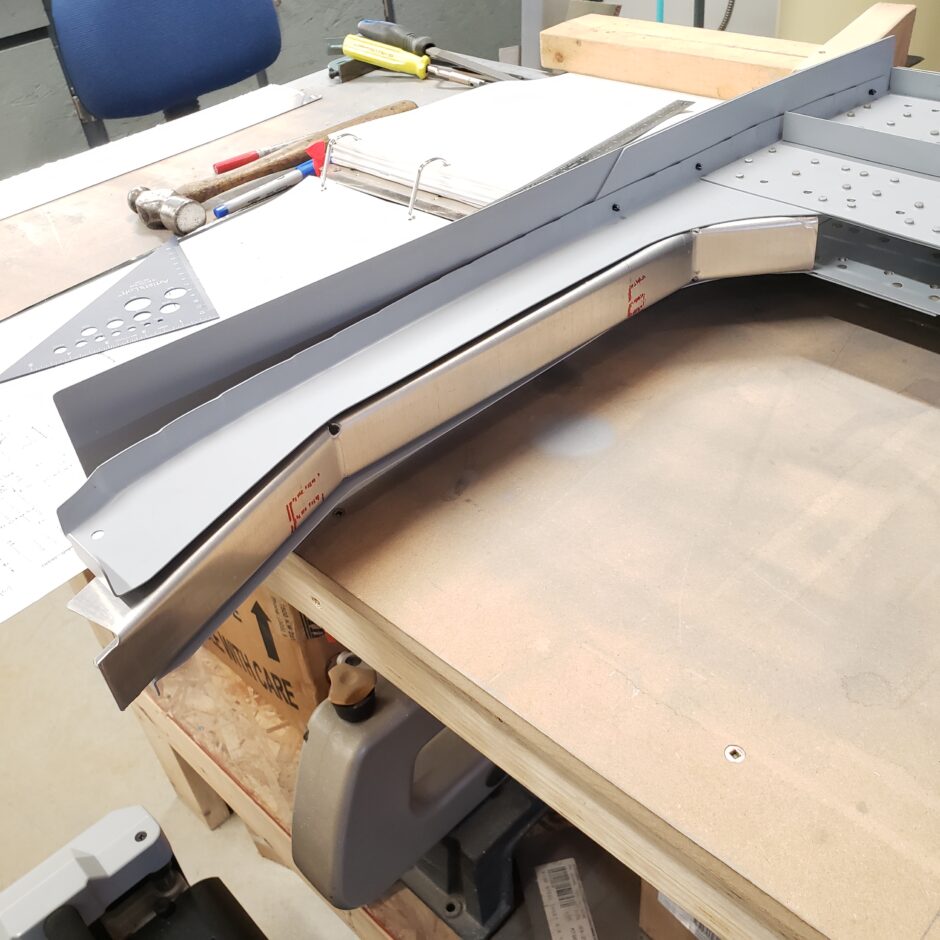
The parts fit!
As shown in the drawing above, these caps are fastened in place with LP4-3 pulled rivets. The rivet layout is also provided in the drawing, which is what I stuck with as shown in the picture below. Watch out to make sure you keep proper edge distances!
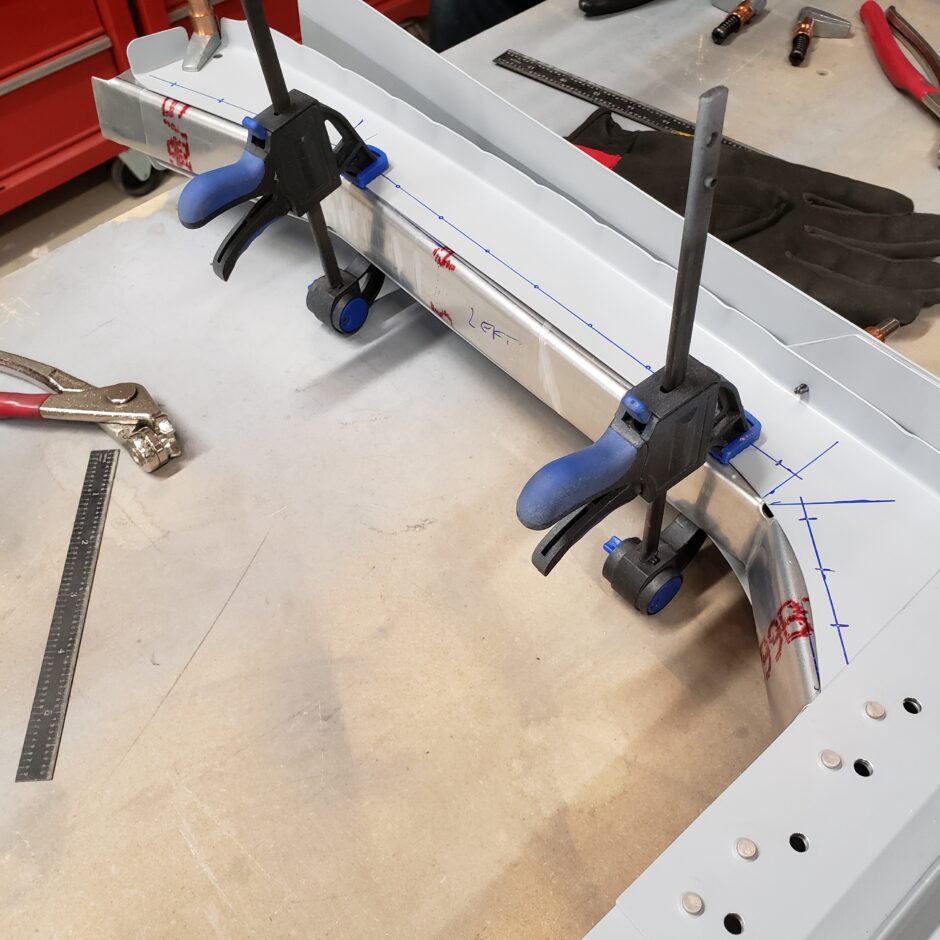
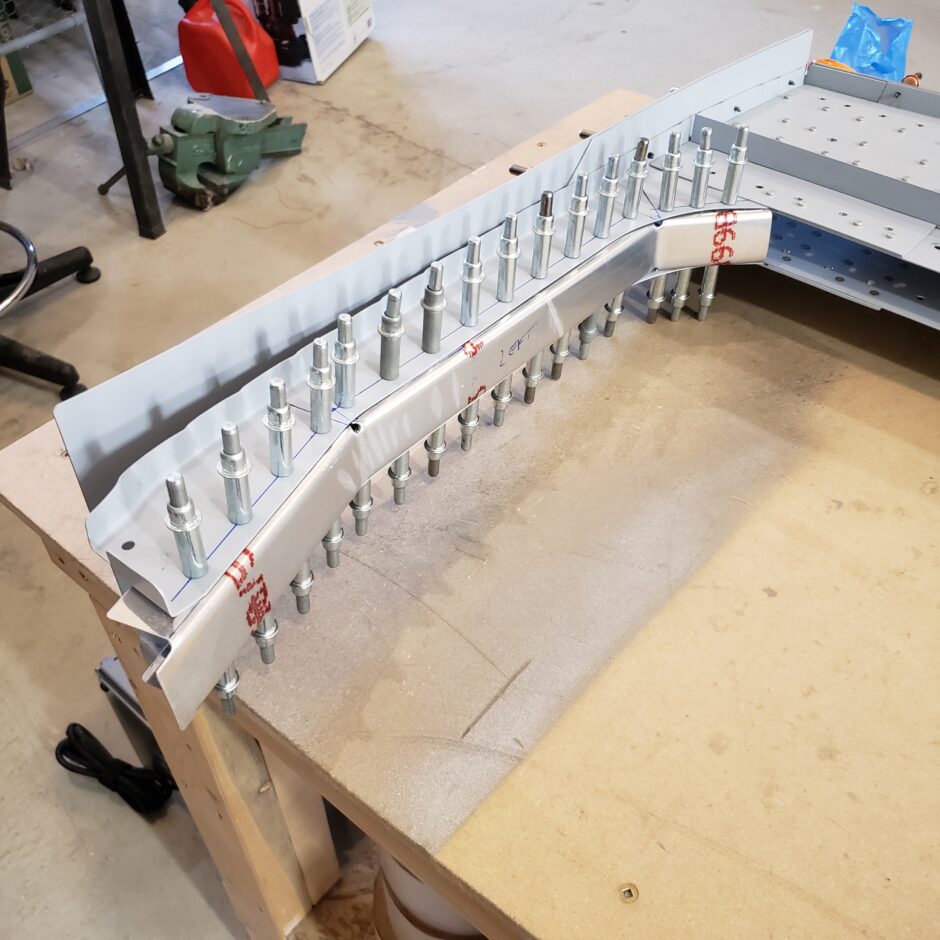
In the picture above, you will note how these caps are even and look to be square with the bulkhead frame upright formers. As shown in the picture below, I had to offset these caps quite a bit to get them to appear to sit square with the frames. I think this is because the rear frame is spaced slightly closer together than the forward side.
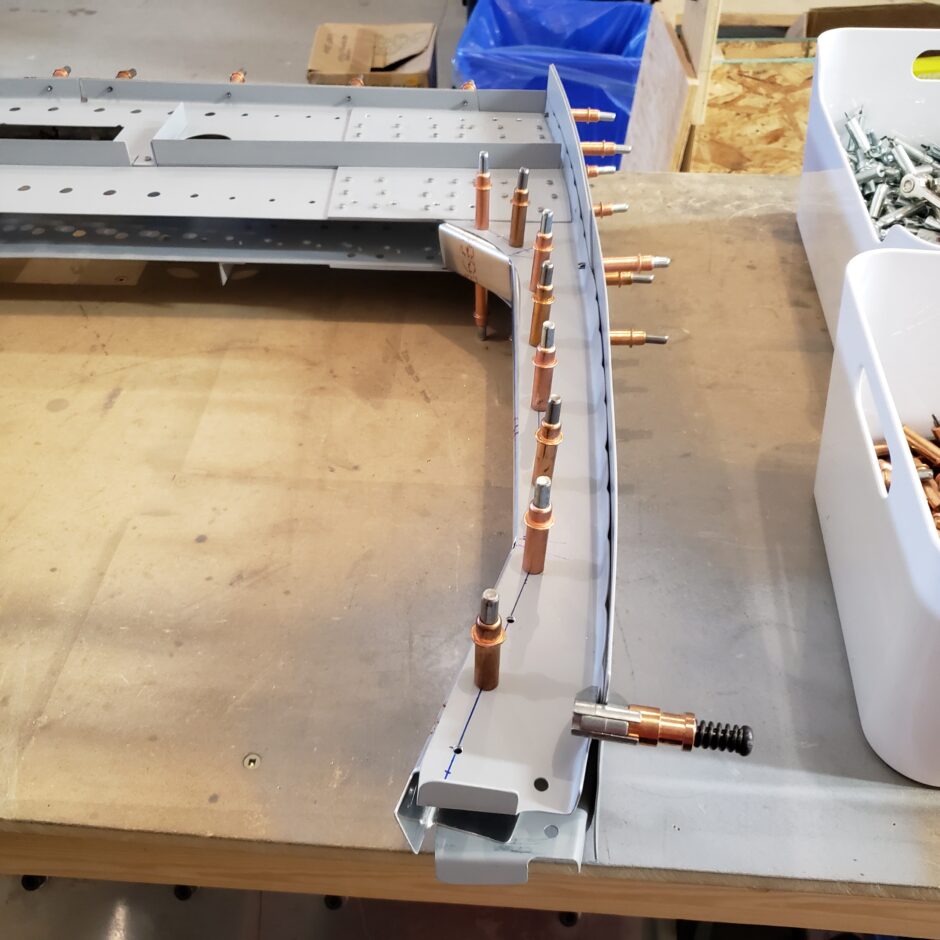
The caps are clamped in place and ready to be drilled.
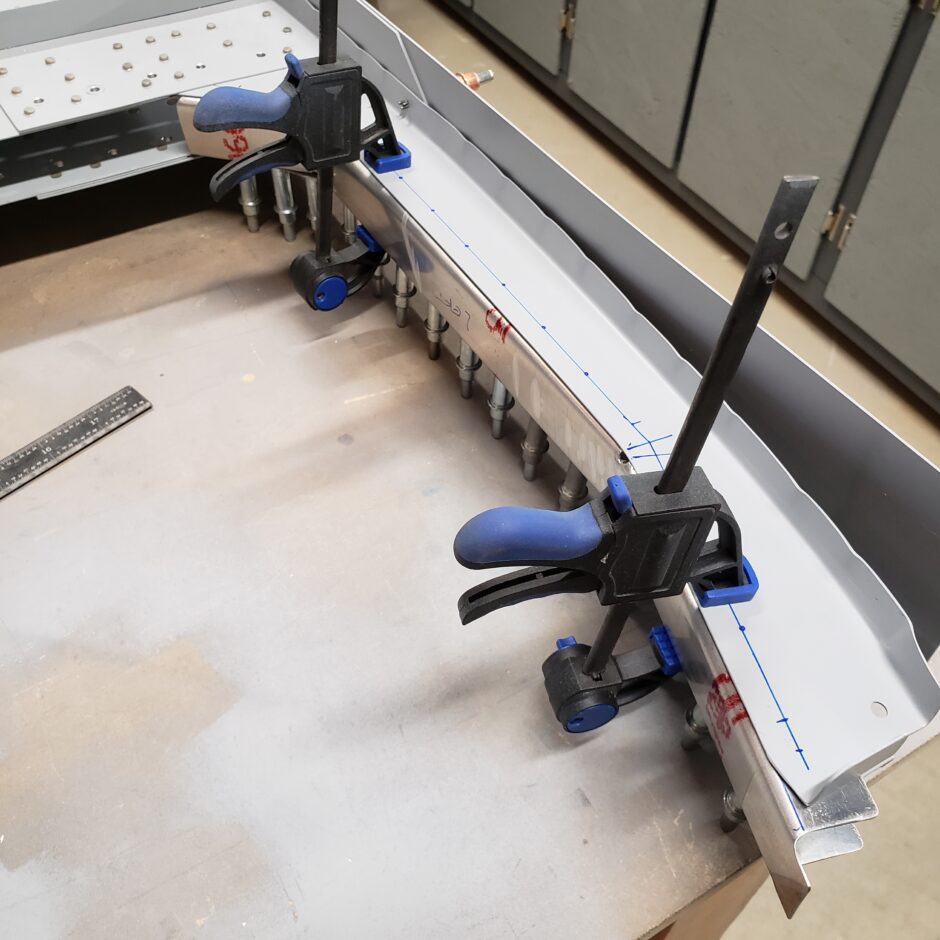
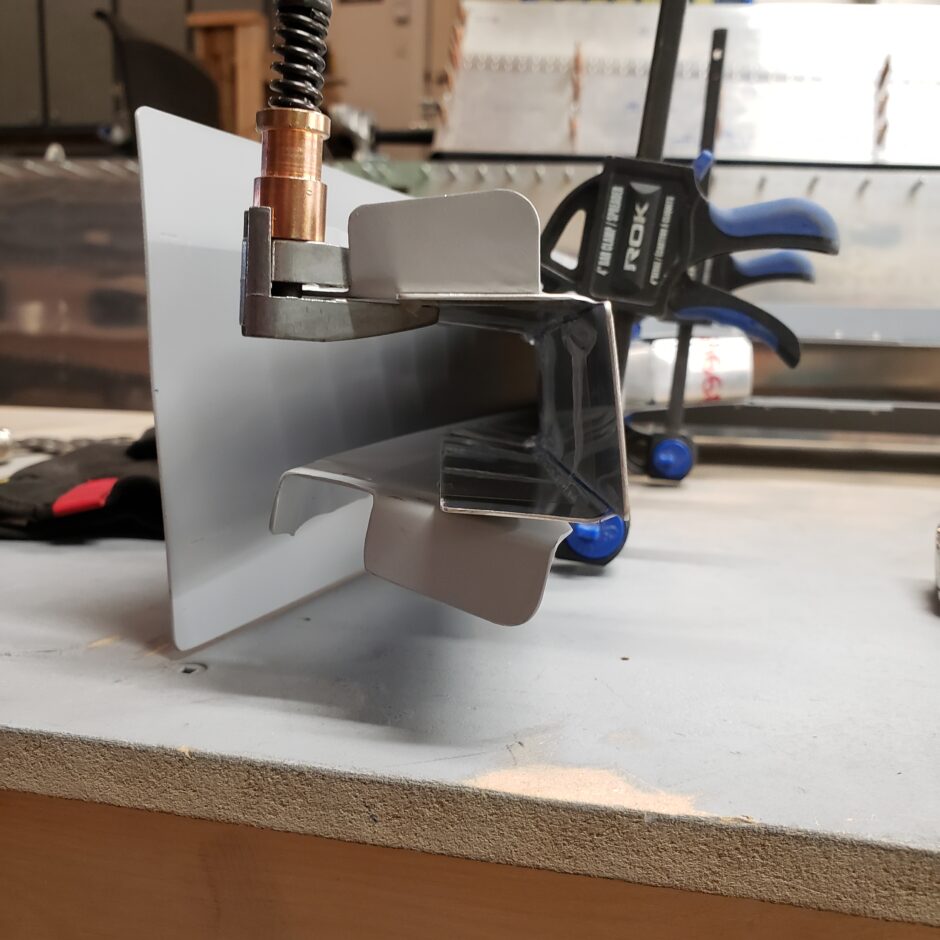
All the cap fastener holes were dilled to #40.

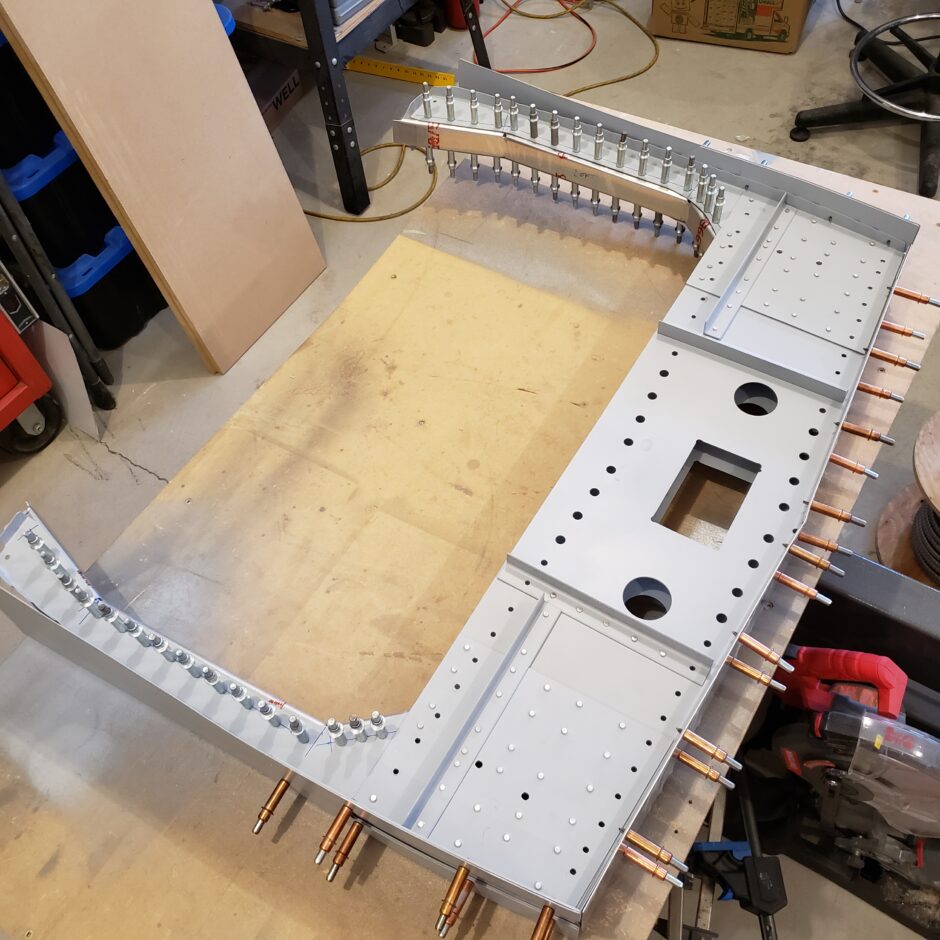
Here’s a shot of the overall bulkhead. All looks good. Now it’s time to drill these up to #30.
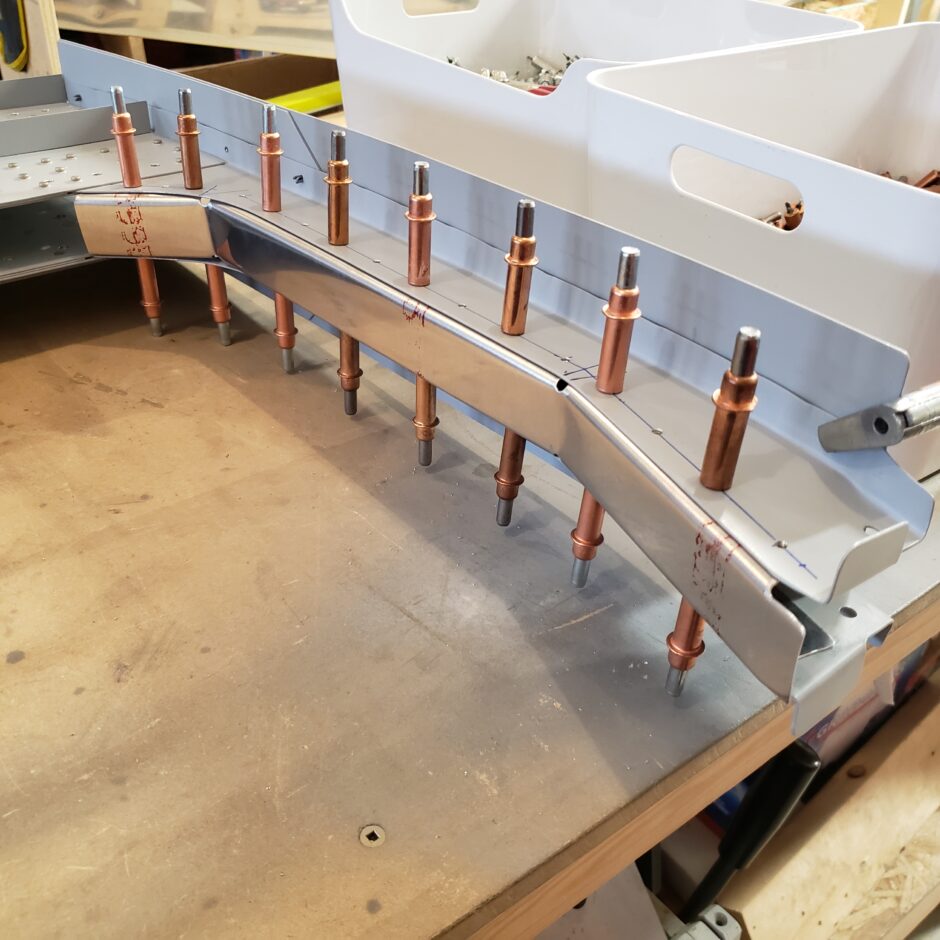
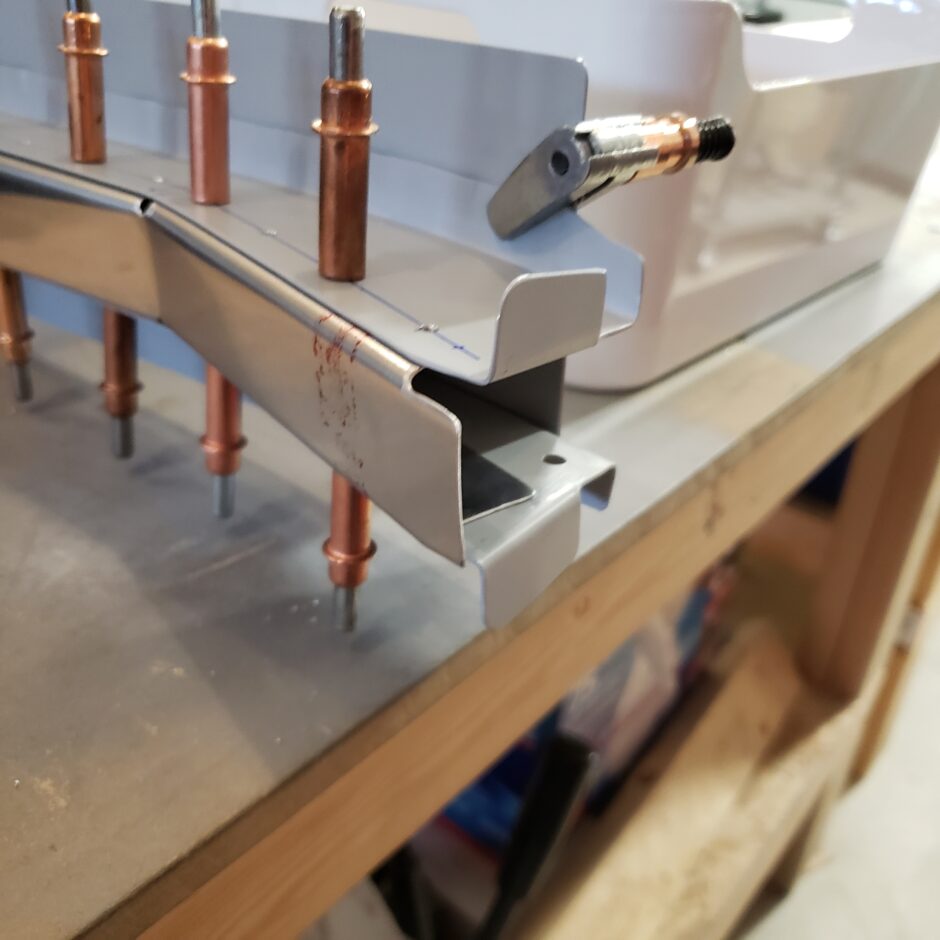
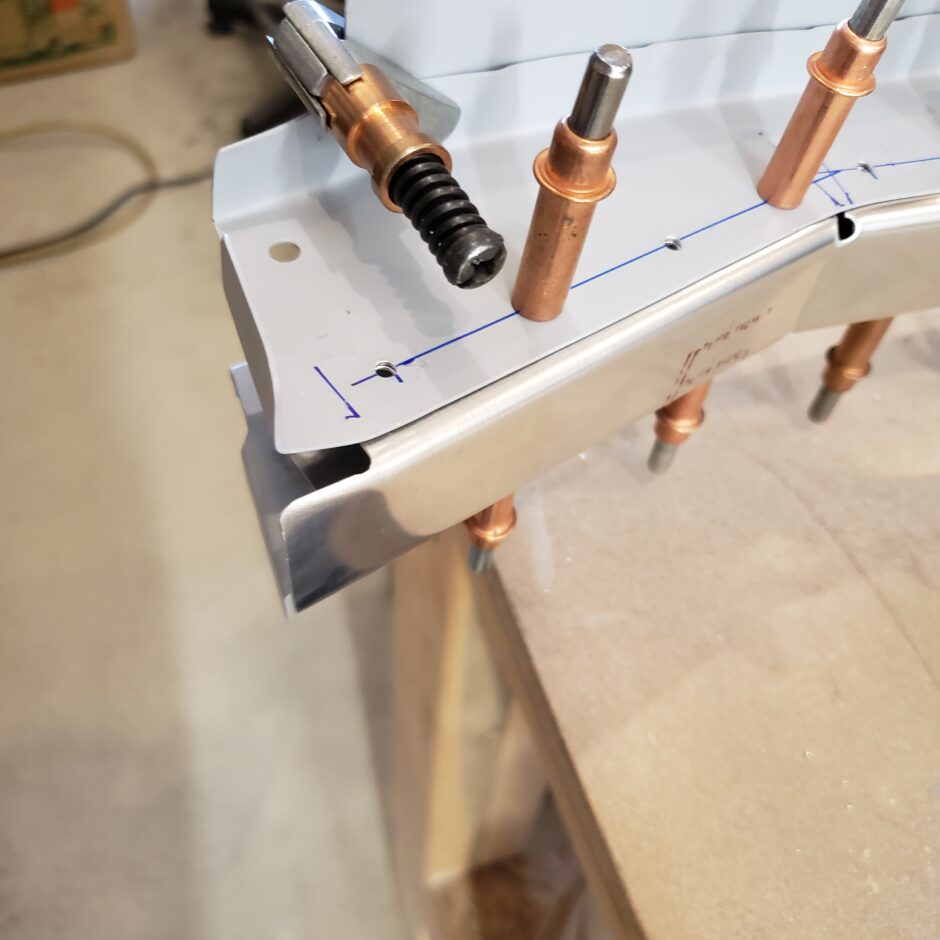
Here are a few more close-up pictures of the details.
And with that, I’m pretty much as far as I can go with the F-404 bulkhead for now. I’m going to save all final riveting until I have it built into the fuselage. Time to move onto getting the wings built!
Please comment. I love to hear from my readers. Thanks again for coming along for this ride, you make my work worthwhile.
Leave a Reply