My new parts have finally showed up! Yay! For the past few weeks I’ve been waiting for my wing spar doubler panels to arrive. These parts were overlooked when I originally ordered the RV-4 wing kit.
The forward wing spar web doubler is part of the Sport Wing modifications, it’s also not something that you can get from Van’s. I ordered these doublers from Harmon Rocket. The standard Sport Wing has a 15 3/4 inch extension doubler (P/N HRW-6B). It’s an extension doubler because it extends the W-406B spar web doubler as the Sport Wing has a larger fuel tank than the RV-4. The F1 Rocket plans also call for the same 15 3/4 inch spar web doubler extension (P/N TR-W-006B2).
As I’m building my Rocket to be a cross country traveling machine, I opted for the the optional 55 USG fuel tanks that are sold by Harmon Rocket. Rather than the 15 3/4 inch extension, the doublers I have for the 55 USG tanks have a 33-inch extension plate.
In the image below you can see the extension plate. As it comes undrilled, I got it clamped in place, butted up against the spar web doubler.
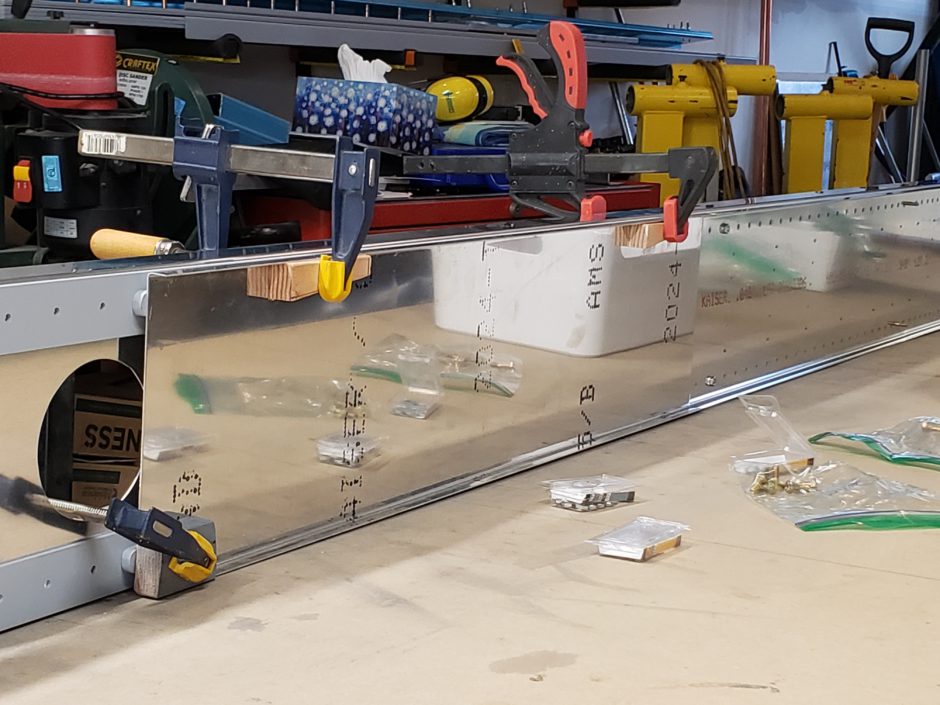
Here is rear side of the spar with the extension clamped in place.
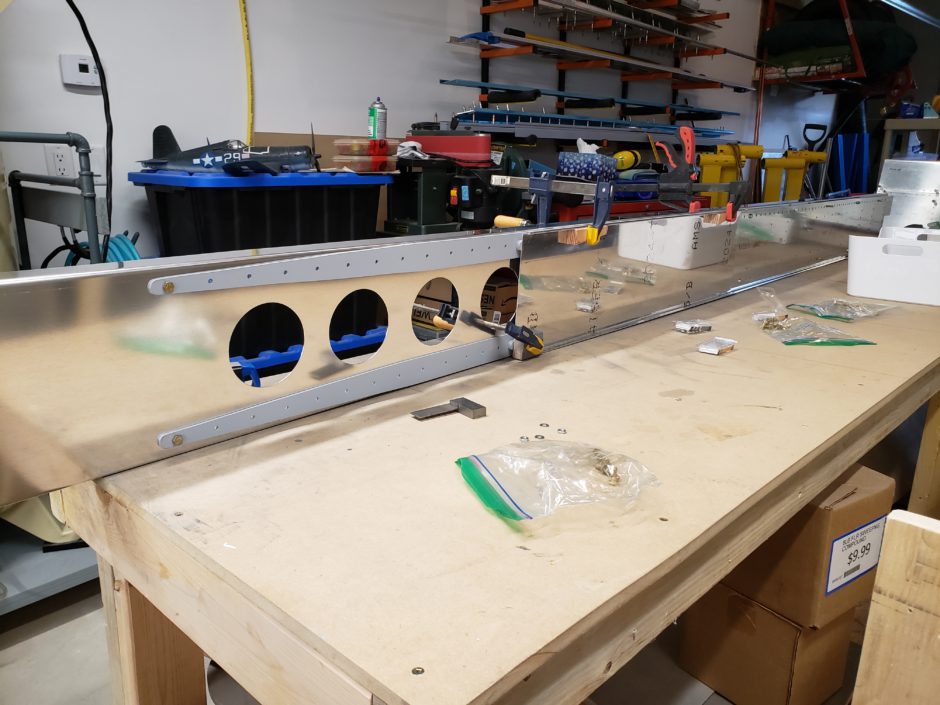
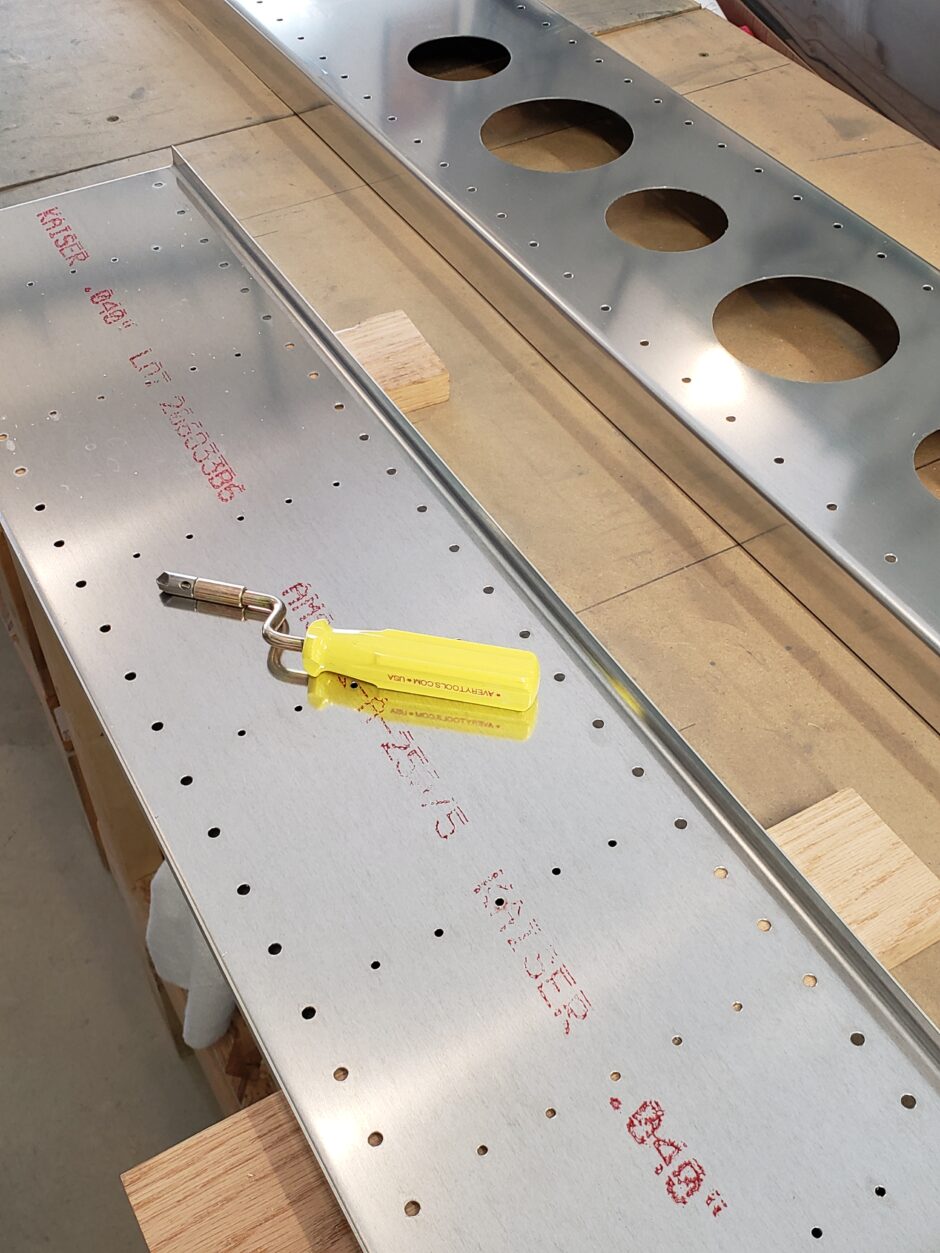
With the doubler securely clamped in place, I started by drilling from the back side, and clecoed to help hold the plate in place. I found using wing-nut clecos here really worked well as they seem to have more clamping force than the standard spring clecos…but I only have a few of these.

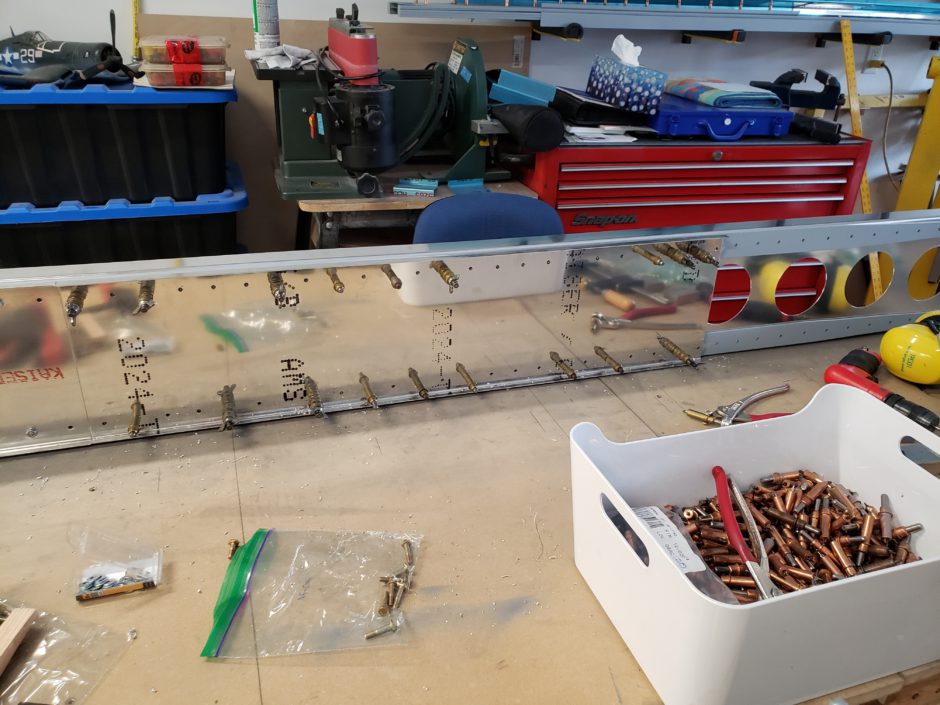
Drilling continues on this next picture. Here you can see that I have both the top and bottom rows drilled.
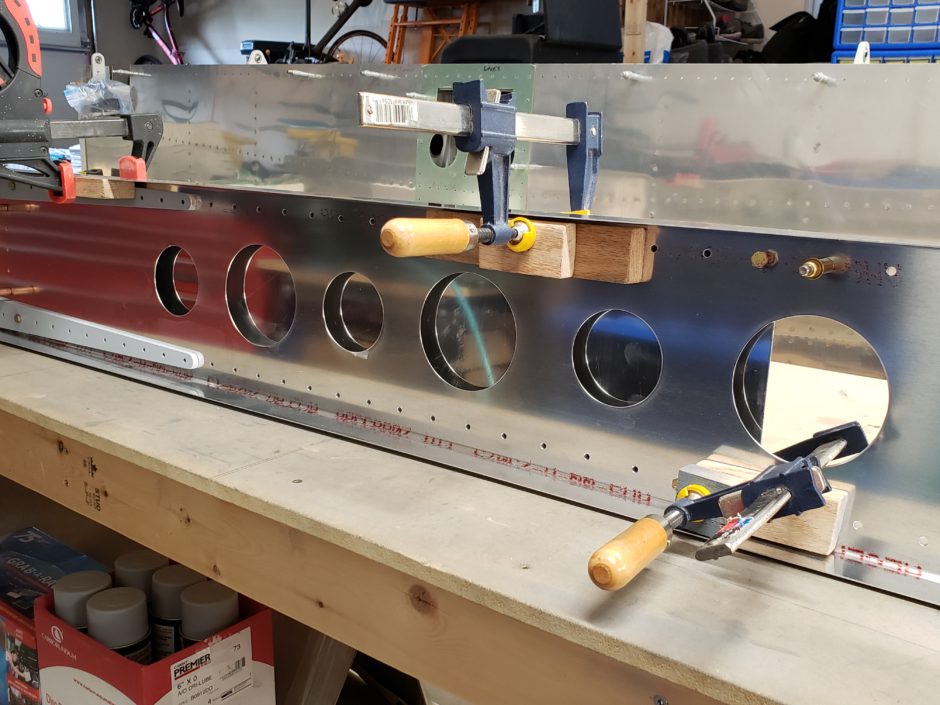
Here is another shot of the spar. You can really see how about 2/3 of the spar leading edge is going to be fuel tank.

When the doubler extension was drilled, I moved on to locating the spar web spacer blocks. You’ll have to make more of these as anything under the extension is not provided within the RV-4 kit materials. So in this case I needed to make 5 more per wing.
I didn’t get a lot of pictures during this part, however it’s just like the other spacer blocks that come with the RV-4 wing kit. Similar rivet spacing. I laid out the rivet spacing on the blocks, drilled them, secured them into location on the spar, drilled front to back, clecoed, then put the spar web doubler in place, and back drilled the doubler extension.

Then once all that is done, you have lots of new holes to deburr!
Please comment. I love to hear from my readers. Thanks again for coming along for this ride, you make my work worthwhile.
Leave a Reply