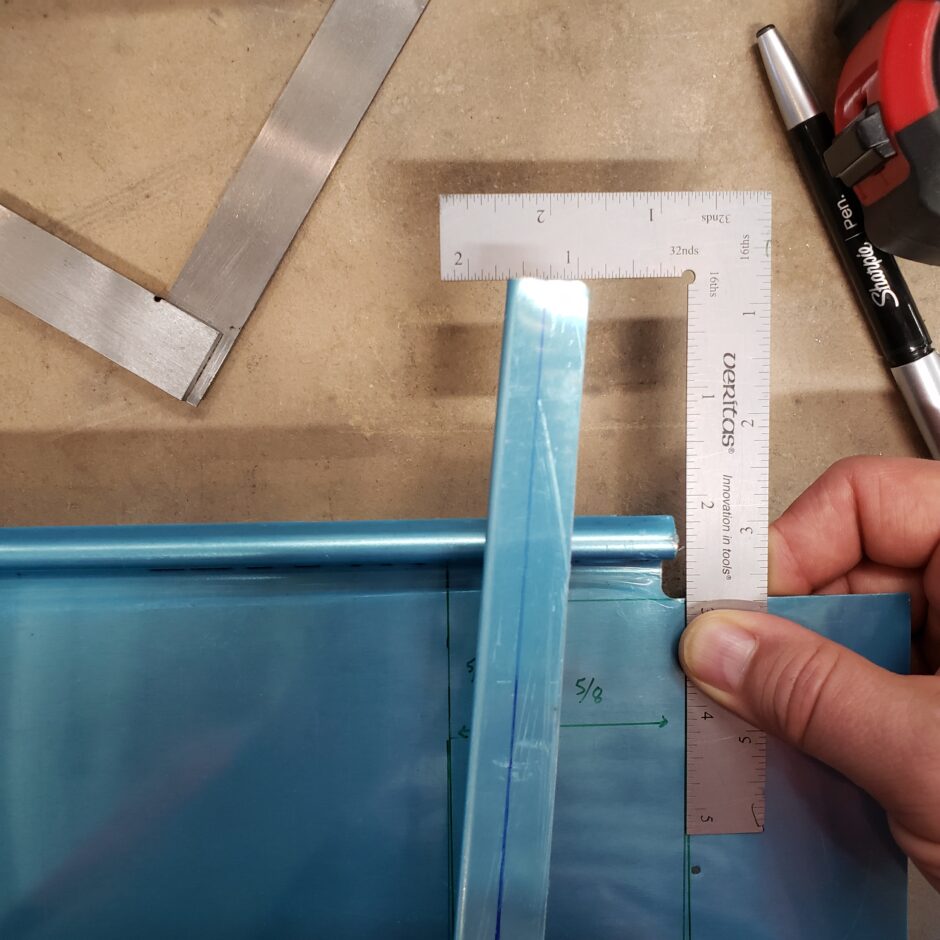
Before I get too carried away on the inboard rib, the first thing I did was just double check my measurements. As the rib is angled, this measurement needed to be exact. The width of the flap is 58 3/4 inch. This is measured from the outboard end of the flap inboard, because it’s the inboard side that I need to trim shorter from the original RV-4 parts. This line is marked and aligned with the ruler edge in the picture below. The offset measurement for the aft edge of the inboard flap rib is 1 5/8 inch. Again, this is shown in the picture below.
Also, you can note that the formed lower flap skin interferes with the location of this rib, so that will need to also be trimmed so the rib can sit flat against the lower skin.
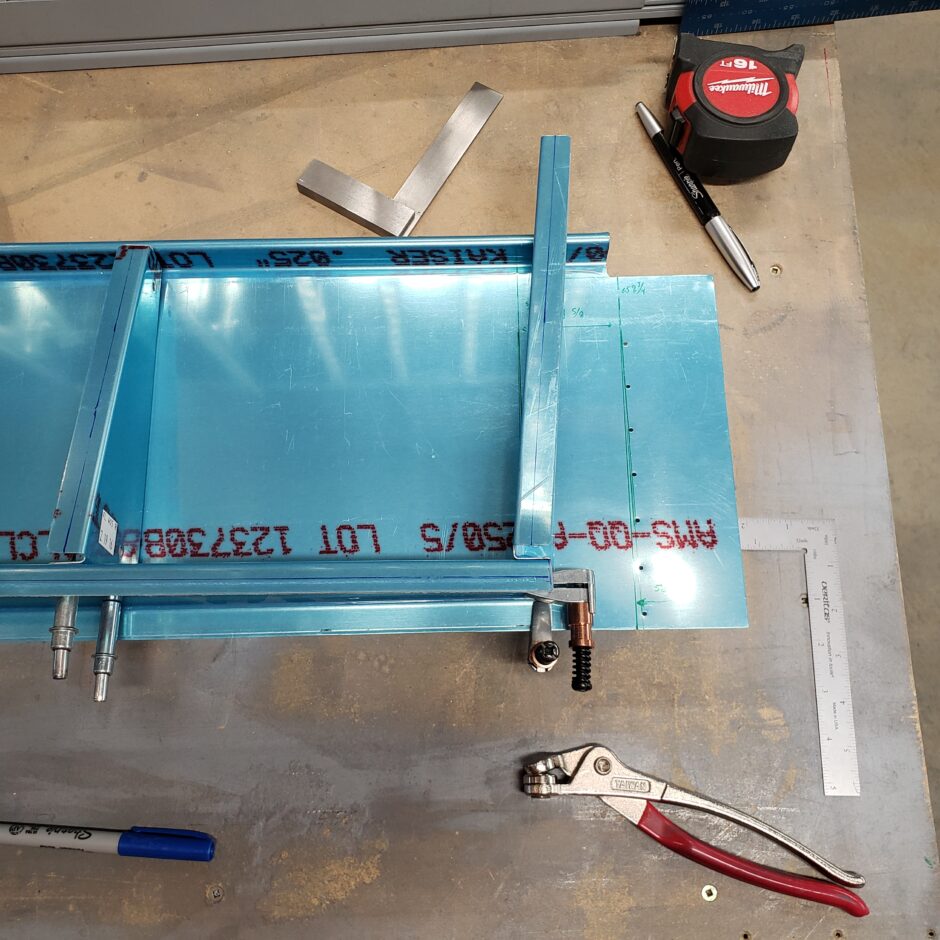
In the picture below, you can see more of my layout dimension with the rib removed. You can also note that I made a small blue tick mark along the outboard edge of the rib. This is where I’ll have to trim the flange off the lower skin.
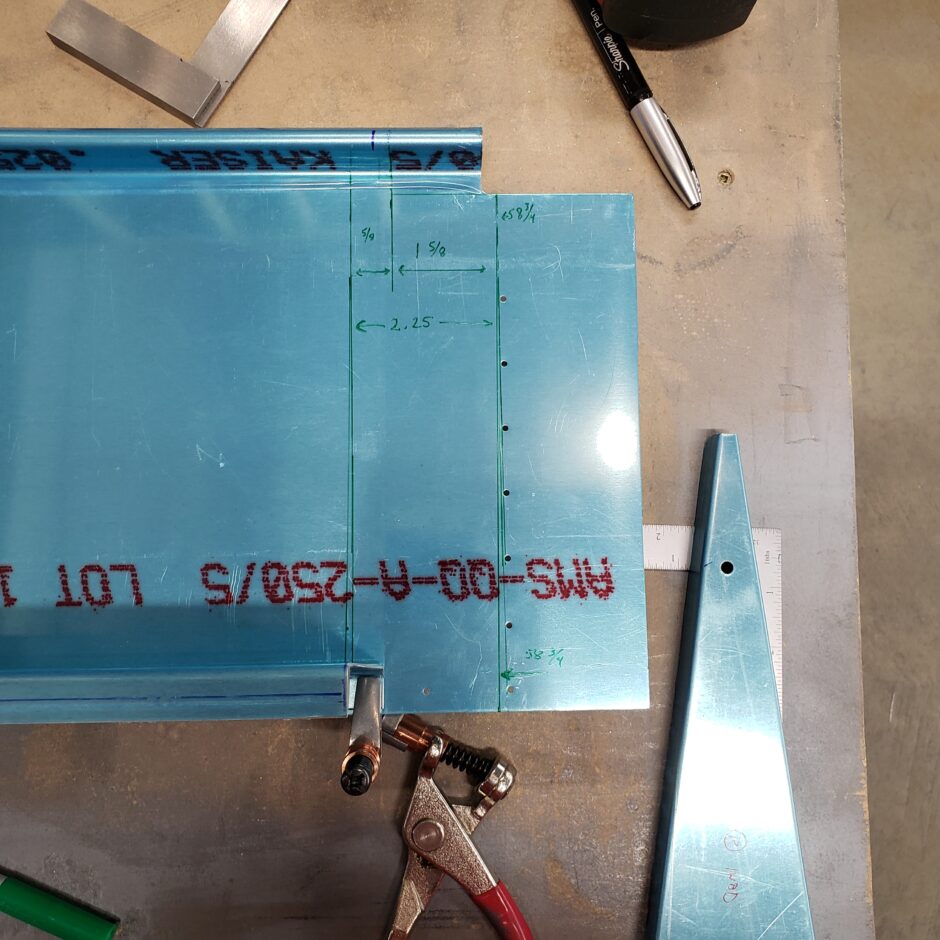
I then extended the line down to the skin surface and marked it out with the straight edge to match the existing lines of the skin.
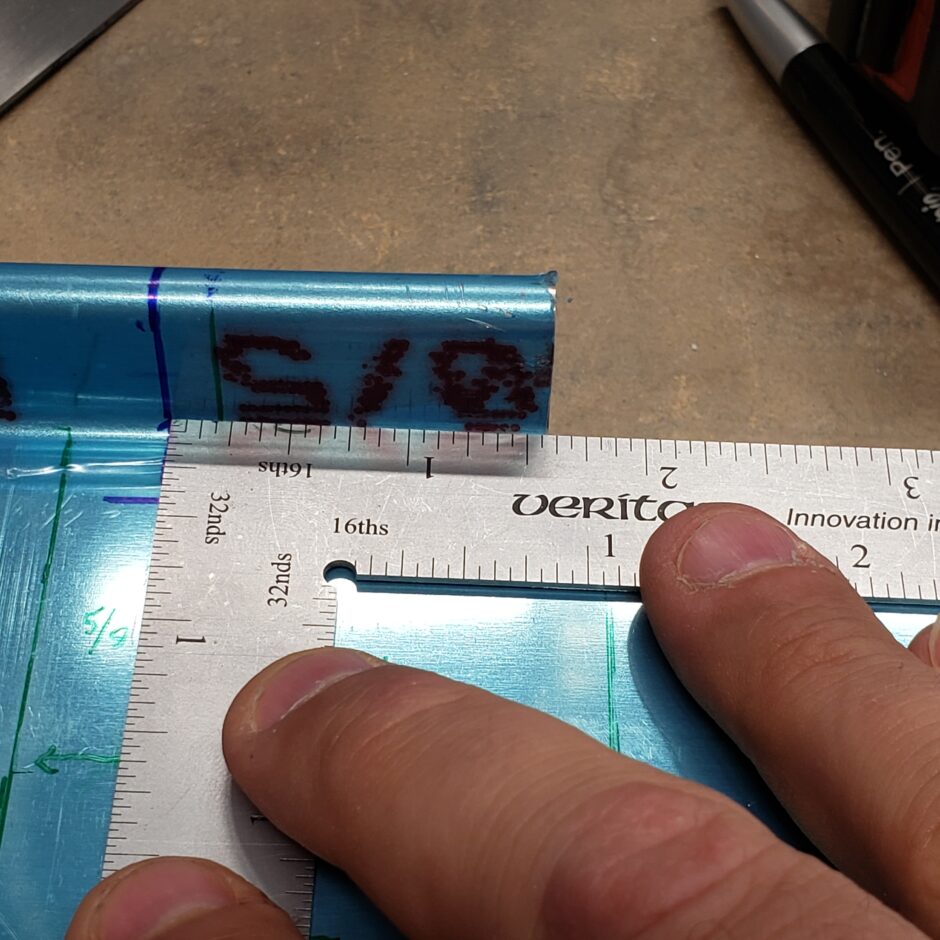

To begin trimming off this flange, I started with making a hole in the corner so that I end up with a radiused corner after I cut.
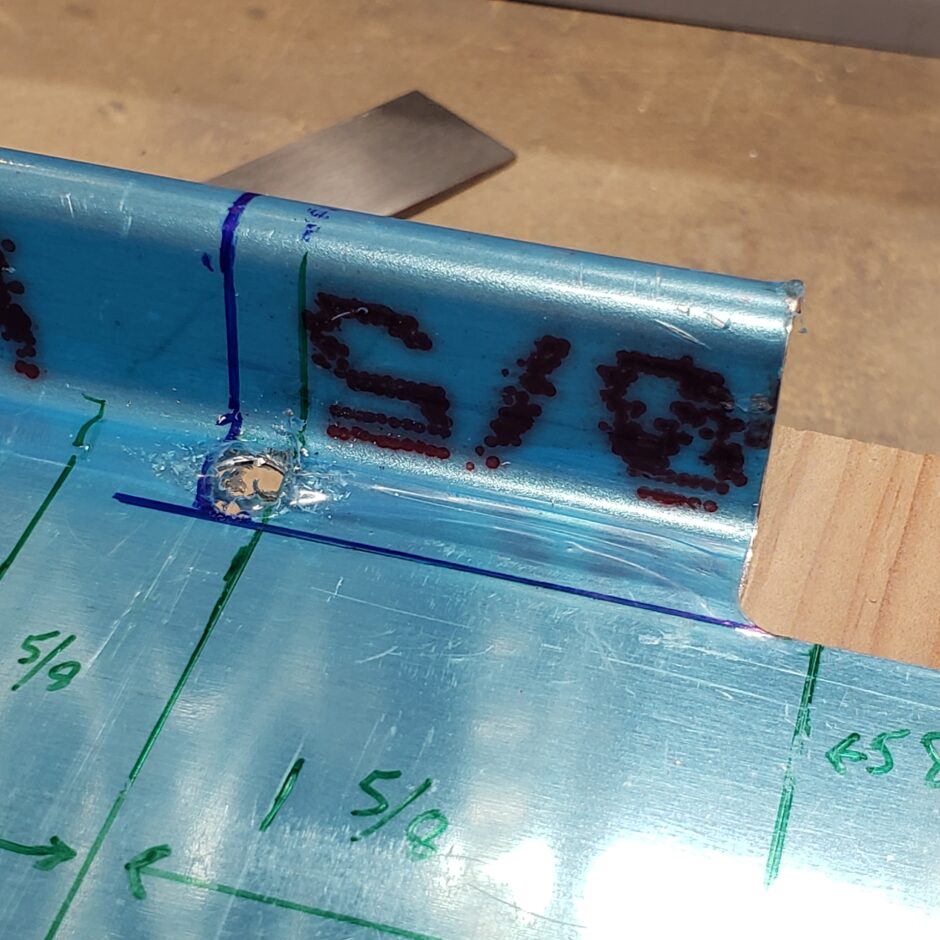
With the corner hole, the 2 cuts were easily done and the excess flange was removed.

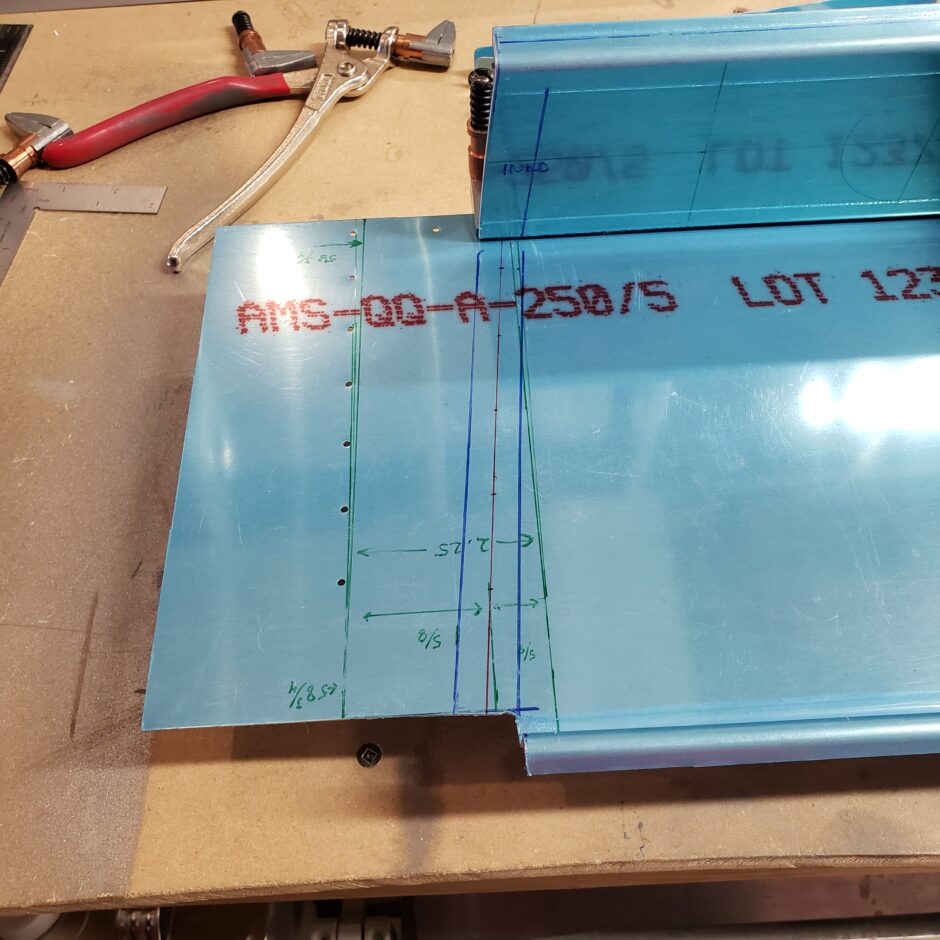
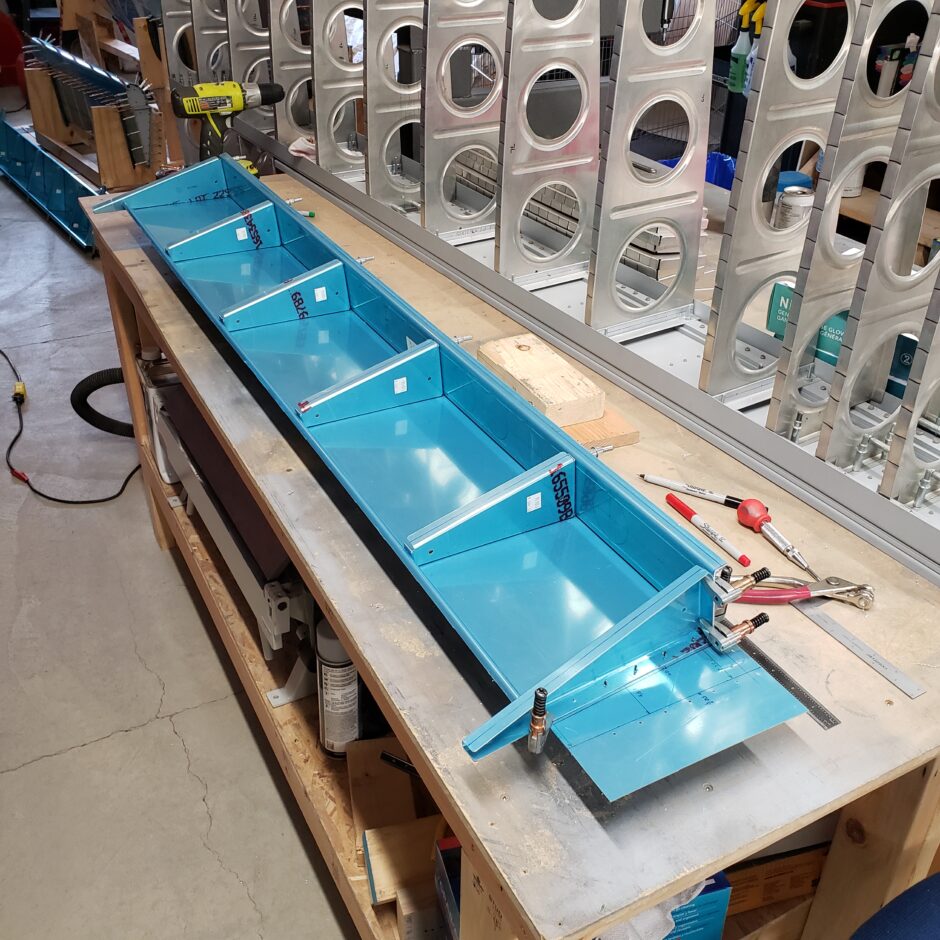
Next I laid out the rivet holes using standard rivet spacing from the other ribs, and pre-drilled the skin. Once the skin was drilled, I was easily able to line up the centerline on the lower rib flange, and then match-drilled the pilot-holes in the skin to rib. Don’t forget to keep the rib firmly clamped in place!

Flap Hinge Installation
Now that the inboard ribs are located, the next step is to move on to getting the flap hinges mated to the flap. Again, with the Sport Wing flap being shorter, so is the flap hinge. The Harmon Rocket II drawings specify a flap hinge length of 57 inches. There are also builders notes out there that state the 57 inch dimension is incorrect and should be 56 1/2 inches.
BE VERY CAREFUL HERE!
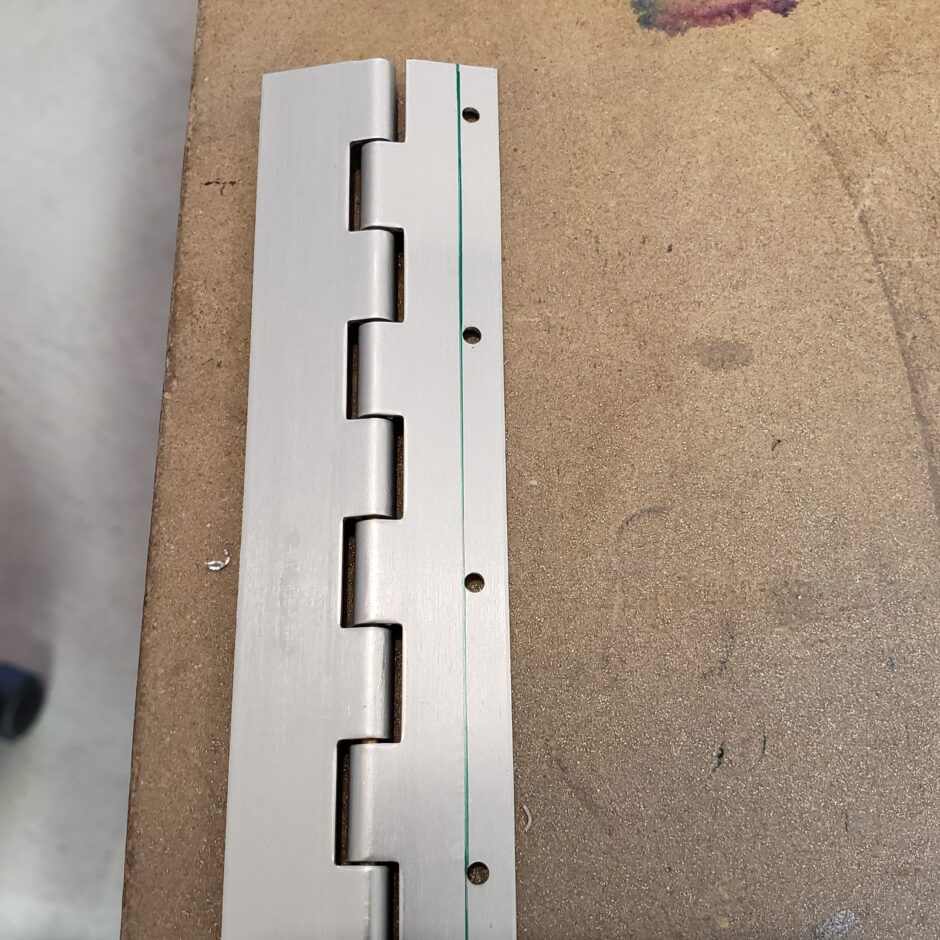
Don’t do what airplane builder Mike did and charge blindly into trusting others dimensions! As you can see in the photo below, when you pre-cut your hinges to the 56 1/2 inch dimension to be efficient…you will end up taking longer because you need to order new hinges and wait for them to be delivered!
In my experience, you can see that the 56 1/2 inch dimension will not provide sufficient edge distance for riveting.

On the other flap, I kept the hinge long, and then marked it for trimming when I knew that the overall length was sufficient for proper edge distance at the inboard end.

Here is a picture of the overall flap underside with the hinge clamped in place. This wasn’t all that easy to do because I would have liked to have about 5 more clamps on the hinge to hold it more secure, as it was still a bit wiggly.
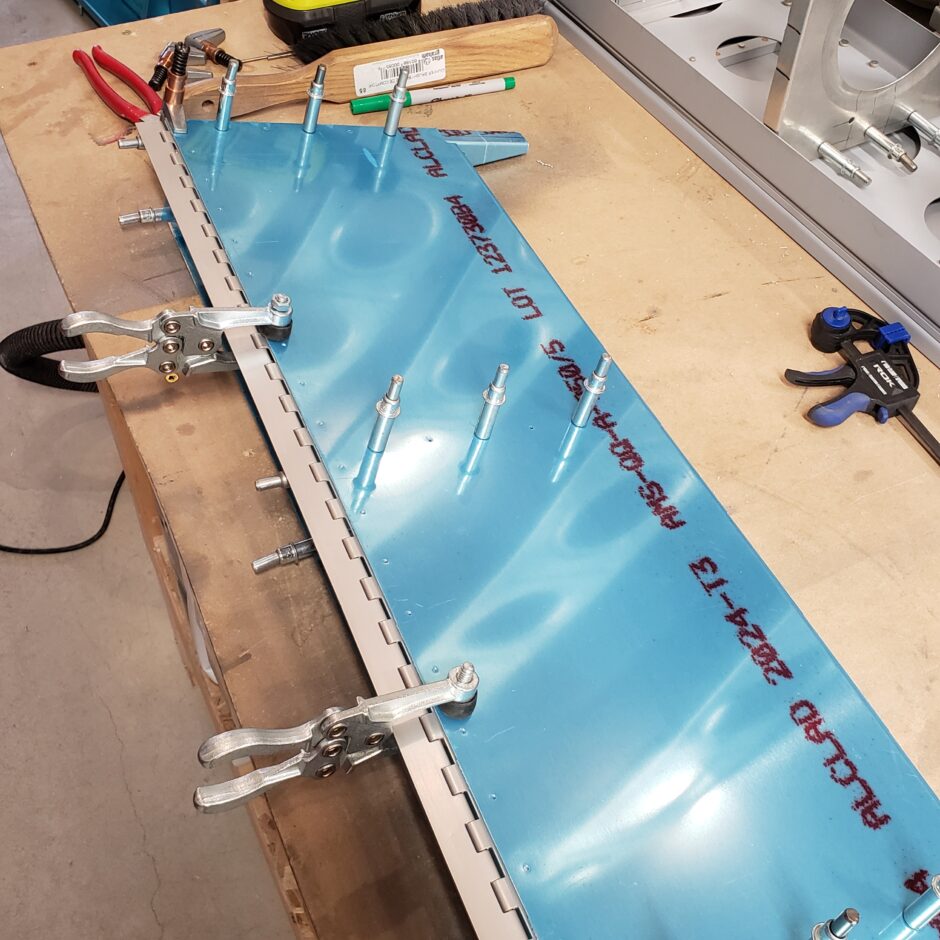
And here is a shot to just confirm that I’m on the centerline.

Well shit….@#%&!
So much for proper edge distance. Like I said before, the hinge wasn’t as secure as I would have liked and needless to say, there was some movement as I drilled. So that’s a wrap on my progress for today. Time to order up some more hinge material.
Flap Actuator Brackets
Just because I don’t have any more hinge to work with, doesn’t mean that work on flaps needs to come to a complete halt. Even though the plans say that the flap actuator brackets will be installed at a later time, I still need to fabricate the parts, which are made from a big chunk of aluminum angle.
As the inboard rib is slightly canted and angled due to the flap spar inboard end being trimmed at an angle, therefore this angle also needs to be angled.
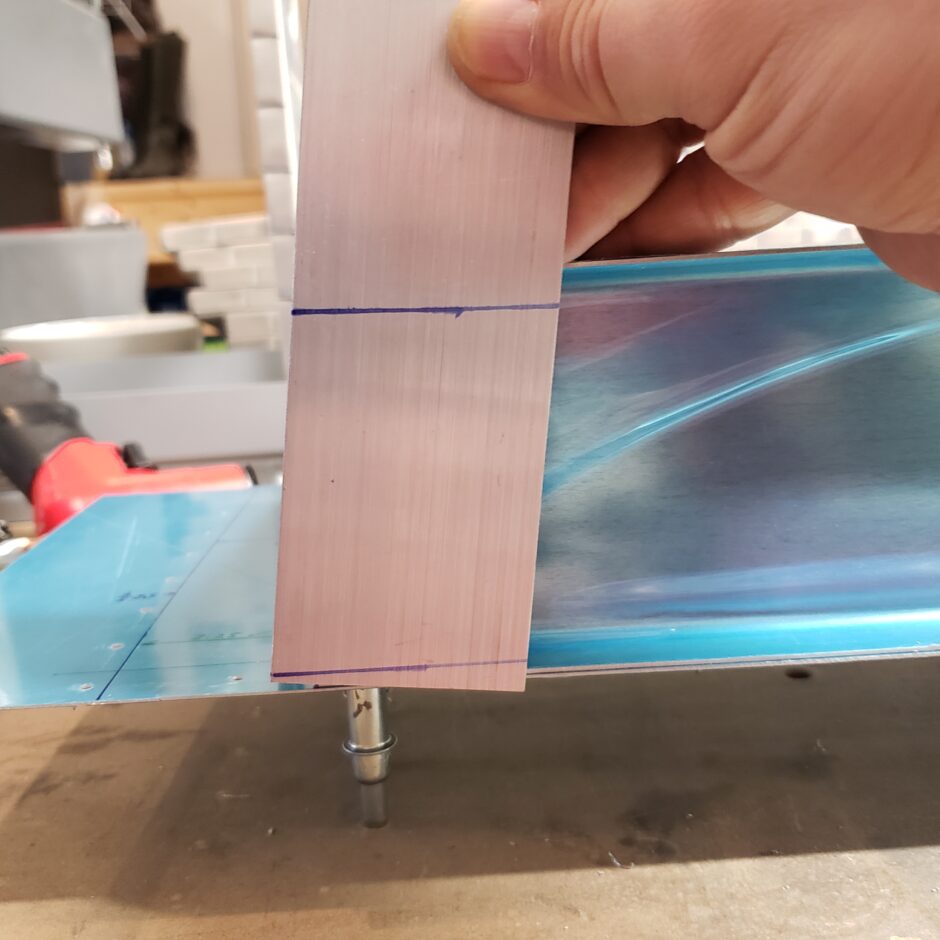
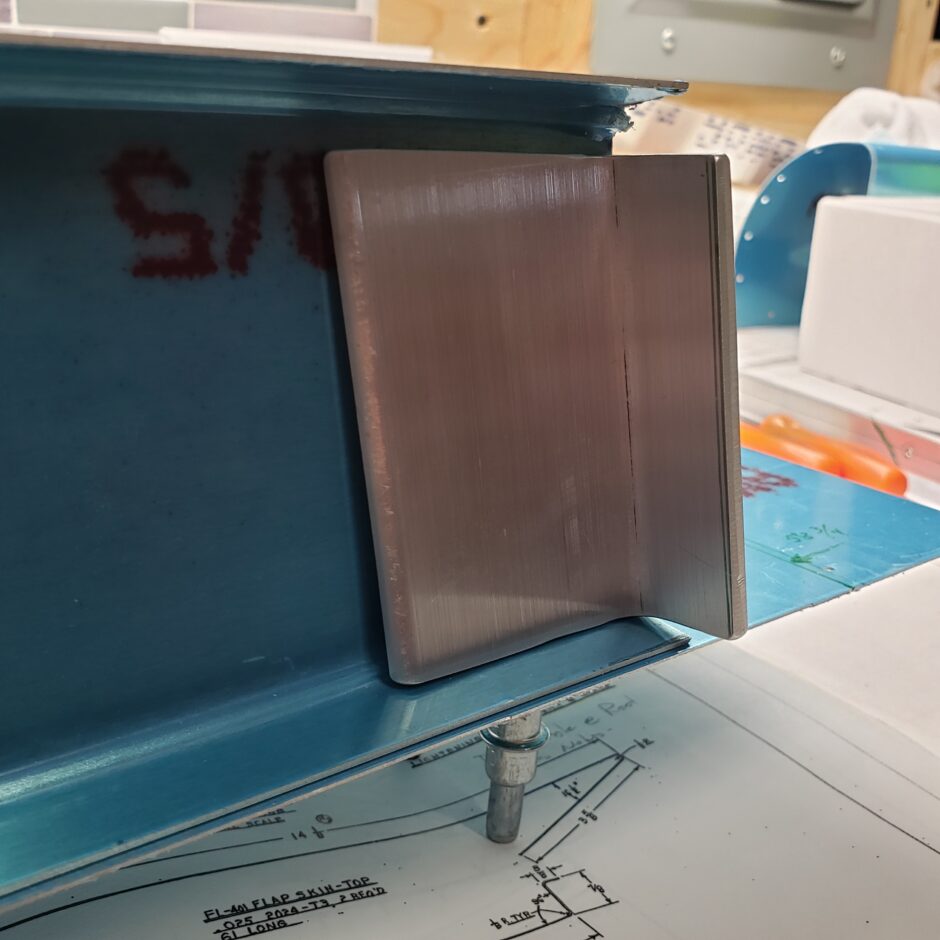
Initial fitting after cutting the angle.


Rough edges cleaned up. I’m happy with the fit.
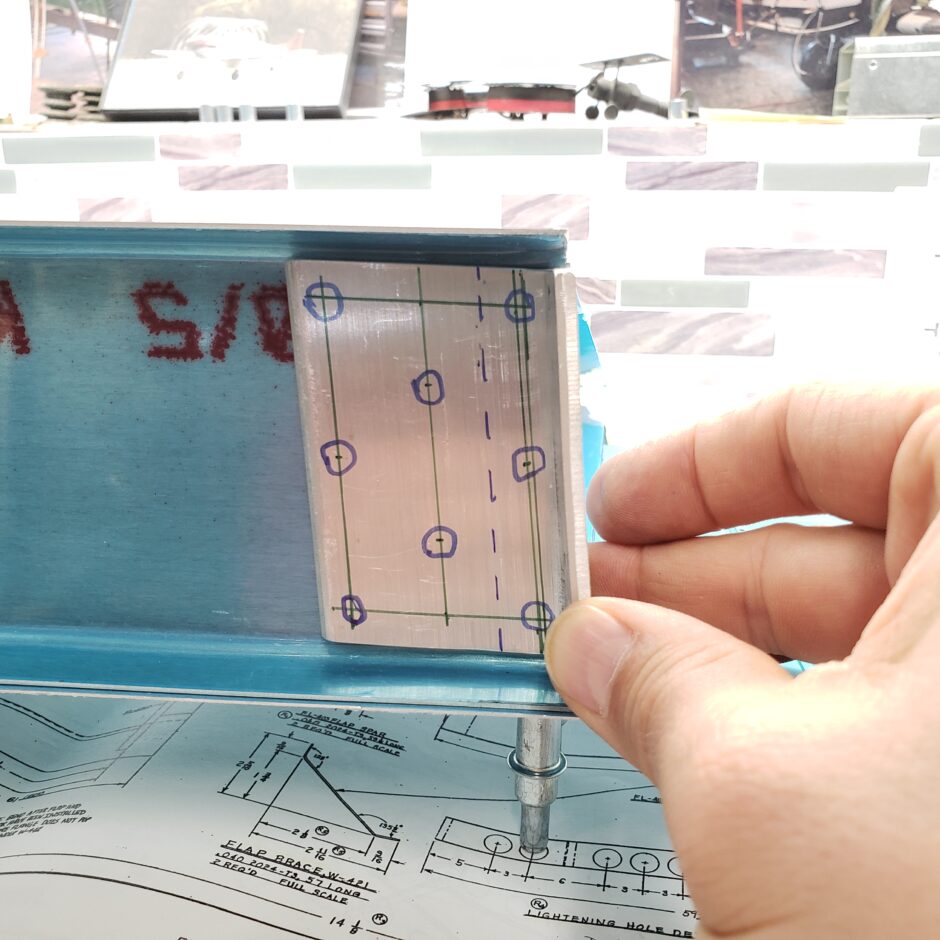
And to round out my build session I did a quick layout for the rivet pattern. I’m not drilling anything yet as the actual fitting of this part is still a ways off. No need to rush this.
Please comment. I love to hear from my readers. Thanks again for coming along for this ride, you make my work worthwhile.
Leave a Reply