Today I’m revisiting the flap hinges and luckily my buddy Garet was able to provide me with a great solution, which is to use a wider hinge. He too experienced flap hinge edge distance issues when building his RV-7A wings.
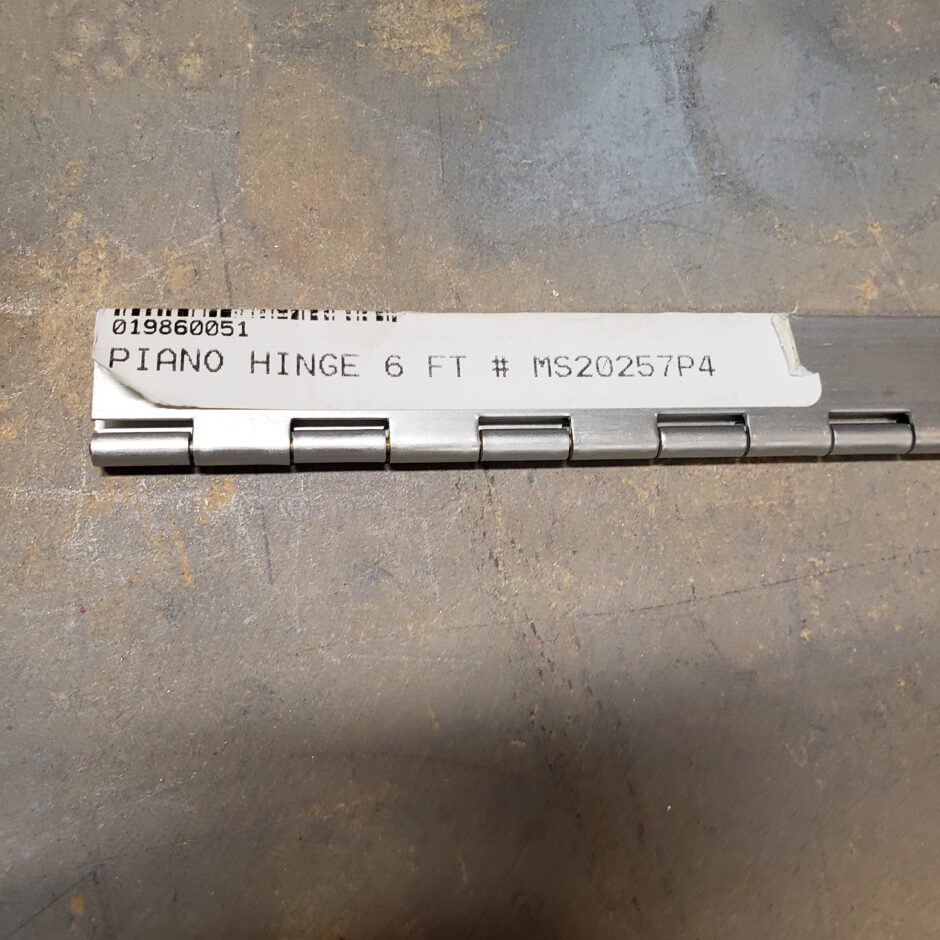
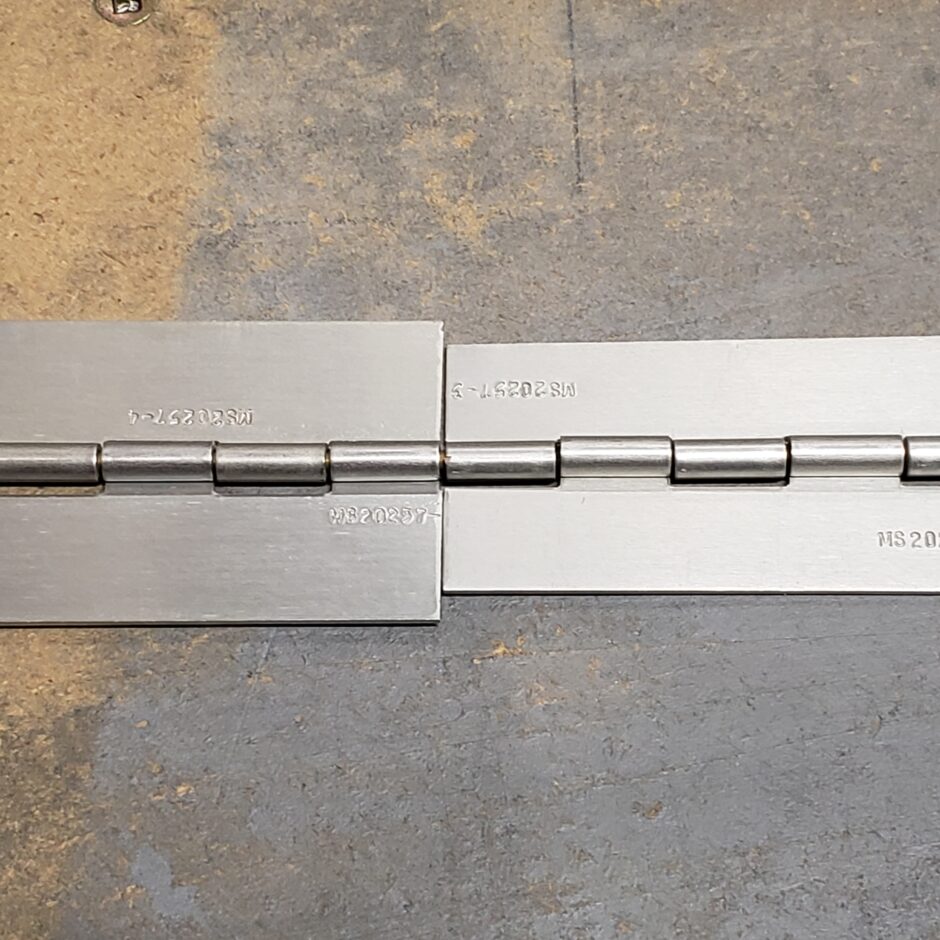
The hinge provided by Oregon Aero (and called for in the plans) is the MS20257-3 hinge. As you can see in the picture below, if you switch it up to the MS20257-4 hinge, you then can afford yourself a bit more edge distance to work with. In this case, a little goes a long ways.
To begin, as always, I marked the proper edge distance so I have a good place to start laying out the new piece of hinge.
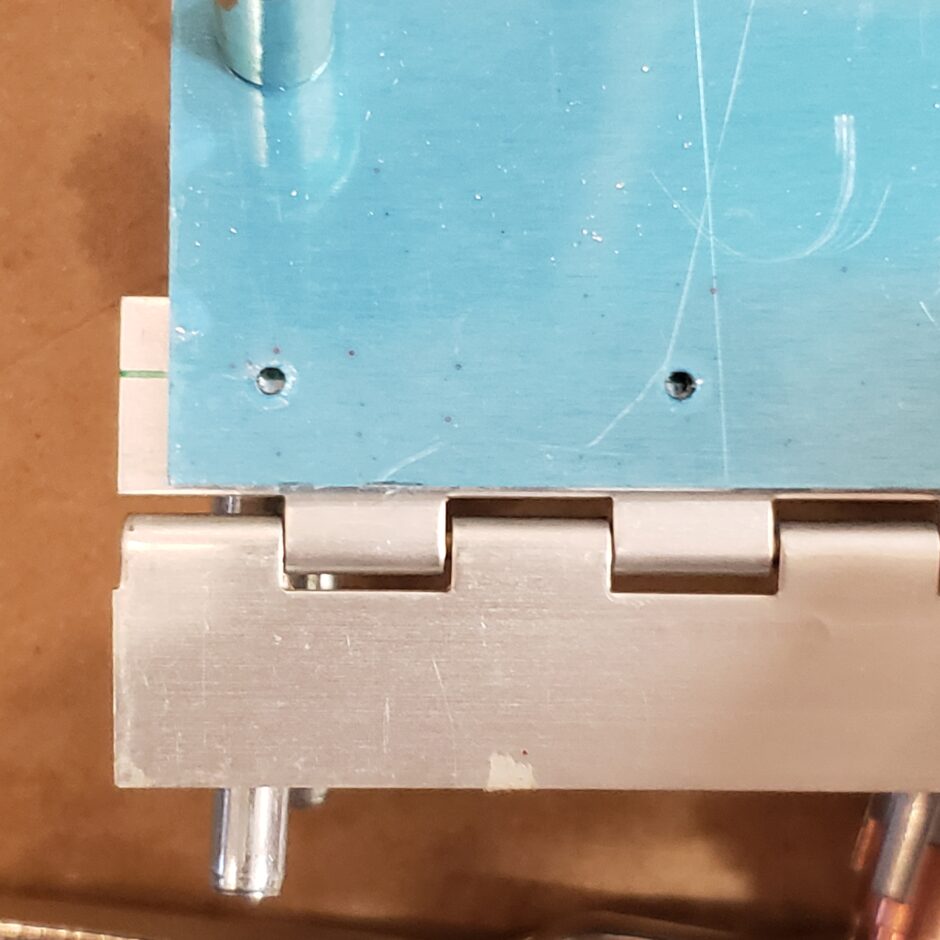
The first issue I see with the wider hinge, is some interference with the radius of the aft side of the flap spar.
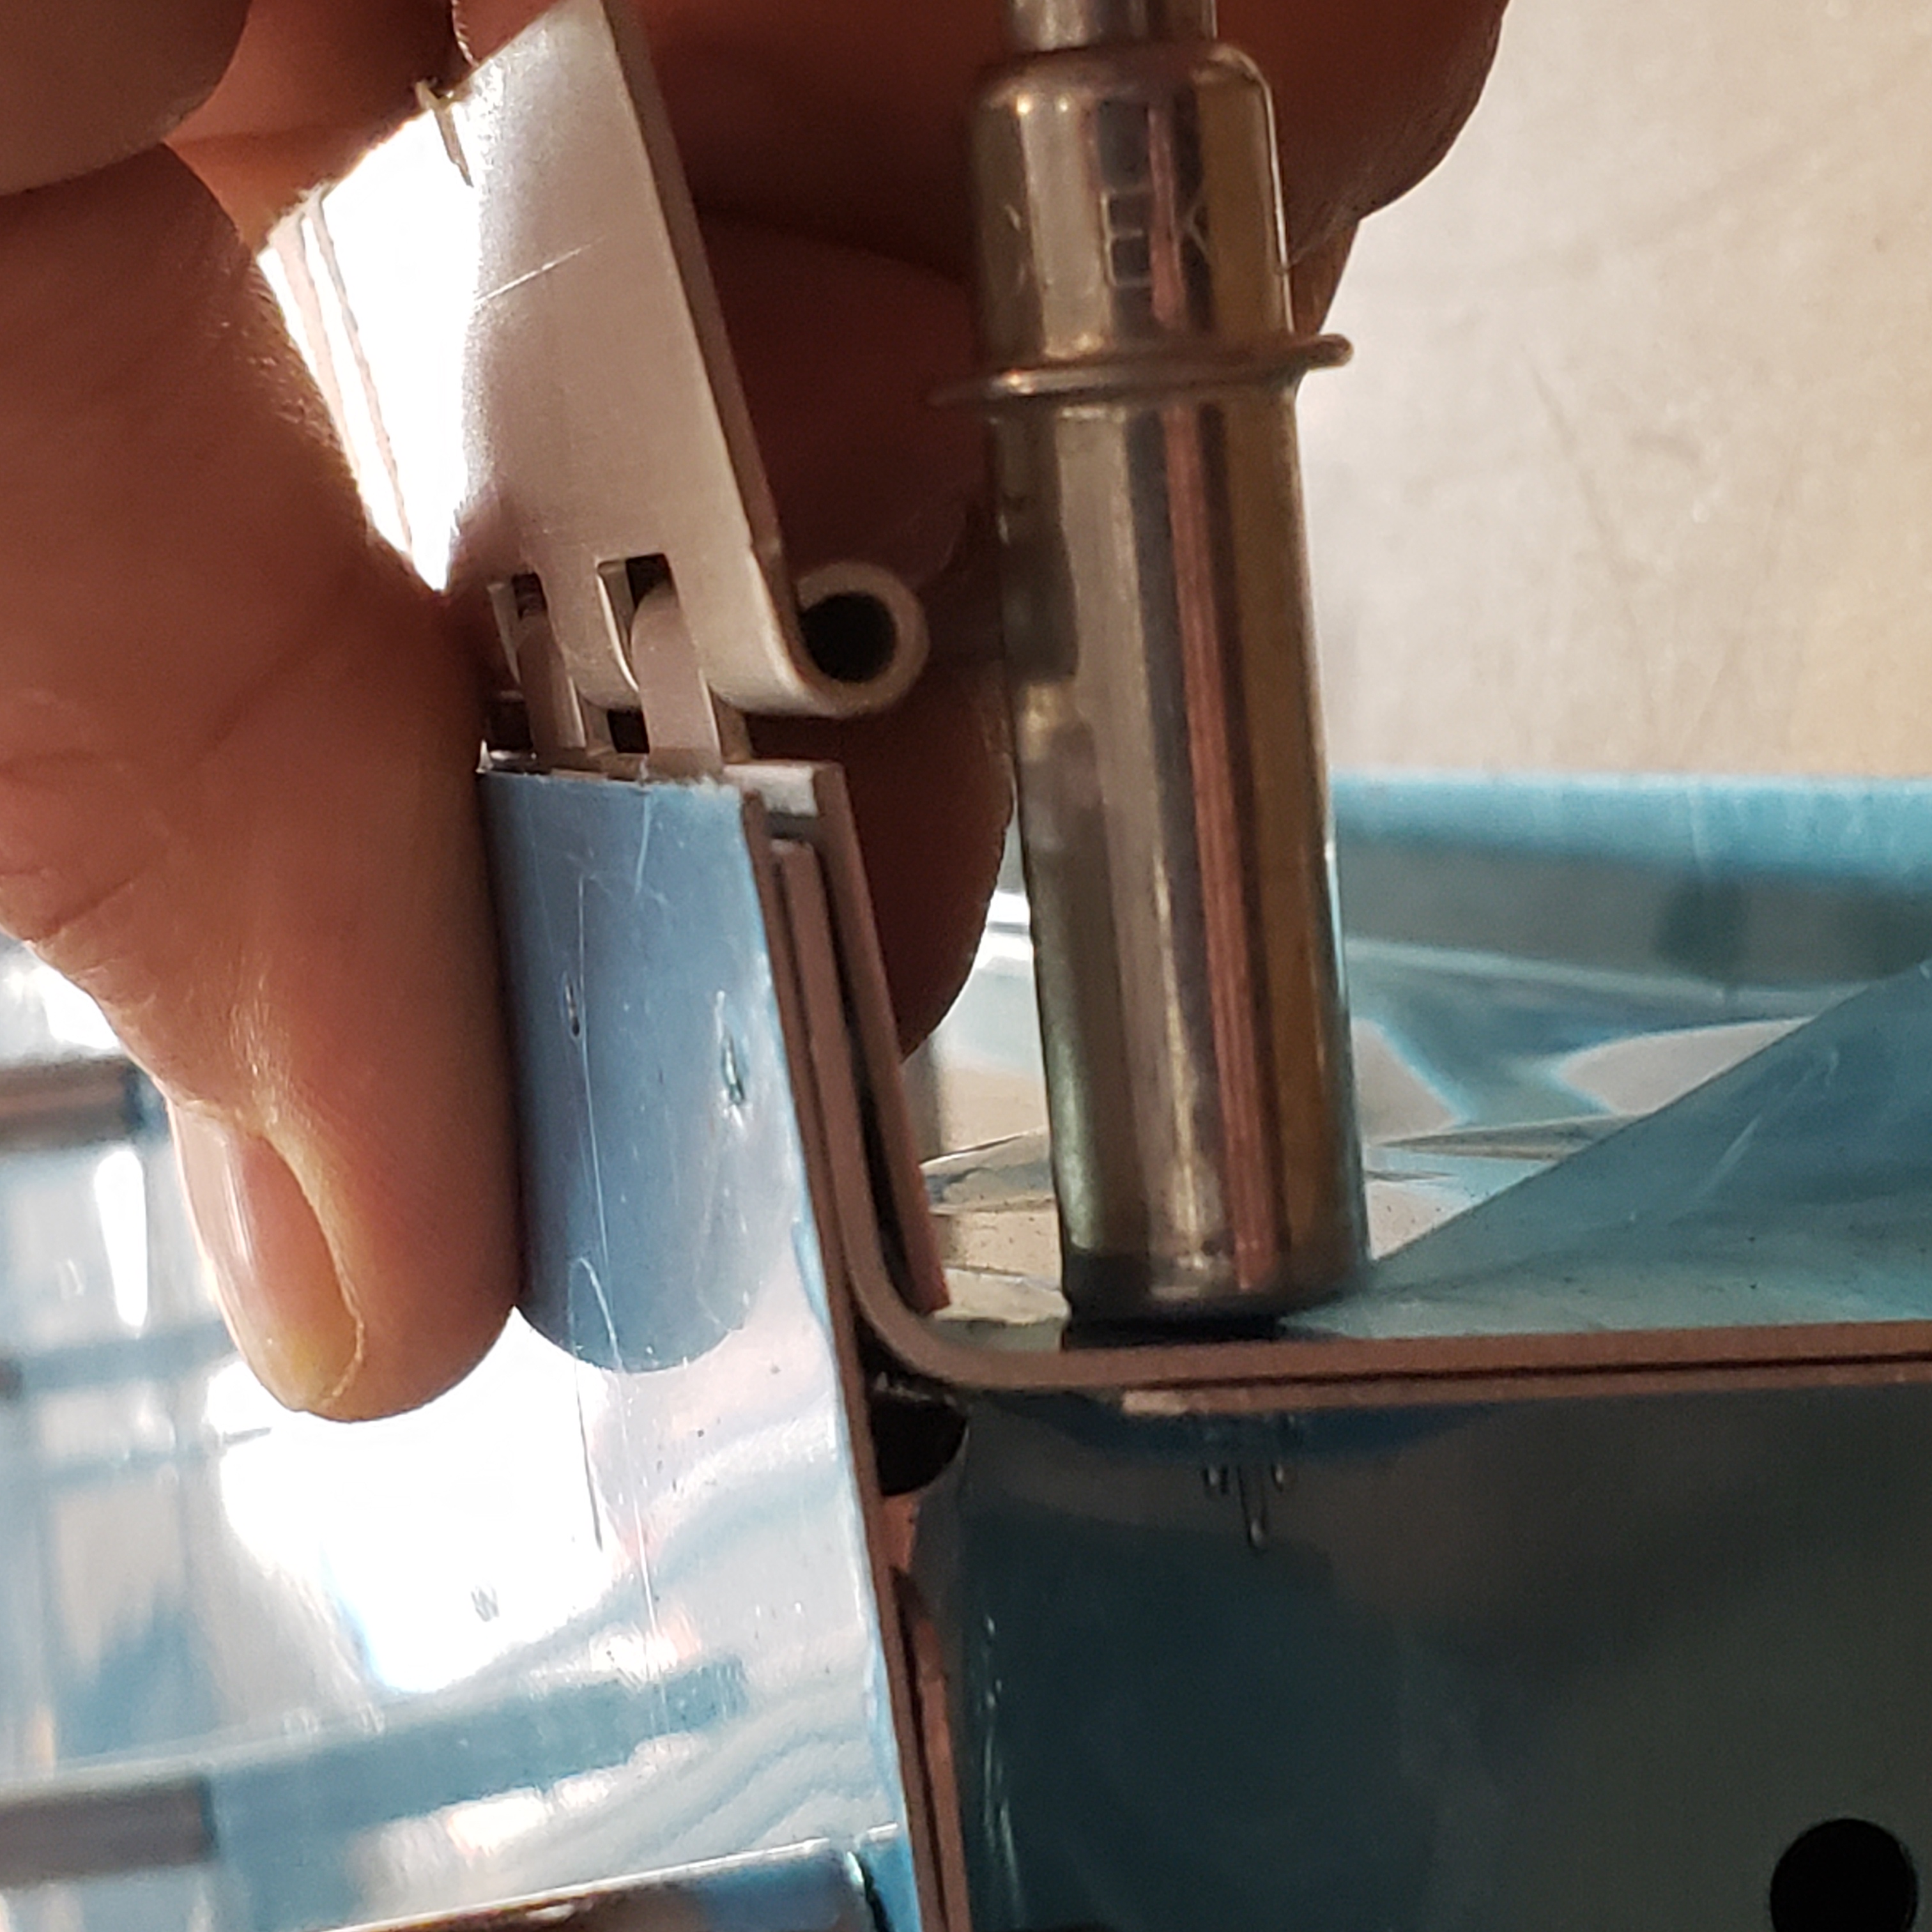
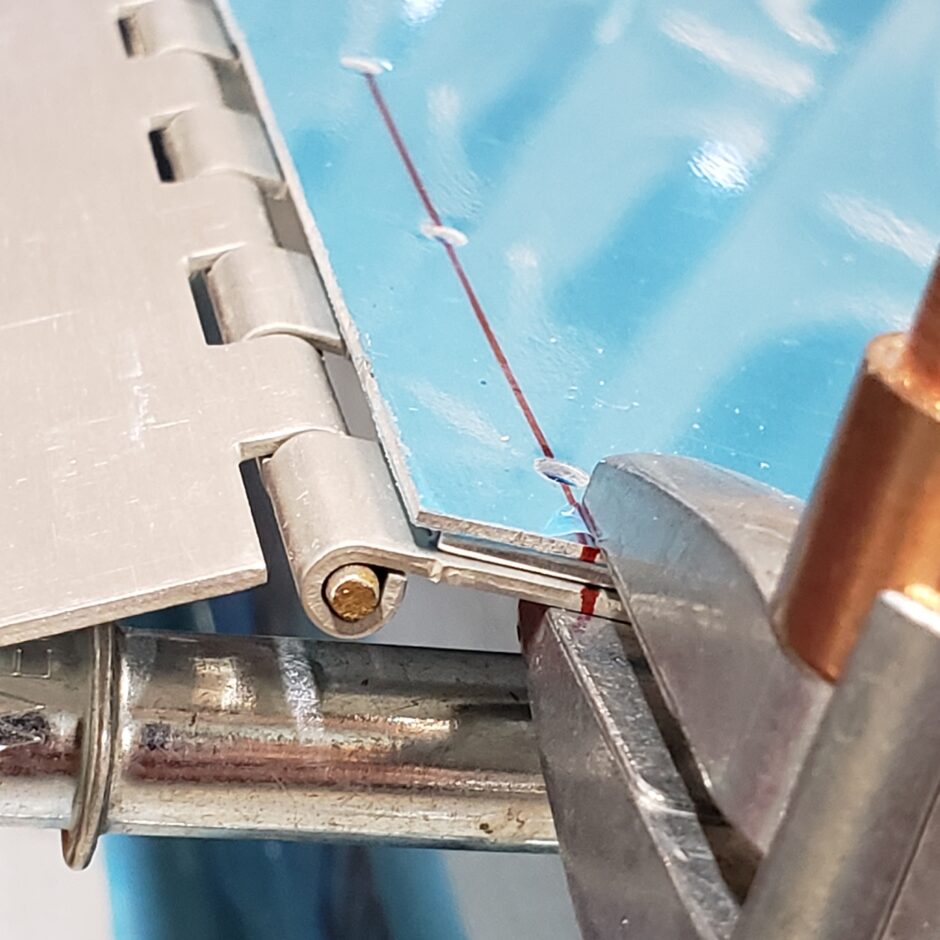
I was able to help this a wee little bit by moving the hinge out by 1/16 of an inch. But that still didn’t quite give me enough space to fully clear the spar radius.
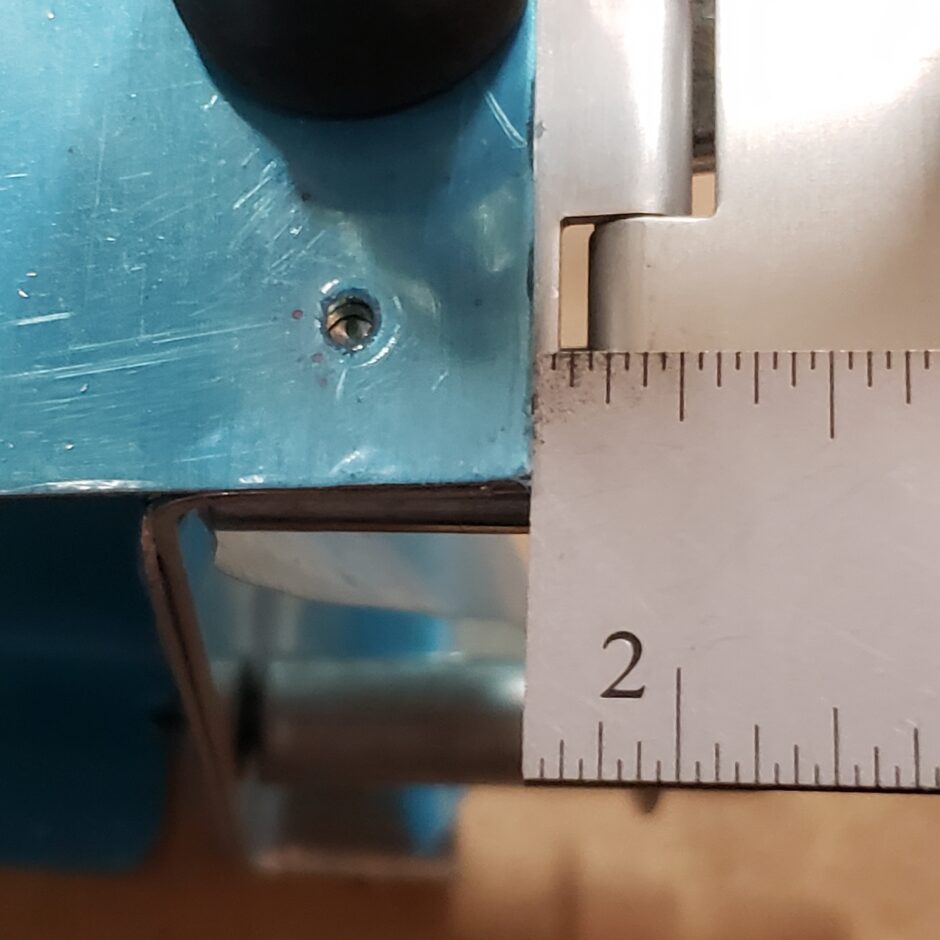
As you can see below, the clearance is definitely better. The rest can be fixed by filing a bit of a radius onto the hinge material to match up with the radius.
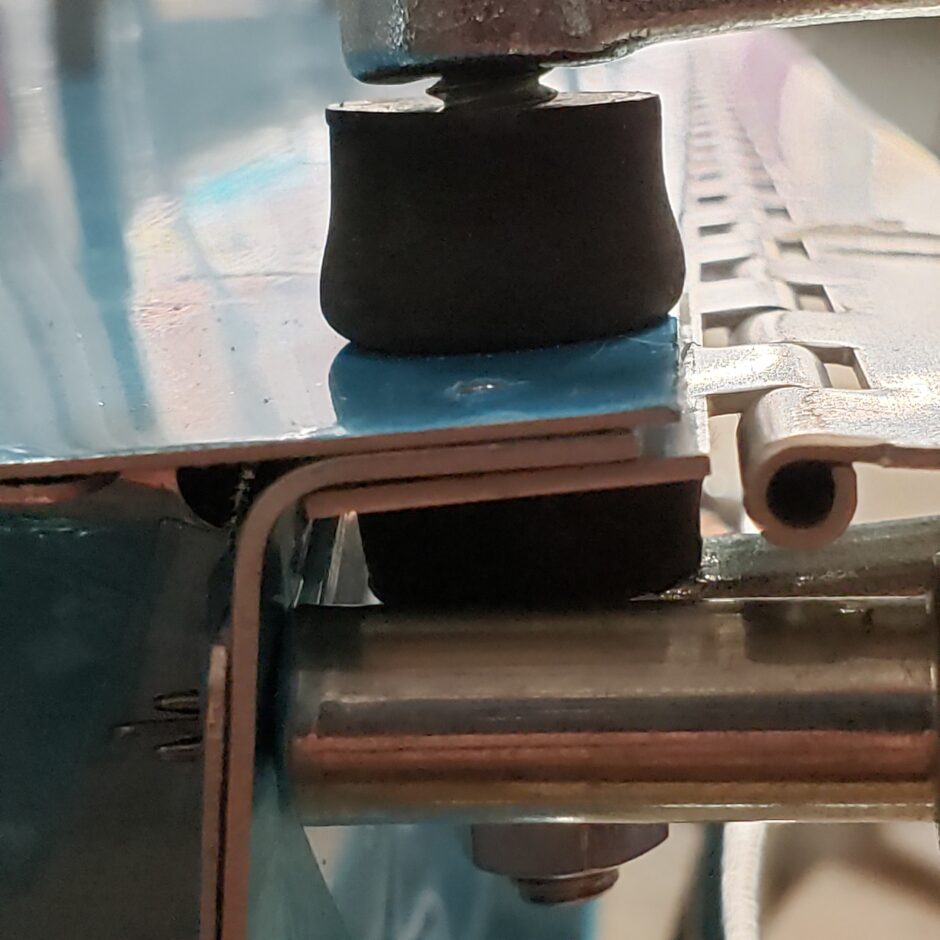
With the hinge clamped to the workbench, I was able to easily file off a thin amount and to also radius the edge that mates with the flap spar.
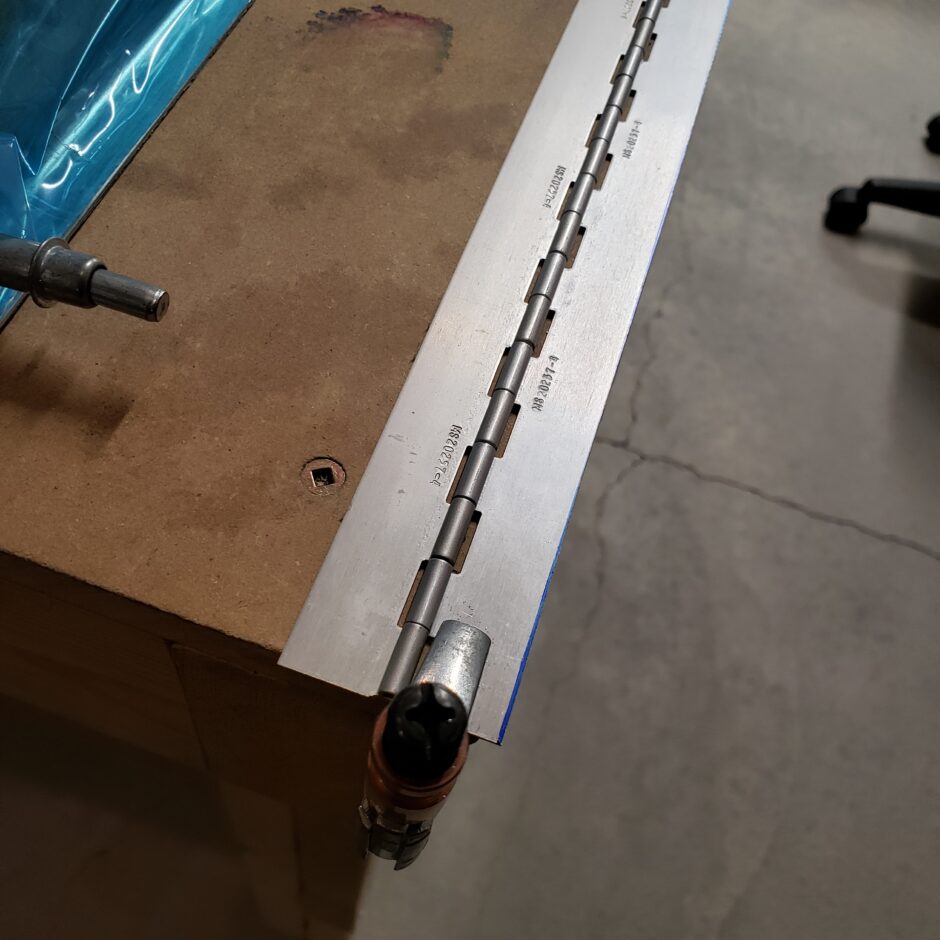
Below, I have the first hole aligned with the drill line. You can also note the 1/16 inch the hinge is spaced out from the edge of the skin.

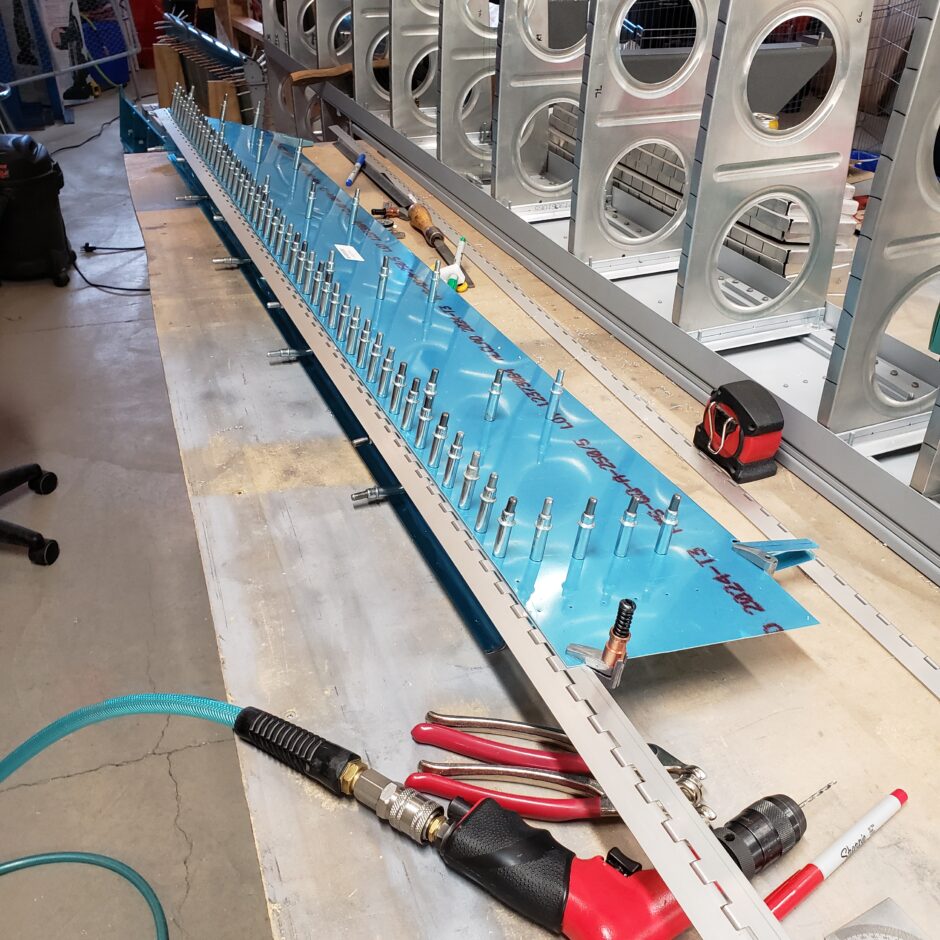
One by one, this time I’m ensuring that the holes are drilled on or closer to the line. Using the clamps ahead of where I’m drilling most definitely helped in keeping the working area solid.

Here is another view of the progress. Like everything about building a plane. Slow and steady wins the race.
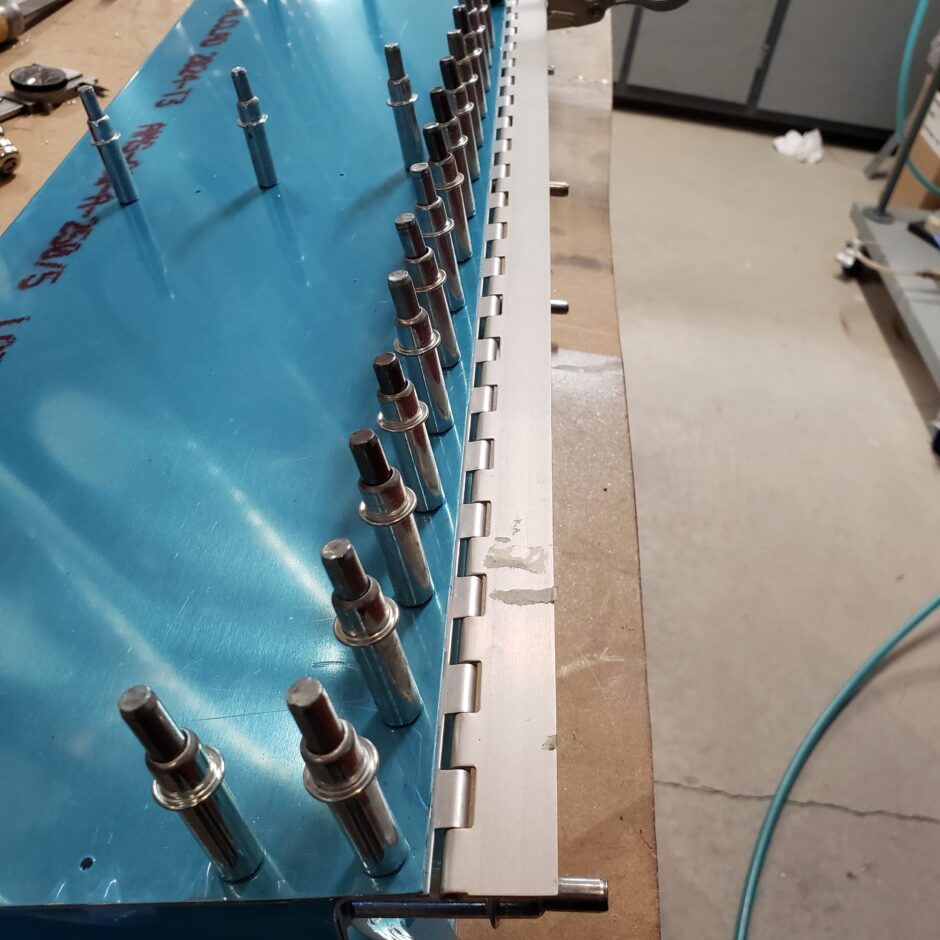
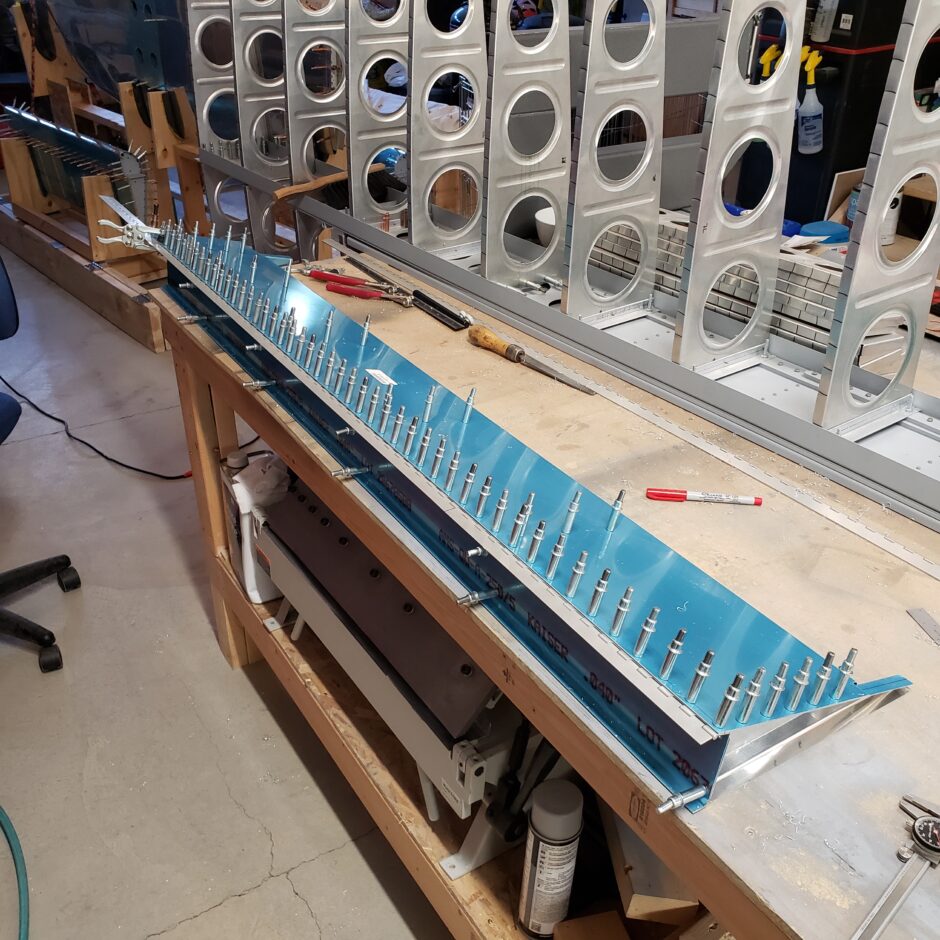
And finally, the hinge has been drilled. As you can see, I still need to trim the flap skin to the shorter dimension, but I’m happy to leave it for now.
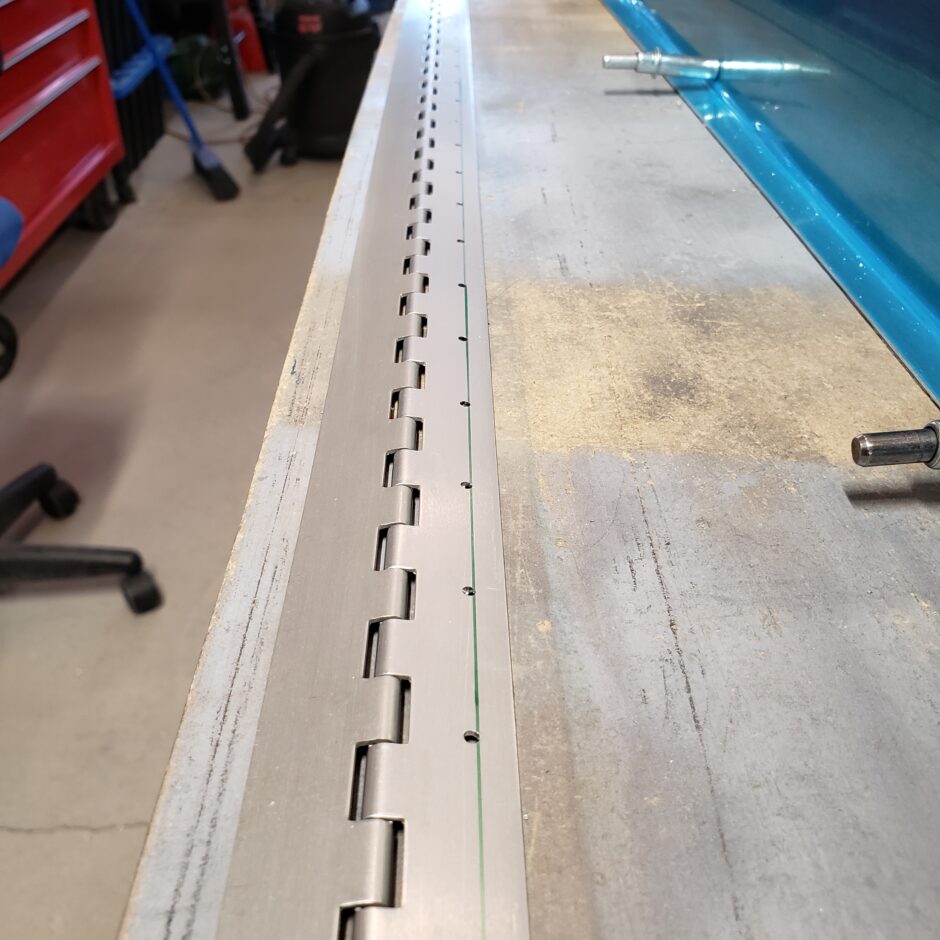
In this picture, you can see where the flap spar ends and how I have lots of edge distance between that and the first inboard rivet. Also, the end of one of the hinge segments aligns really nicely with the end of the spar as well. It’s always nice when you can have a full hinge segment rather than half of one. Just from an aesthetics standpoint.

Voila! By using the MS20257-4 hinge I have how the holes on the positive side of the minimum edge distance line. Super happy with this.
Now time to do the same on the other flap. Again, starting at the outboard edge. Aligning the hole centerline and hinge edge drill lines. Clamp it all together. Measure twice…drill once!

Like always. It takes time to get the first hole located and drilled. After that, again, slow and steady progress makes solid progress. Also a word about the clamps I’m using in the picture below. I don’t know what these are called but they rock! I only have these 2 but I sure would love to get some more. They are an excellent set of helper hands.
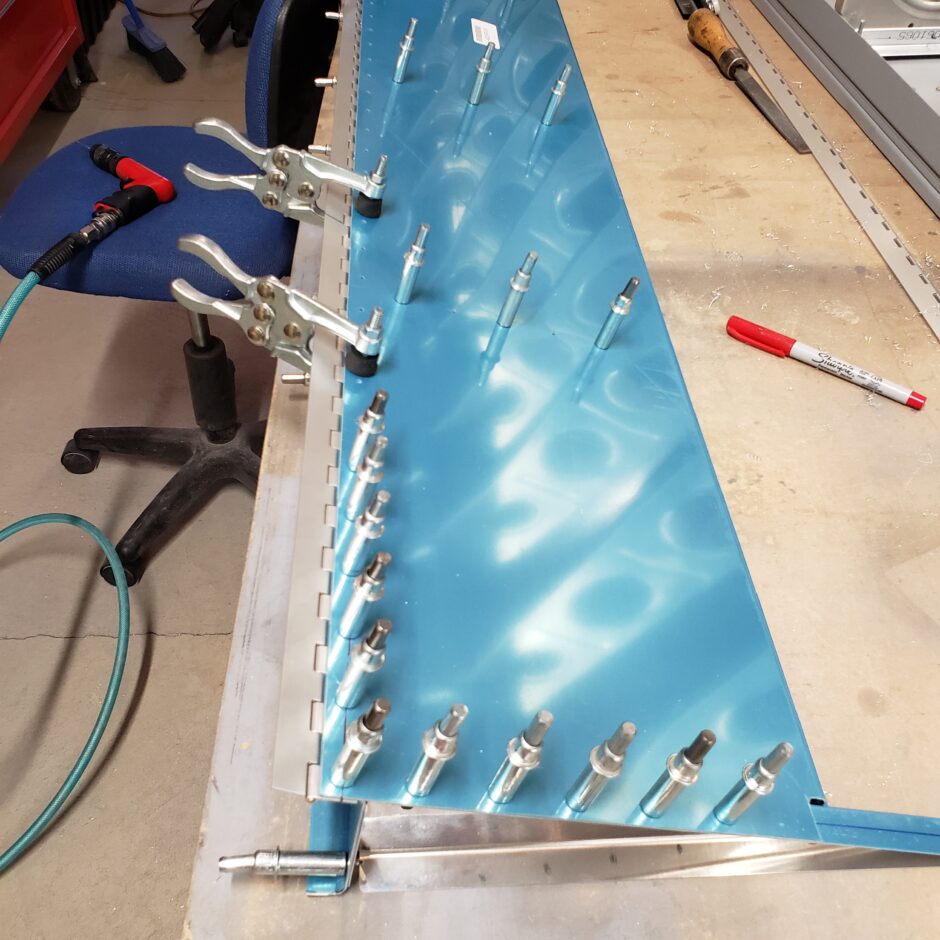
Okay, and here is the second flap hinge all drilled.
That’s all for today folks! Please comment. I love to hear from my readers. Thanks again for coming along for this ride, you make my work worthwhile.
Leave a Reply