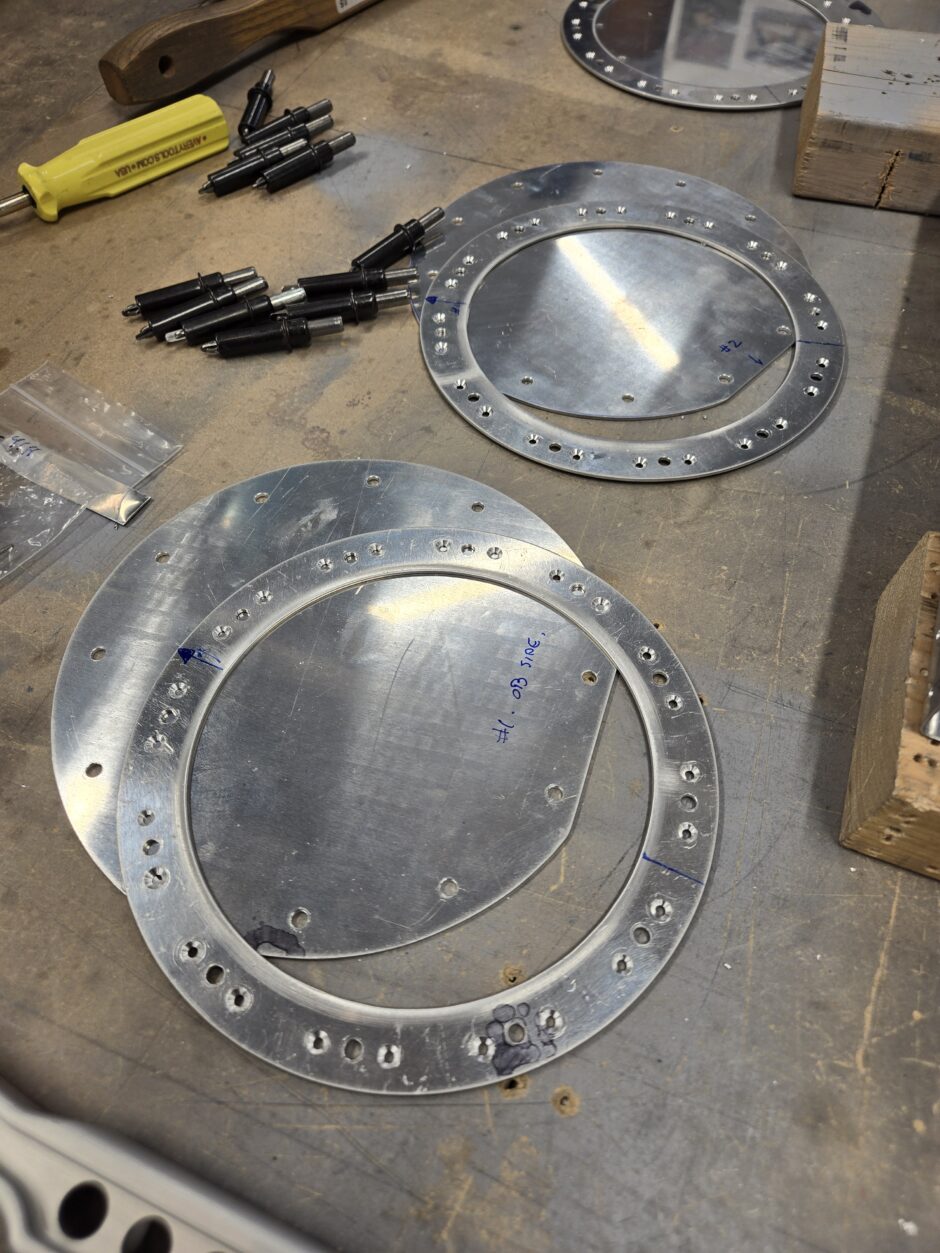
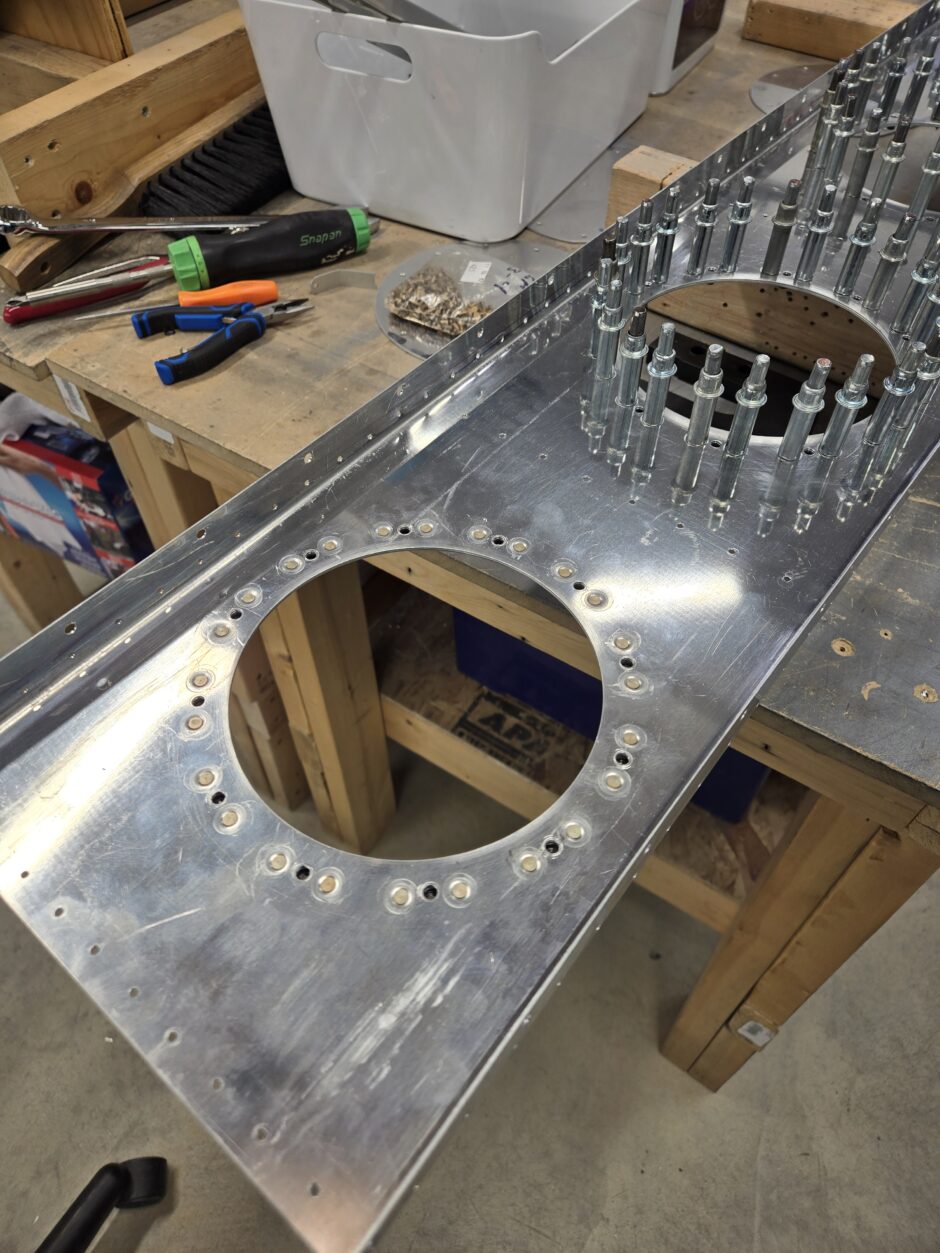
Good day, today I’m continuing with working on the access panels for the rear baffle of the fuel tank. As the baffle plate is going to be dimpled to accept the flush rivets for the nutplates, I therefore needed to countersink all the rivet holes on each of the reinforcement rings. So that’s where I started.

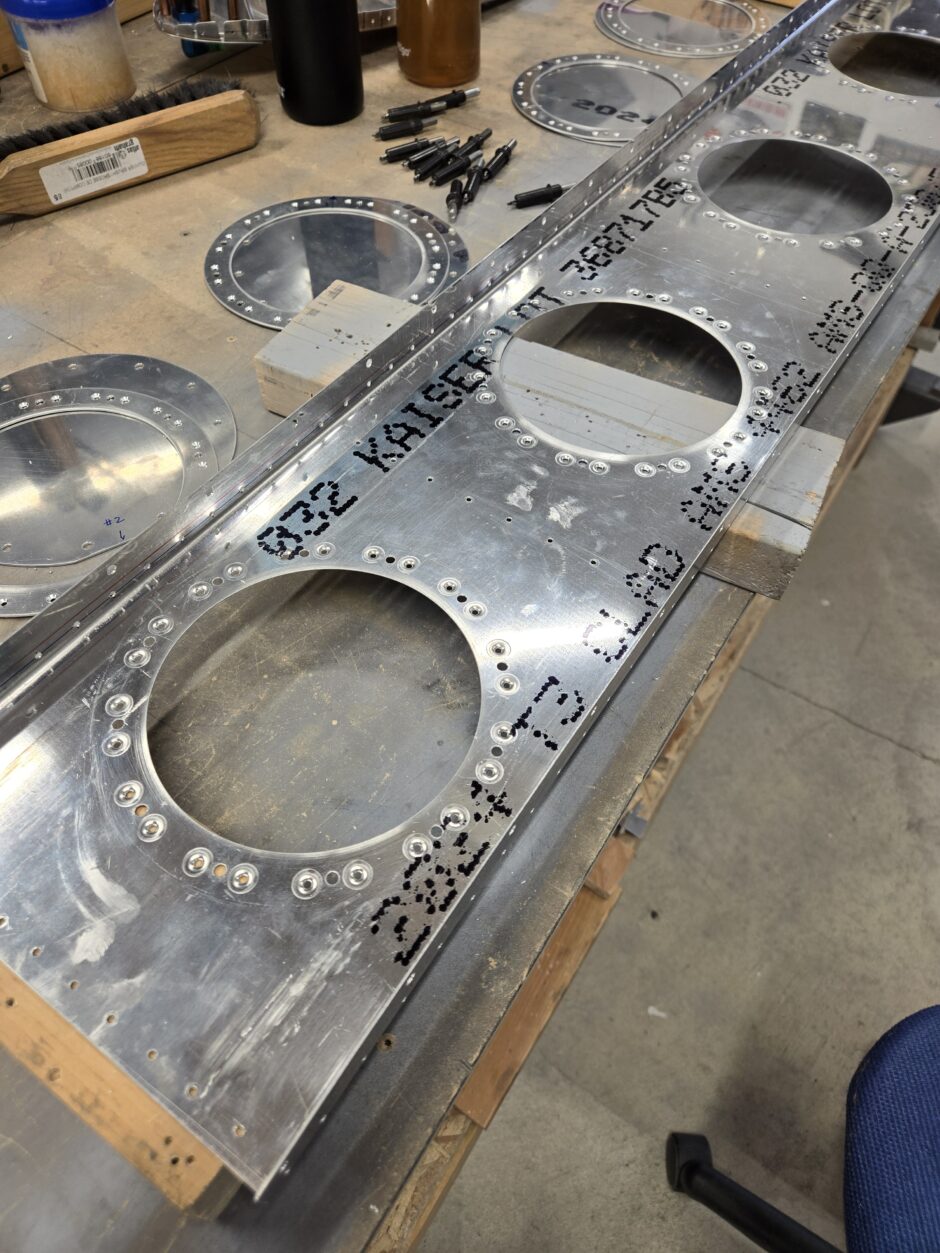
Next up was to dimple all the nutplate rivet holes in the rear tank baffle. Straight forward, just a lot of them!
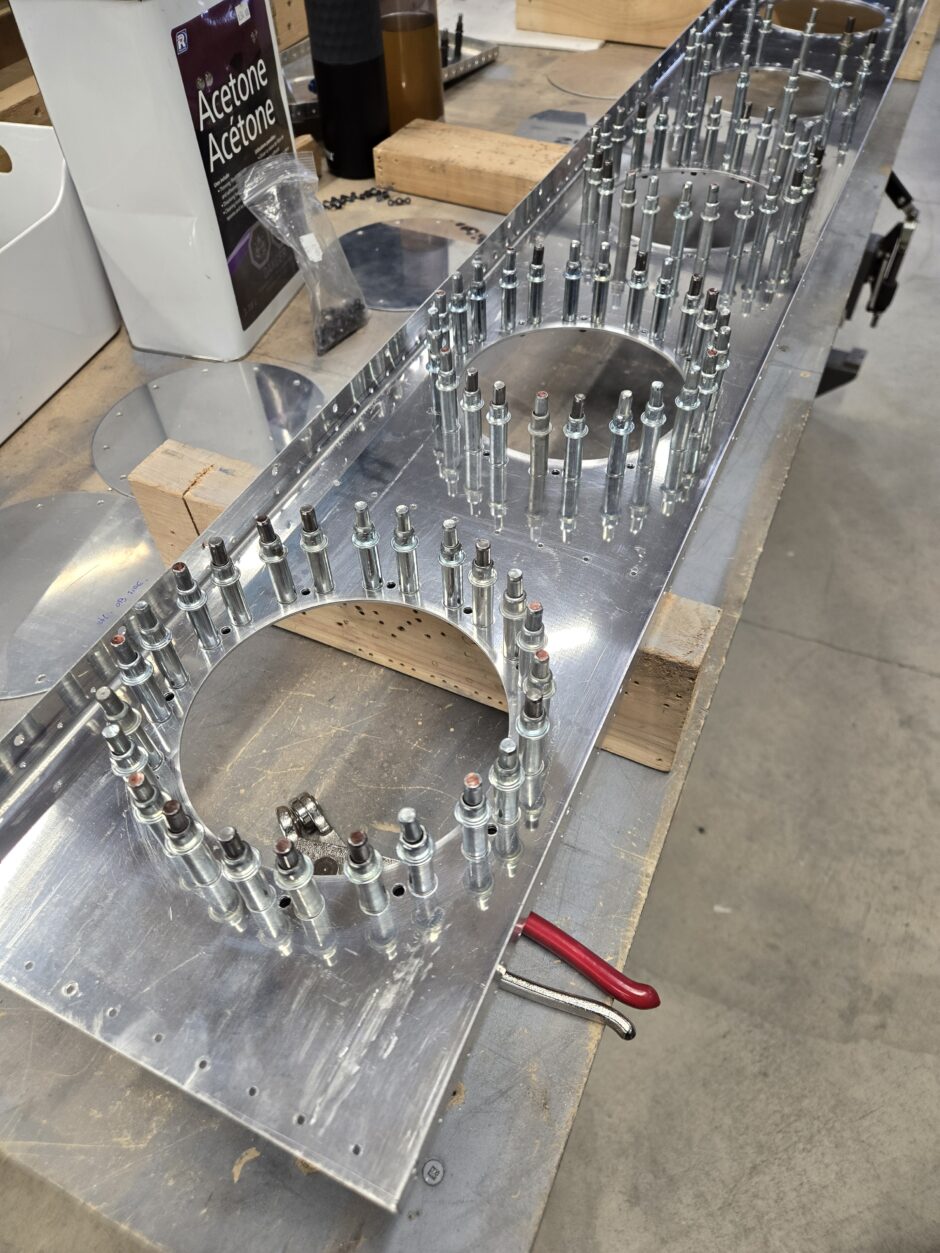
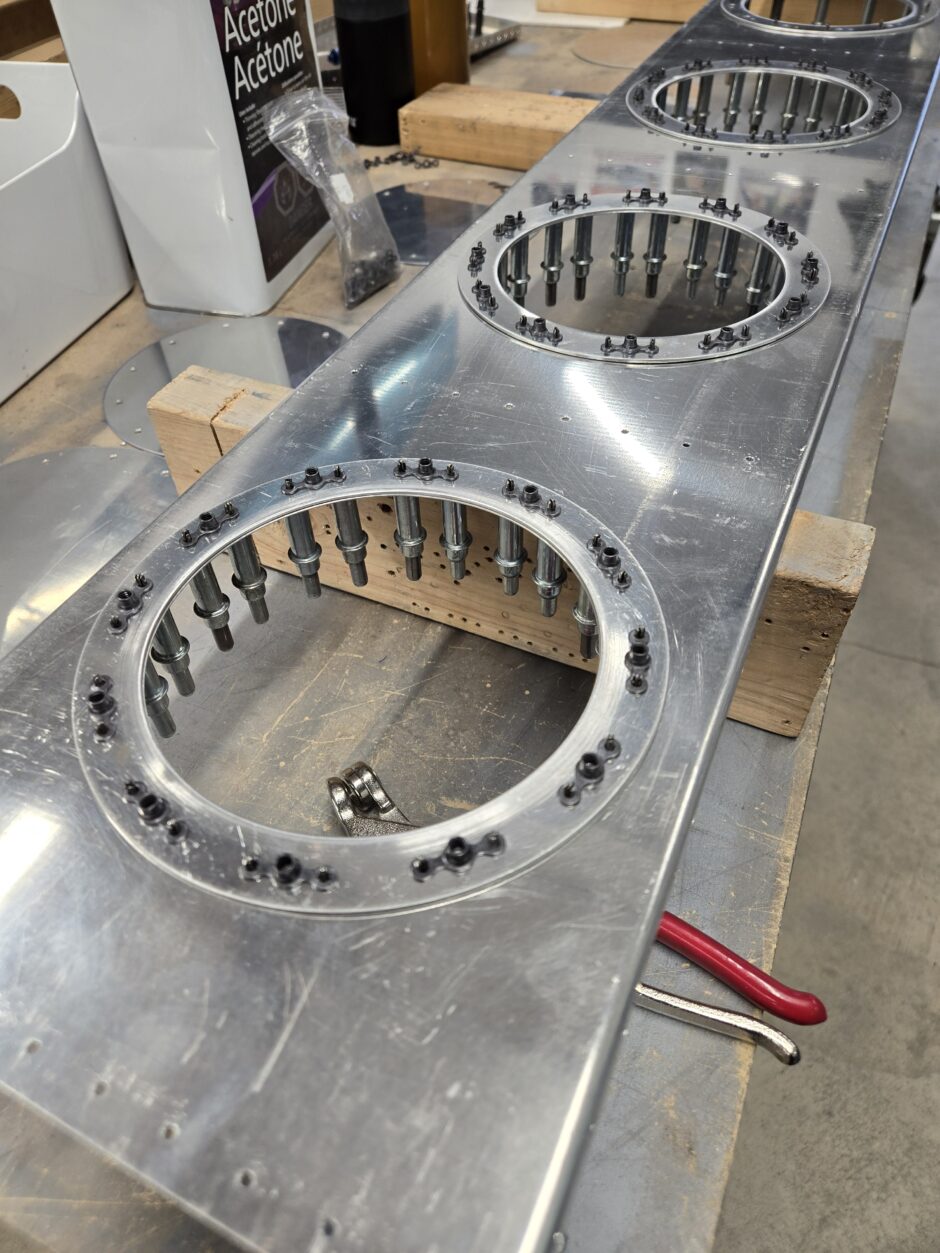
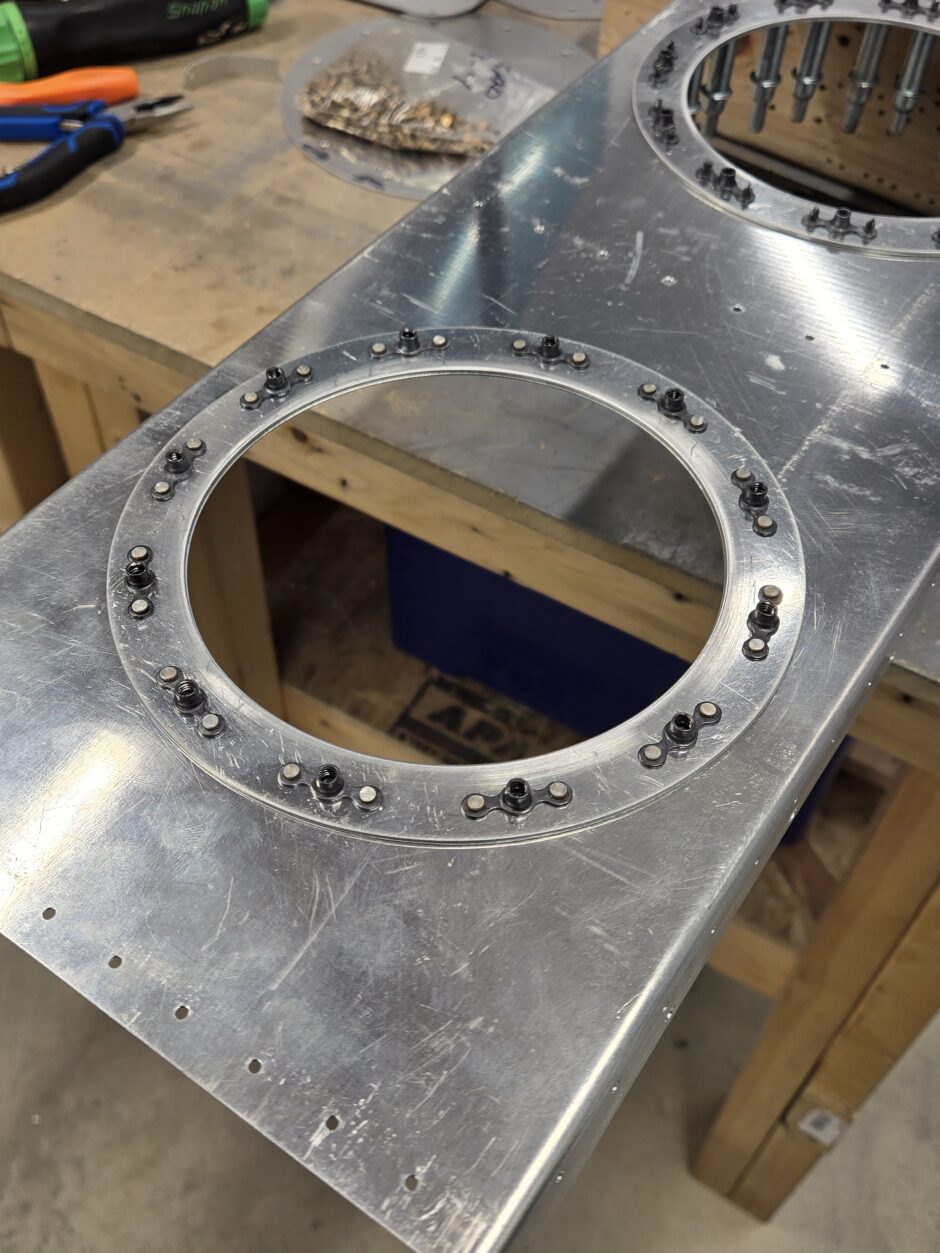
Nutplates clecoed in place.
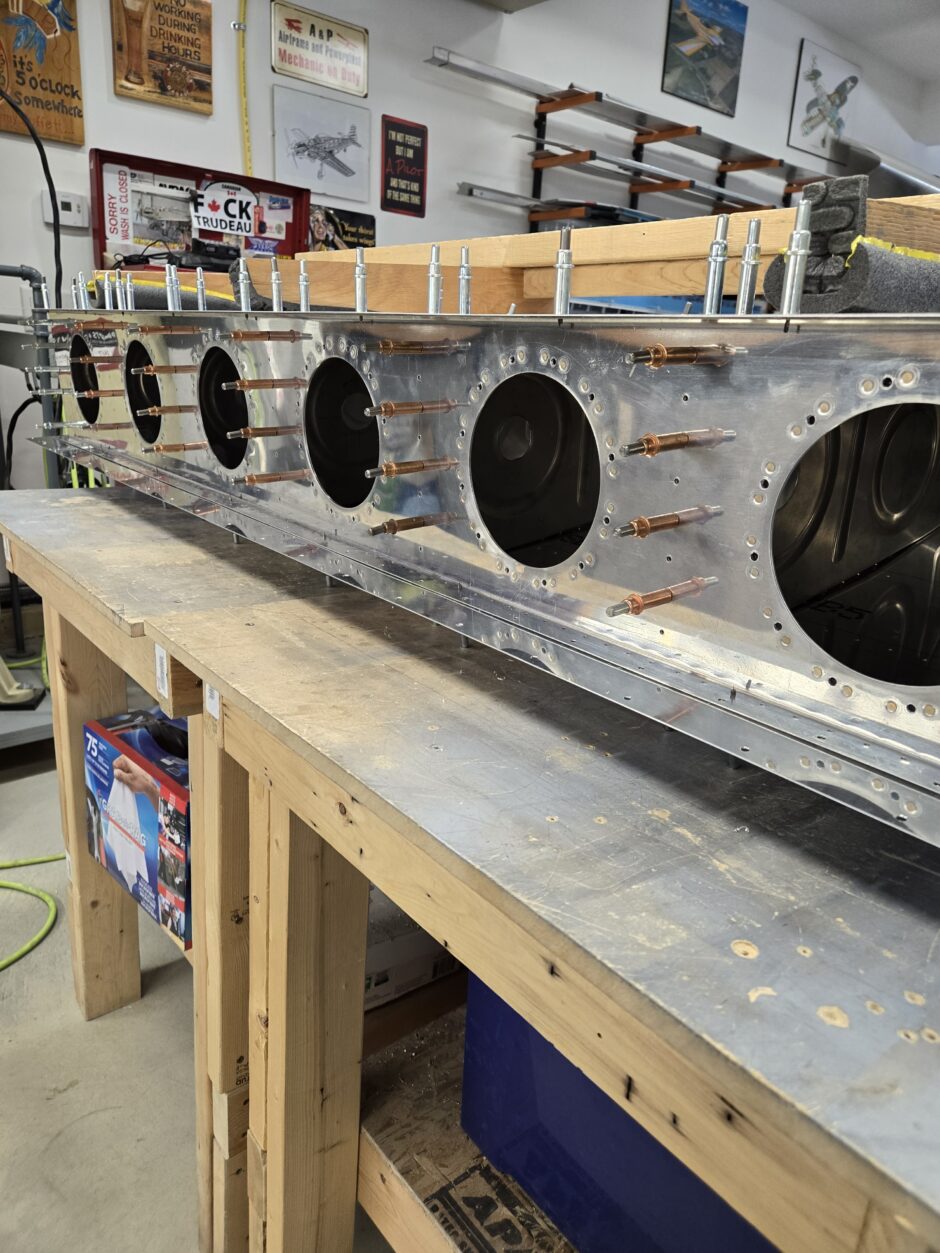
Here’s a shot of the backside of the baffle before I started riveting.
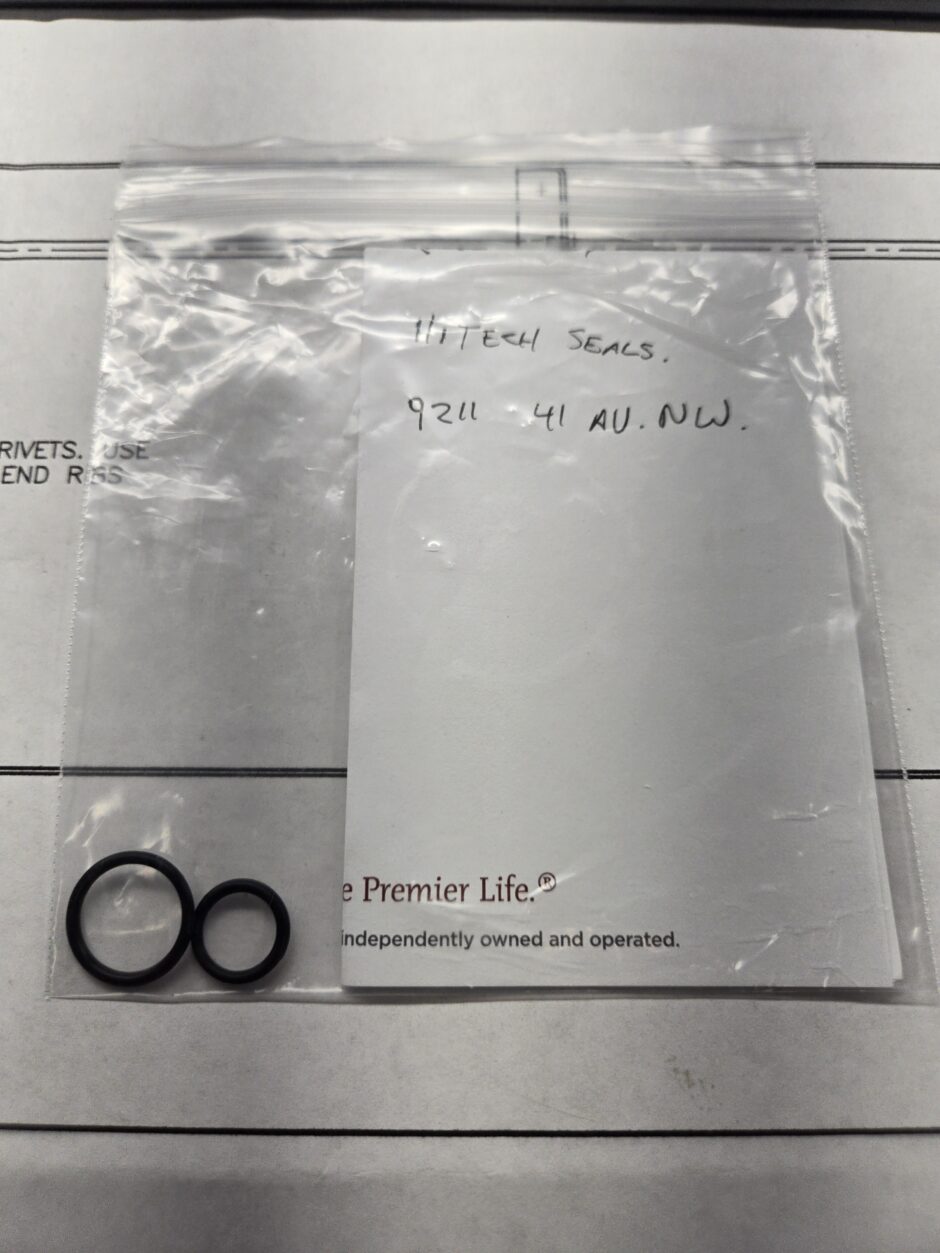
When I went to rivet, I tried using the pneumatic squeezer, however it had developed a huge air leak out of the universal fitting where the air line attaches to. After taking it apart I found the o-rings were worn (they had flat spots) which was allowing the air to leak past the seal.

I ended up finding a local o-ring supplier here in Edmonton at HiTech Seals. Their customer support was fantastic and they were able to provide me with new seals and a few extras for spares. They have a $25 min order at the service counter, and these o-rings didn’t come anywhere close. So to handle situations like this they have a Tip Jar on the counter, and just ask that you leave whatever you can. I’m sure I overpaid for these o-rings but it also didn’t cost me $25. I think at the end of the day the customer service guy and I both left happy.
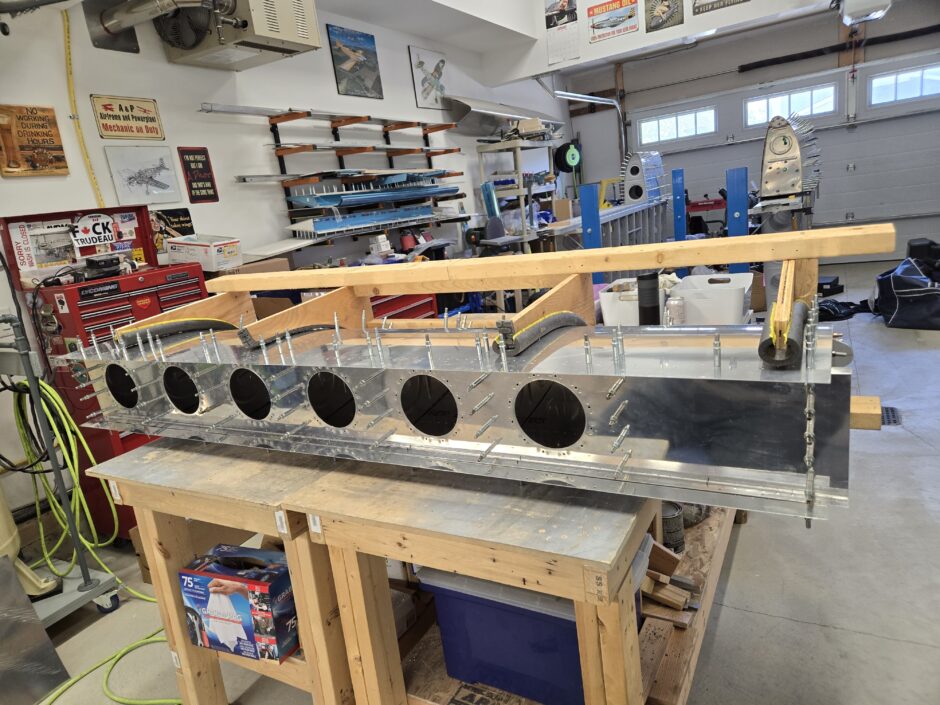
Back at the shop I was able to finally get to riveting. I actually ended up not using the pneumatic squeezer. The hand squeezer was actually easier to work for this job.
Finishing touches
With the nutplates and reinforcement rings for the access panels finished, I had one last task to do before I could call the work on the rear tank baffle finished. I needed to upsize the tank baffle rivet holes which attach the baffle to the rear tank rib flanges from the #40 pilot holes up to #30 as in this area it’s riveted with the AD-41H self sealing rivets.
That’s all for today folks! Please comment. I love to hear from my readers. Thanks again for coming along for this ride, you make my work worthwhile.
Leave a Reply