Today I’m beginning to work on the leading edges. The plan today is to try and get the outboard leading edge skins strapped down and in place. These skins are also sometimes referred to as the ‘fixed’ leading edge skins, as they are riveted in place, whereas the fuel tanks which form the inboard portion of the leading edges are removable.
As you can see in the picture below, I have the 4 fixed leading edge ribs in place. I used a piece of threaded rod to help me in holding the ribs in alignment and to keep their flopping to a minimum.
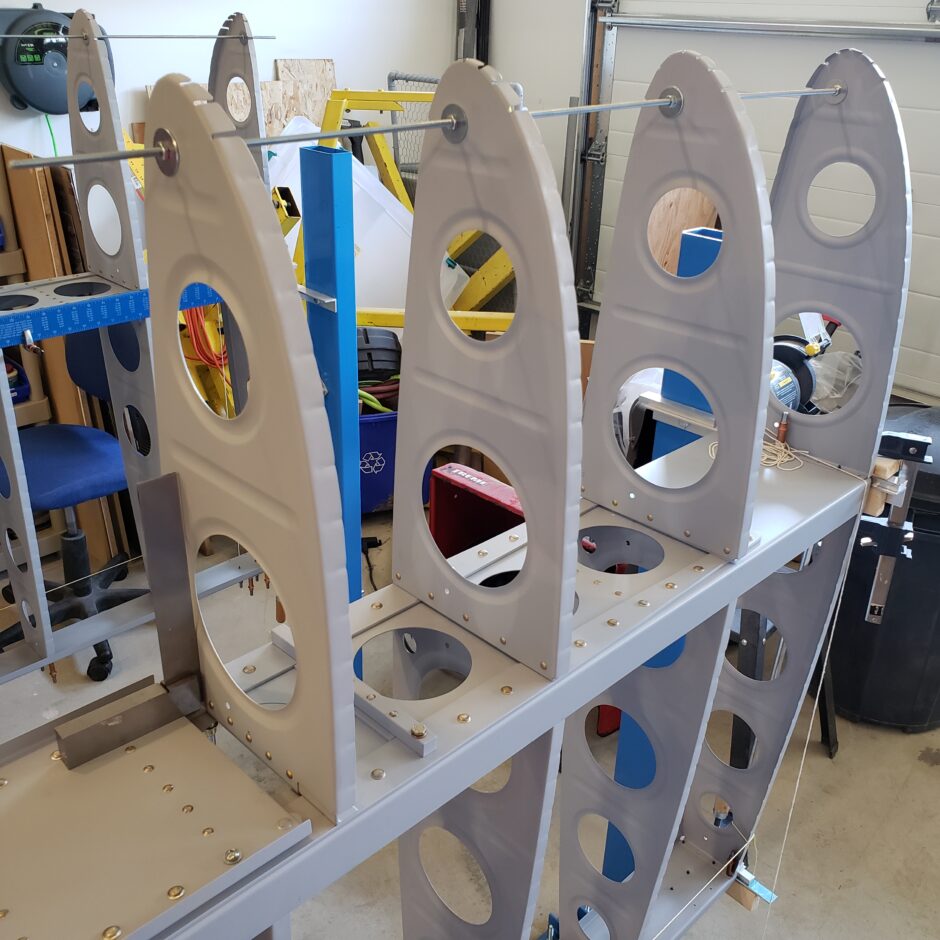
I dug the skins out of the box and placed them on the ribs. This is already getting exciting just seeing them like this. This should be easy….right! (LOL!!)
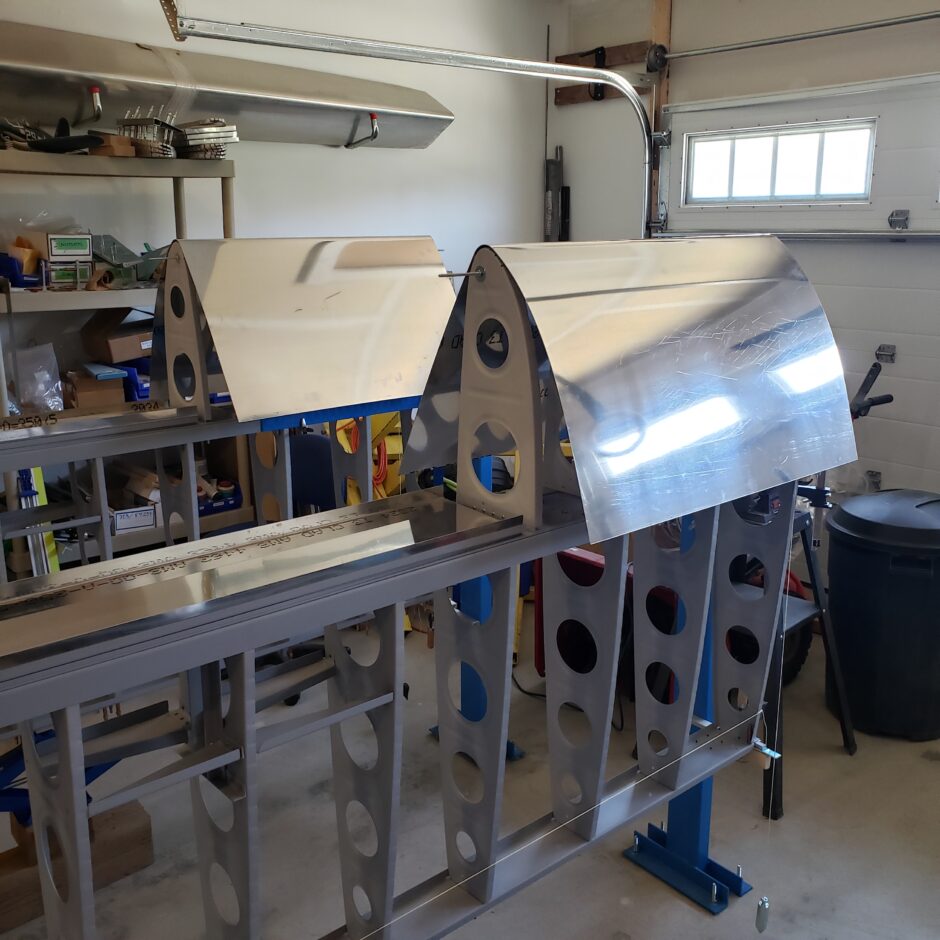
These leading edge skins are parts that I received from Harmon Rocket. The forming and workmanship of these skins are really impressive. In particular the leading edge radius as you can see below is a perfect fit, and the upper curve of the camber is beautiful. Going by what other builders have said, these are cut pretty darn close to the exact dimension, with VERY little if any extra, or oversize.

Before I can get to working on the skins, first I need to make some layout lines on the main wing spar. This picture below is the instruction from the RV-4 construction manual that details where to place the butt joint reference line along the main wing spar flanges. This is the line where the leading edge skins (and fuel tank skins) butt up against the upper and lower wings skins. This is a critical measurement, so be sure to take your time in accurately laying this one out. The tolerance on getting this line correct is 1/32-inch. If you wear glasses, this is a good place to use them. Trust me.
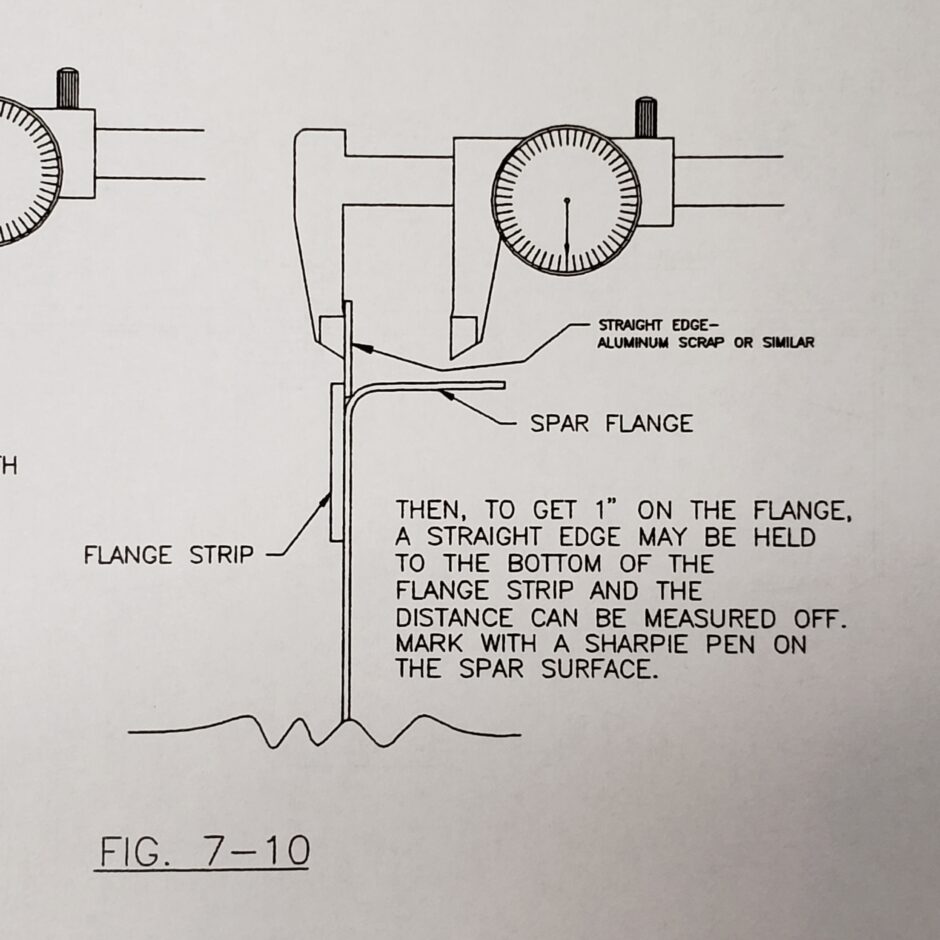
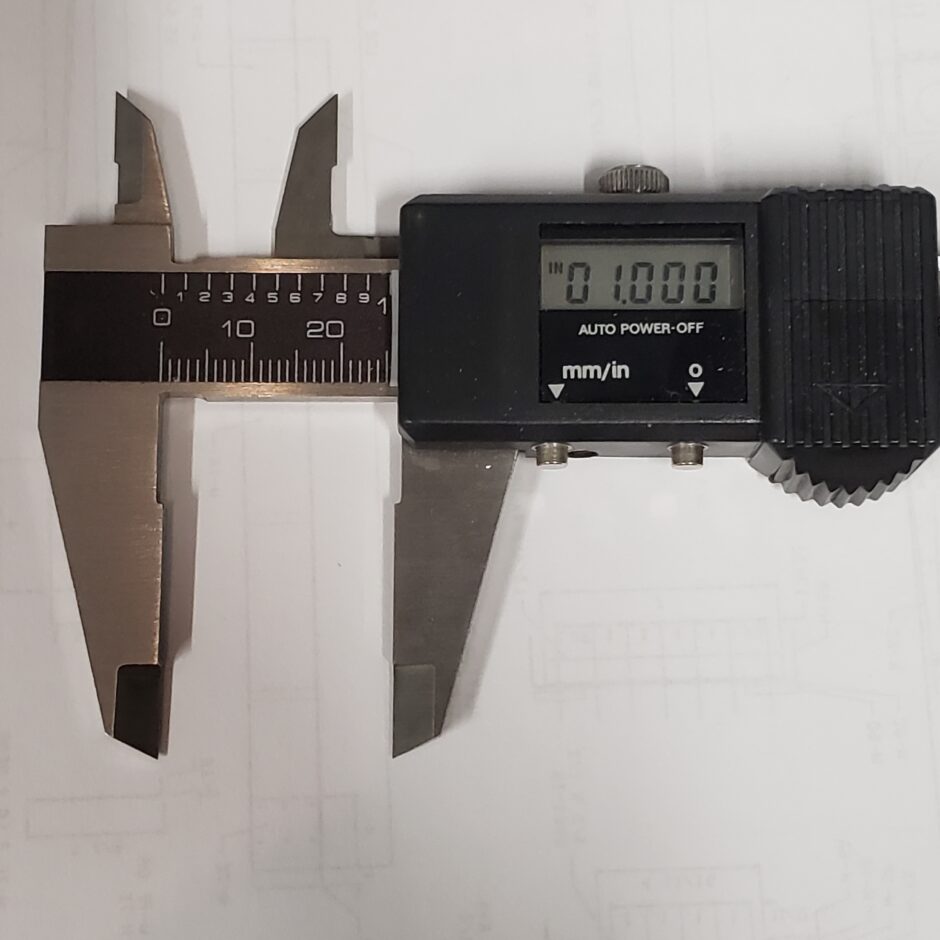
Following the method above for locating the reference line, I started by making a few ‘tick’ lines every few feet along the spar flange.
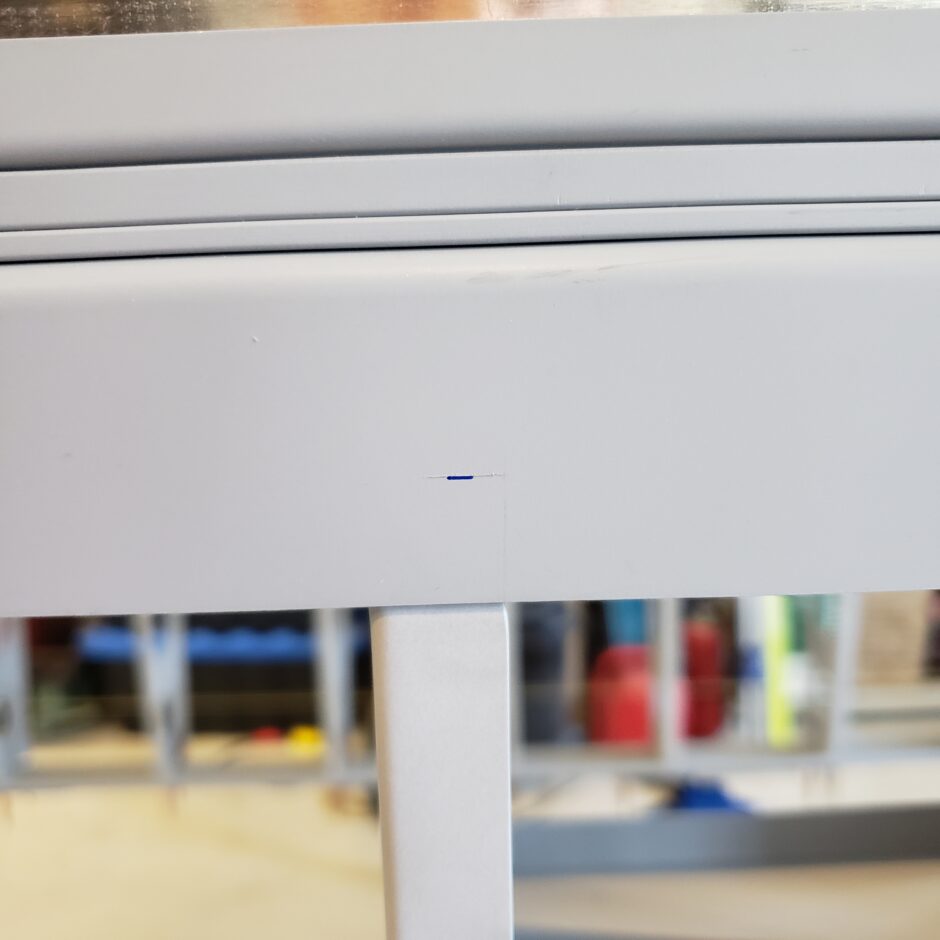
Then I used some cleco clamps to hold a metal straight edge ruler along the flange surface to connect extend the line. The longer a straight edge you can use here the more accurate your line will be.
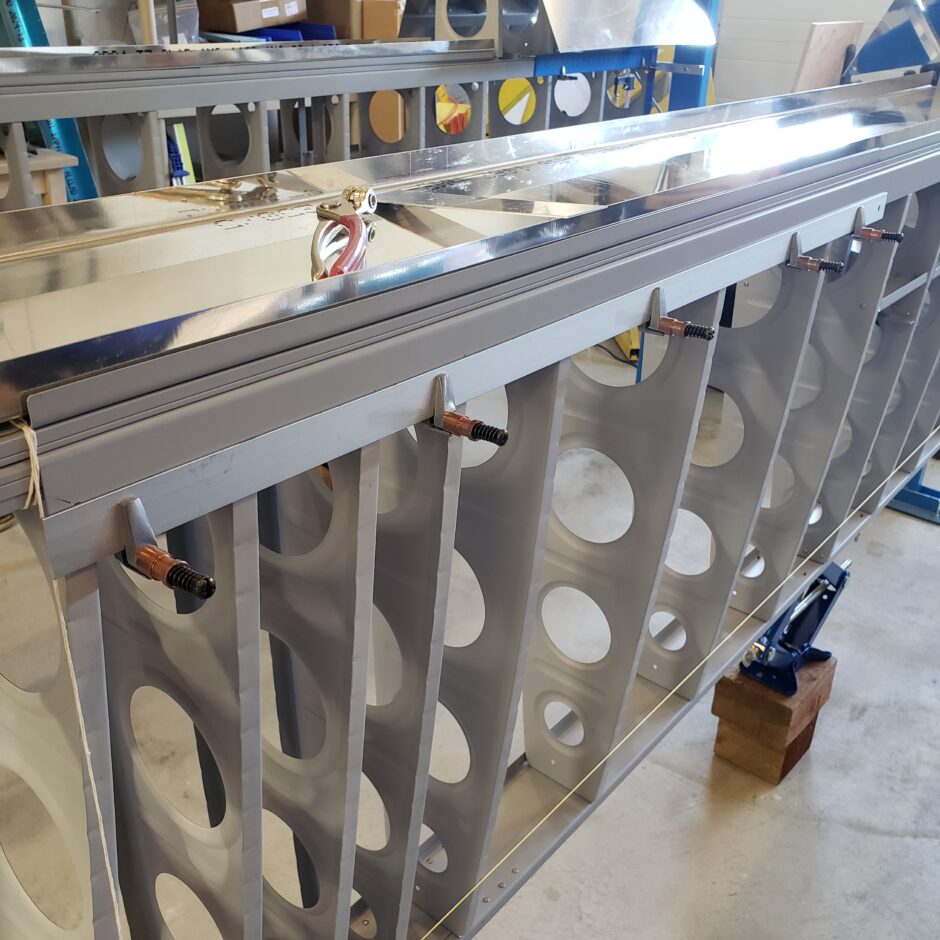

Now I think I can start to proceed with getting these leading edges on!
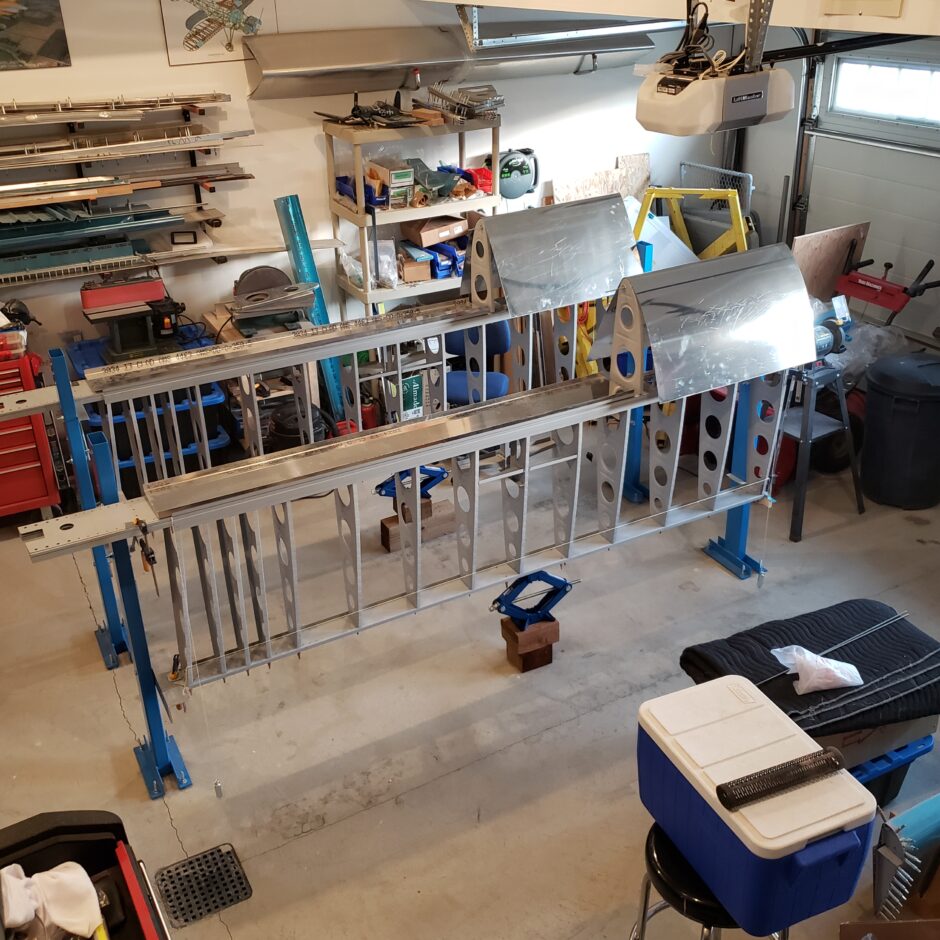
Here’s a close up of how nicely the leading edge is bent.

Well, the first hurdle has quickly surfaced. As I’m working the skin to get it roughly in position before I put on the straps, the jig is interfering with being able to get the skin to sit flat against the ribs. In this area, I need 1/2-inch of skin overhang over the outboard most rib. As shown below, the jig is resting tightly up against the outboard rib.
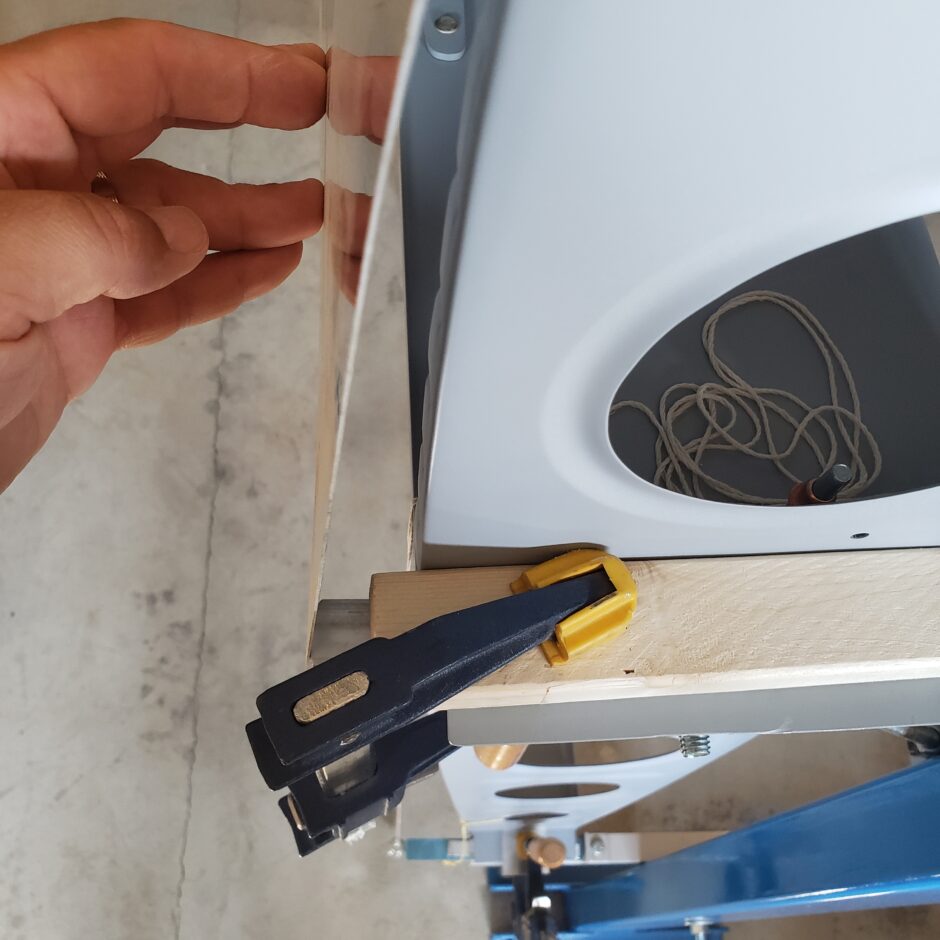
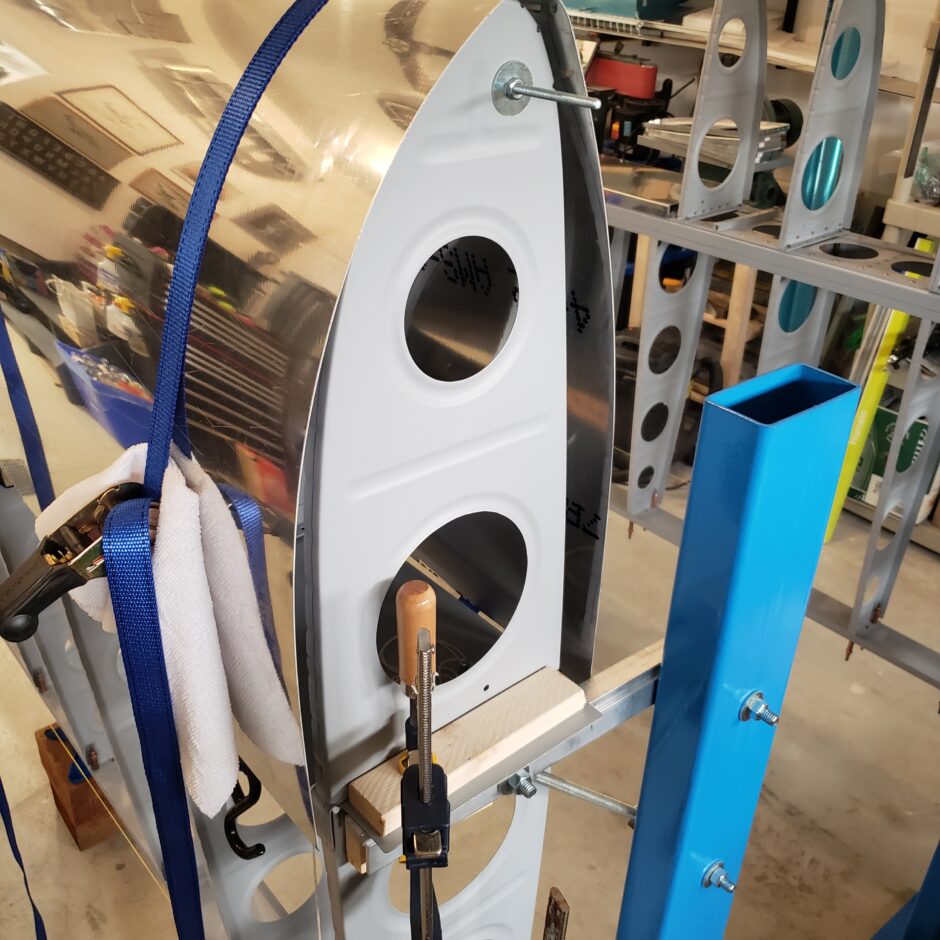

I removed the wing assembly, and here you can see the arm of the jig that I’m working with.
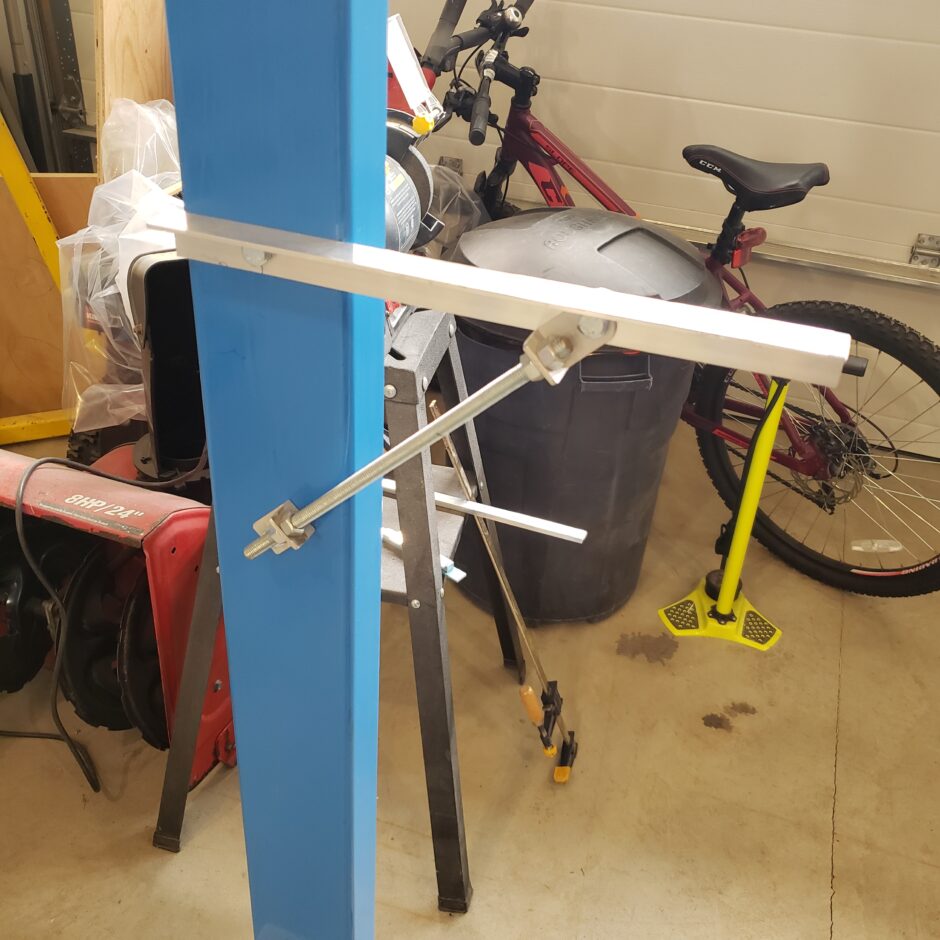
I think the easiest solution is to use a piece of large aluminum angle to provide me with a bit of an extension. I cut the angle to be the same width as the spar. This way the leading edge skin can easily extend beyond the end rib without interference.

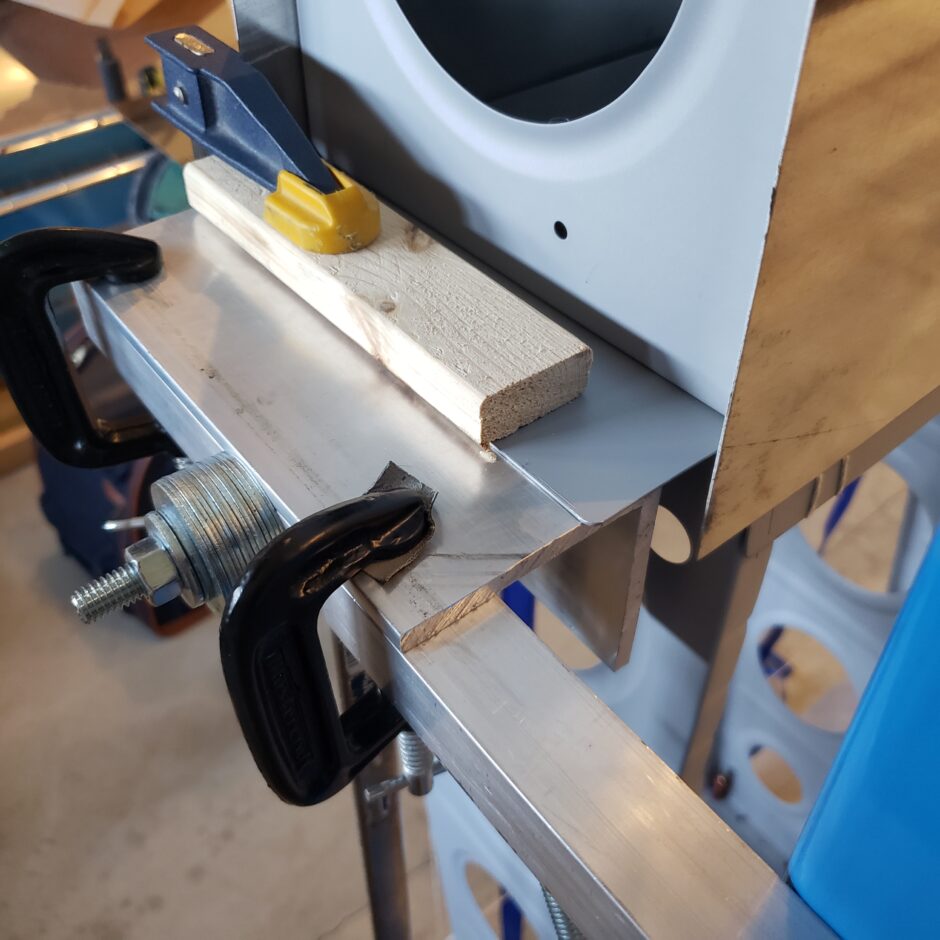
All in all this worked out pretty well. The aluminum was some scrap that I had here in the shop. However with all the messing around and head scratching to figure out the solution, that’s all I was able to accomplish during this building session.
That’s all for today folks! Please comment. I love to hear from my readers. Thanks again for coming along for this ride, you make my work worthwhile.
Leave a Reply