Before I get too carried away at working on the wing spars, I want to get the horizontal stabilizer riveting complete. The horizontal stab is the last piece of the empennage that I need to get riveted (up to the pre-cover inspection stage). Then I can hang it on the wall, where it can be out of the way, until I can book my MD-RA pre-cover inspection. But with all this Corona virus stuff going on, that’s not going to be for some time. Maybe I’ll just build the wings and do it all at the same time? Hmm…
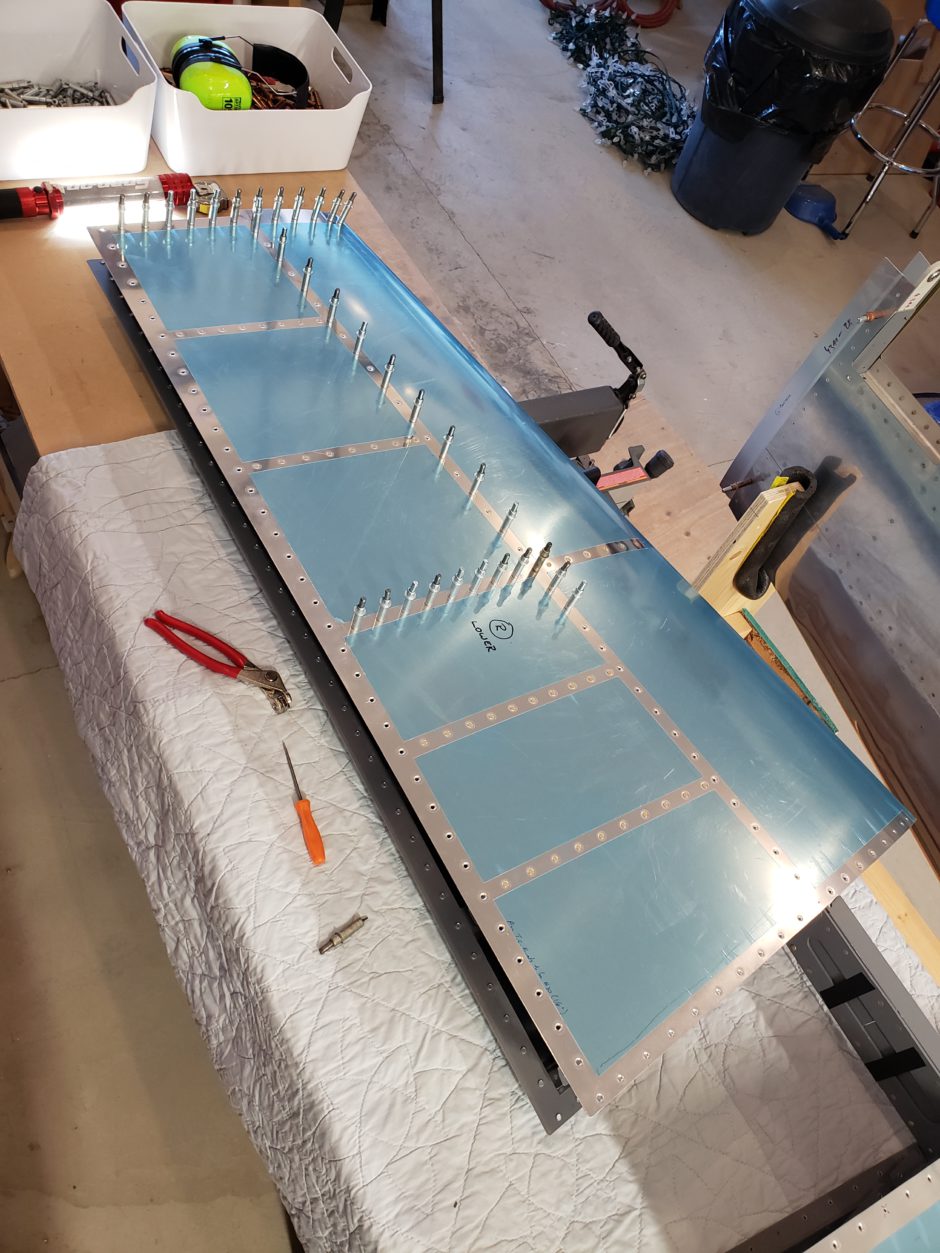
This riveting task is pretty straight forward as per the plans. Rivet the 706 ribs to the forward spar, then cleco in the 708 midrib to the forward spar and the 707 nose rib. As shown in the picture below, This is all clecoed together, and I’m ready to start the riveting. I also chose to start the riveting on the lower surface to build my skills back up, so that when I rivet the upper surface, I’ll be back in the swing of things.
Riveting the HS-708 mid ribs
Before you get to riveting on the horizontal stabilizer skins, first you need to rivet on the 708 mid ribs. This are attached by pull rivets (blind rivets). Shown below, the HS-708 mid rib is clecoed to the forward spar and on the back side to the HS-707 nose rib.
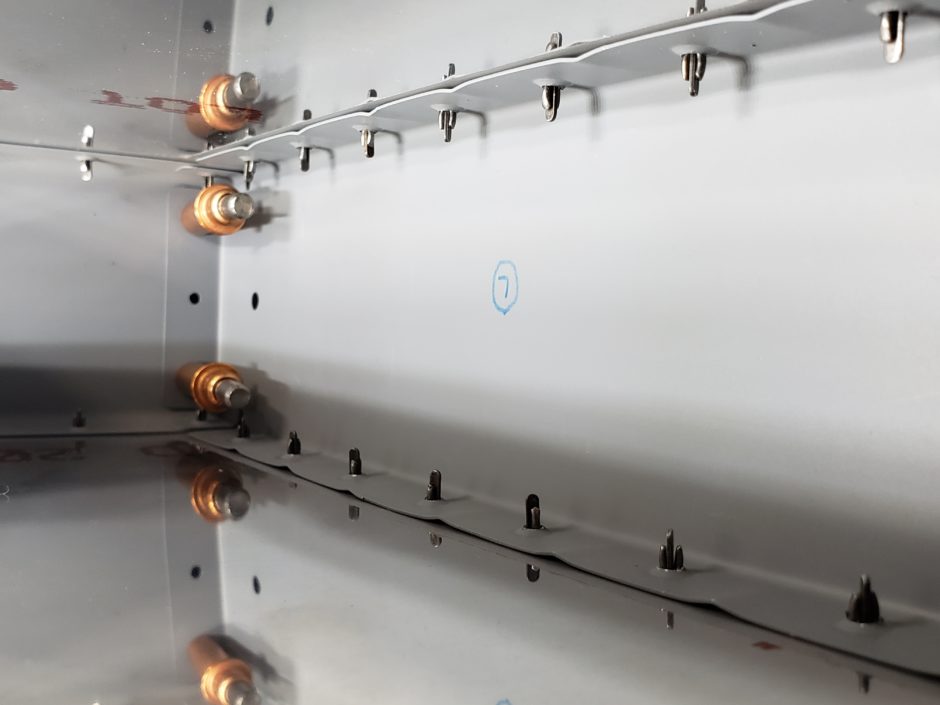
I started with installing the center rivet, only because that provides the most room for the rivet squeezer to get in. You’ll also likely have to just slightly bend the HS-708 rib a bit out of the way to make enough clearance for the rivet puller.
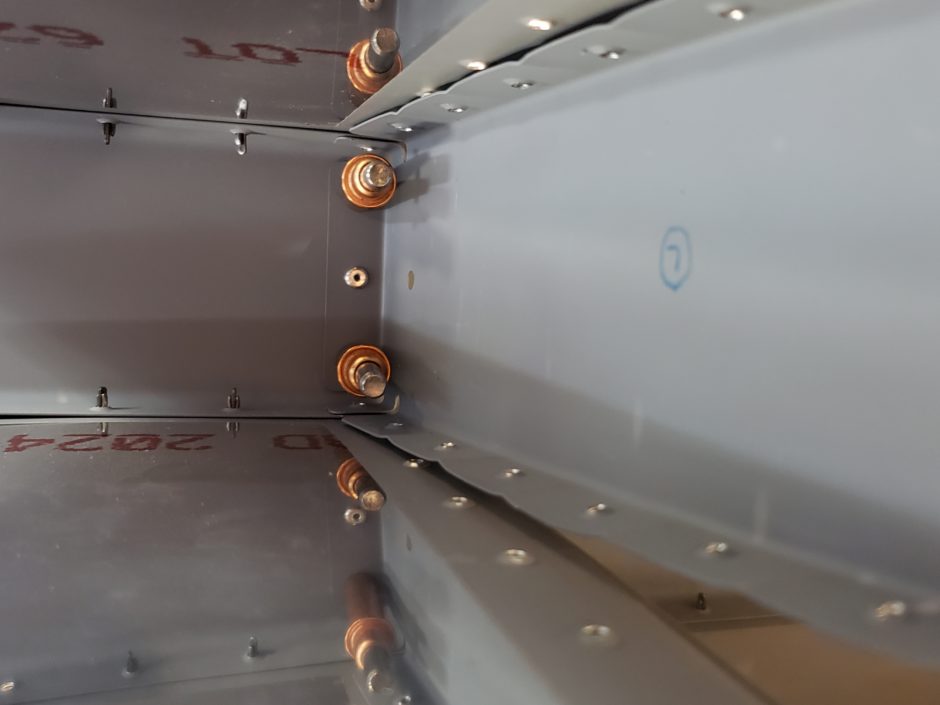
There was no real issues with getting the upper and lower rivets in, it’s just a bit tight to get the rivet puller tool in place, then to get both your hands in the limited space to hold the tool in place and then to squeeze the rivet.
Riveting the skins
With the HS-708 mid rib riveted in place, I then proceeded to start riveting the lower left horizontal stabilizer skin. For this I began by riveting along the HS-708 rib from the trailing edge toward the forward spar.
Once that was complete, as shown in the picture below, I then worked inboard along the forward spar to the root area. Then I finished off riveting the forward spar outboard from the HS-708 rib to the HS-706 tip rib. I haven’t done any riveting on the tip rib at this point, just because I need to keep the assembly accessible for the pre-cover inspection.
Also shown in the picture below, is a small piece of electrical tape. I use this on every flush rivet I install. For whatever the reason, this provides superior results with no scratches or damage to the skin from the flush rivet set. My buddy Garet showed this to me and both of us swear by it.
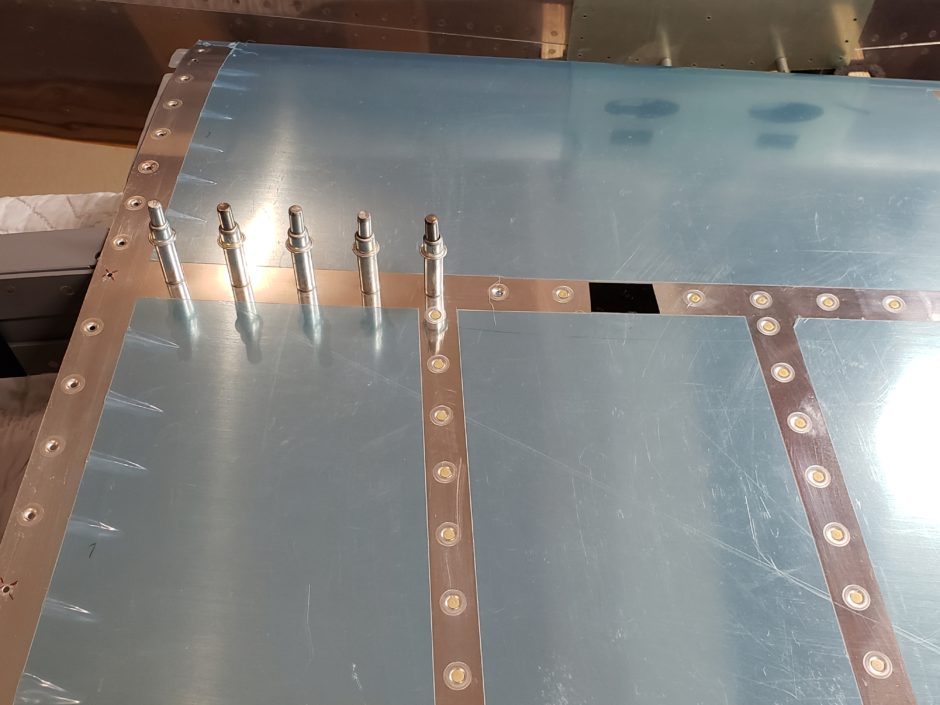
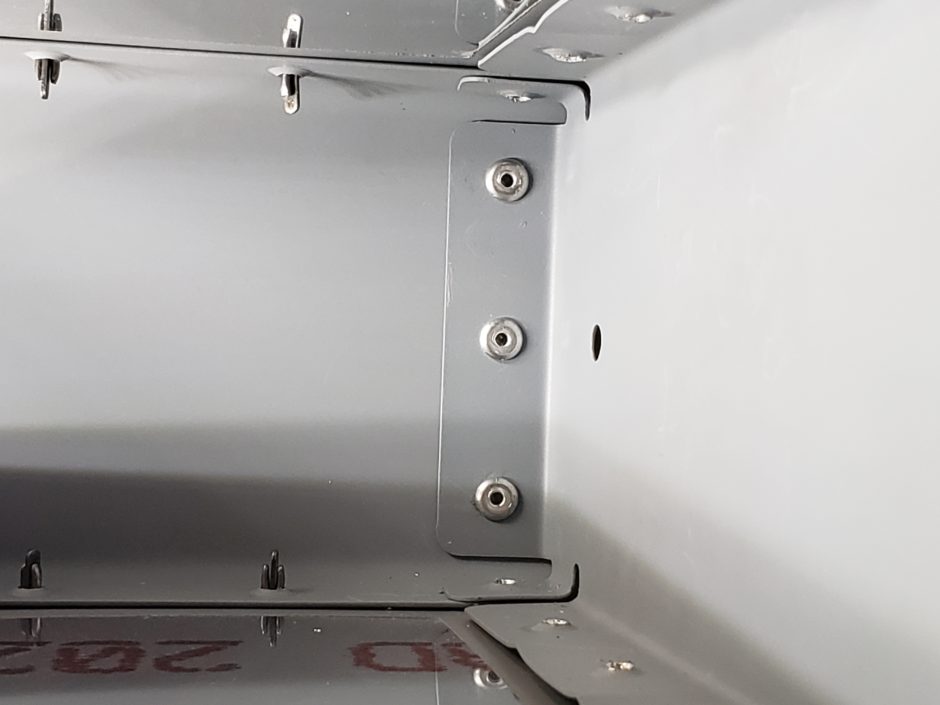
When you look at the inside of the horizontal stabilizer, the riveting isn’t so straightforward due to some of the F1 Rocket modifications. Not that it couldn’t be riveted. I didn’t have to resort to any pulled rivets here, I’m just saying that due to the additional spar reinforcing plates, you’re riveting on the very edge of the bucking bar. Not much room for error here because the spar rivets shop heads are now at least .125 inch closer to the skin rivets than was originally designed. You also need to work around the additional skin stiffener angles. Again, not the end of the world, just an obstacle.

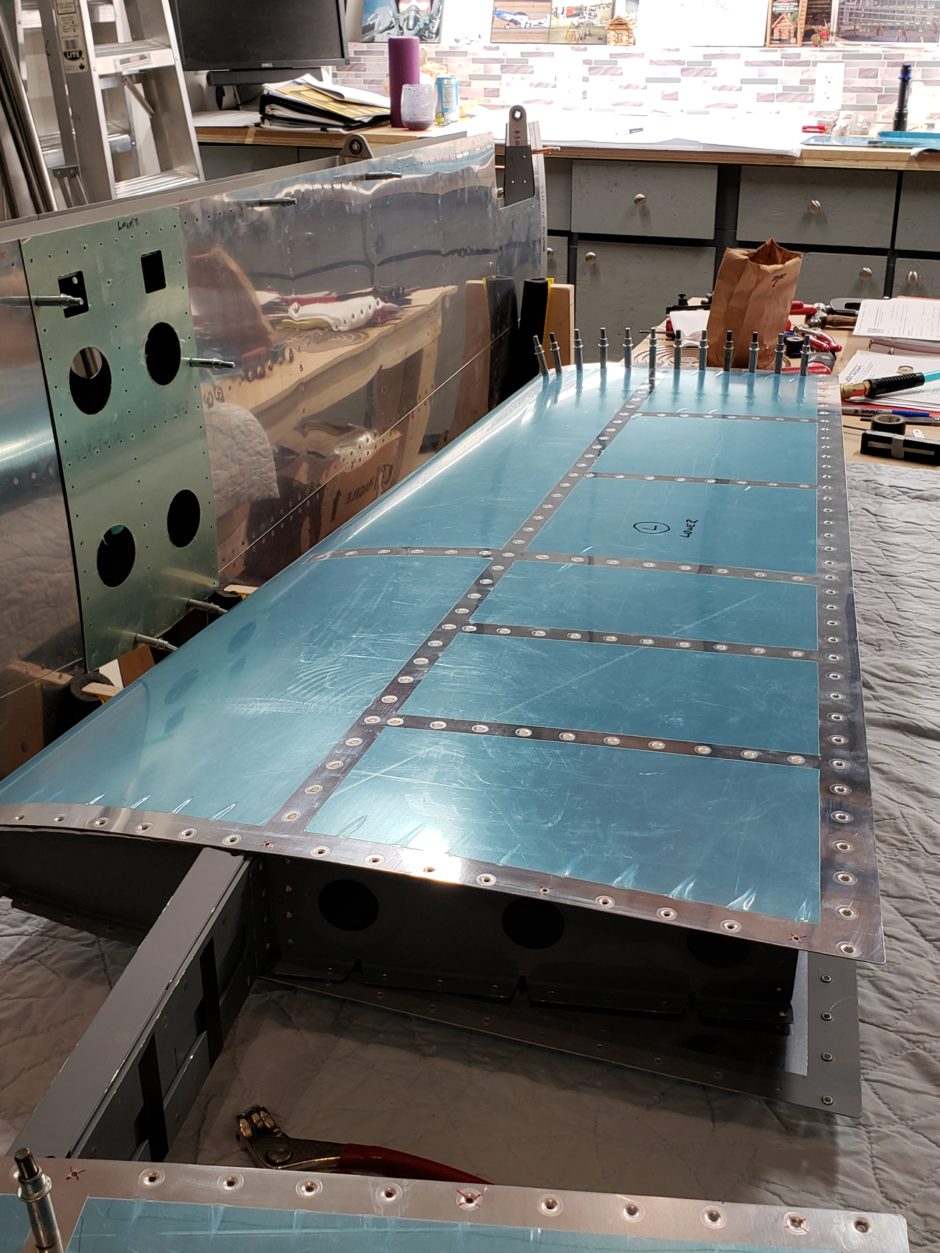
Left lower skin riveted
I’m happy that I was able to get the left lower horizontal stabilizer skin riveted. This sucker officially isn’t coming apart again!
As for my playlist tonight, it was Wabash Cannonball.
Please comment. I love to hear from my readers. Thanks again for coming along for this ride, you make my work worthwhile.
Leave a Reply