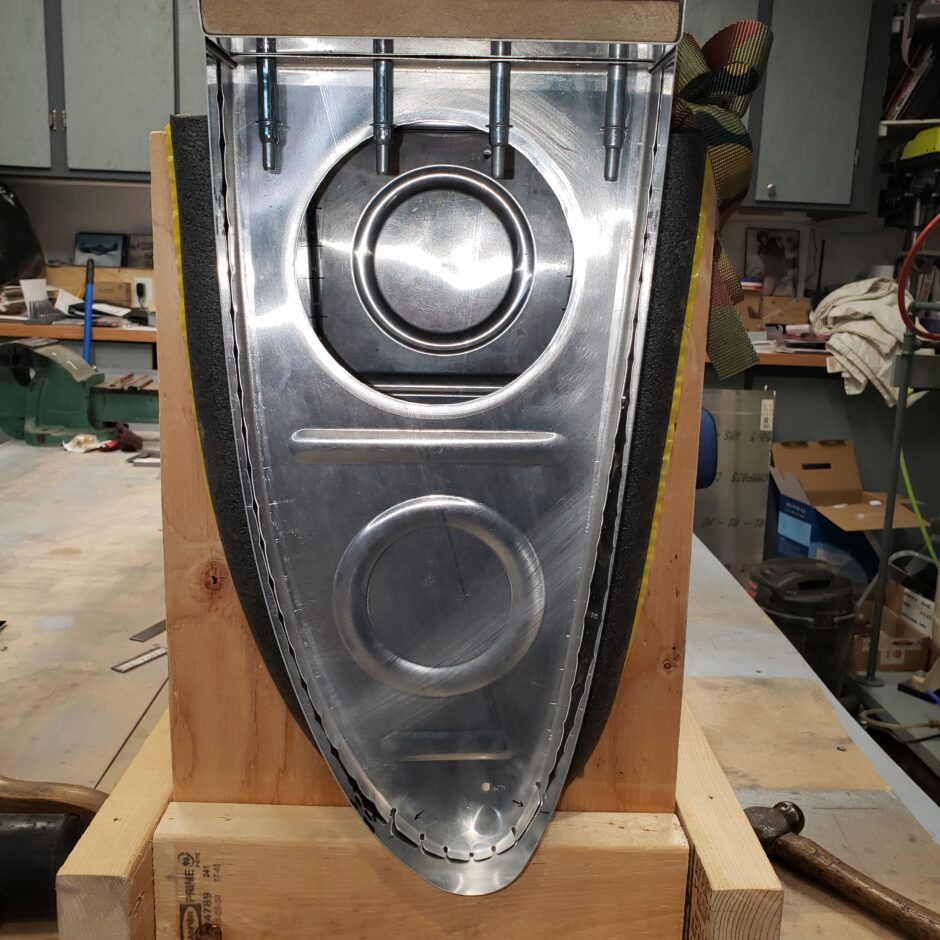
As get closer to being able to drill the fuel tank skin, I still need to do a bit more prep work by cutting the access hole into the T-403 end rib.

With the end rib access hole cut, I now have access to the entire fuel tank.
Next up was to centerpunch and drill the skin.

I drilled the skin with a small pilot hole (5/64-inch), so that when I matched the holes to the ribs, that would be drilled at the final #40 size.

With the drilling complete, I quickly deburred the holes. I know it will all be drilled again, I just don’t like working with the sharp edges and try to eliminate possible scratches to the metal skin wherever possible.
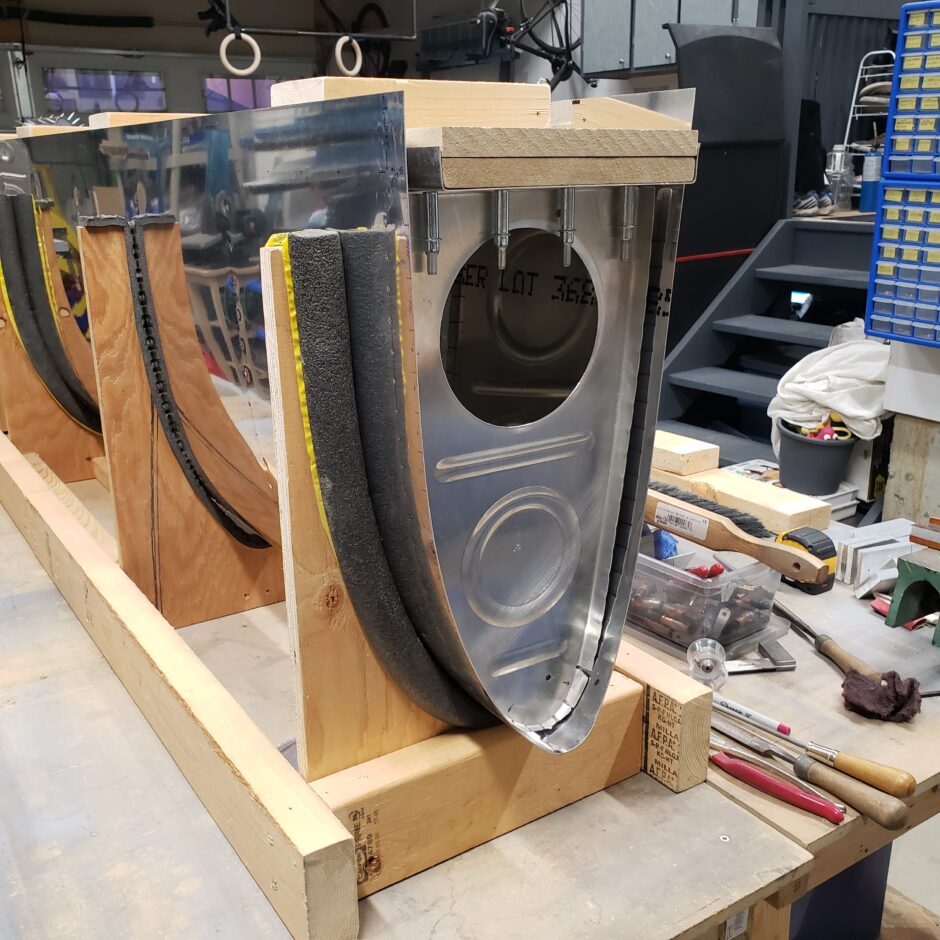
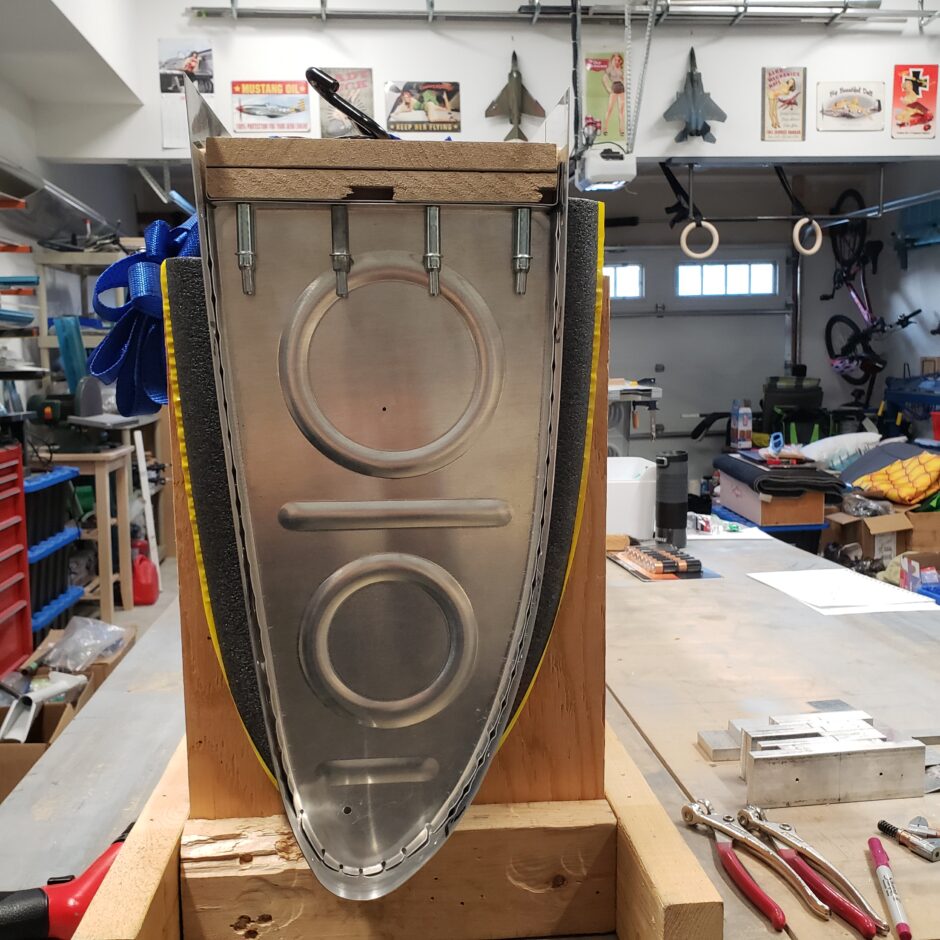
Then I reassembled the the ribs and tank baffle back into the skin, using the backing board with some wooden spacers to hold the straps from crushing the skin.

When tightening the straps, don’t forget to check the ends to make sure you take up all the slack in the skin to make it tight against the ribs.
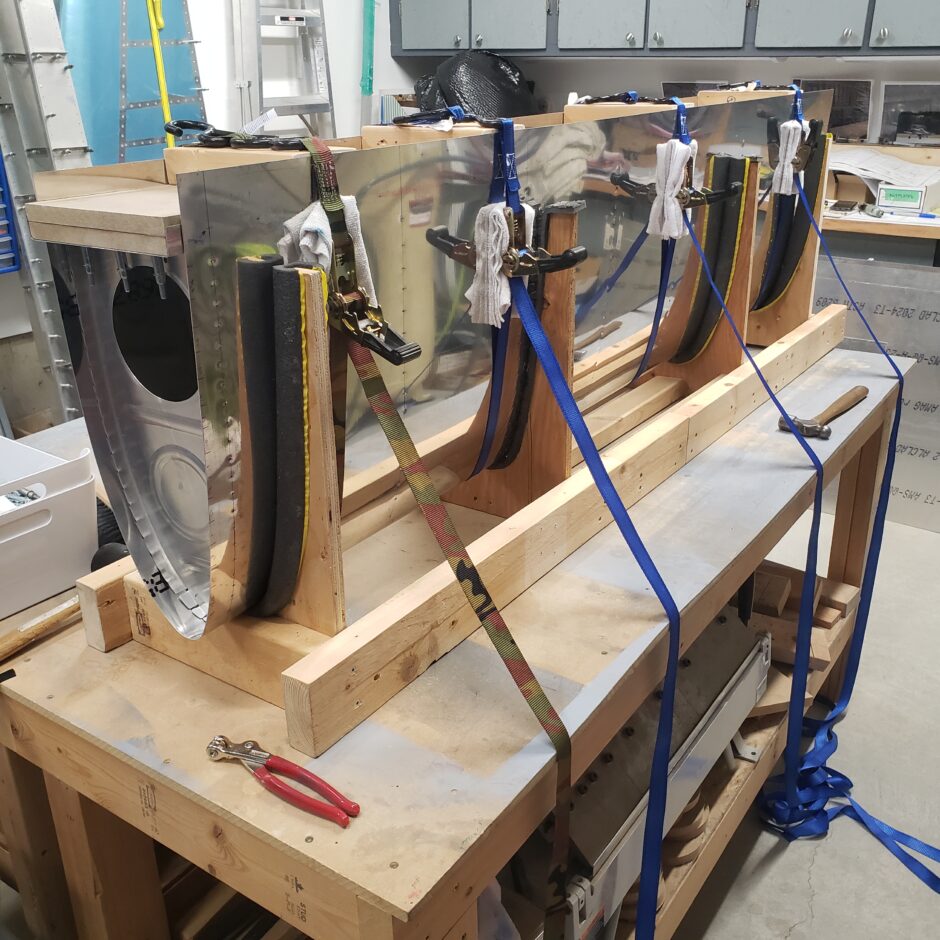
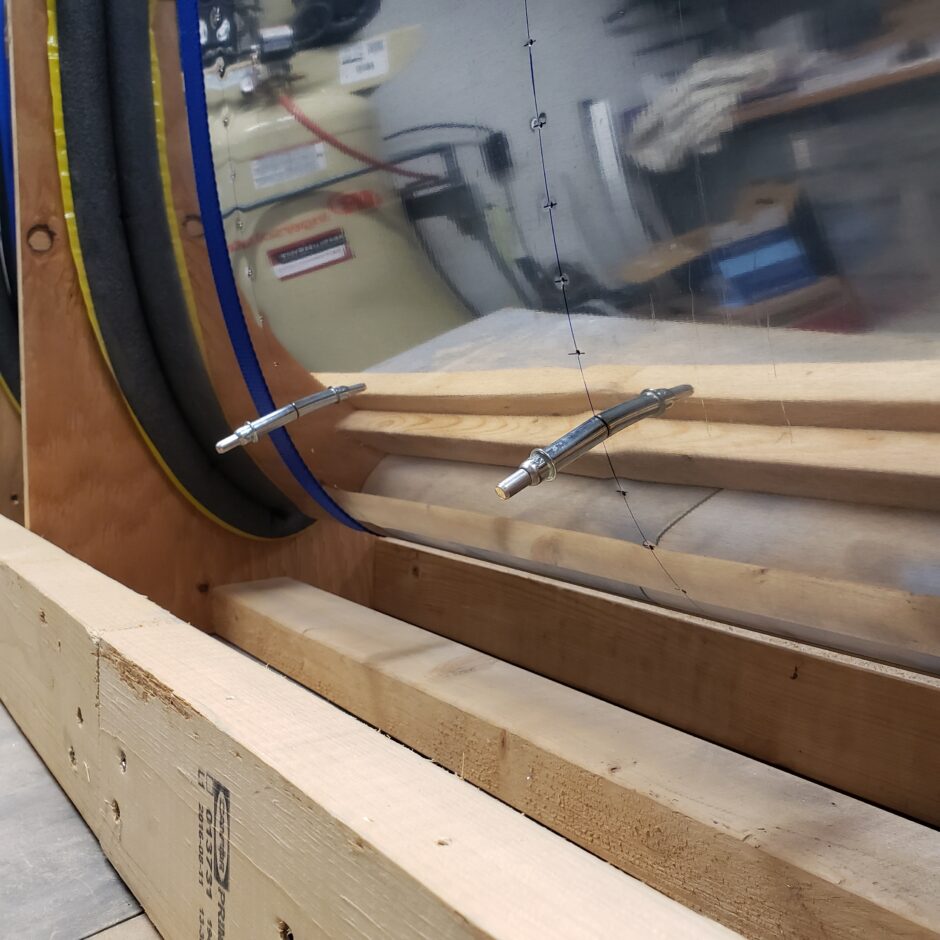
When I was satisfied that I had the skin as tight as I could against the ribs, I worked the ribs to get them aligned along the drilled holes, looking for that centerline that was drawn on the rib flange. Then I started drilling. I started drilling as close to the leading edge as the jig would allow. As you can see, I’ll have to go back, after I drill a few more holes, and pull the tank out of the fixture a bit to be able to access the most forward holes.

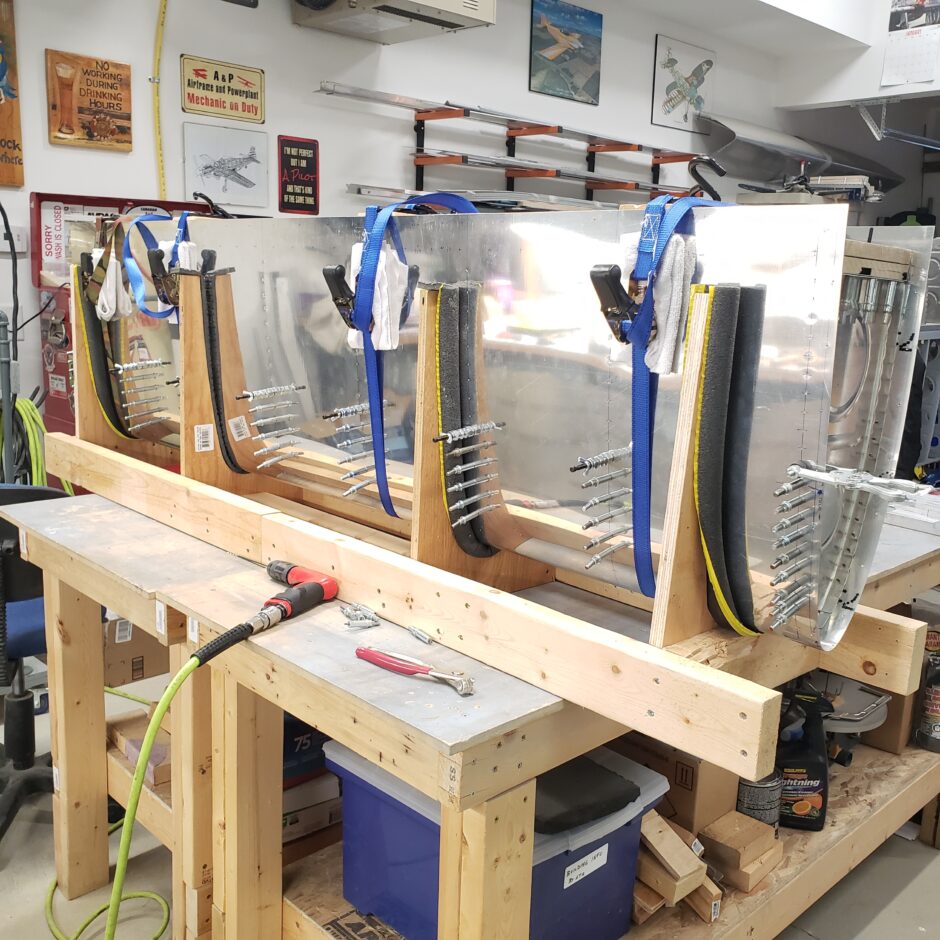
In the picture below, you’ll notice that I’ve started to use some wing-nut clecos. I found that these worked really well along the lower side of the fuel tank where the ribs have a slight undercamber to them. This helped me to be able to hold the skin tightly against the rib. This worked out better than using a standard cleco. Once the line of rivets was drilled, I then started on the next high line of rivets and just moved these wing-nut clecos up one by one, replacing them with standard clecos as I went.
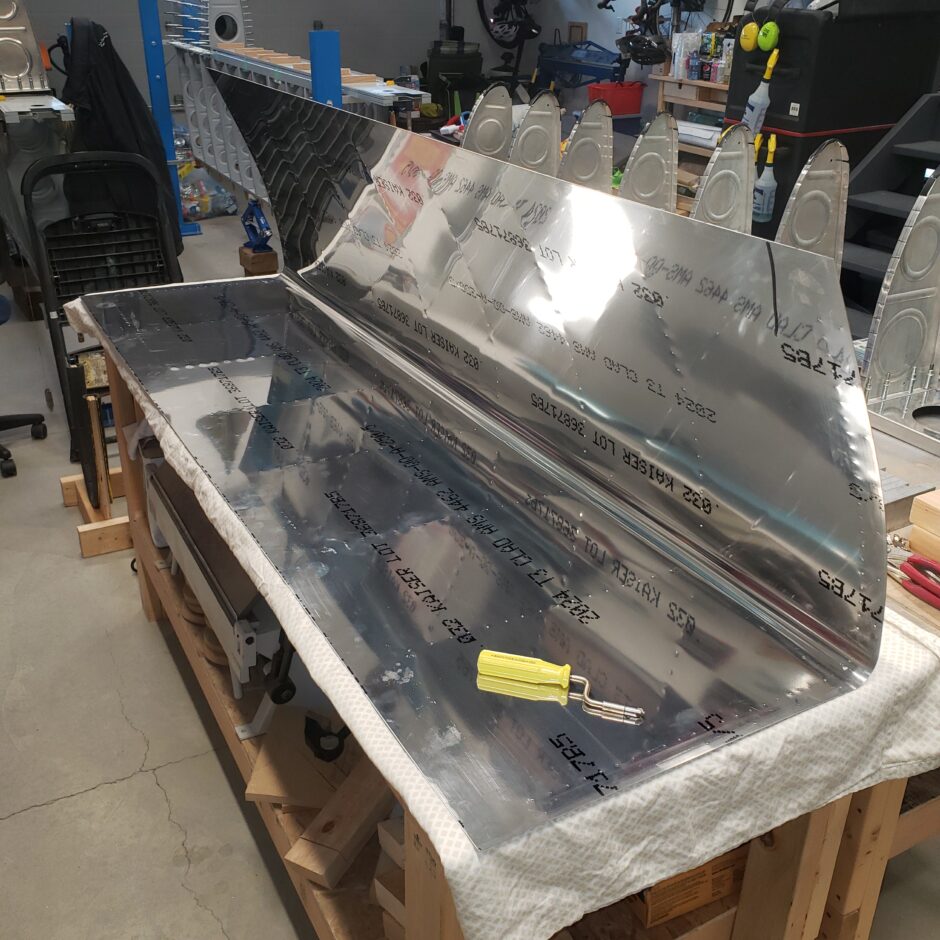
Here’s a picture of the upper tank surface as I’m drilling.
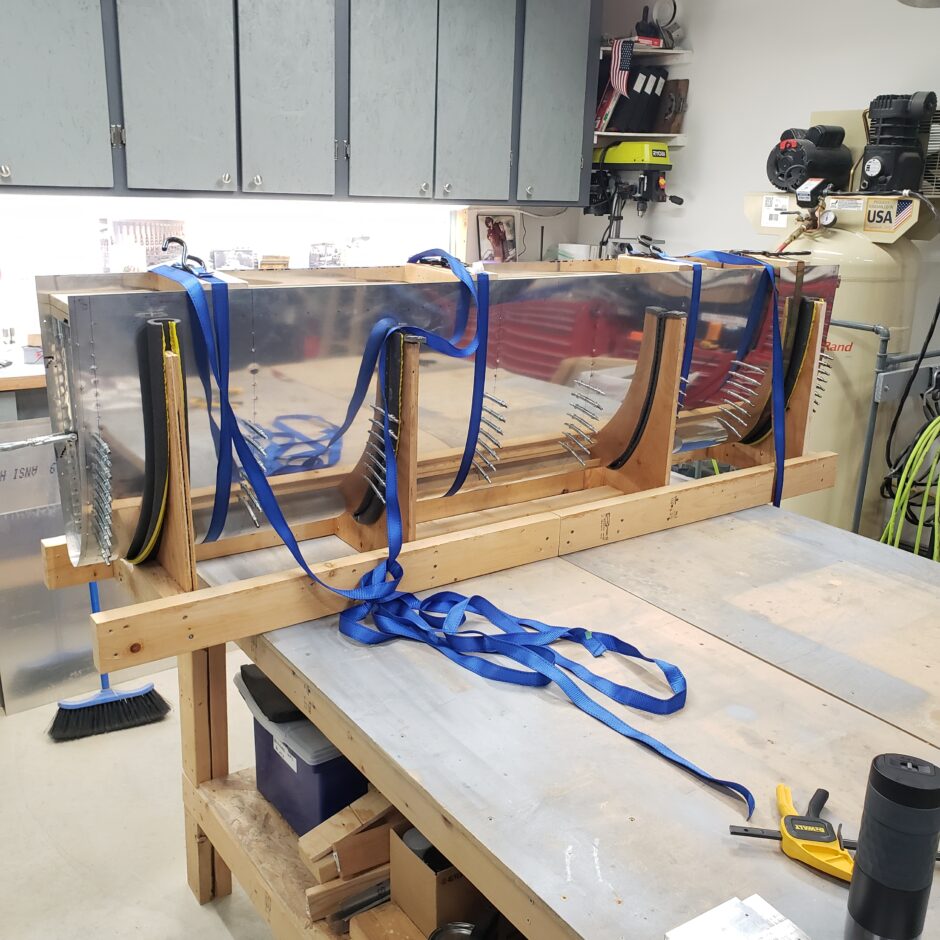
I’m almost there…OMG there are a lot of holes here!

I eventually did finish drilling this tank skin. When this task was done, I too was done for the day. Like I said, that is a lot of drilling for one build session. Ugh!
That’s all for today folks! Please comment. I love to hear from my readers. Thanks again for coming along for this ride, you make my work worthwhile.
Leave a Reply