Back to working on the left main wing spar. The spar layout was previously completed during the last work session. Now it’s time to prime and do some trimming.
Priming
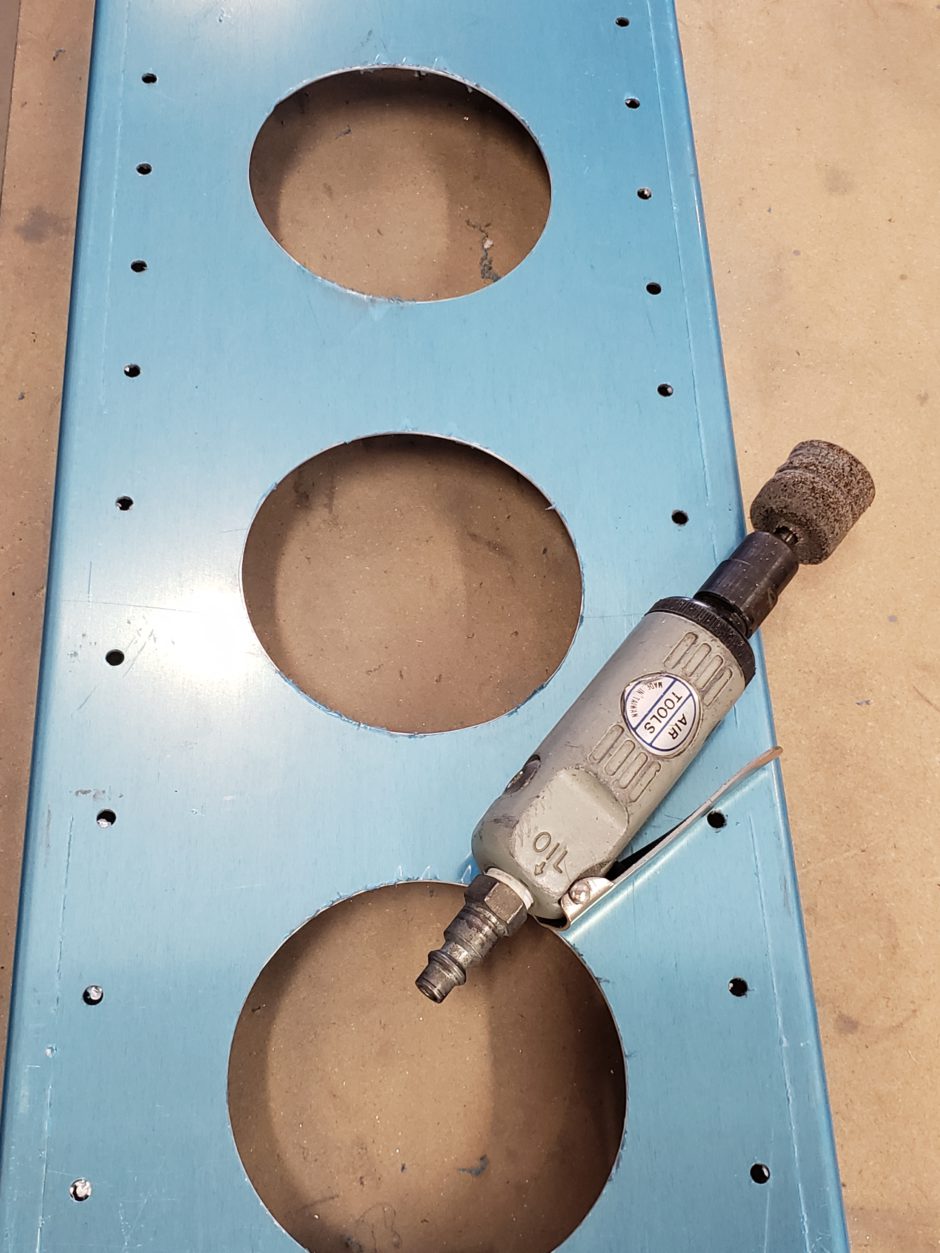
The weather this morning was nice and calm which made it ideal for shooting some primer. To get the day started, I began with prepping, scotchbrighting and wiping down the spar flange beams. For this I found an angle die-grinder with a Rol-lock scotchbrite disk worked really well. I used the green disks becuase they are finer than the maroon colored ones, which leave too many marks on the aluminum surface. I did use the maroon disks if there was heavier marks on the surface that needed to be removed, then polished up with the green disk.
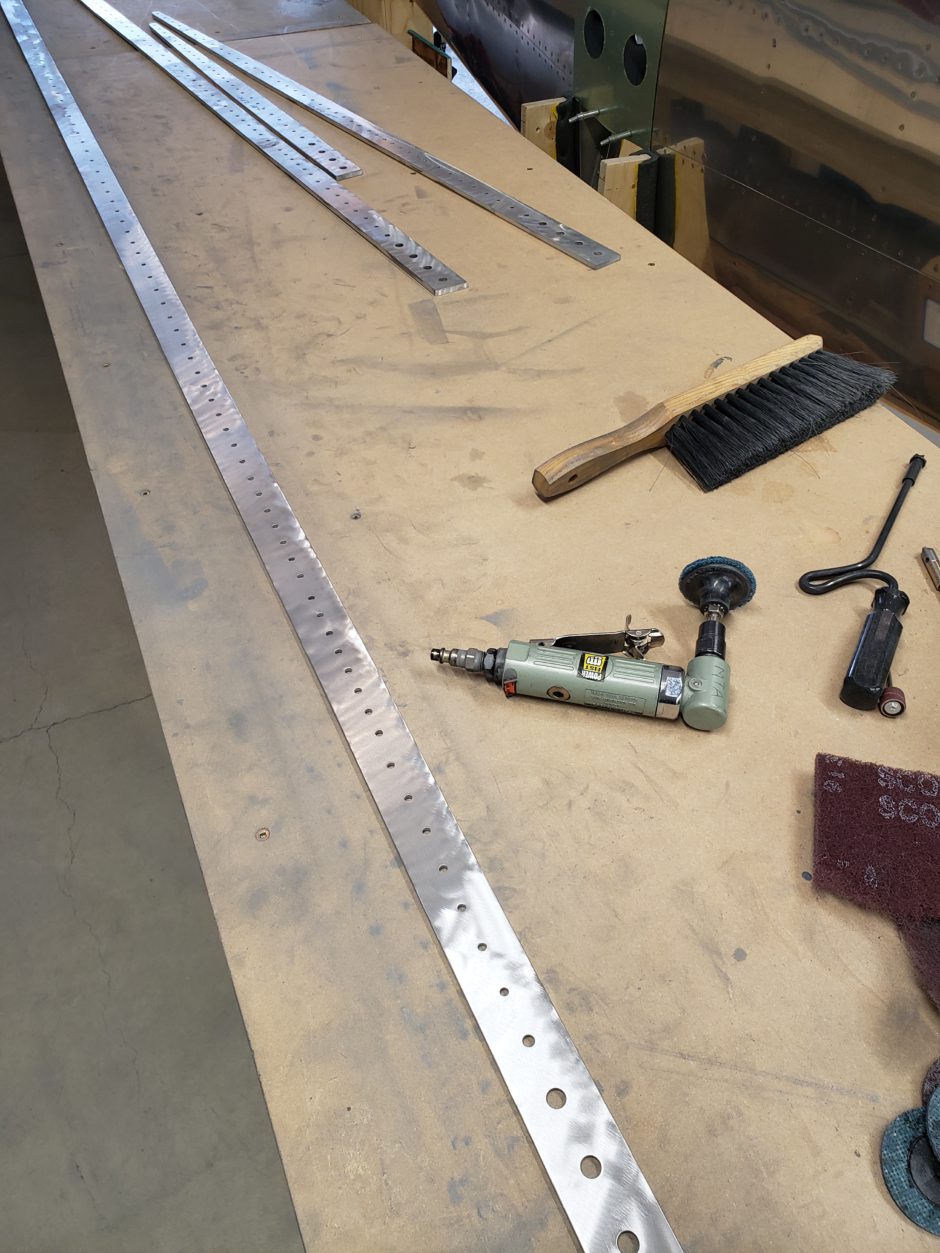
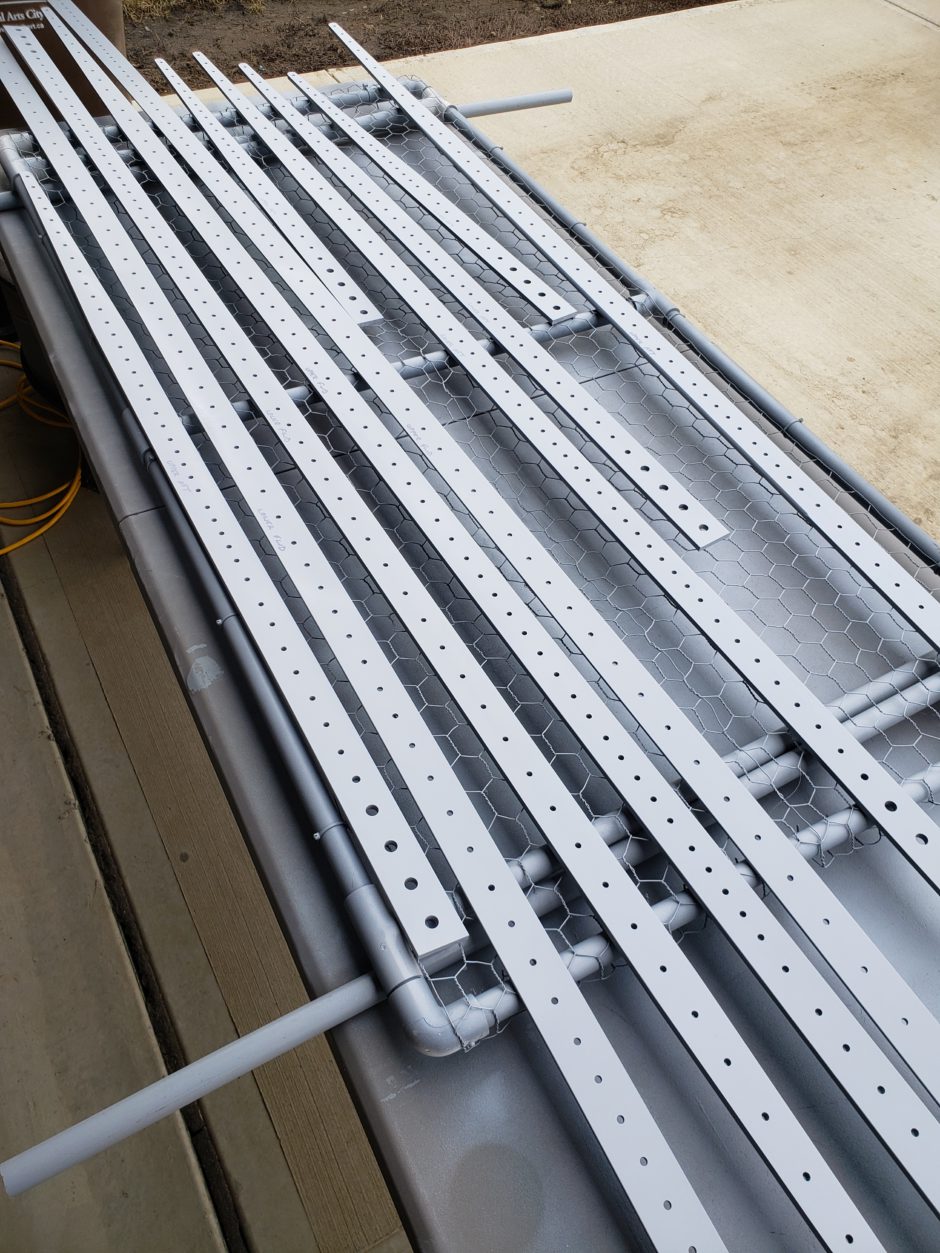
After all the spar flange beams were prepped, I got them set up on my spray table and primed.
F1 mods – spar trimming
As previously discussed in my left wing spar layout post, the Sport Wing for the F1 Rocket requires that some areas of the RV-4 wing spar are trimmed. The same is true for if your building a Harmon Rocket II, however with the F1 there are a few subtle changes.
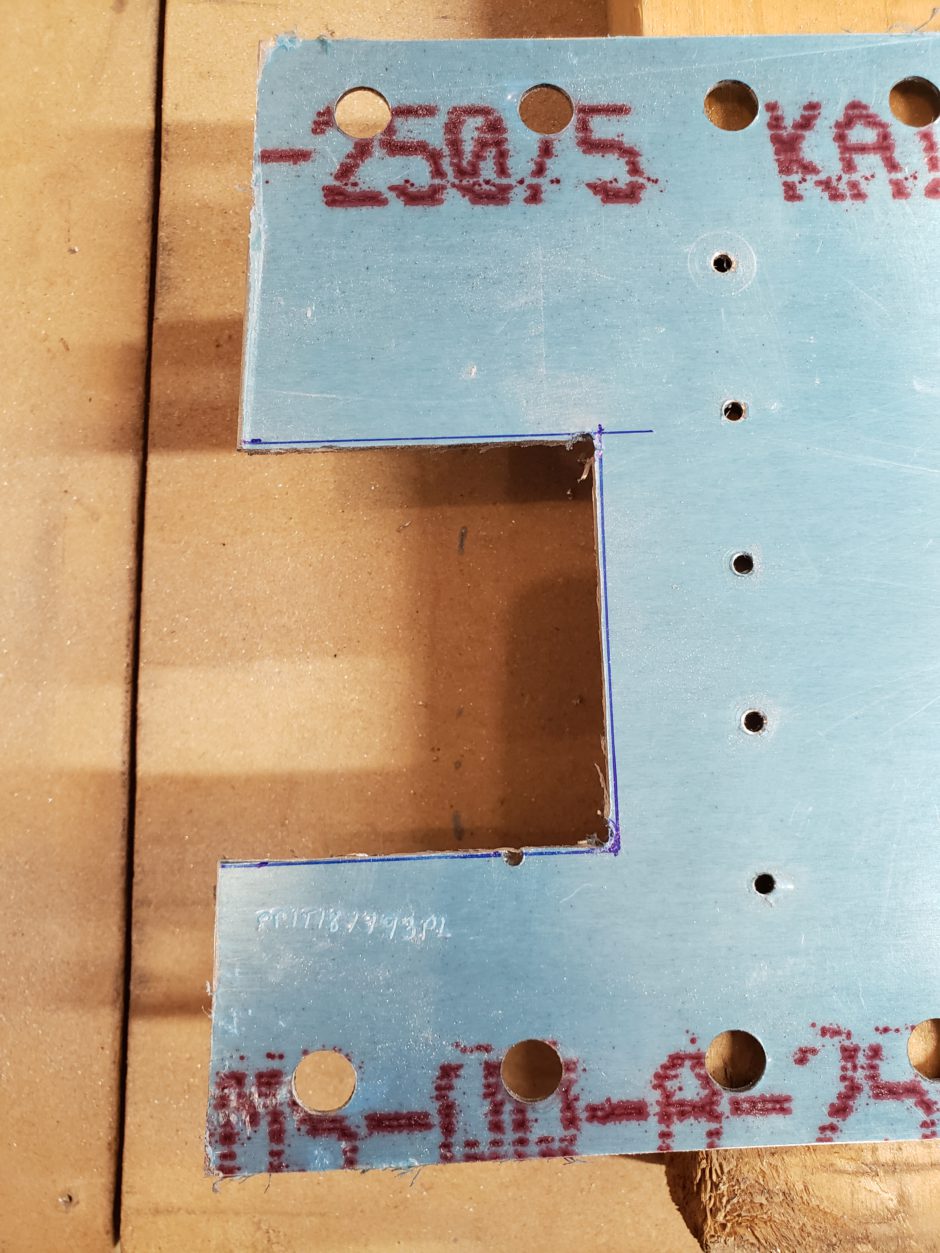
The upper and lower inboard spar web caps need to be trimmed back to allow 17 inches from the centerline of the spar web to where the spar caps begin. This is to accomodate the wider fuselage of the F1 Rocket vs the RV-4. In the picture below you can see the layout for the material to be removed, as well as I have laid out where I’ll drill a hole for the corner radius.
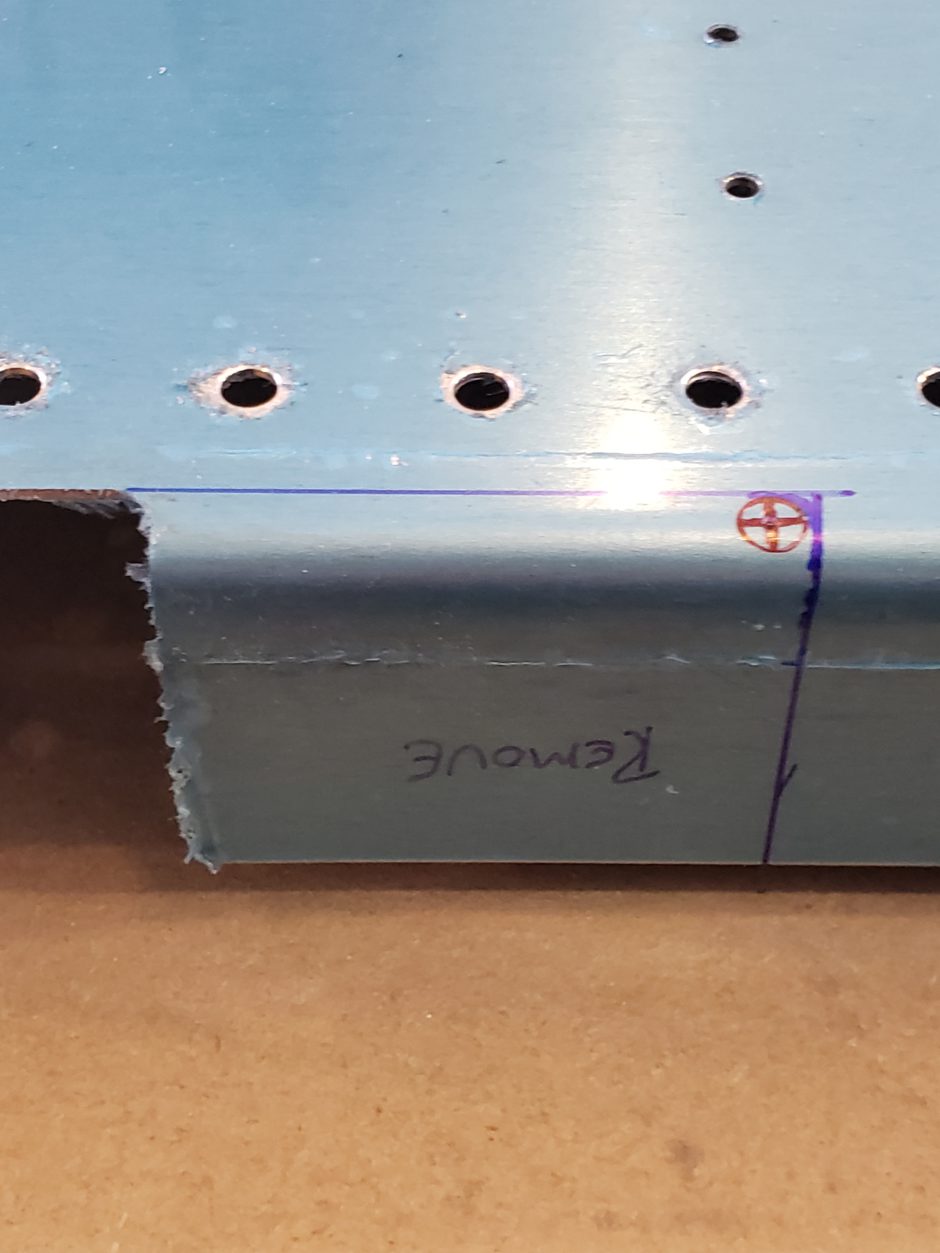
I first dilled the corner radius holes, then cut the trim lines to remove the tabs. Also note that the spar web doubler (P/N TR-W-006B) also gets trimmed the same as the spar web as described here. I just didn’t get any pictures of that, but they got trimmed too.
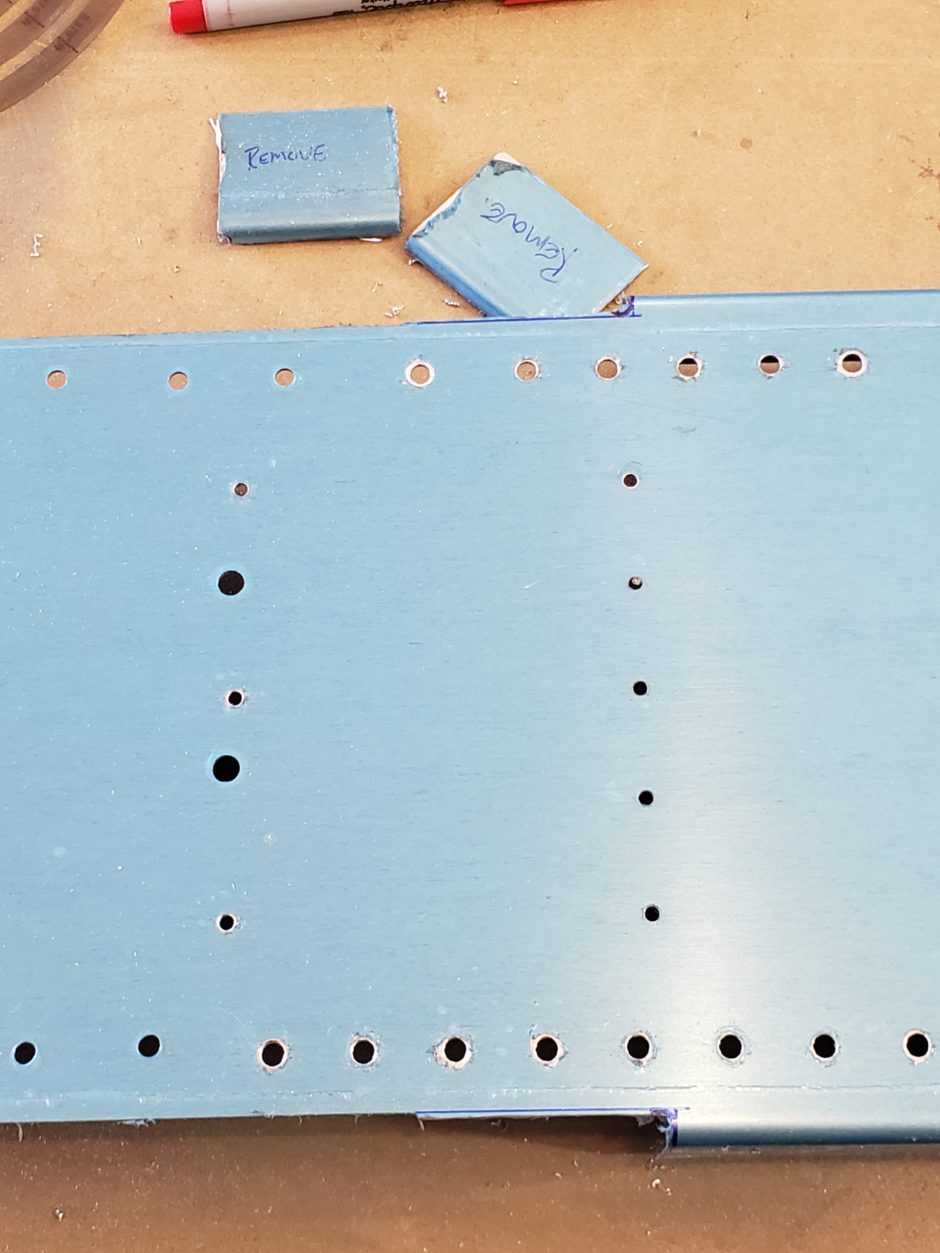
Next was to cut the spar to length. Talk about a bit of a nervous cut to make. Before cutting I make sure to measure this …and remeasure it because if I were to screw it up, it will be a very expensive fix!
This is one of the subtle changes between the F1 drawings and the HRII drawings. The HRII plans call for the flange to attach the outer end of the spar to the jig frame, to be 1 inch, whereas the F1 drawings specify 2 inches to give you a bit more to play with.
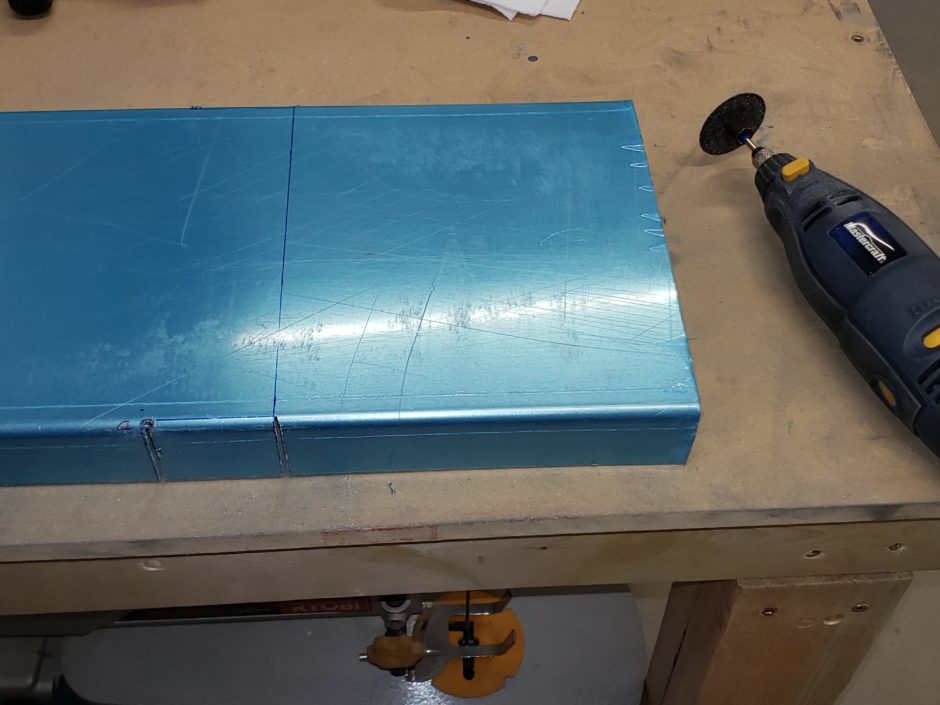
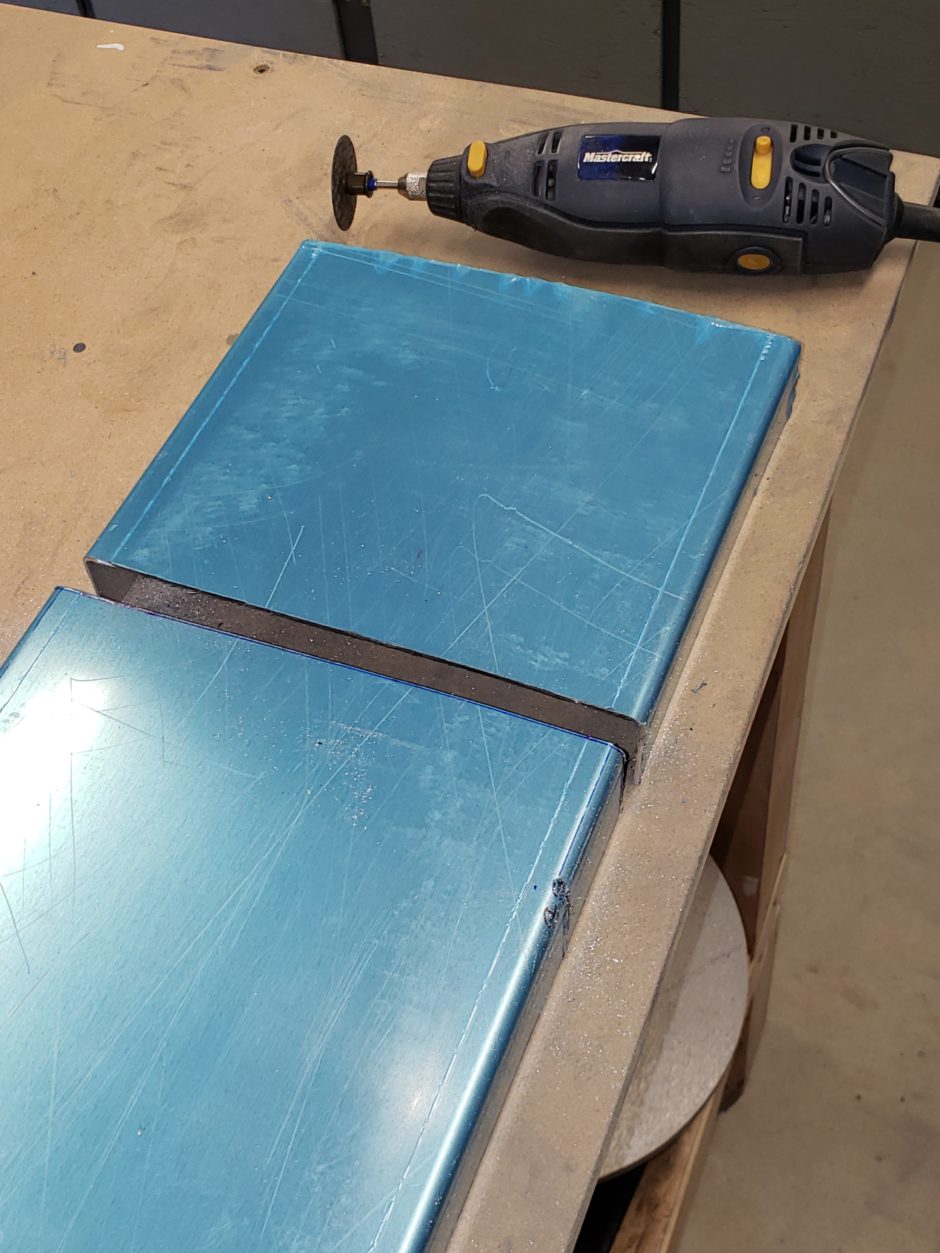
klj
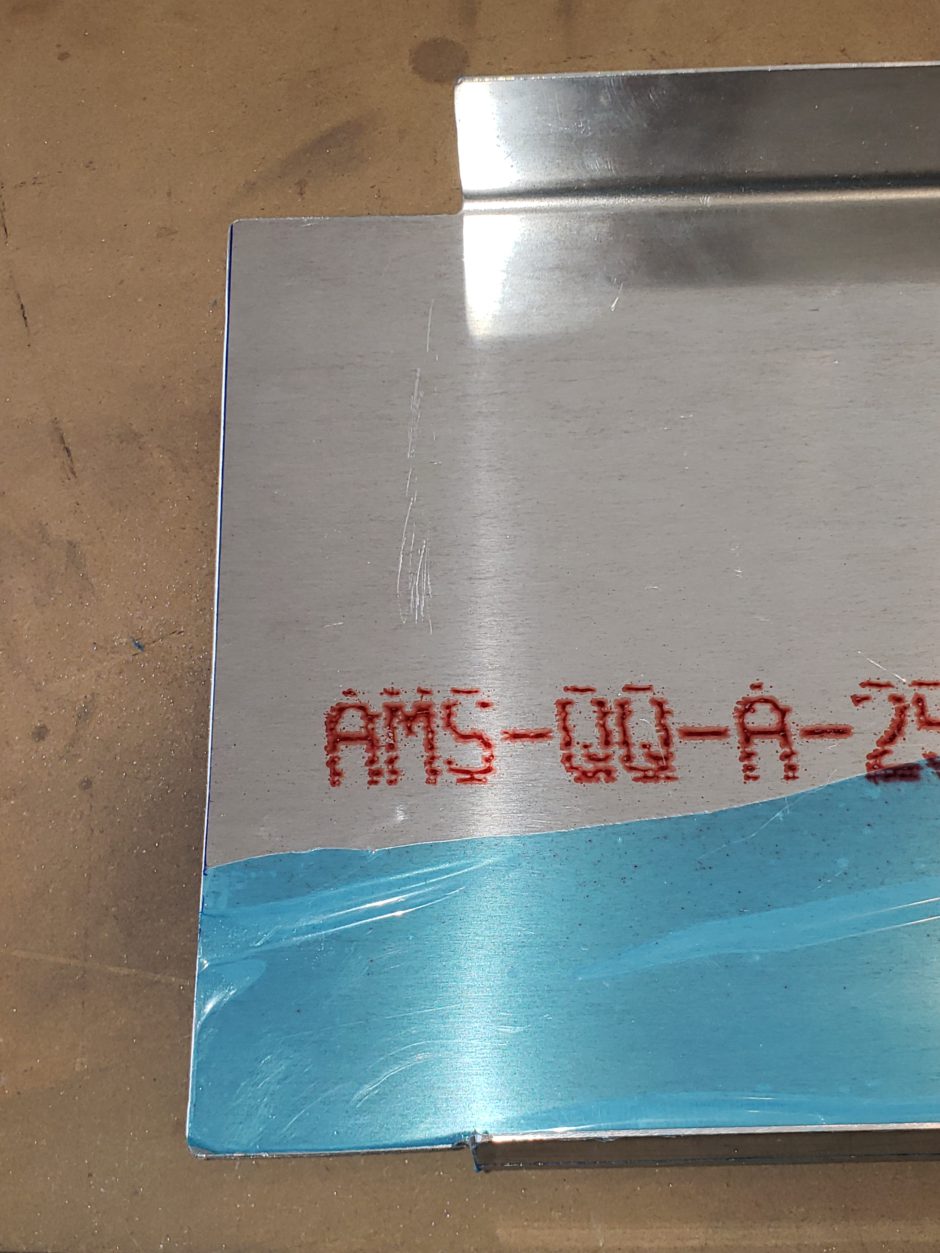
Next to get trimmed was the cutout at the root end of the spar web. This is an access hole to allow the flight control pushrods to pass through the spar.
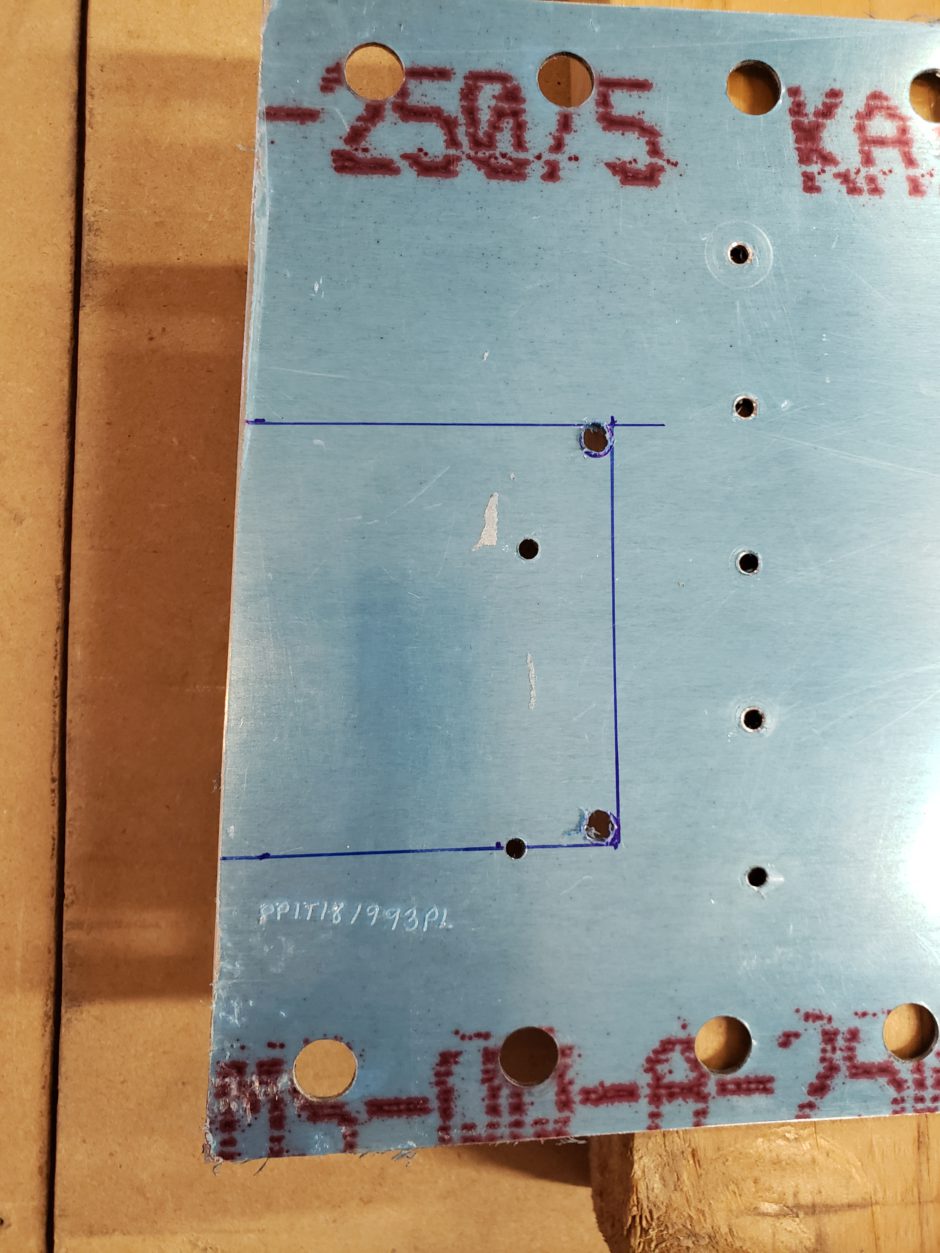
After the trimming was complete and the cut lines filed back to the proper dimensions, I used a die grinder with a scotchbrite wheel to quickly clean up the spar web lightening holes. Then I progressed to deburring all the fastener holes and doing a final rough-up on the spar webs with some scotchbrite to surface prep the parts for primer.
Spar priming
I wasn’t able to get all this done in one day so the following day I got set-up to prime the main spar web and spar web doubler. As the weather wasn’t so good I had to shoot the primer within the garage. Mental note, this is too big of a job to be spraying that much primer in the garage! It took forever to get the smell of the primer out and back to the smell of the lawnmower and grass clippings.
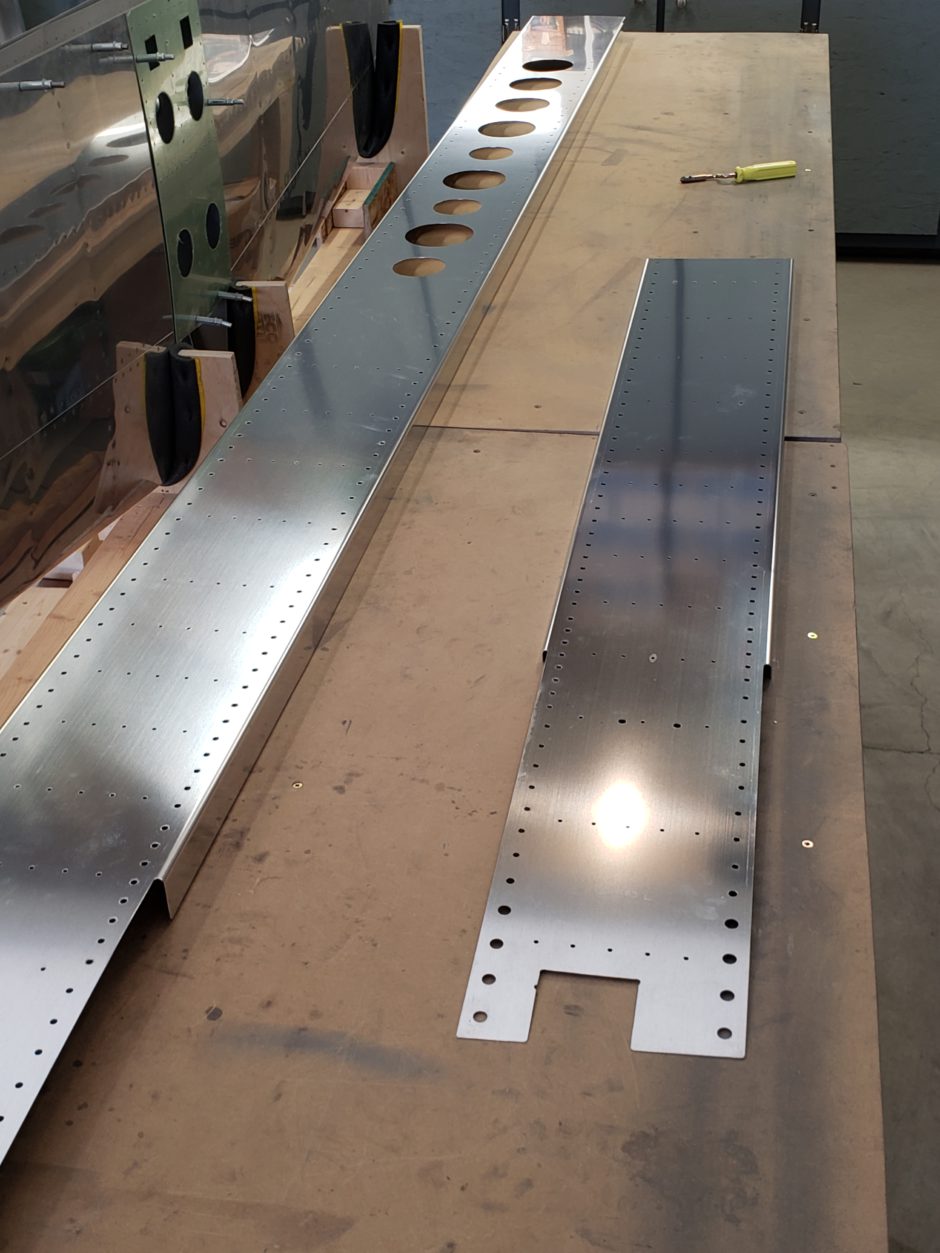
The image below is while I was still deburring all the holes and prior to roughing up the nice shiney surface.
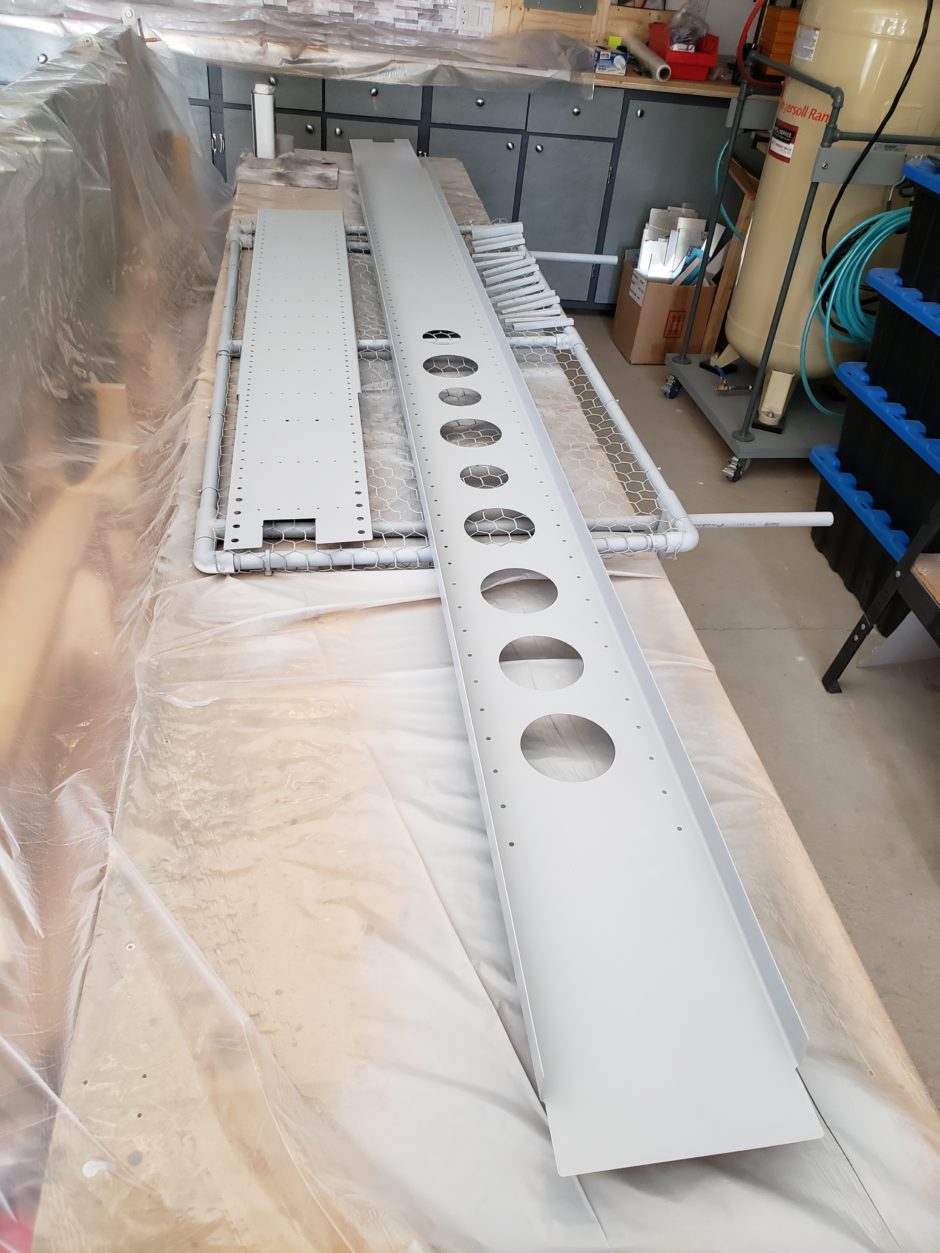
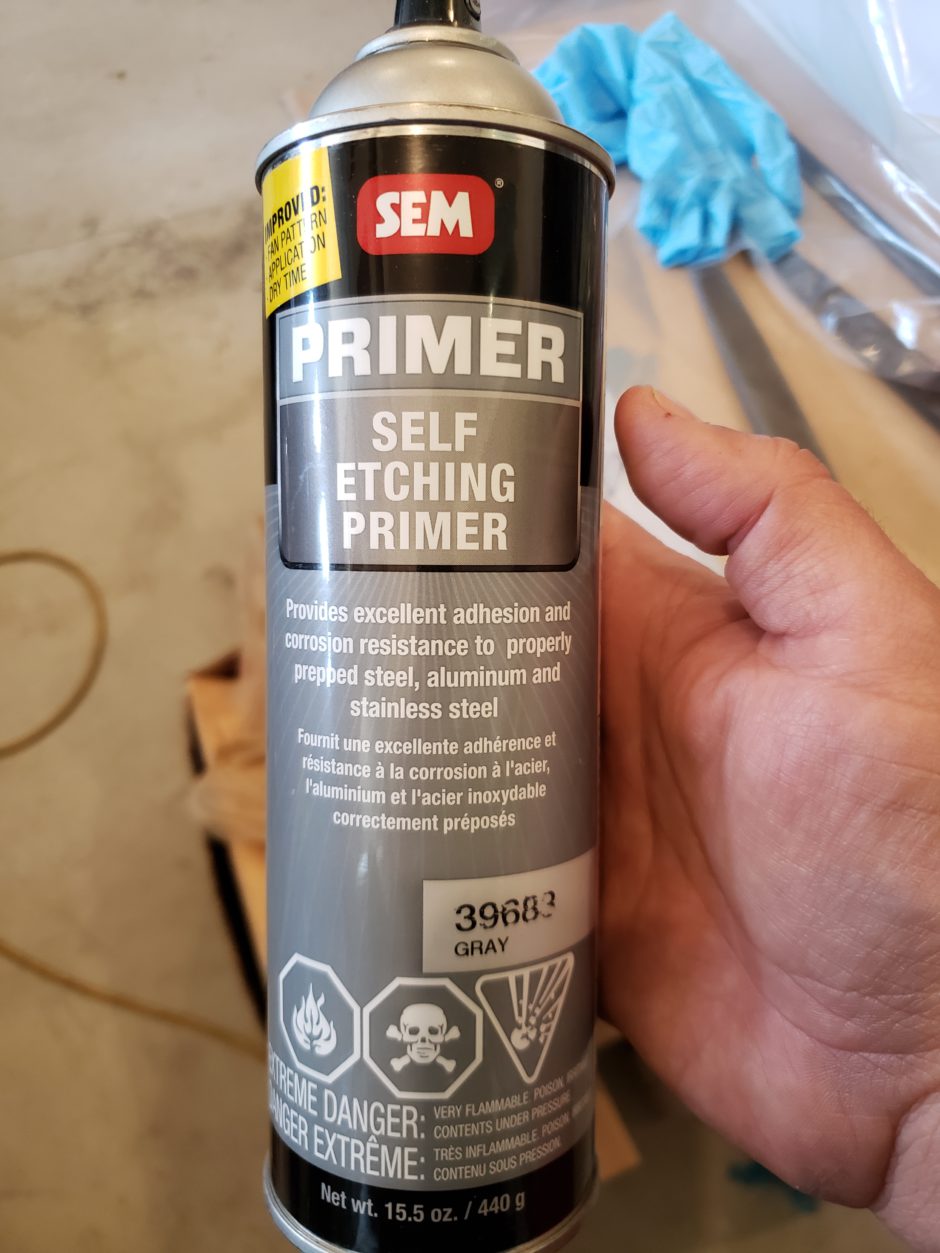
The primer I’ve been using lately is the SEM self etching primer (P/N 39683) because I have not been able to find my usual primer which was the Sherwin Williams GBP 988 self etching primer, at any local supplier.
As always, please comment. I love to hear from my readers. Thanks again for coming along for this ride, you make my work worthwhile.
Leave a Reply