Today I’m progressing with the assembly of the left wing. In my last post I provided lots of details about the wing assembly, and riveting of the internal structure. As my post today is just more of the same, so I’m going to keep this post short.
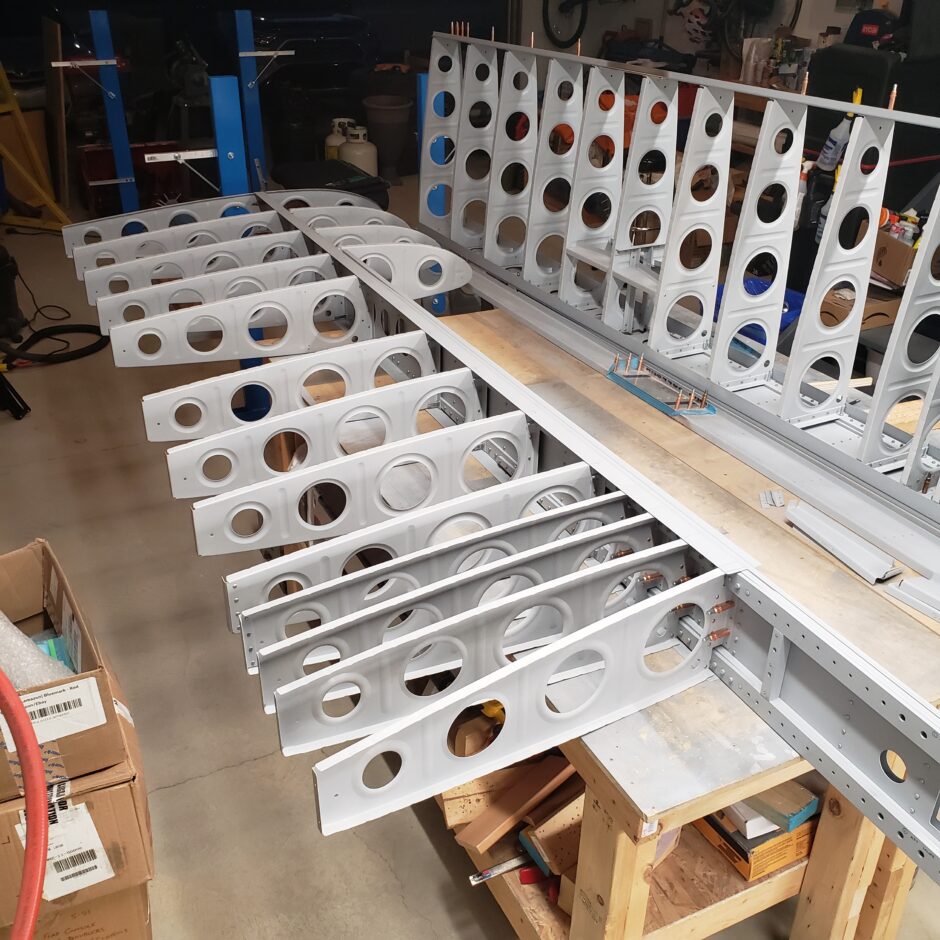
As you can see in the picture below, starting out with the wing assembly, is not much different than all these parts looked many months ago…just that their now primed! It sure is deceiving at how much work has been accomplished between then and now.

It doesn’t take too long before the wing starts taking shape. Maybe about 15 or 20 minutes. I’m quite familiar with this process now.

It sure is nice seeing 2 wings assembled on the work bench. Can’t wait to get these into the jigs and to move beyond the skeleton assembly.

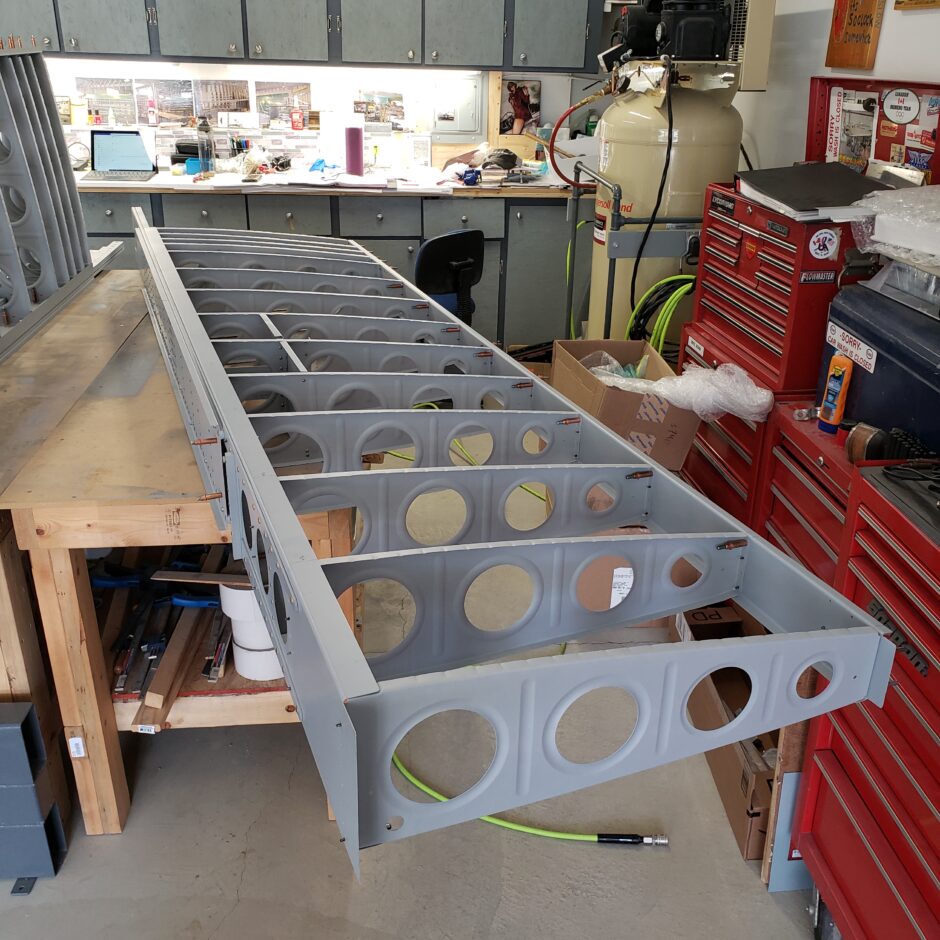
Here is the left wing assembled, with the aileron bellcrank side-supports riveted in place.
I should also add a note here about the rear wing spar. At this stage in the RV-4 wing assembly instructions, it talks about riveting the rear spar to the wing ribs. I contemplated this for a long time and came to the conclusion that I’m going to leave it for now. I don’t see how riveting the rear spar at this time is a benefit. Partly because…if you read later in the wing assembly instructions, in the wing skinning notes, it talks about leaving the inboard 5 ribs out (or able to come out) because it makes it easier to rivet the skin in the wing root area. Then as you progress, you can add one rib at a time, until you work your way to the root. Had I riveted the rear spar at this point, like the plans say, I’d have created more difficult riveting situation later down the road.
Another reason for leaving it at this time is with the midspan flap/aileron hinge doubler area. I still need to locate these hinges, and to also drill a hole through the rear spar (and doubler) for the aileron pushrod to go through. I’d like to be able to take all these part apart after drilling so I can deburr, edge dress and clean the parts up rather than trying to do all that work when the rear spar and doubler are riveted together.

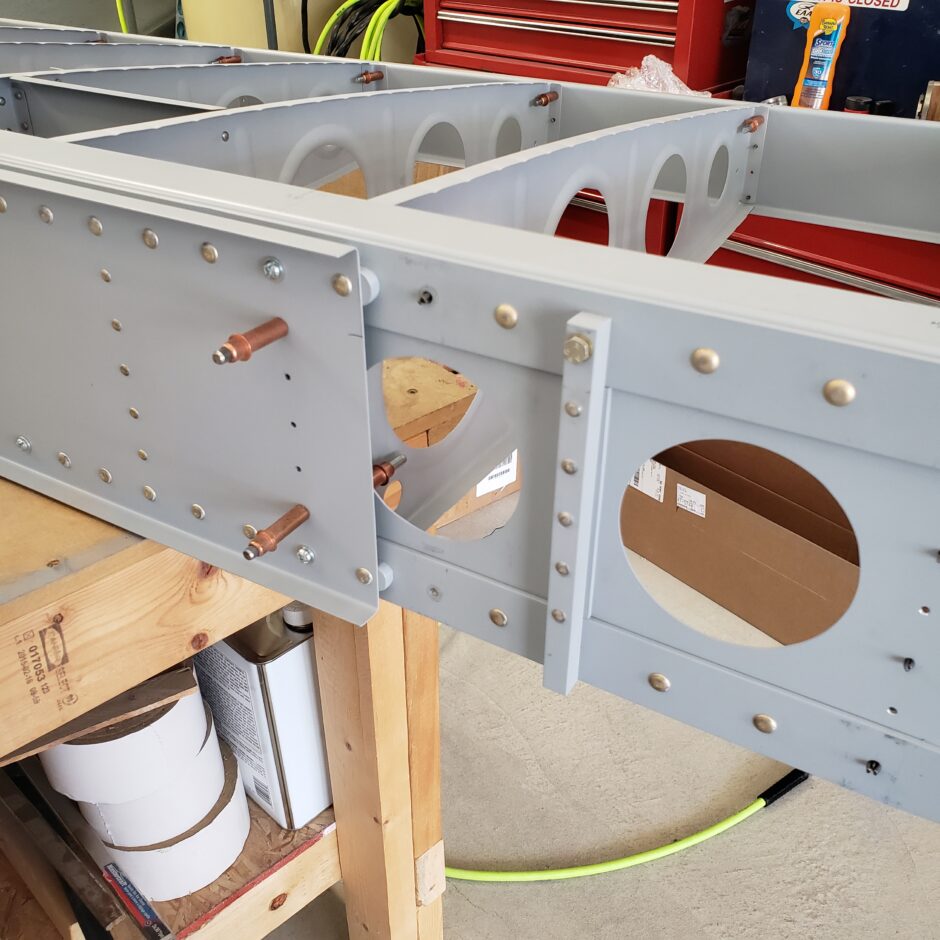
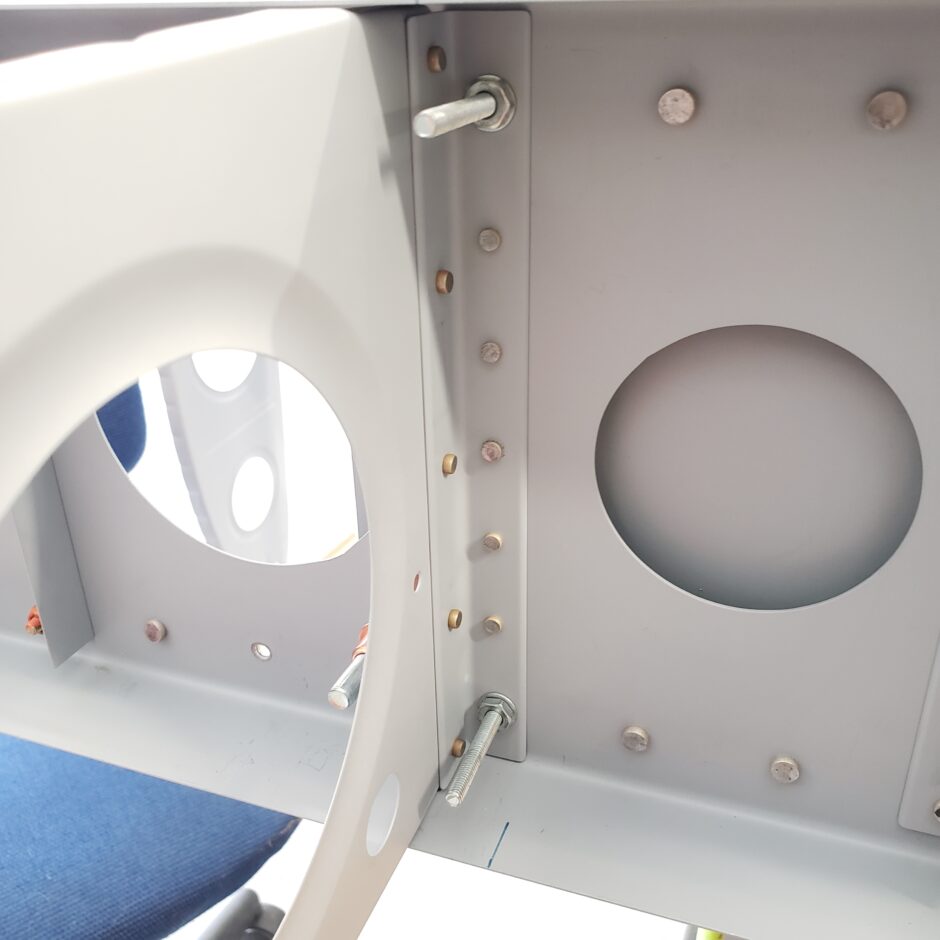
Another area that needed to be riveted on both wings was this last spar web spacer. I left this until now because these rivets also attach the #11 rib. I feel that now is a good time to action this item, as I don’t see any need for this rib to come off anymore. Even though this rib is now riveted to the spar, I’ll add the bolts later when I do the same for all the other ribs.

Here’s a picture of the aft side with the rivets installed.

That’s all for today folks! Please comment. I love to hear from my readers. Thanks again for coming along for this ride, you make my work worthwhile.
Good day!
Leave a Reply