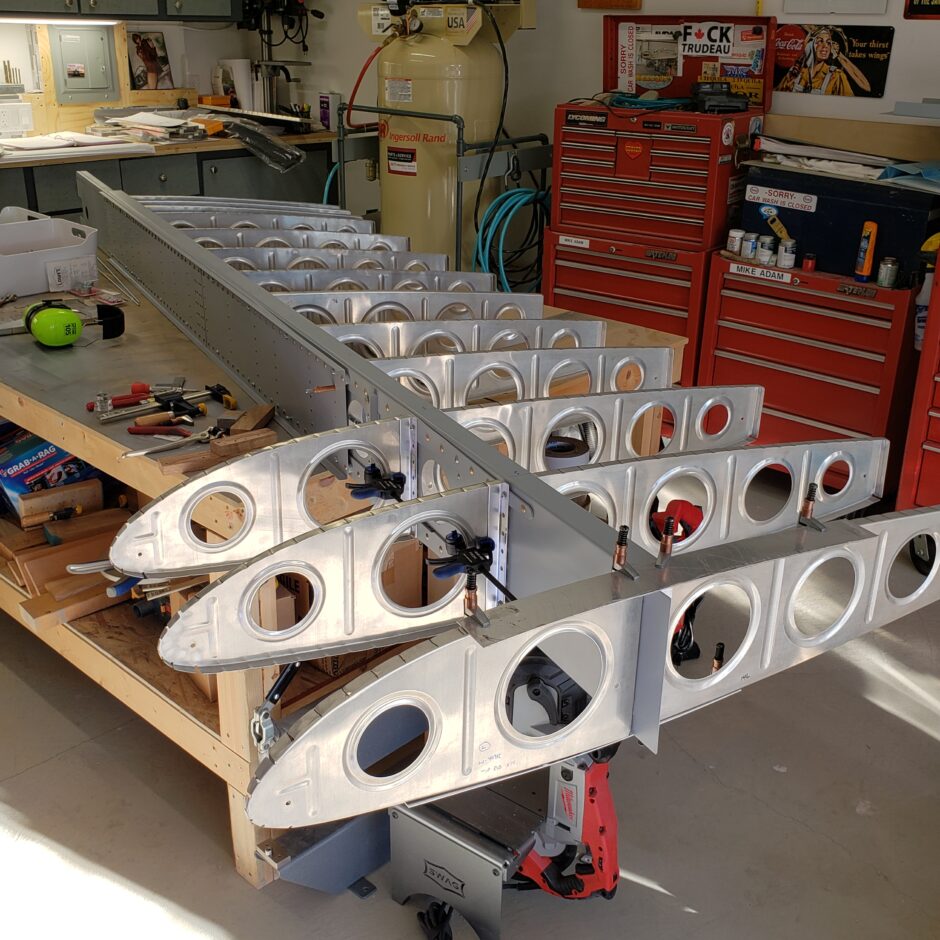
Carrying on with building up the left wing skeleton, today I am going to start working on placement of the outboard 3 ribs and their associated nose ribs. Starting with the tip rib, I clamped some scrap strips of aluminum to the tip rib and nose rib to help hold them in place, and to clamp them to the spar. Working alone, I certainly don’t have enough hands to juggle this all. Working with a helper would have been great today, but my 2 helpers in the background aren’t of much help here as they sleep.
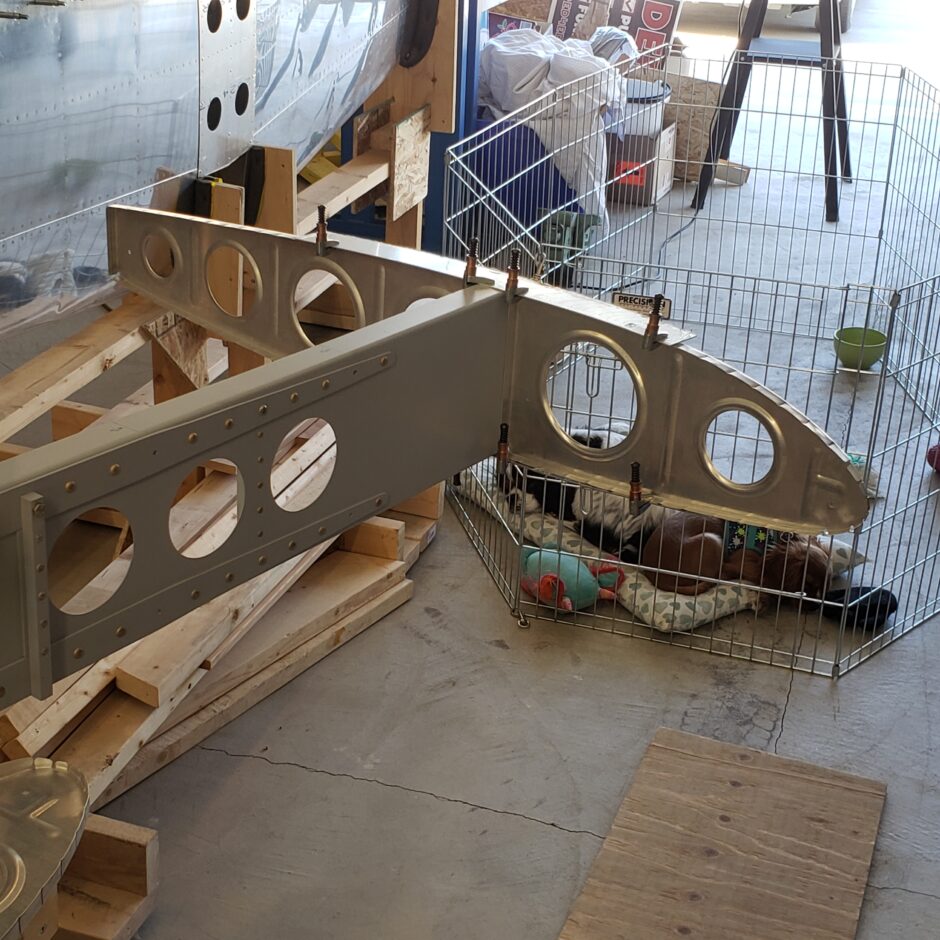
Here’s a shot from the other side.
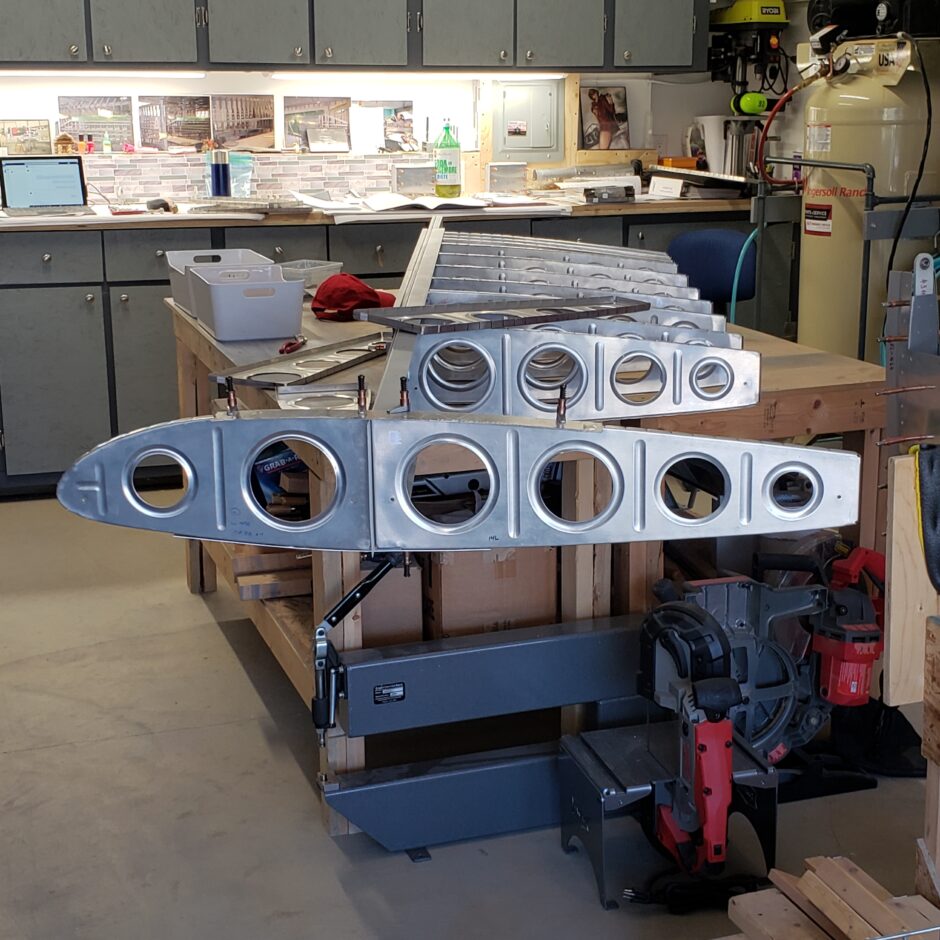
With the tip rib clamped in place, I’m stuck contemplating the best way to drill it accurately to the spar. So for now (not wanting to commit to drilling the tip rib) I’m going to move to the next rib inboard. Mental note here, this rib doesn’t have standard rivet hole spacing. As you can see in the picture, I screwed up a bit and didn’t account for the spar straps on the forward side of the spar. You need to make sure that the rivets clear the spar straps (top and bottom on the forward side of the spar) and that your are drilling bolt holes for the rib inline with the main spar rivets. Because of this, I had to tighten up my spacing on the mid-flange rivets.
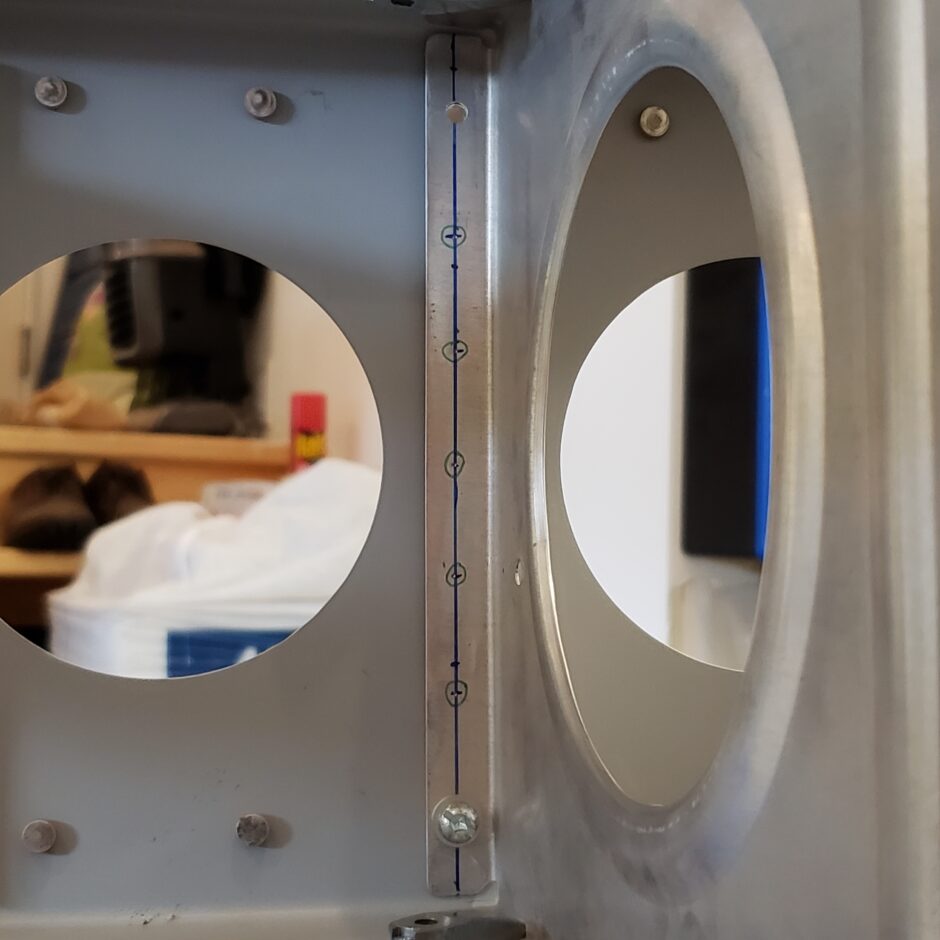
With the #12 and 13 main ribs drilled to the spar, the next step was to match drill the rib forward flange to the angle that attaches the nose ribs to the forward side of the spar. I started with using a -6 cleco to hold the angle in place on the forward side of the ribs, as shown below.

The picture below shows the rib and angle from the other side. This was the most accurate way I could find to match drill these parts. You can also notice the red centerline on the angle is visible through the pre-drilled holes of the rib flange.

Also note how the nose rib angles for the #12 and 13 ribs are drilled with larger diameter holes. This is because the main rib, forward flanges are riveted only to the spar web. These rivets don’t penetrate the nose rib angles, and as such, the nose rib angles have the large diameter to provide clearance for the pulled rivet heads/tails.
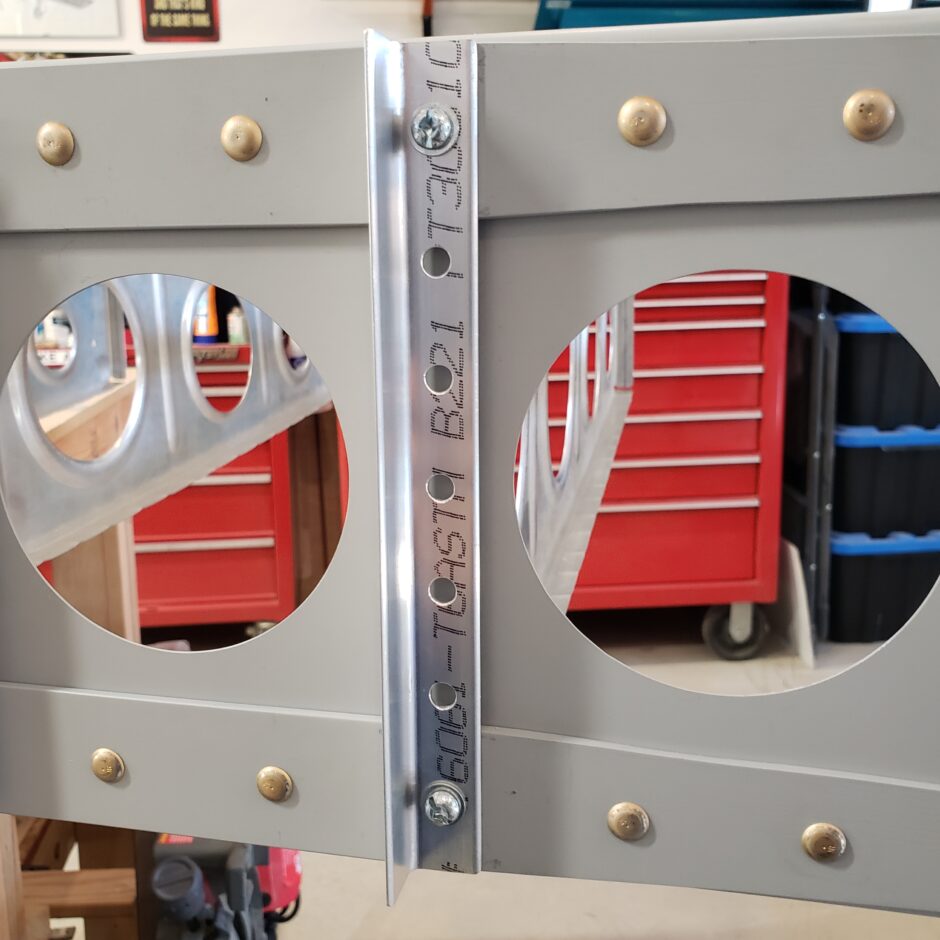
In the picture below, I’m showing the #12 nose rib. The significance of this picture is that this rib is normally positioned to be riveted directly to the spar flange. However due to the Sport Wing modified rib spacing, this rib now will be mounted by an angle, and the angle is sitting on top of the spar straps on the forward side of the spar. As you can see this adds 0.125 of space to the rib, which will make it sit 1/8-inch too far forward.
The solution to this, cut off the nose rib, aft side flange, as it is going to be attached by the angle anyway.

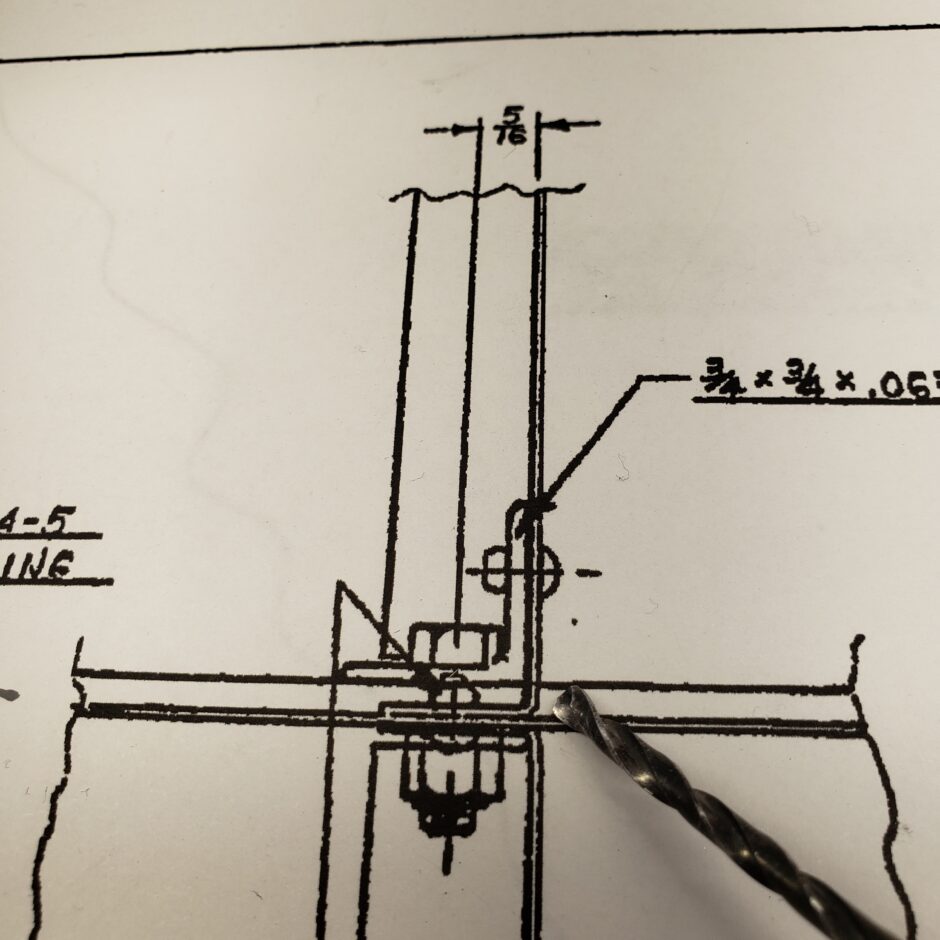
Further to the description above, in the image below, I’ve shown the RV-4 plans that show this detail. You can see that the original location of this rib is that it is mounted directly to the spar face. Again, this is different with the Sport Wing mod as the wing is shorter and the ribs are moved closer together. In this drawing, you can see the main section of the rib aft of the spar is fastened with the aluminum angle. The difference on the Sport Wing is that the nose rib will also be attached by use of the angle. So this is an example of where you really need to study the drawings and what you are actually building to understand how it will all come together.
In the image below, you can see the left nose rib with the flange removed, and the original rib on the right side before trimming.

With the flange removed, now I’m able to get the rib in place, and clamped.

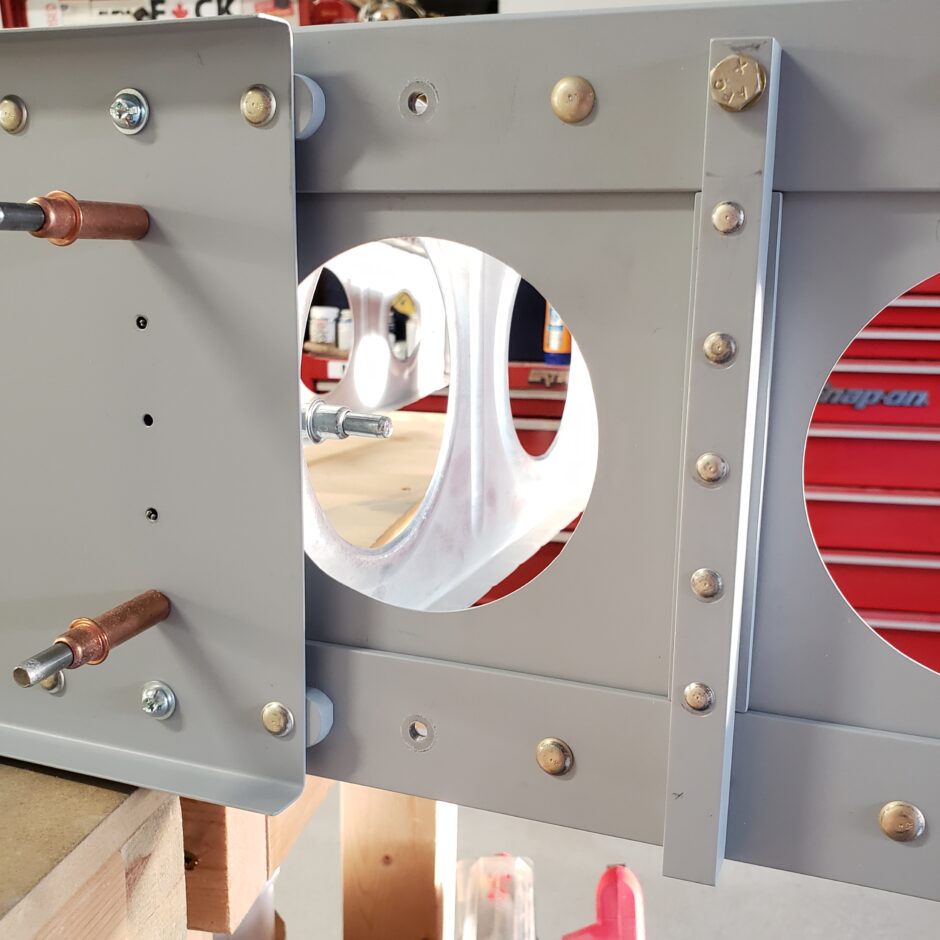
The end rib and the #12 and 13 ribs are now clamped in place. I still have one more rib to locate just outboard of the fuel tank doubler. If you look really closely in the picture below, I didn’t think of this when I was installing the main spar -6 rivets. So I need to drill out a couple rivets where the attach angle will be bolted to the spar.
Here is a closer picture of the rib location and the rivets that I had to drill out. That’s enough work for today. In my next build session I’ll continue on with this rib.
Please comment. I love to hear from my readers. Thanks again for coming along for this ride, you make my work worthwhile.
Leave a Reply