Today I’m continuing with the installation of the left wing nose ribs. This began with locating and drilling the rib attach angle to the spar as shown below for the W-4081-L rib.
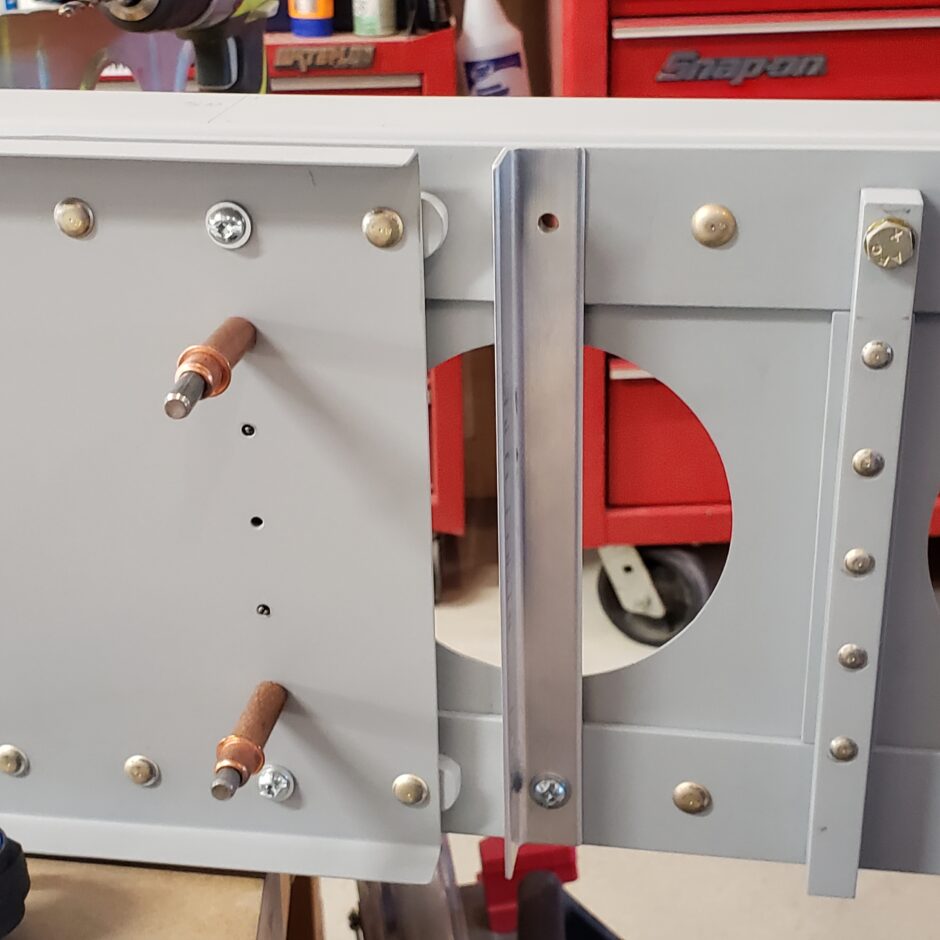
In the picture below, I temporarily have the rib set in place. I’ll have to come back later to trim the flange so it can sit tighter against the angle.

Tip rib installation
My next task is to get the tip rib match drilled together, and to the spar.
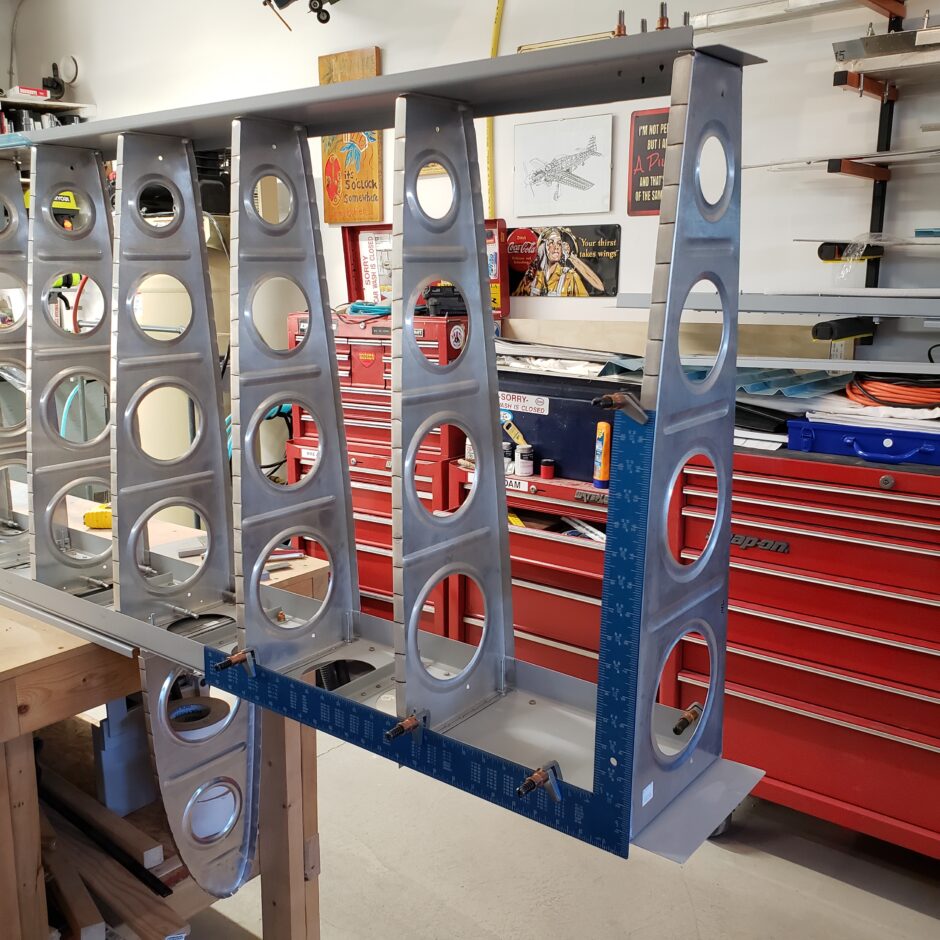
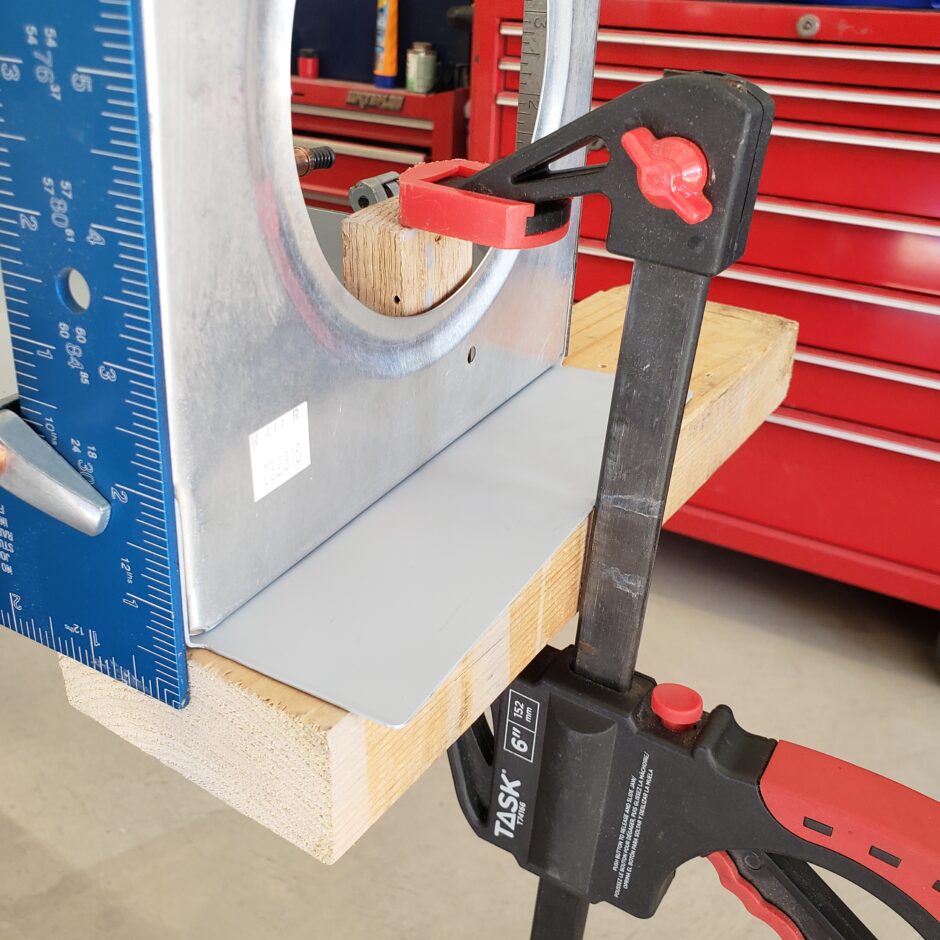
I started by using a square to help me get the tip rib located on the main spar as well as to help get it set to 90 degrees. Putting the rear spar in place also helped in being able to hold the tip rib from flopping around too much.
It’s also a bit tricky to get the rib perpendicular because the spar is still long out the end for jigging. That’s where I found the square to be helpful.
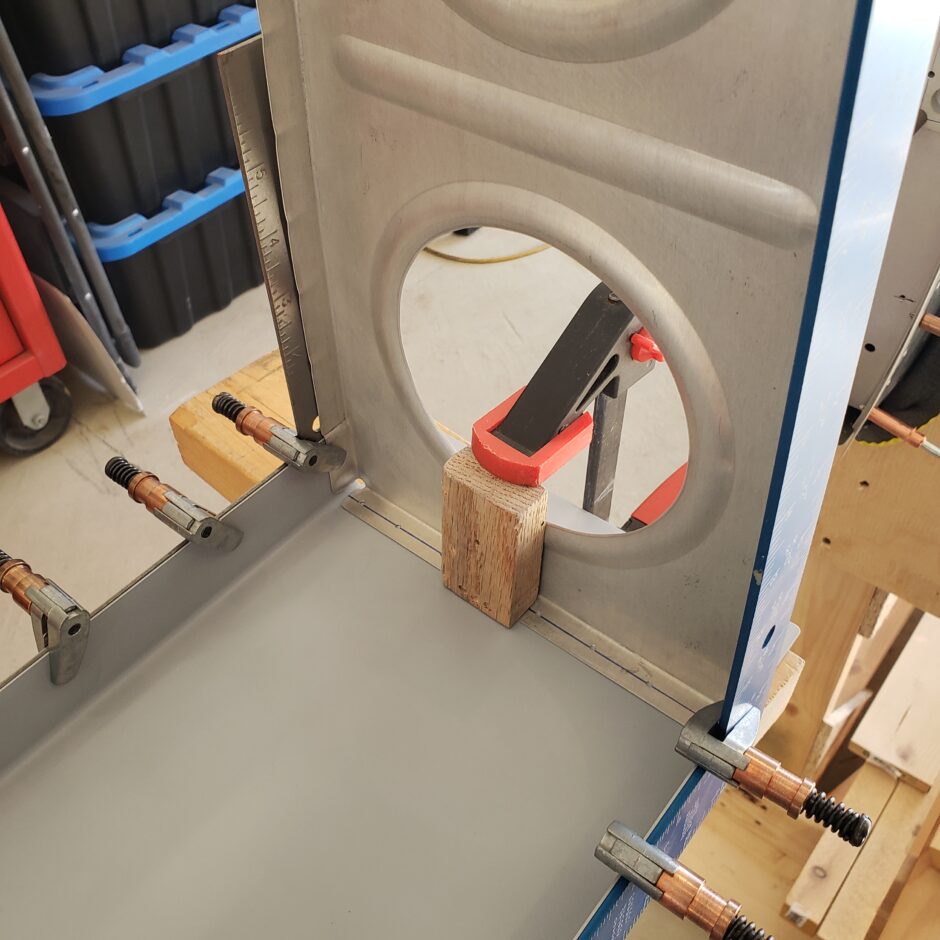
I also used a clamp and a scrap block of wood to help hold down the rib flange before I started to drill.
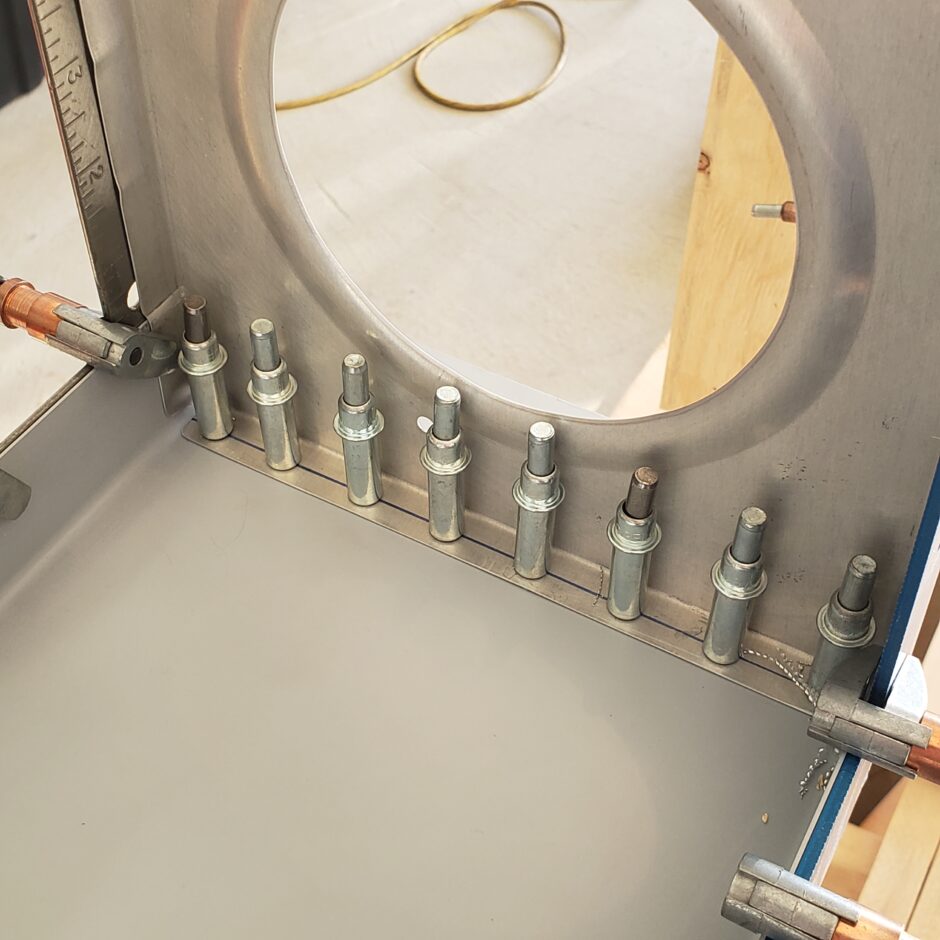
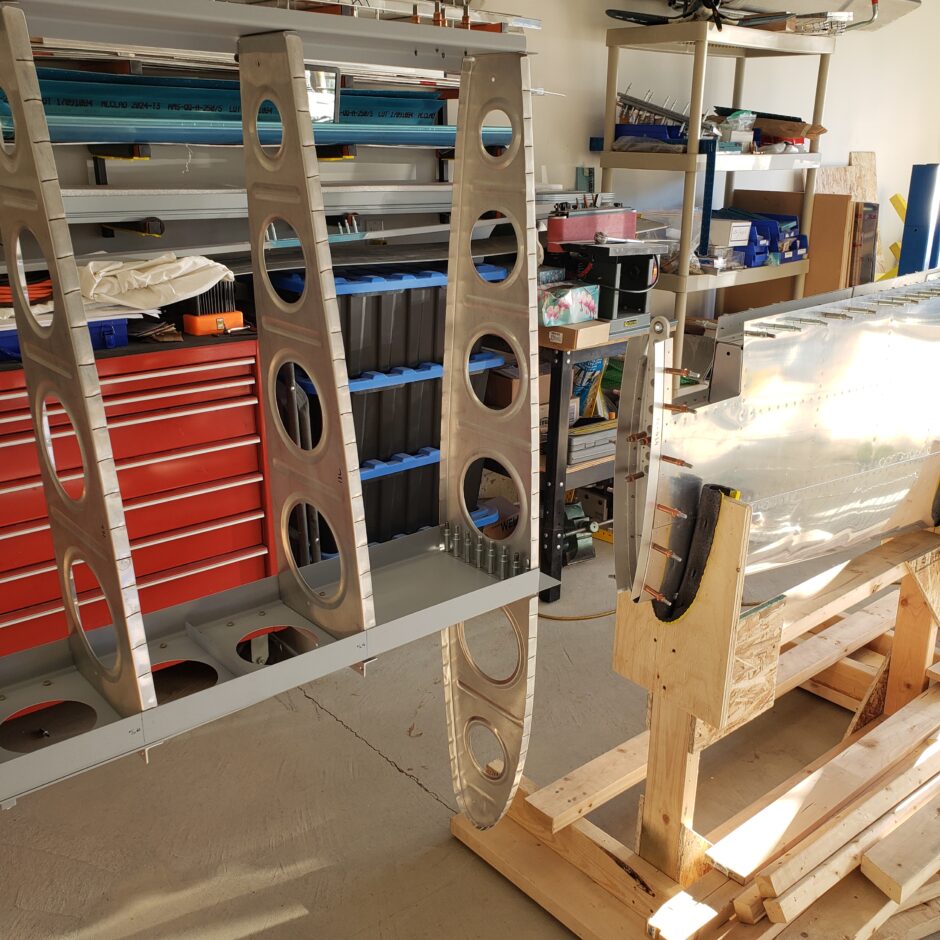
The next picture shows the tip rib pilot drilled to the spar.
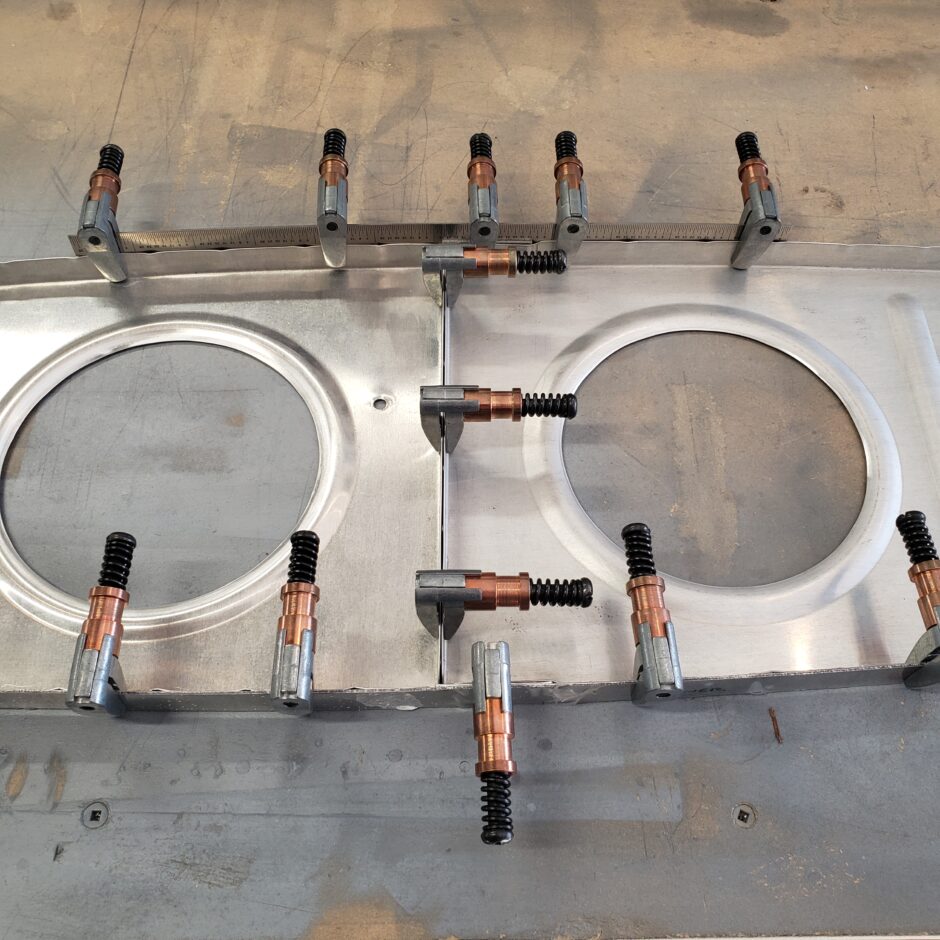
The next task was to get the tip nose rib match drilled to the main rib. I couldn’t find an easy way to do this while keeping the main rib attached to the spar. So I thought that by clamping the nose and main rib together with some scrap strips to act as the wing skin, I should be able to get the ribs drilled pretty accurately to each other. Also, since the main rib has already been drilled to the spar, the nose rib should also fit exactly where it needs to go.

Here’s a closer shot of how I clamped this all together. One thing to note is where the upper and lower spar flanges go, I added some scrap filler pieces to fill the gap.
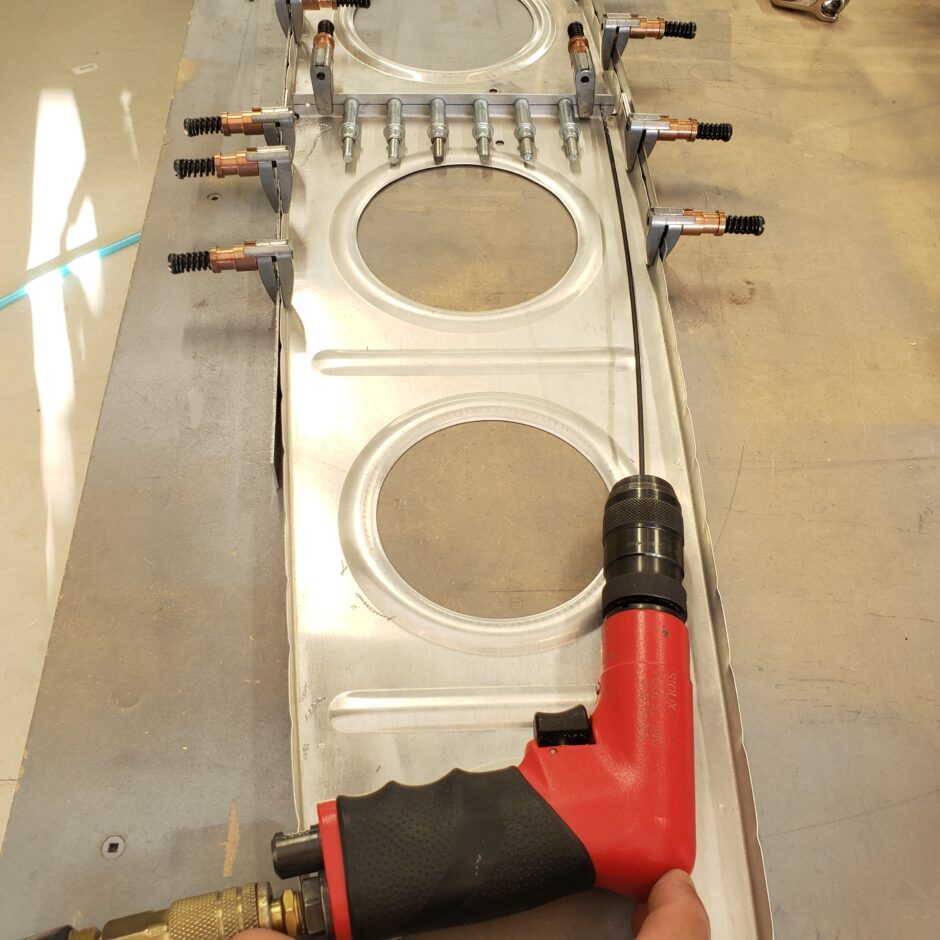
To match drill the ribs together I used a long drill bit. This worked well as I was able to slightly bend the bit to clear the rib flanges.
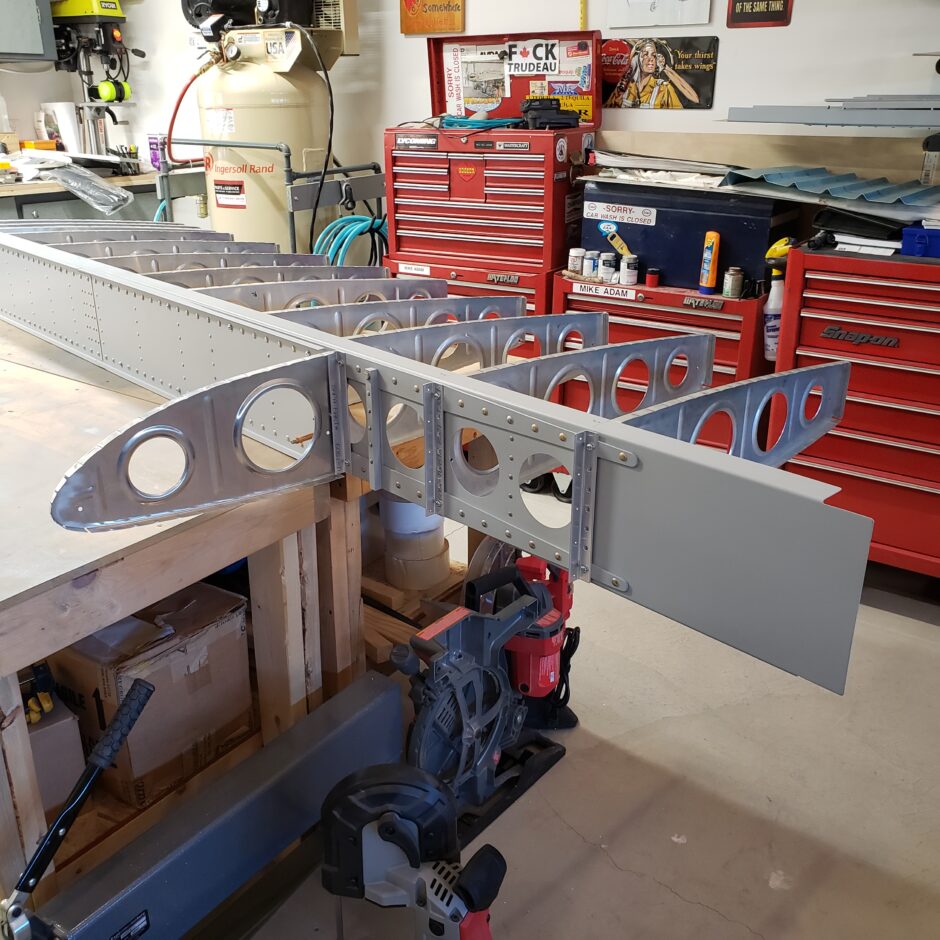
Yay! Look at this beauty!

And in the end the tip ribs mated up perfectly. This process worked really well for me.
Please comment. I love to hear from my readers. Thanks again for coming along for this ride, you make my work worthwhile.
Leave a Reply