After having deciphered the Sport Wing rib spacing it is now time to start drilling the wing attach fitting.

Before we get to the drilling, I just want to add that the rib spacing dimension that I determined in my last post actually worked out really well. Again, when reviewing the HRII plans, the location of the ribs in relation to the W-407B and W-407C spar flanges left a bit to be desired. I’ll try to explain using the image below.
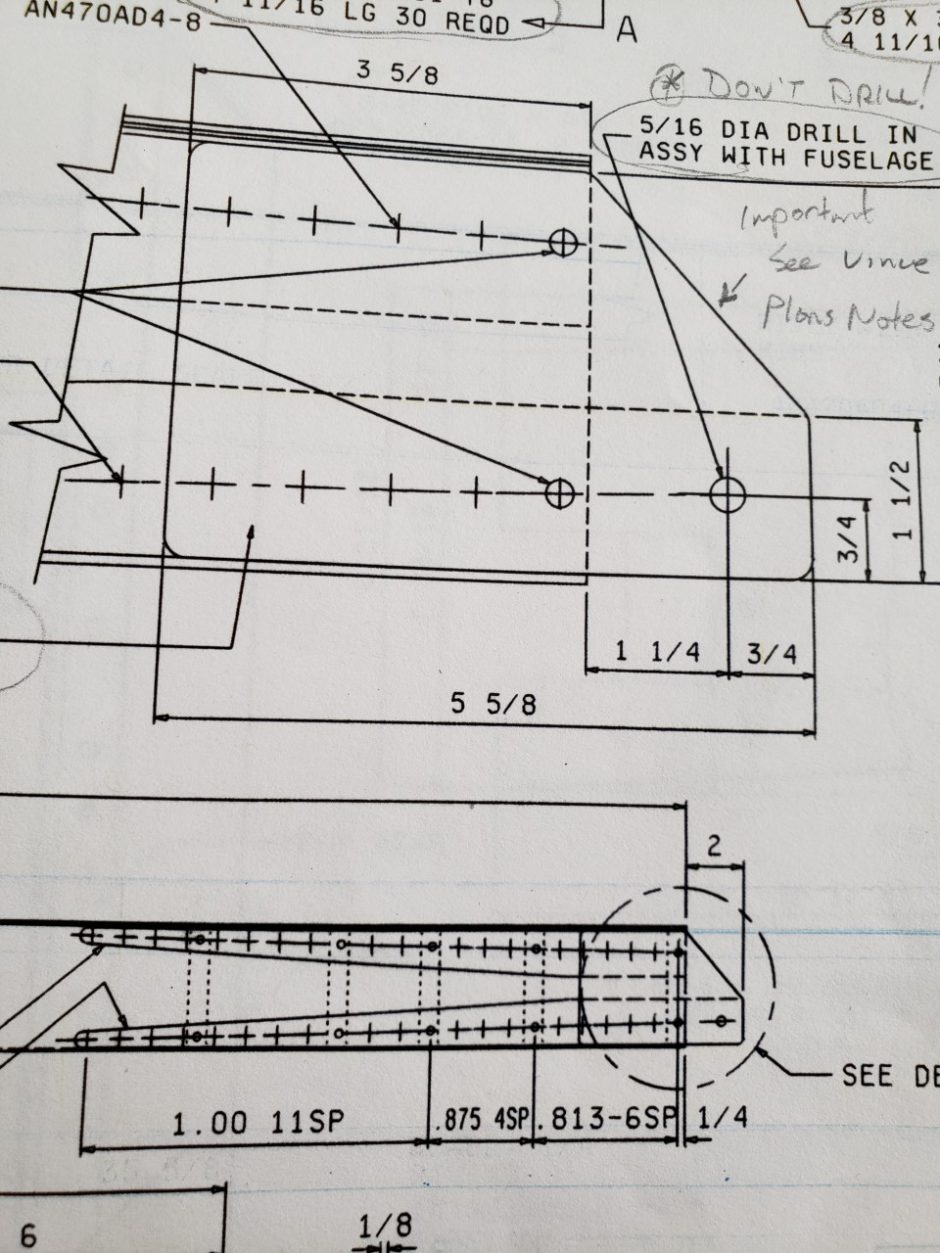
When looking at the lower part of the image, focus on the overall detail for the rivet spacing and rib locations. The rib locations are identified by the dots and the rivet locations are identified by the (+) symbols.
The easiest way to figure out the spacing for me is to go by counting hole numbers. Both upper and lower flanges have a total of 22 holes, with Rib 1 being located at the inner most hole, which I’ll call Hole # 1.
Rib 2 located at Hole # 7, Rib 3 – # 11, Rib 4 – # 14 and Rib 5 – # 18.
When you look at the drawing above, it shows that Rib 5 is located partway between hole # 18 and hole # 19. Doing this creates all kinds of edge distance issues. This method (including the hole for Rib 5) would give you a total of 23 holes.
What I ended up doing, was making a total of 22 holes, and my Rib 5 is located at hole # 18. No edge distance issues.
Wing Attach Flange Drilling
Now that the rib spacing has been sorted out along the rear wing spar, it’s time to get the W-407B, W-407C and W-407D flanges and doubler plate ready for drilling.
Again, here is another area of the instructions that provided very little guidance for an area that I feel is rather critical to get right. The Van’s RV-4 builder instructions simply state “Clamp the spar flange strips and doubler to the W-407A spar channel and finish the drilling.”
I didn’t feel that just clamping all these parts to the spar channel would provide me with the accuracy that I want. The approach that I chose to take was to build the flange plates as an assembly first, then get the assembly located on the spar channel, and then to finally drill the assembly to the spar.
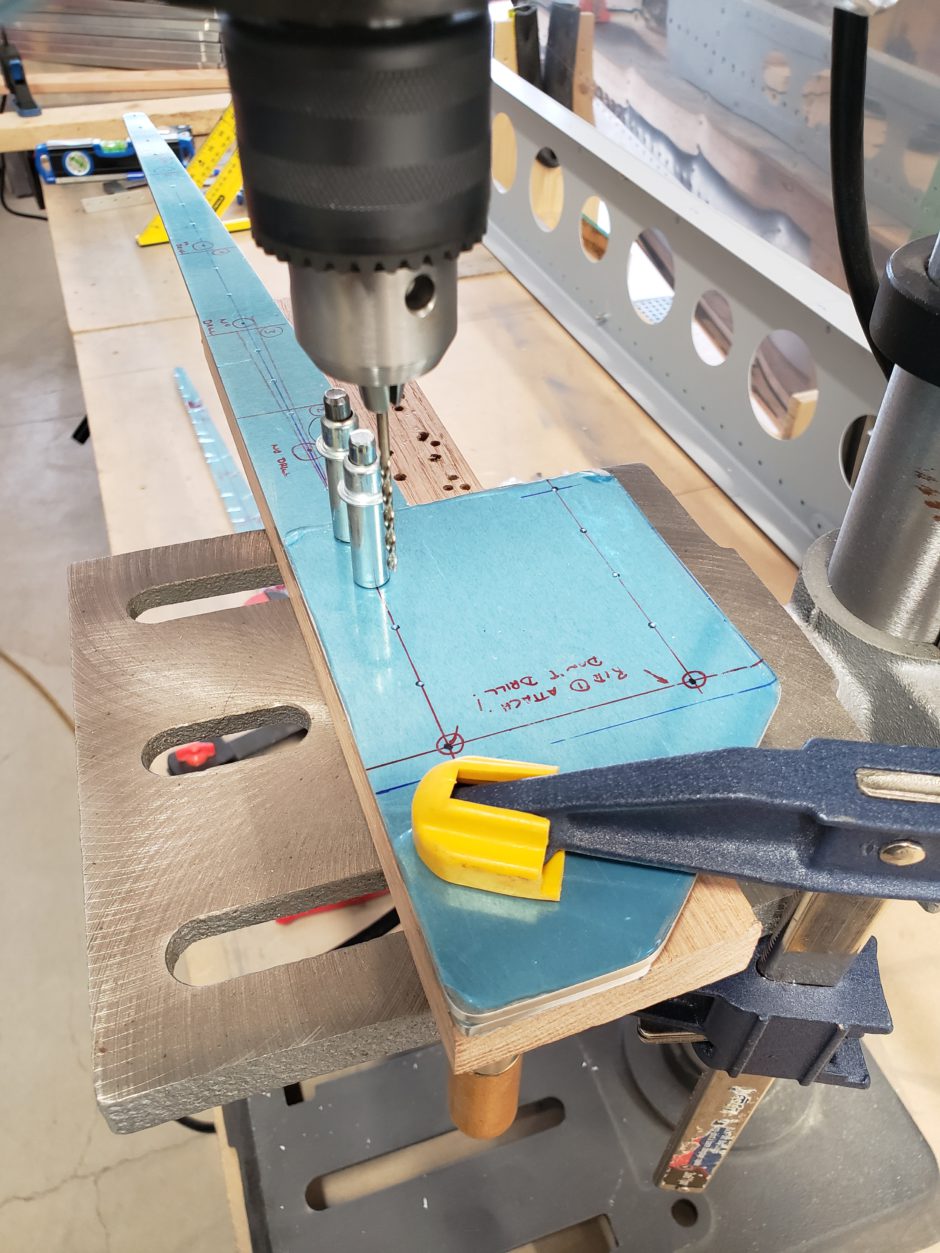
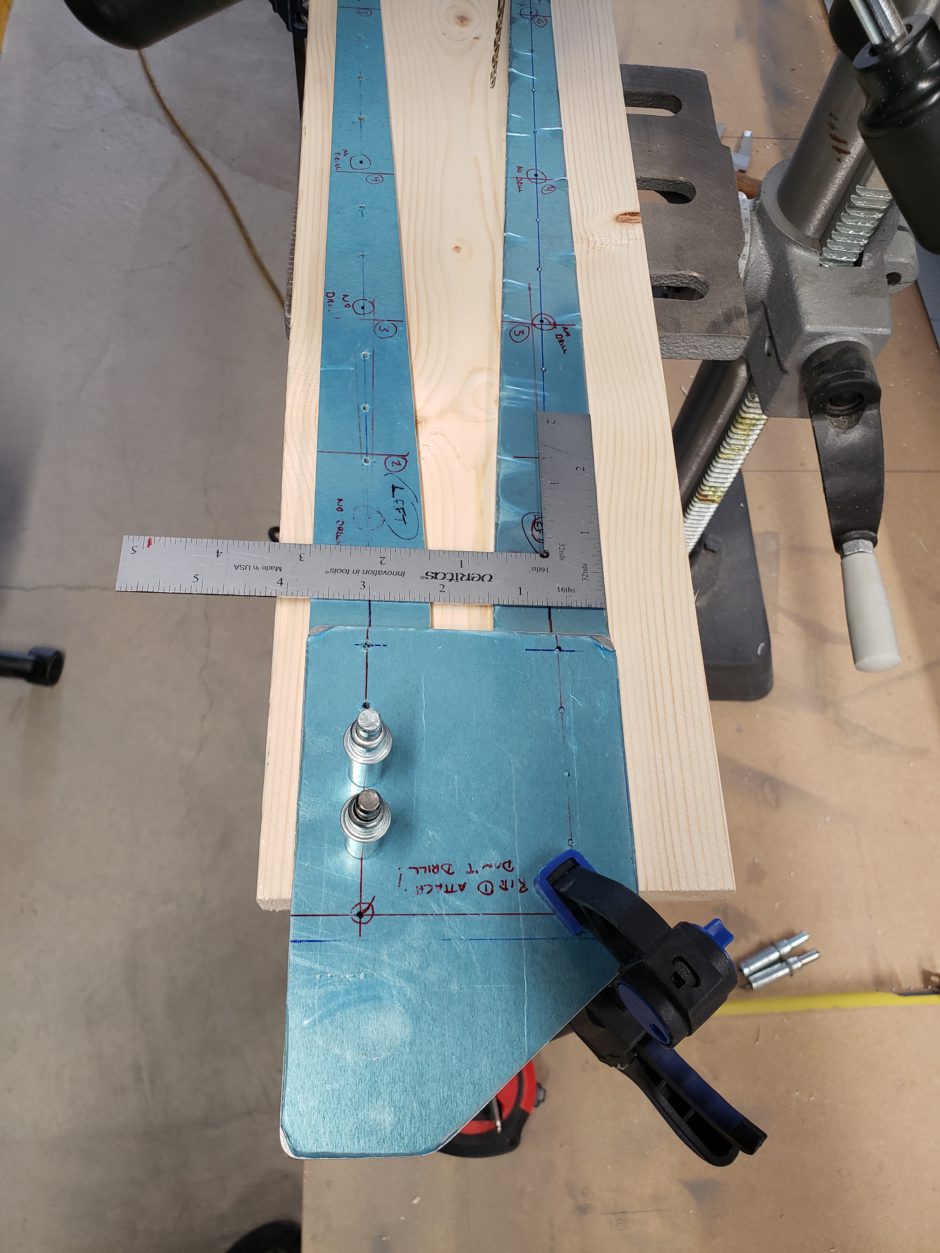
In the image below, you can see that I center punched all the rivet holes. At this time you leave the rib locations undrilled (so don’t center punch those locations!).
As the W-407B and W-407D parts align most critically, these are the parts I began to pilot drill. It is also important to note that both the W-407B and W-407C flange outer edges are parallel with an outside dimension of 3 3/4 inch.
After pilot drilling the W-407B and W-407D parts and held together with clecos, I then got the W-407C flange in place, ensuring the 3 3/4″ outside dimension. Once the location is set, I clamped it together and pilot drilled the W-407D doubler to the W-407C flange.
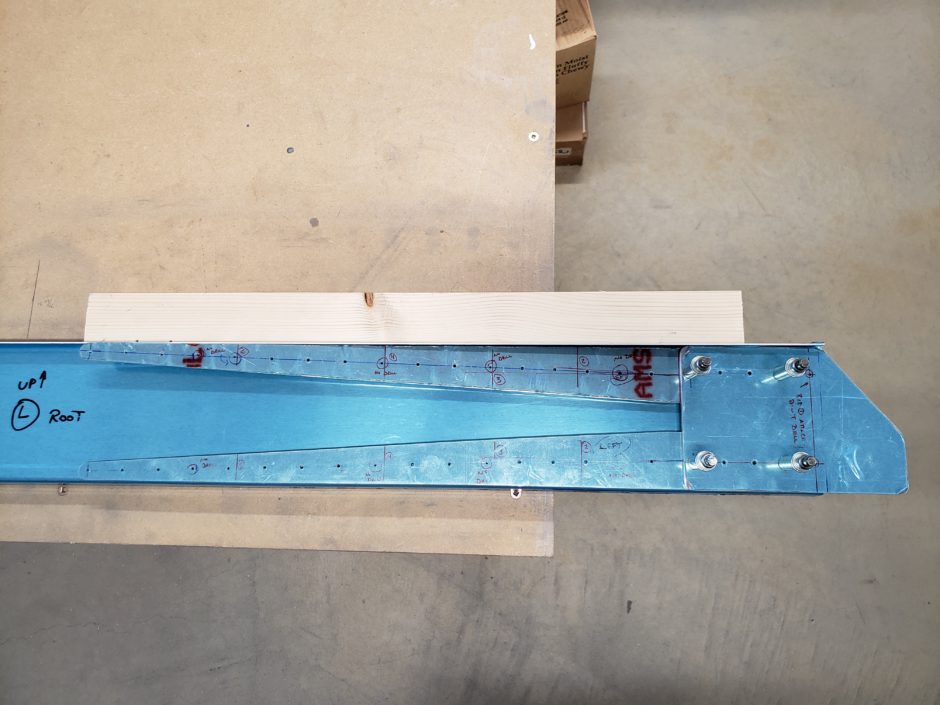
So now with the flanges and doubler clecoed as an assembly, I took it and placed it on the spar web and get it properly located, paying particular attention to having a 2 inch overhang of the W-407B flange, which is the flange that eventually attachs the rear wing spar to the fuselage.


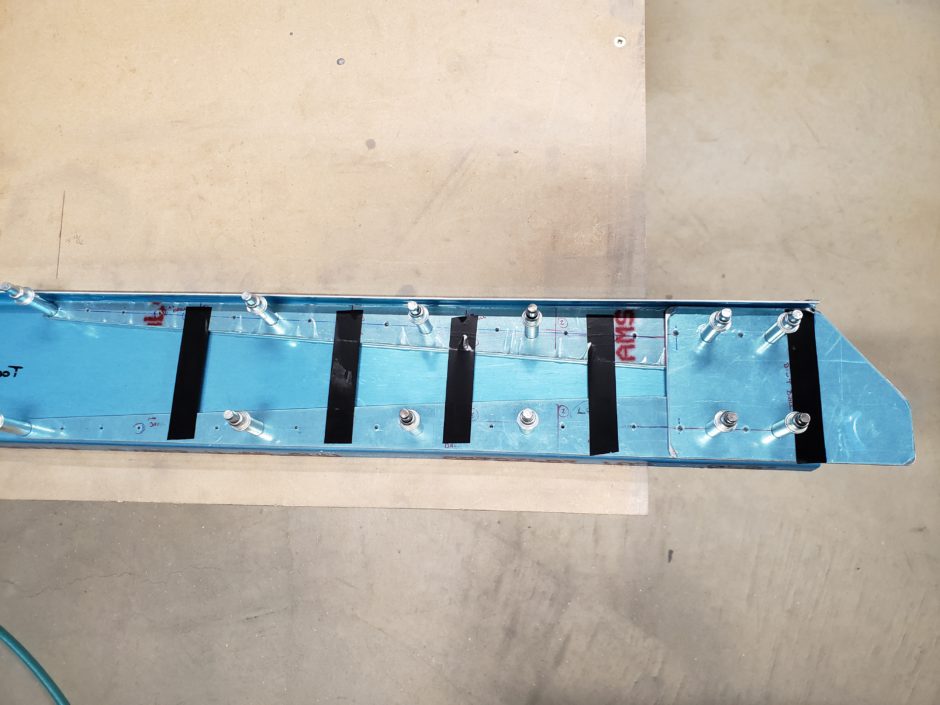
Once the flange assembly was located on the spar web, I took some electrical tape to identify all of the wing rib attach locations, as these don’t get drilled at this point. Then I proceeded to pilot drill all the rivet holes to the spar web.
Please comment. I love to hear from my readers. Thanks again for coming along for this ride, you make my work worthwhile.
Hi there!
As Always,… very very interesting an informative!
Thnx!
:O)
/Mats
Hi Mats, Thanks for your comment and for following my progress. I’m happy to hear my post is both interesting and informative. Glad I can help others out there.
Cheers,
Mike