I’m now ready to drill the rivet holes into the wing skin, so I can then proceed with match drilling the skin to the ribs. The problem when I get to the match drilling, is that this long-range tank is so big, I cannot reach inside to get the ribs in alignment to drill. So what I need to do is to drill an access panel into the rear tank baffle, one in each bay, so that I can access the rib for alignment to drill, and also when I get to the riveting.
As you can see in the picture below, I started by marking an ‘X’ in each bay to help determine the center. Then I marked where to locate each access panel hole.
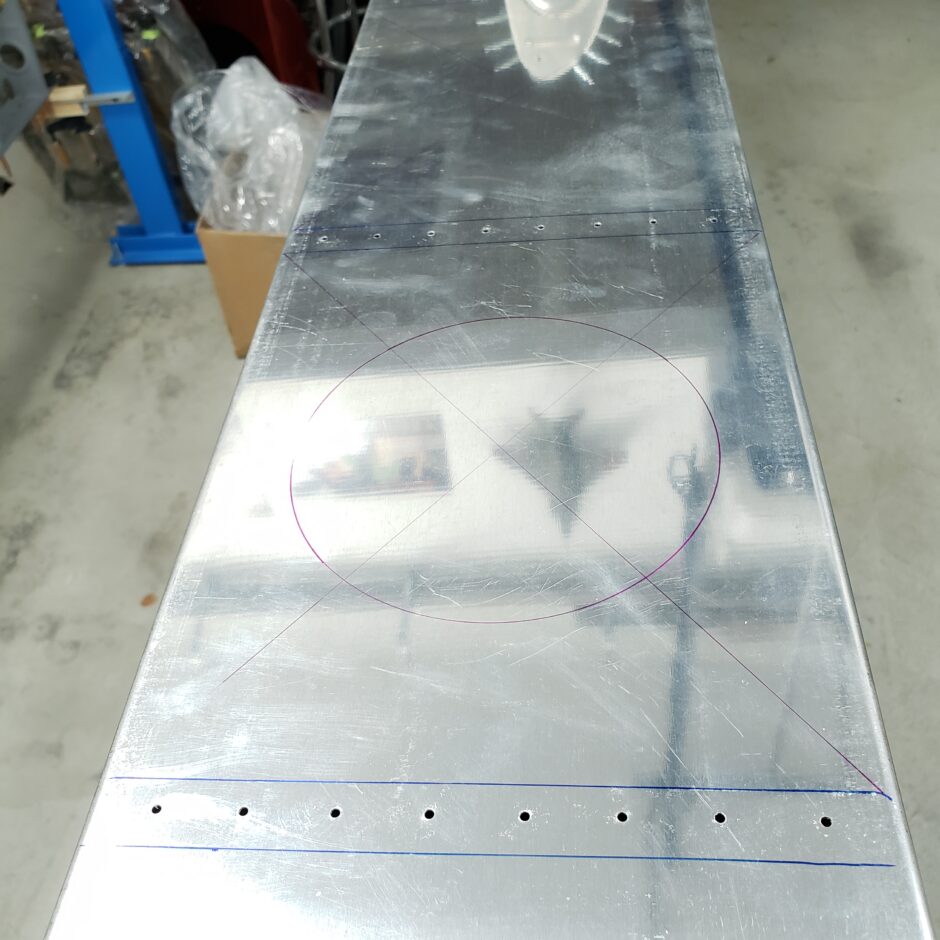
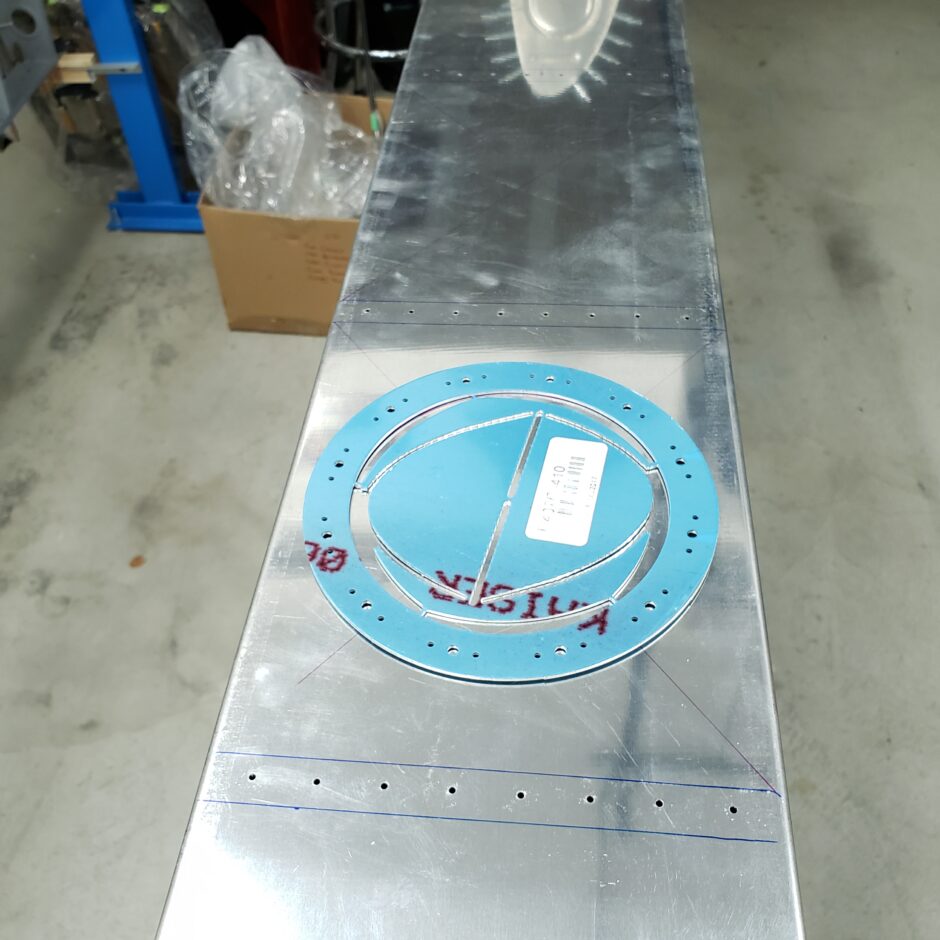
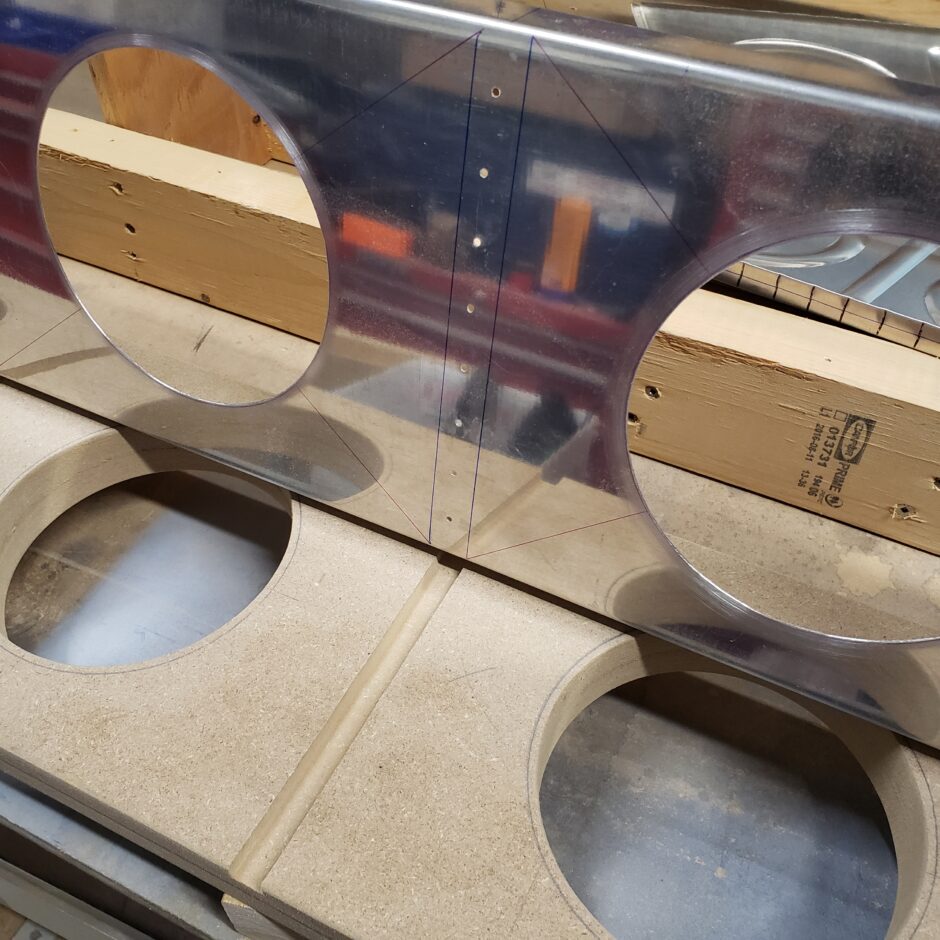
I’m using the Van’s fuel tank reinforcement ring (T-407) as my guide. This will keep the access panels consistent with the inboard rib access panel that is standard on the tanks.
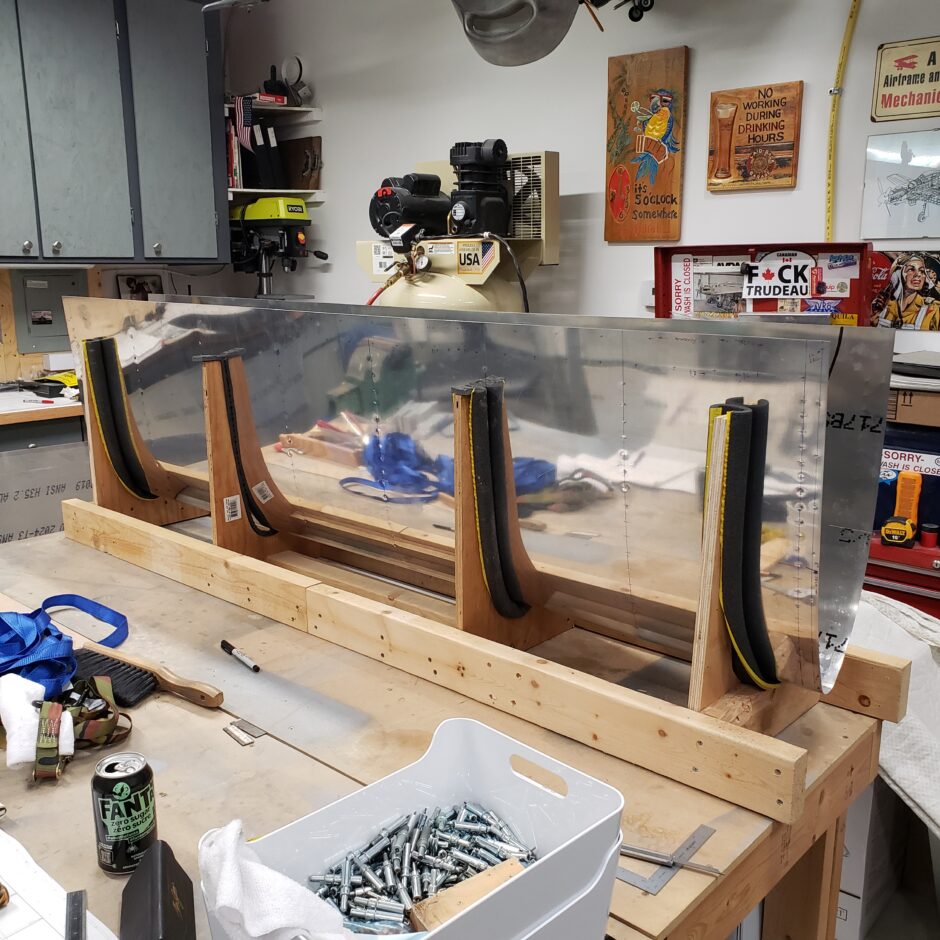
I’m also using a fuel tank stand that my buddy used when he built his RV-7A wings. I was happy to take it off his hands, however, again as these extended range tanks are so large, I needed to lengthen the stand. So in the picture below, the original stand is in the middle, and I added on to either end of it with some wood scraps I had in the shop.
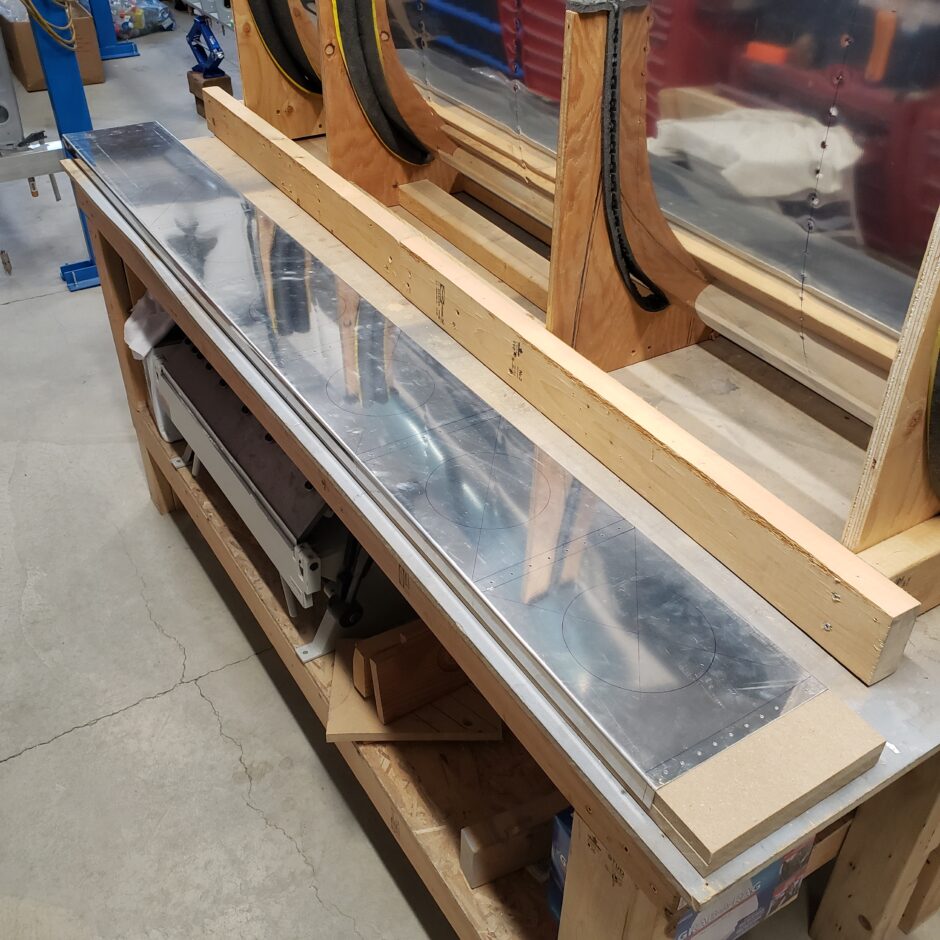
In the picture below, I cut some MDF strips to bit inside the tank baffle. This will be used to allow me to use the ratchet straps to put some force on the baffle to ensure that all the ribs are properly seated before I start to match drill the skin to the ribs.
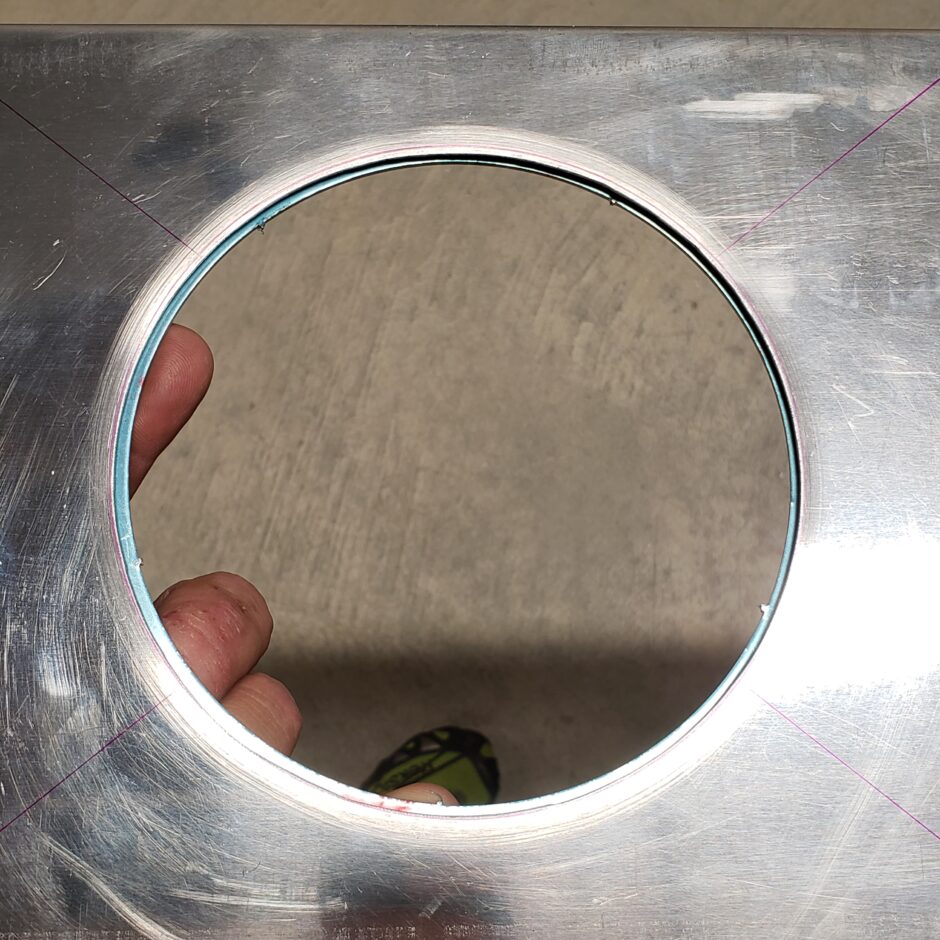
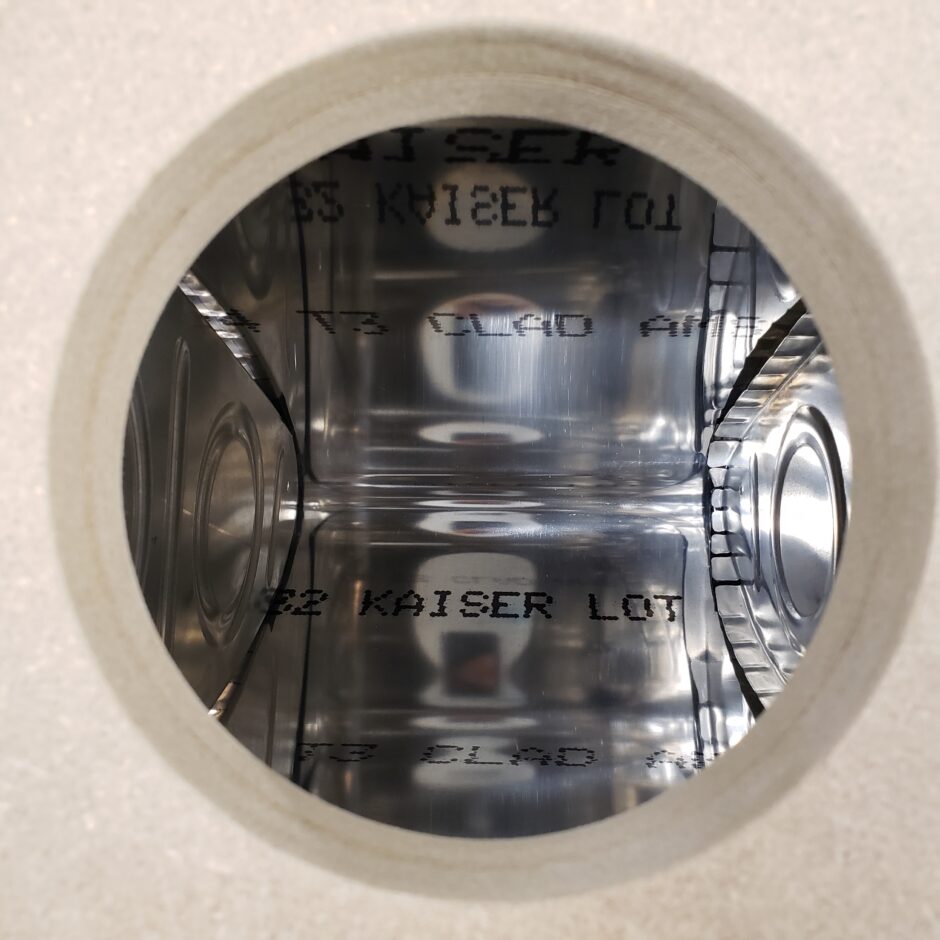
Next I needed to cut out all the baffle access panel holes. I size of these holes is 5-1/4 inch diameter. After cutting and filing the hole, I used the T-407 reinforcing plate to check that all was well.
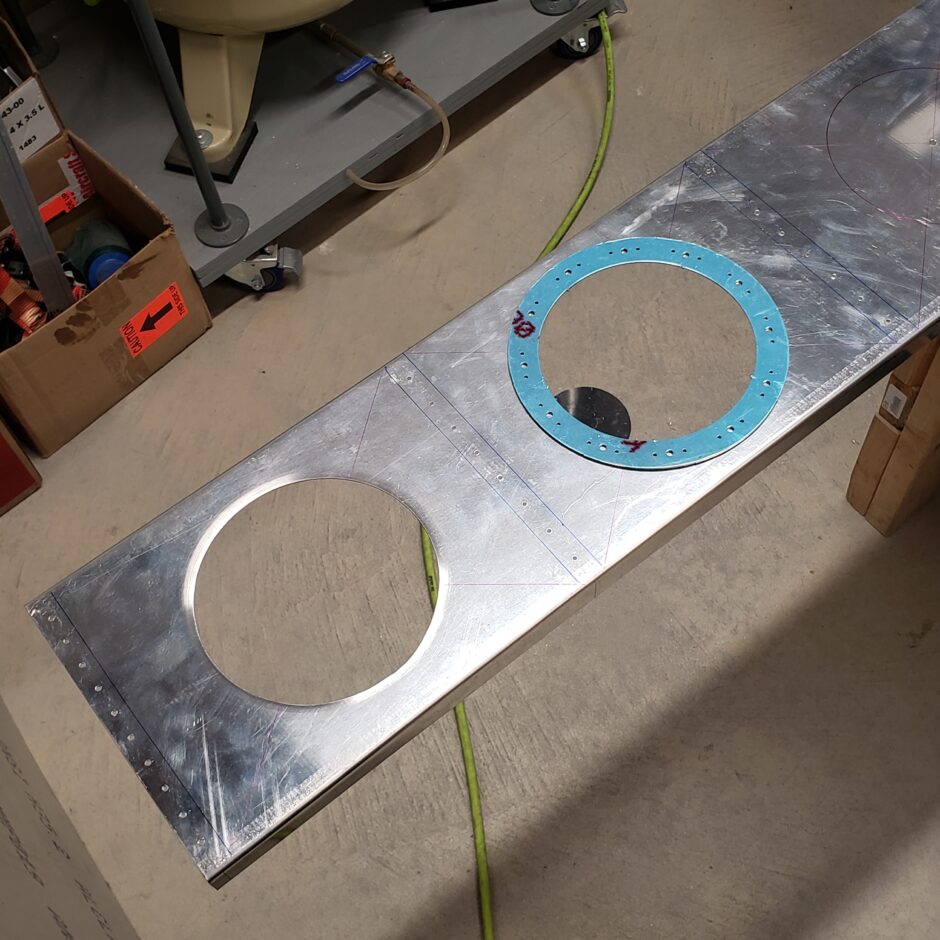
On this hole my hole cutter was slightly big. Not bad though, this will still work as intended and we’ll tweak the cutter a bit for the next hole.
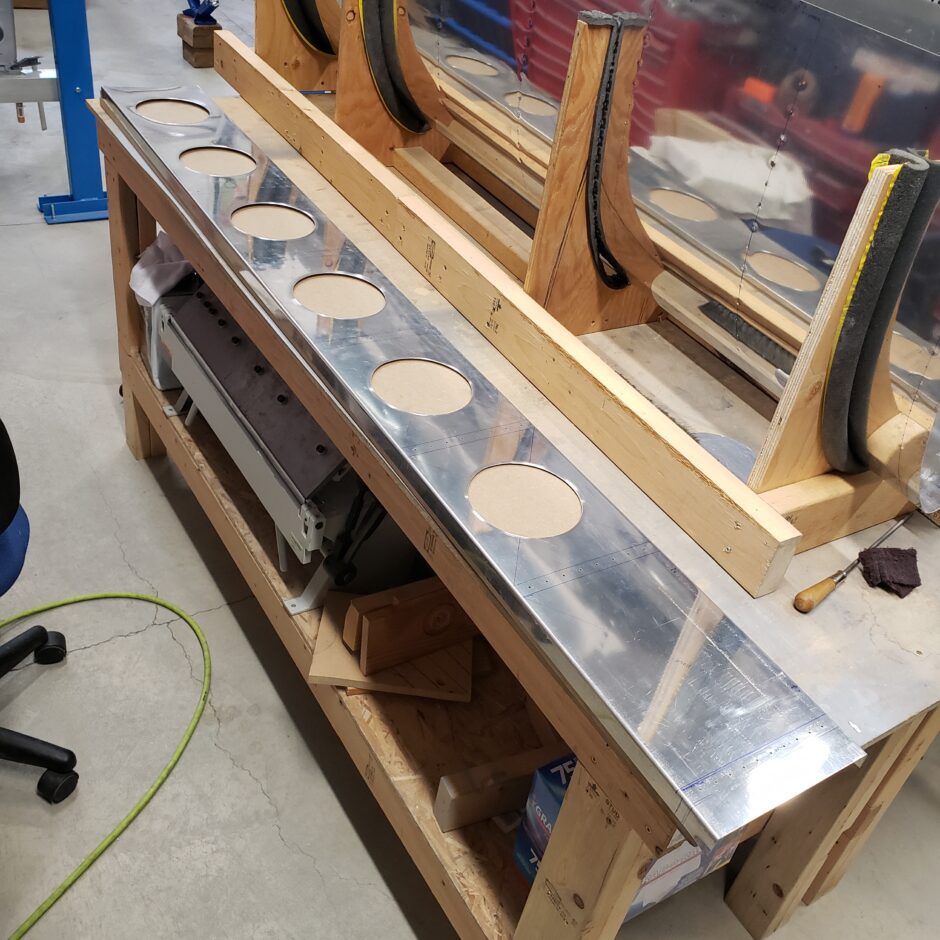
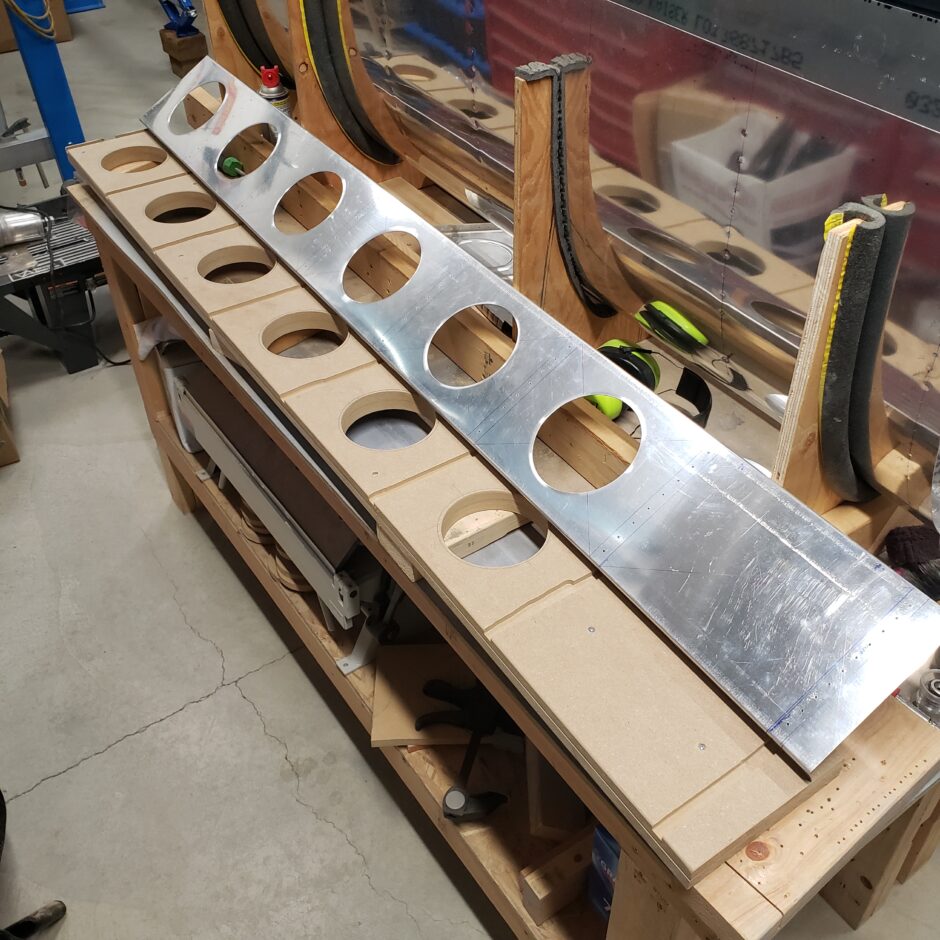
With all the access holes cut, I was able to get the baffle centered on the backing board and traced the access holes.
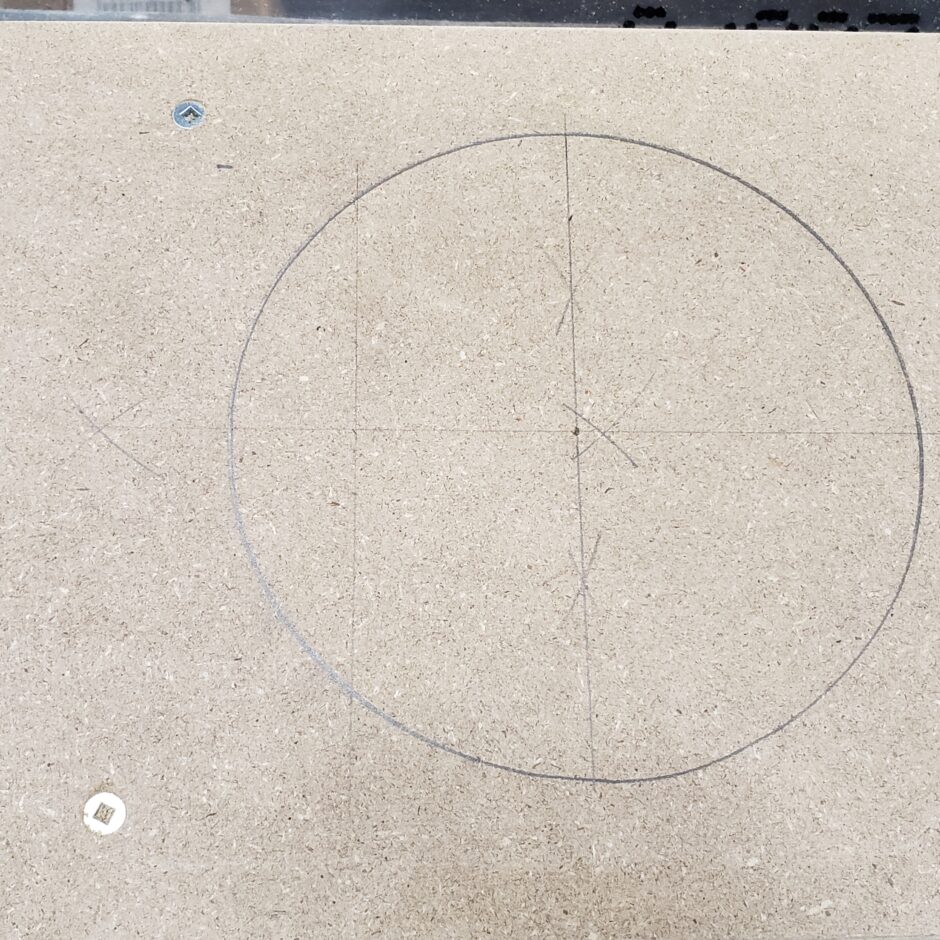
With the holes traced onto the board, I then again needed to go and locate the center of the hole, to locate the hole saw pilot.
My first attempt at cutting these holes was with my battery powered hand drill…that lasted about 2 minutes before the battery died. Then I found a 3/8-inch chuck electric hand drill, and that too lasted a few minutes more before the motor started smoking… so eventually, I went and dug out the 1/2-inch drive hammer drill. I switched off the hammer mode and was finally able to cut some holes.
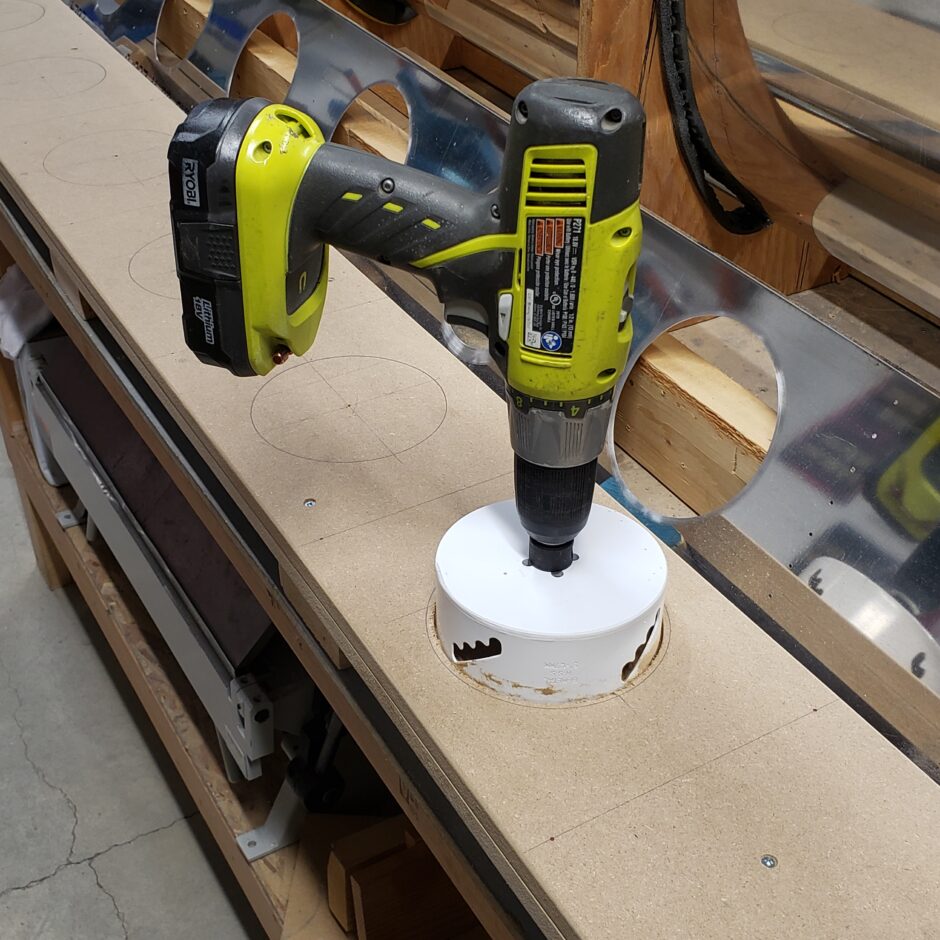
One thing to be aware of, this process creates A LOT of sawdust! I would vacuum the area after each hole was cut to keep the dust *somewhat* under control. Even with doing that, I’m confident that my shop will be covered in a light film of dust for the coming months.
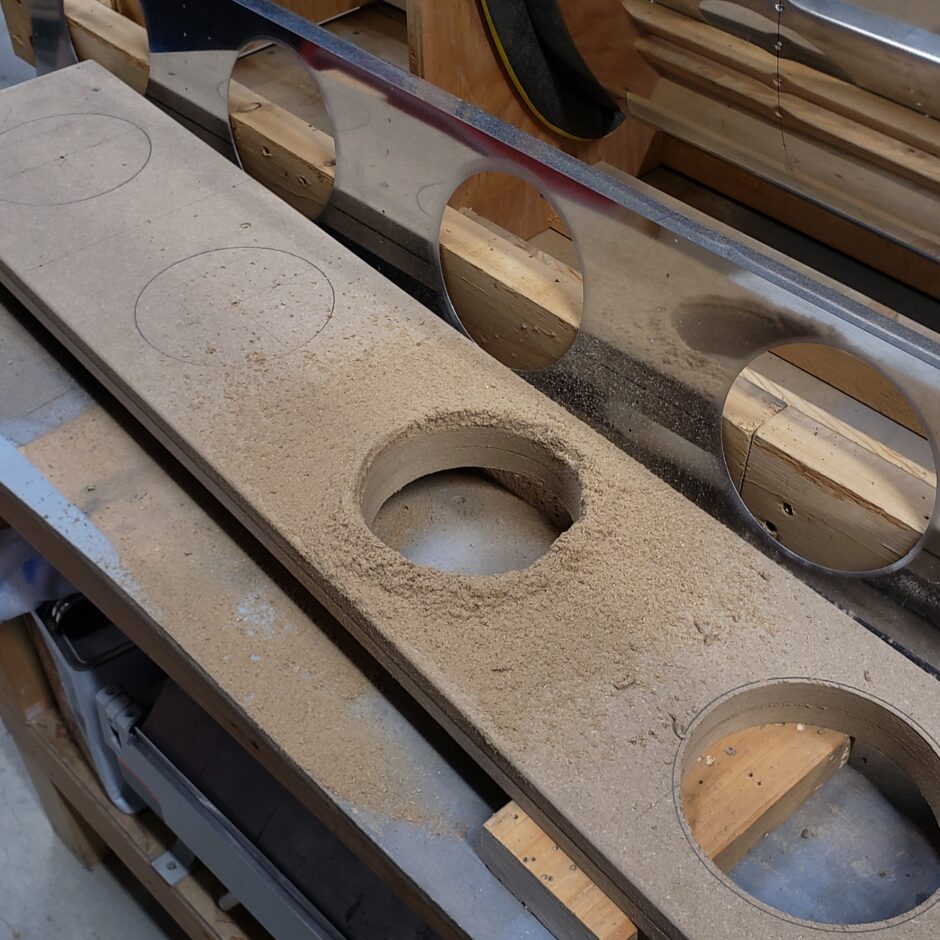
I finally got all the holes drill in the backing board. Not a tough job, just messy with all the sawdust. Other than that it was done in less than an hour.
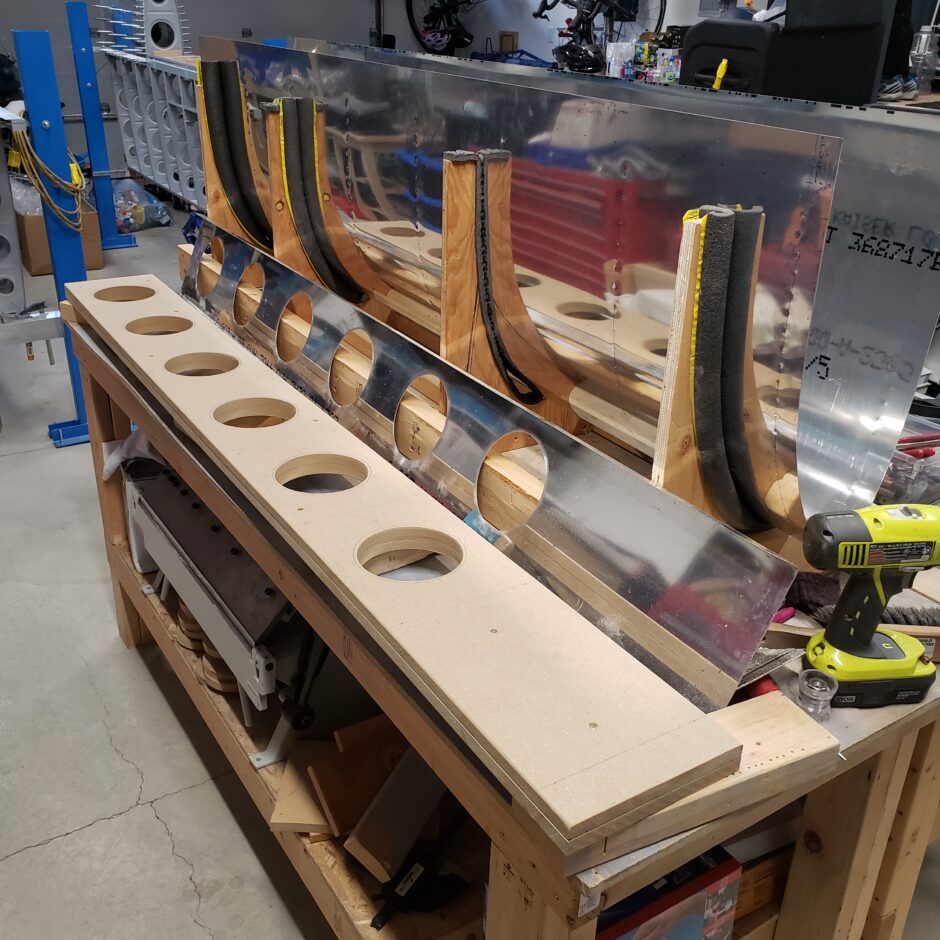
As you can see below, this will work out great for allowing me to get the ribs centered before drilling as I can now access each bay of the fuel tank.
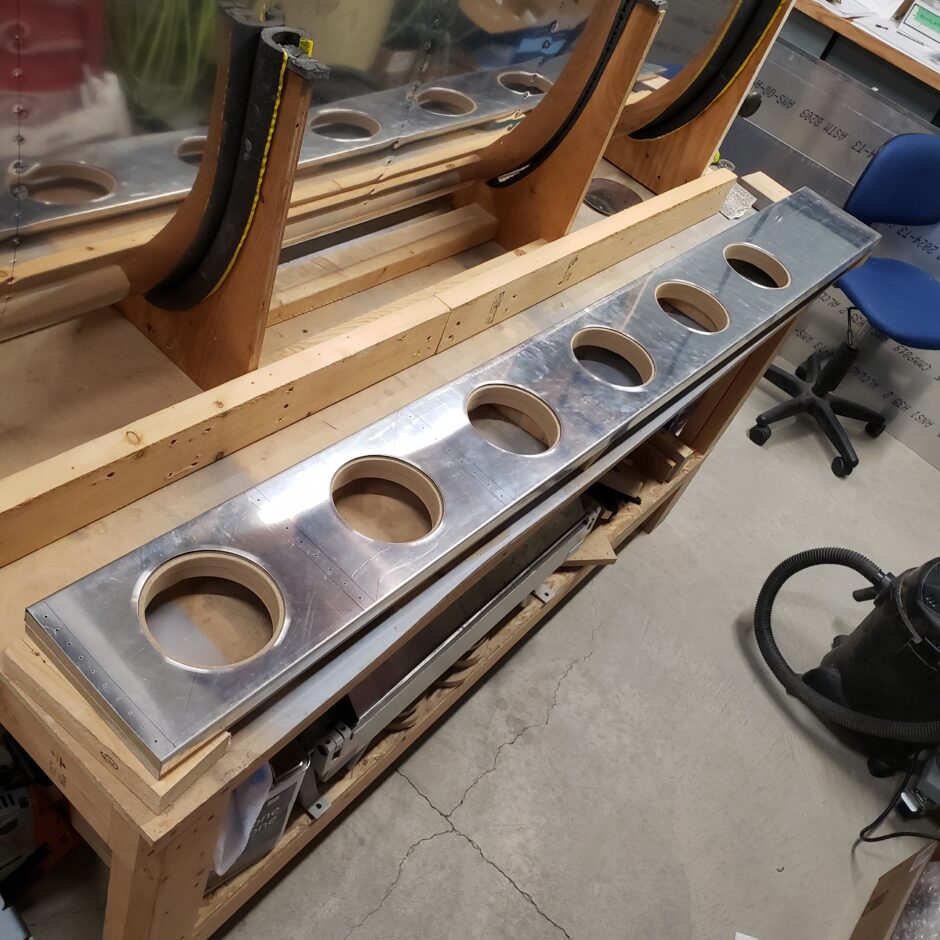
The next consideration was to make a bit of clearance for the clecos that extend through the baffle plate. I just took a quick pass with a router and made a relief area.
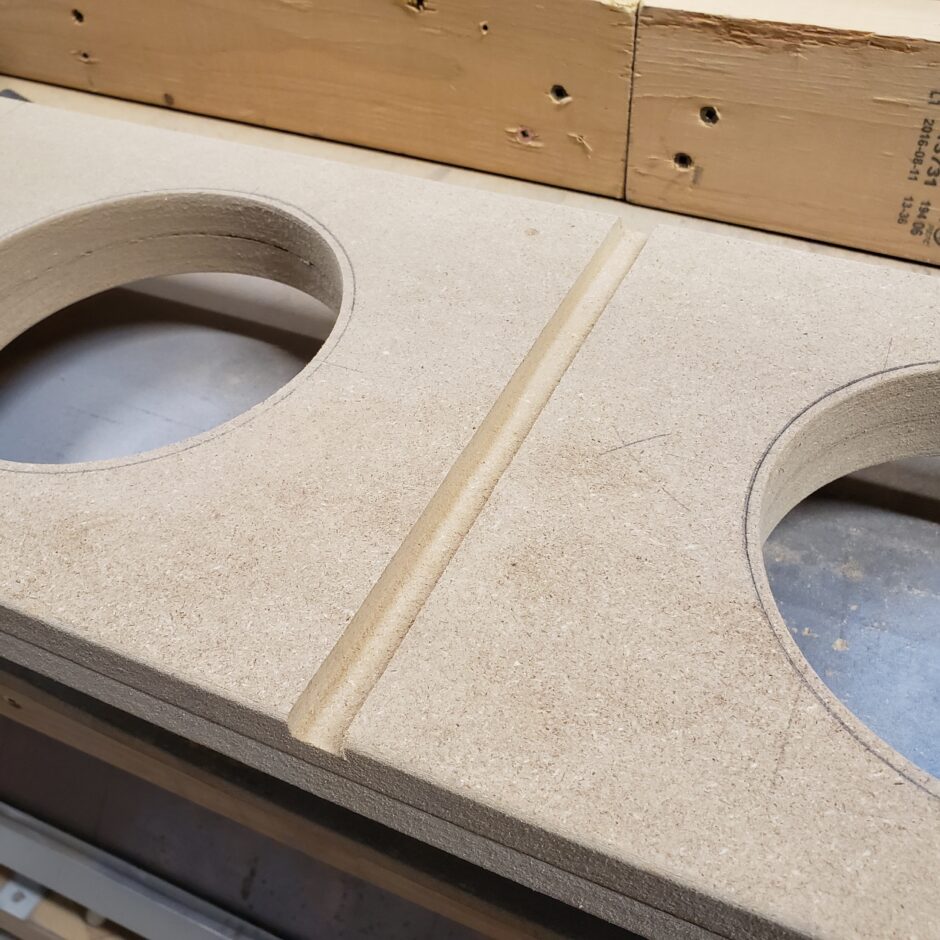
Now with the ribs clecoed in place, the ends of the clecos won’t interfere with the backing board. That’s about as far as I can go with the build tonight. In my next post I’ll be getting the fuel tank ribs match drilled to the skin.
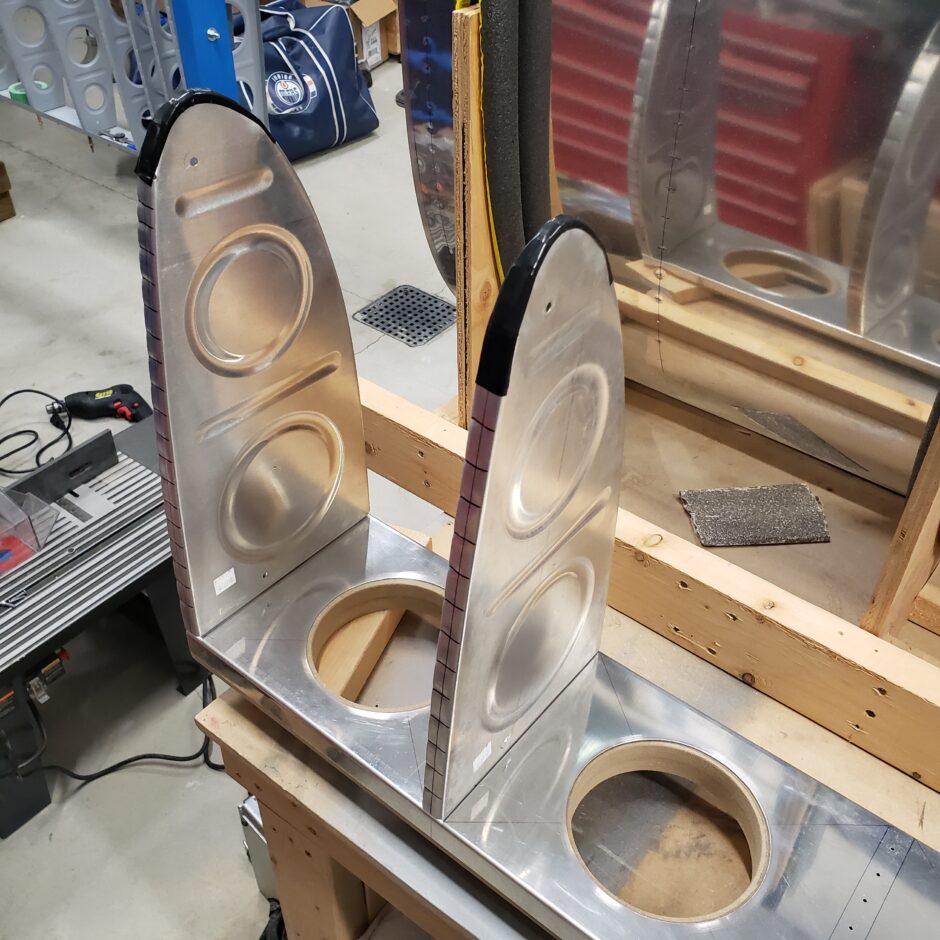
Here are some images with the rear baffle and ribs set back into the skin.
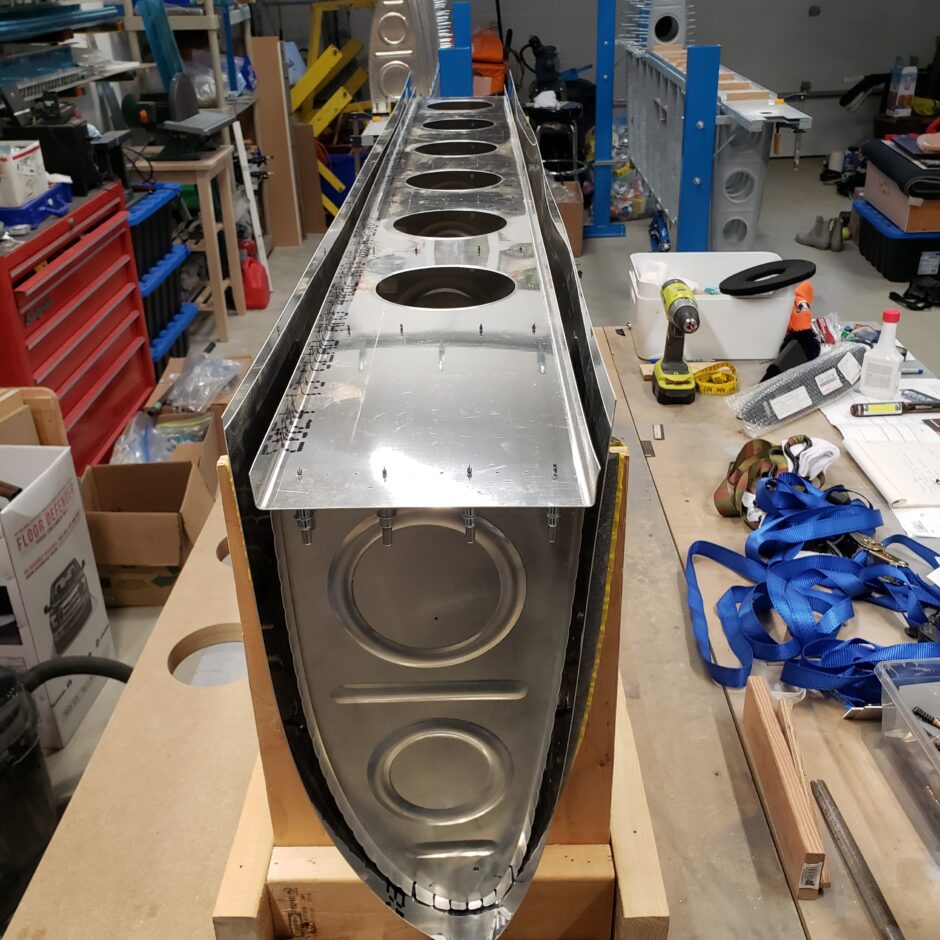
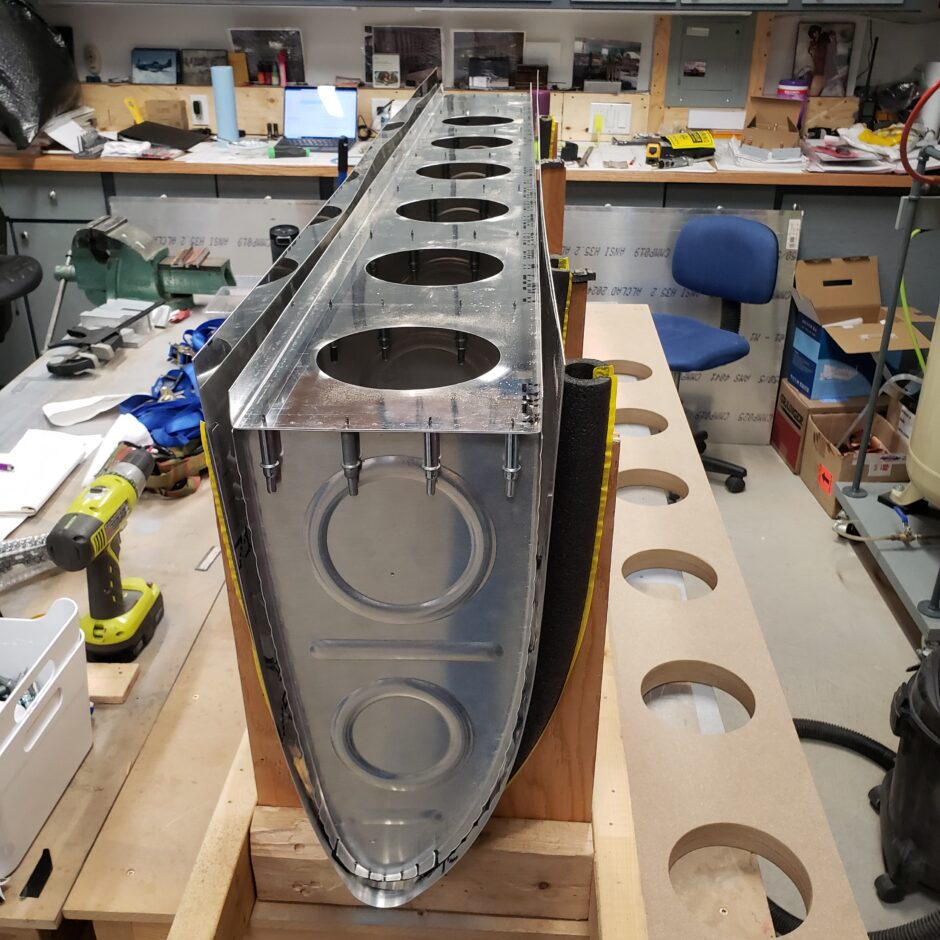
And here are some pictures with the baffle jig in place.
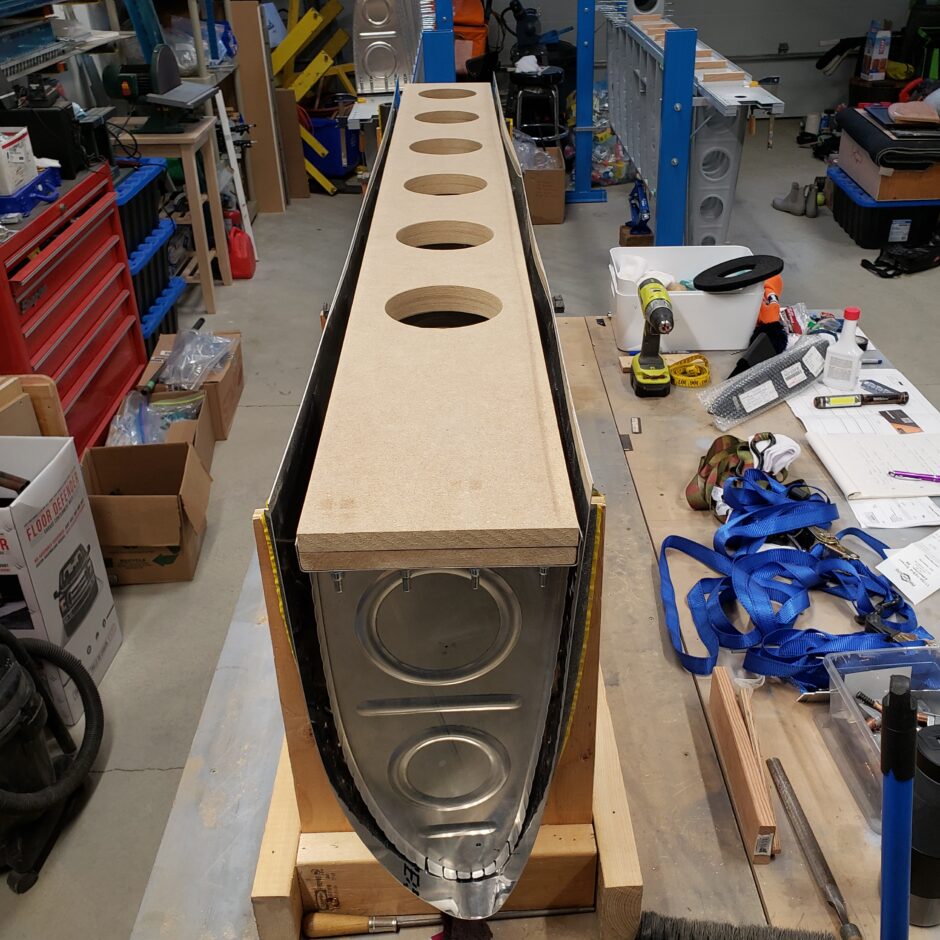
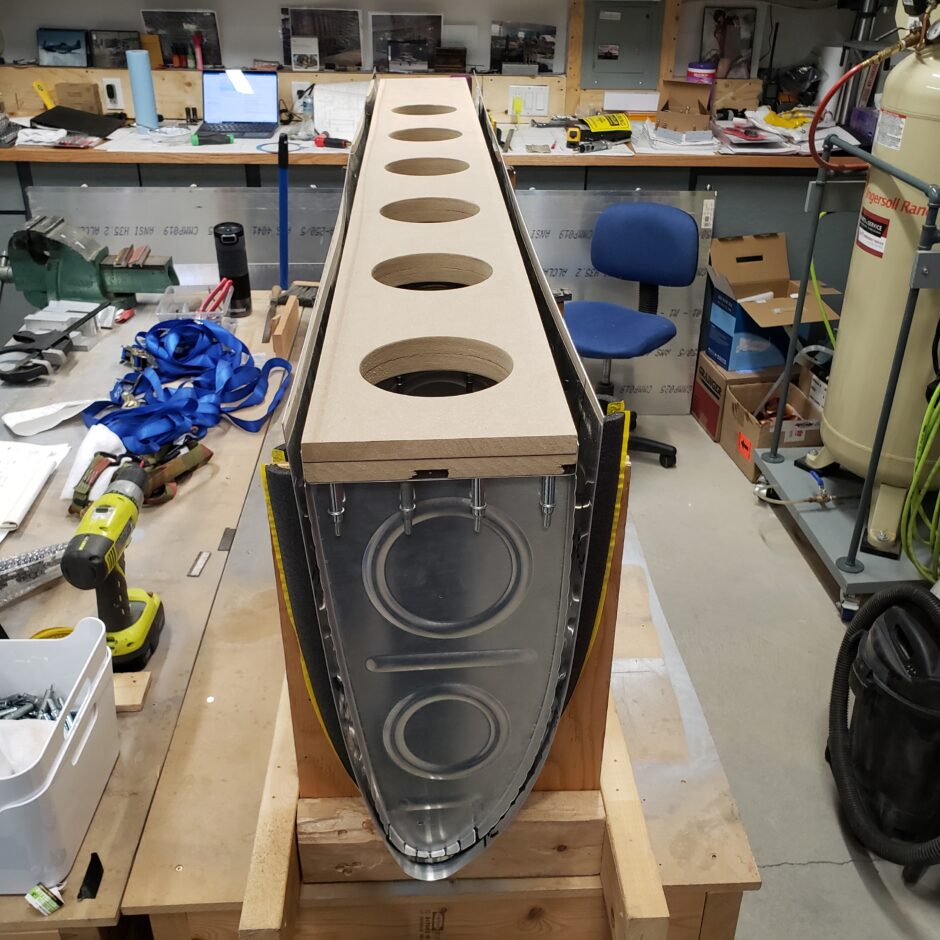
As previously mentioned, this will now allow me great access into the tank, not only for riveting, but also for being able to get the ribs aligned before I match drill the tank skin.
That’s all for today folks! Please comment. I love to hear from my readers. Thanks again for coming along for this ride, you make my work worthwhile.
Leave a Reply