Today I began the main spar riveting on the right-wing. I started at the forward wing spar doubler splice plate. This riveting was straightforward.
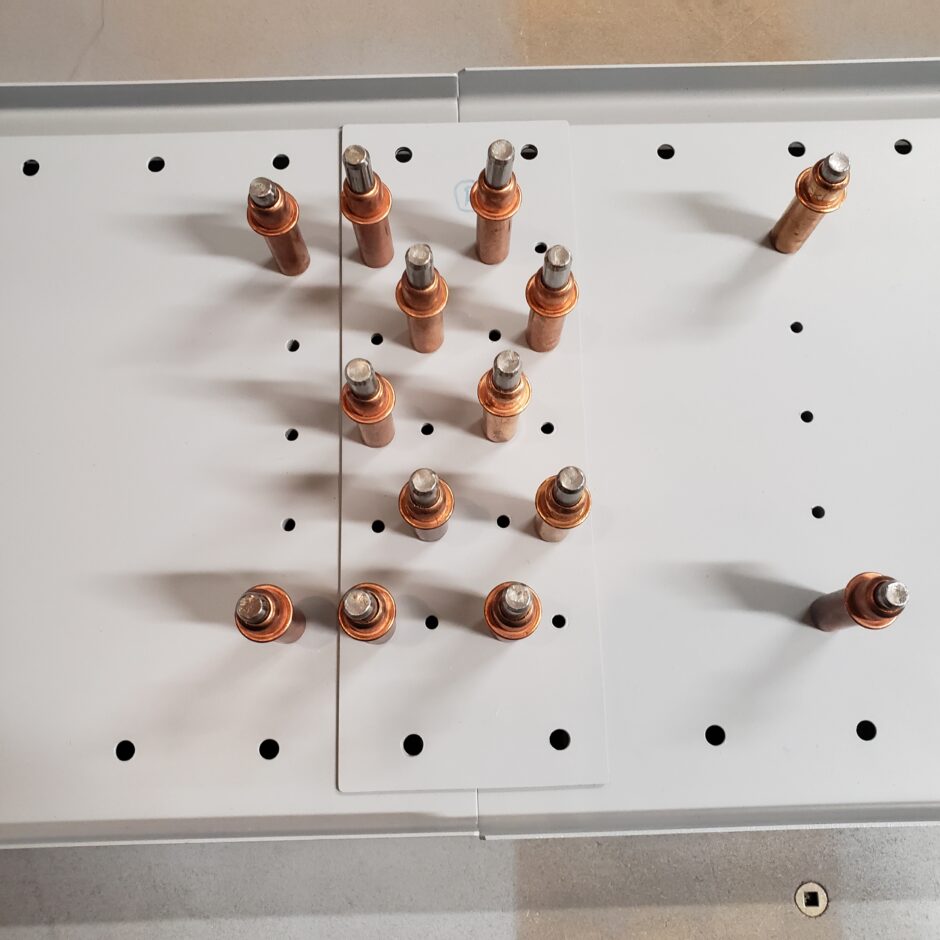
This next picture is the first few rivets set.
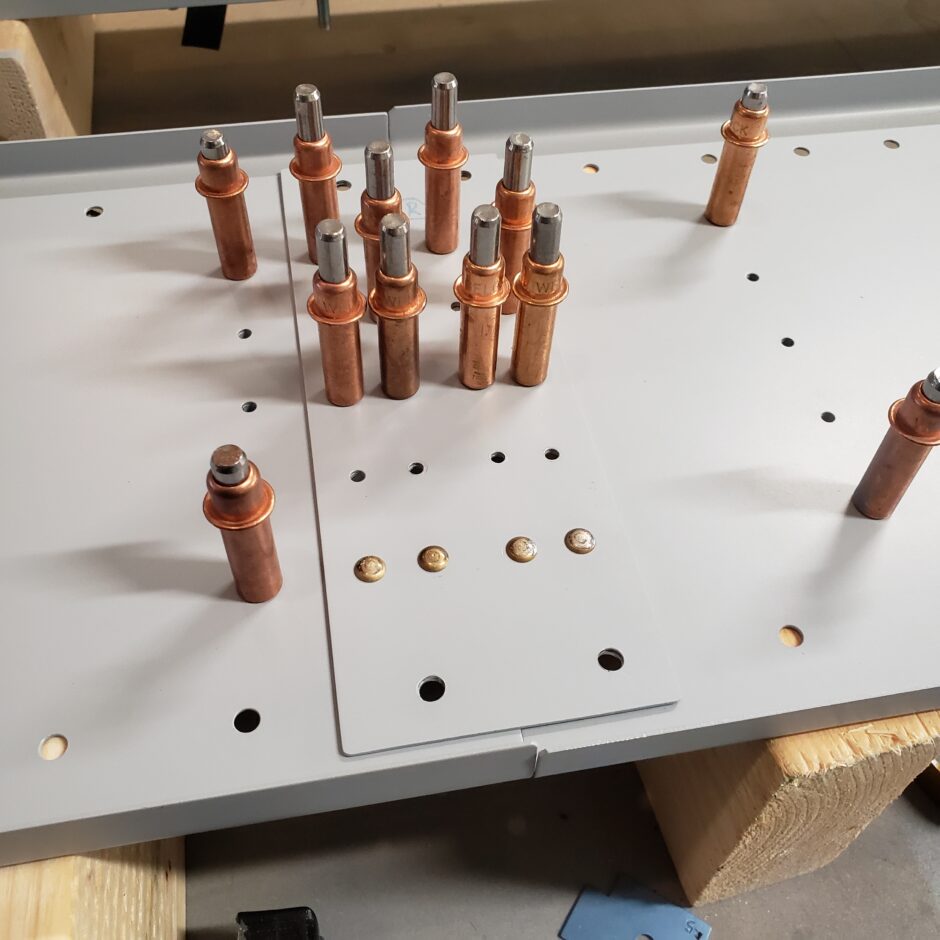
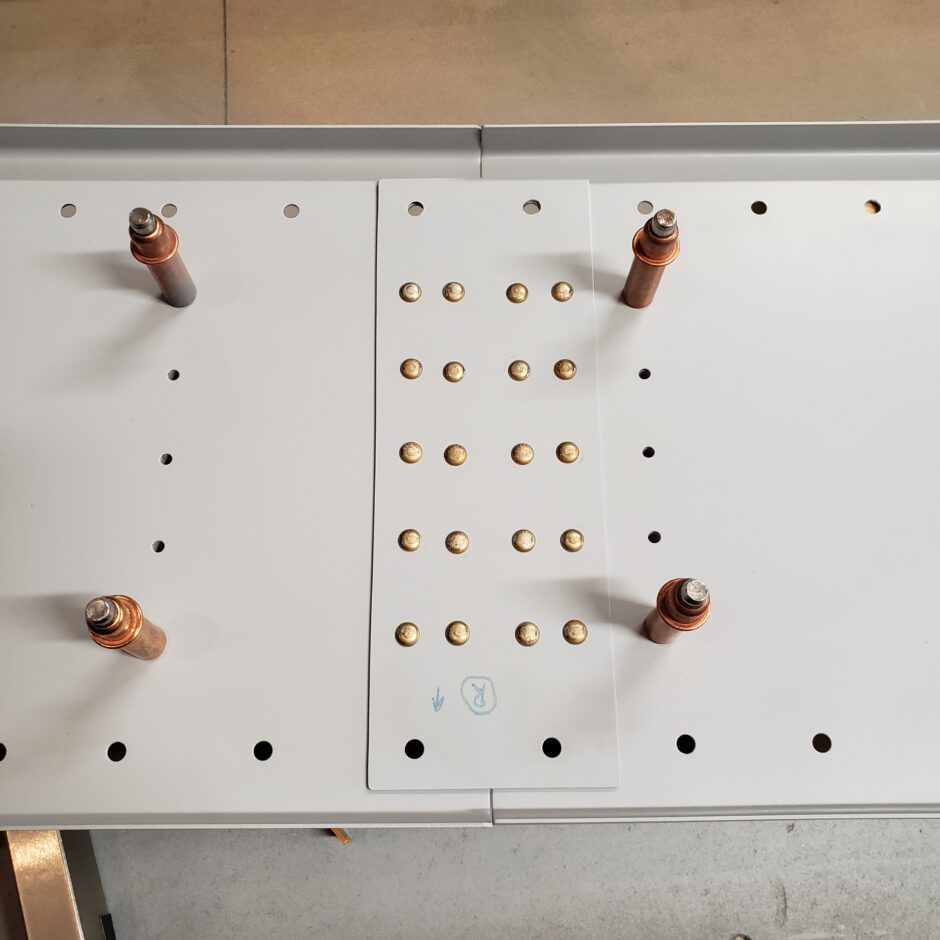
The next picture shows the splice plate has the riveting completed.
The next step was to rivet the spar web spacer blocks to the forward doubler web. I identified the rivet to be set first by wrapping the clecos with a bit of electrical tape. These are the spacer blocks that span the main spar web lightening holes. Because of this, they are going riveted to the forward spar web doubler. All of the other spacer blocks are riveted to both the main spar web and the forward spar doubler, which will eventually make all these separate parts into one spar assembly.
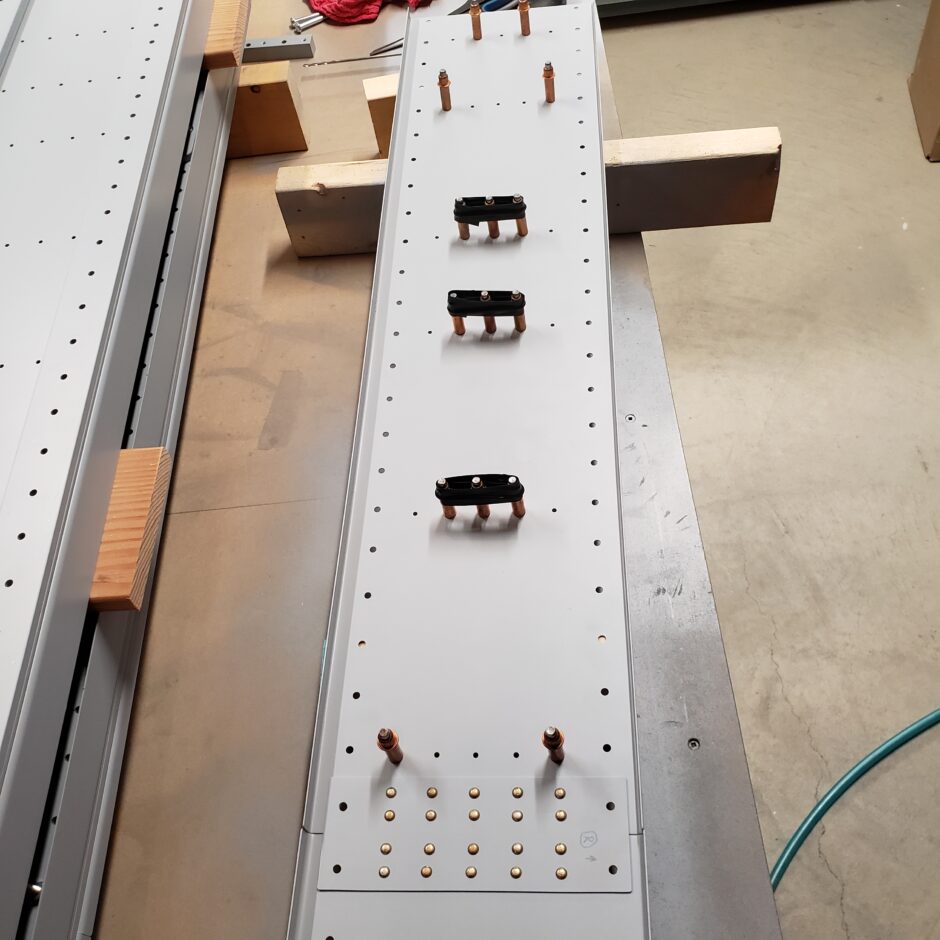
Shown below, the first spacer blocks are riveted. Again, these are only riveted to the forward spar web doubler because on the back side (main spar web side) these rivets span the lightening holes.
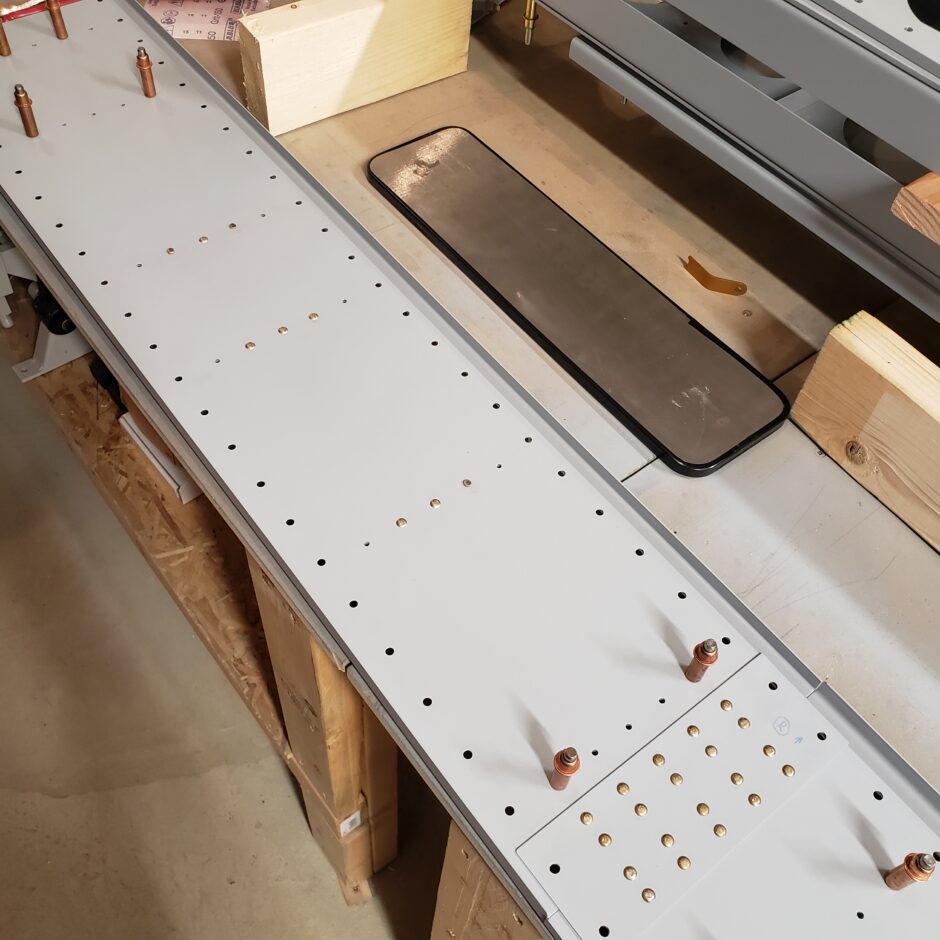
And here is the rear side of the riveted spar web splice doubler.
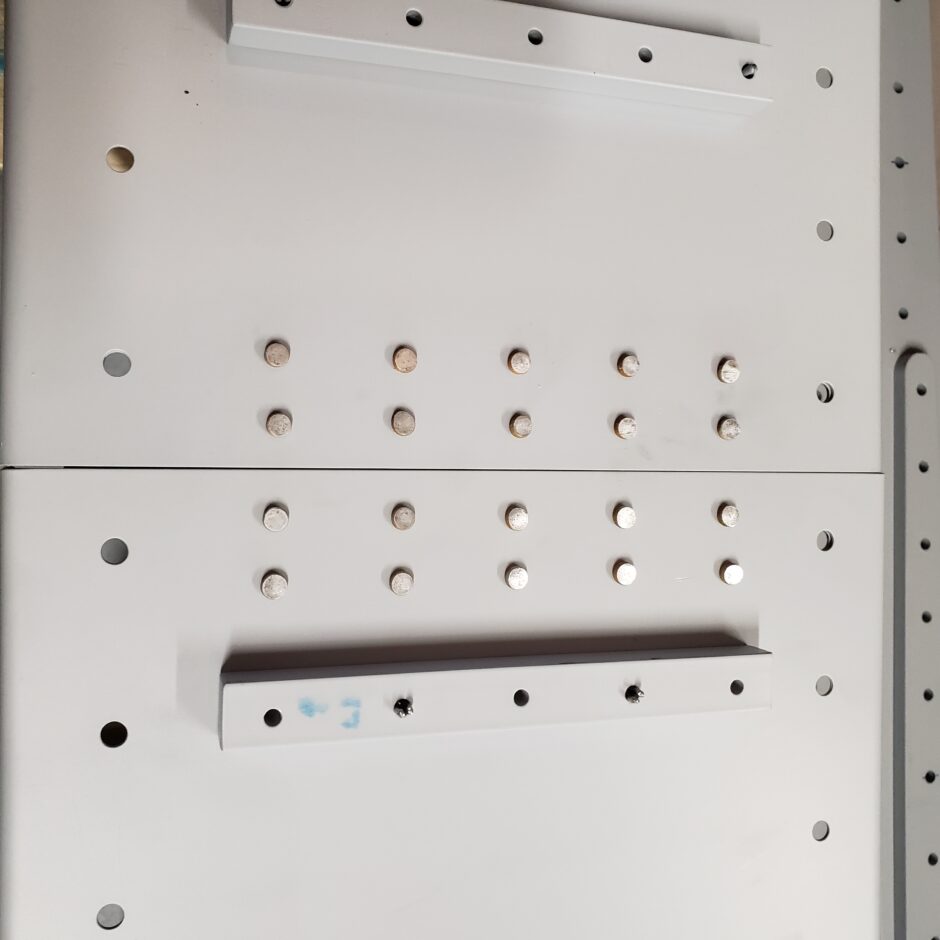
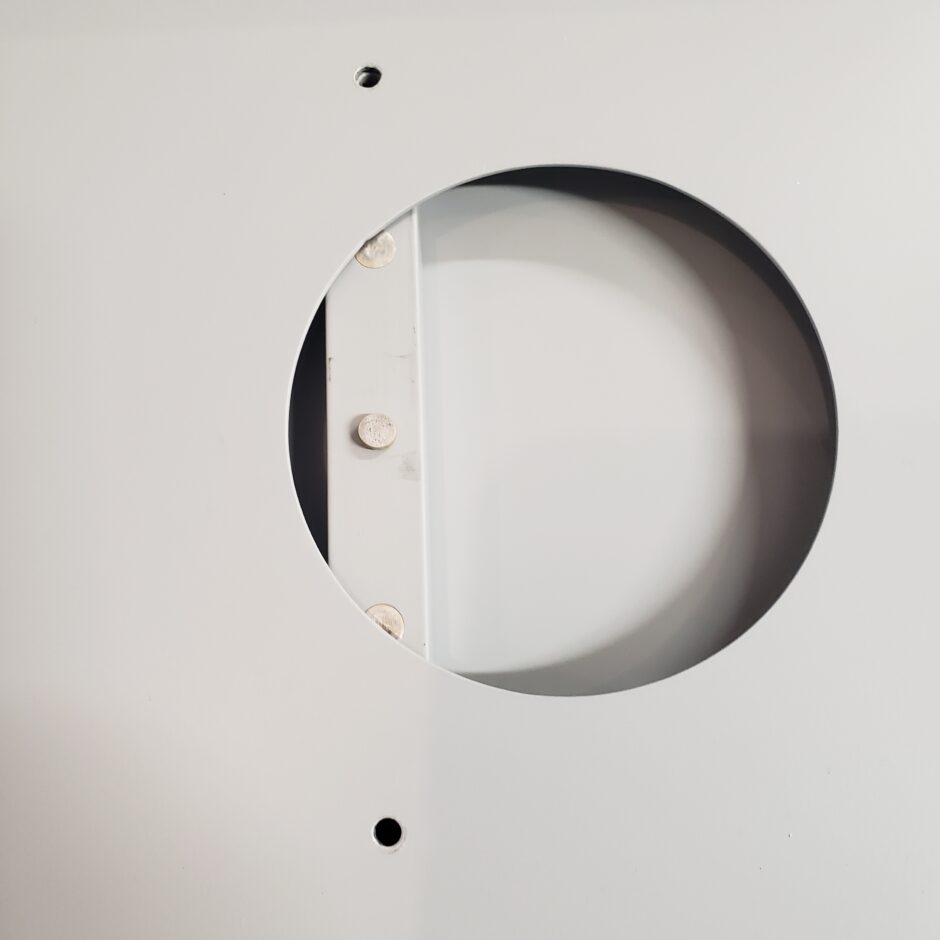
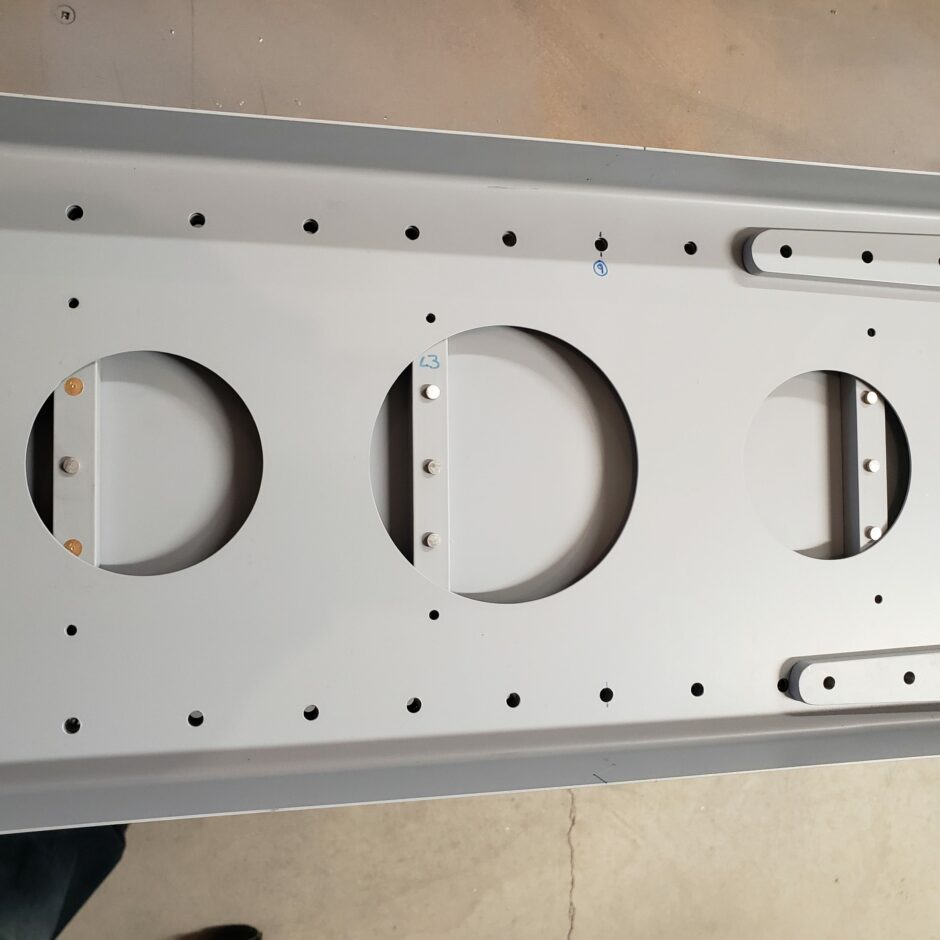
Below shows the back side of the spar web spacer blocks. Again, note the few countersunk rivets that I added. Again, this is because the edge of the lightening hole crosses directly over, or very close to these rivets. Which is why I made them countersunk in order to not interfere with the lightening hole.
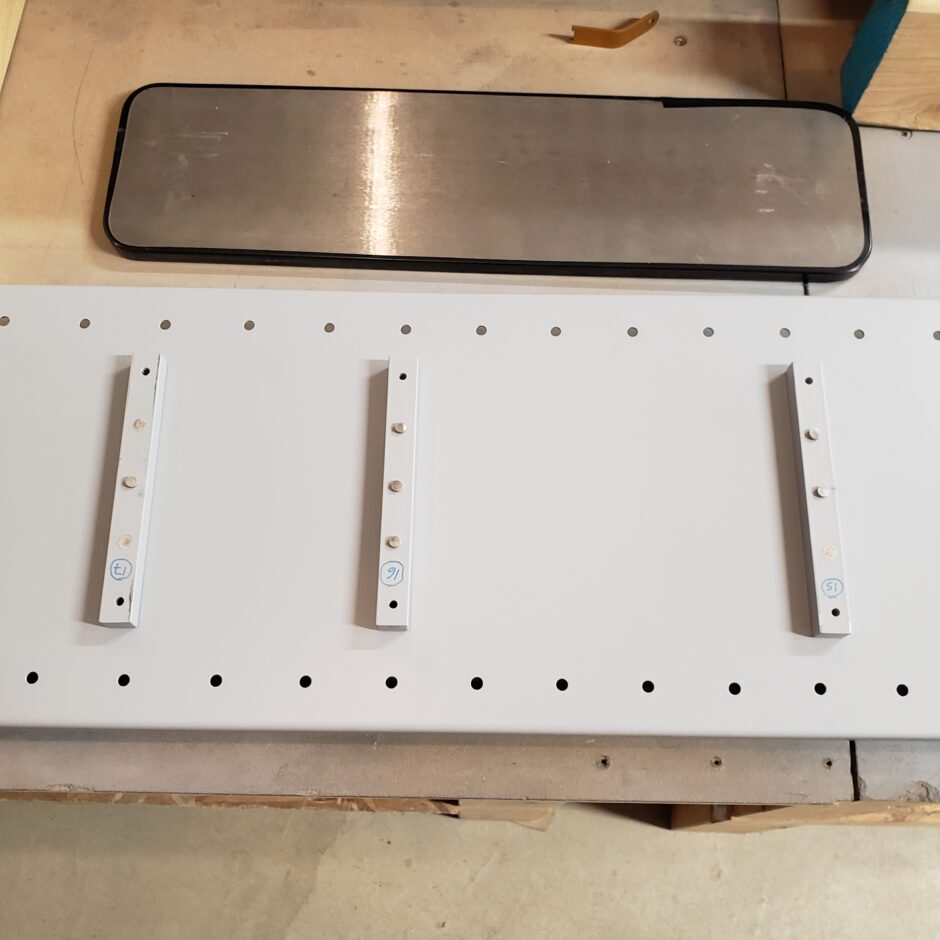
The next 2 images clearly show how the rivet location interferes with the main wing spar lightening holes.
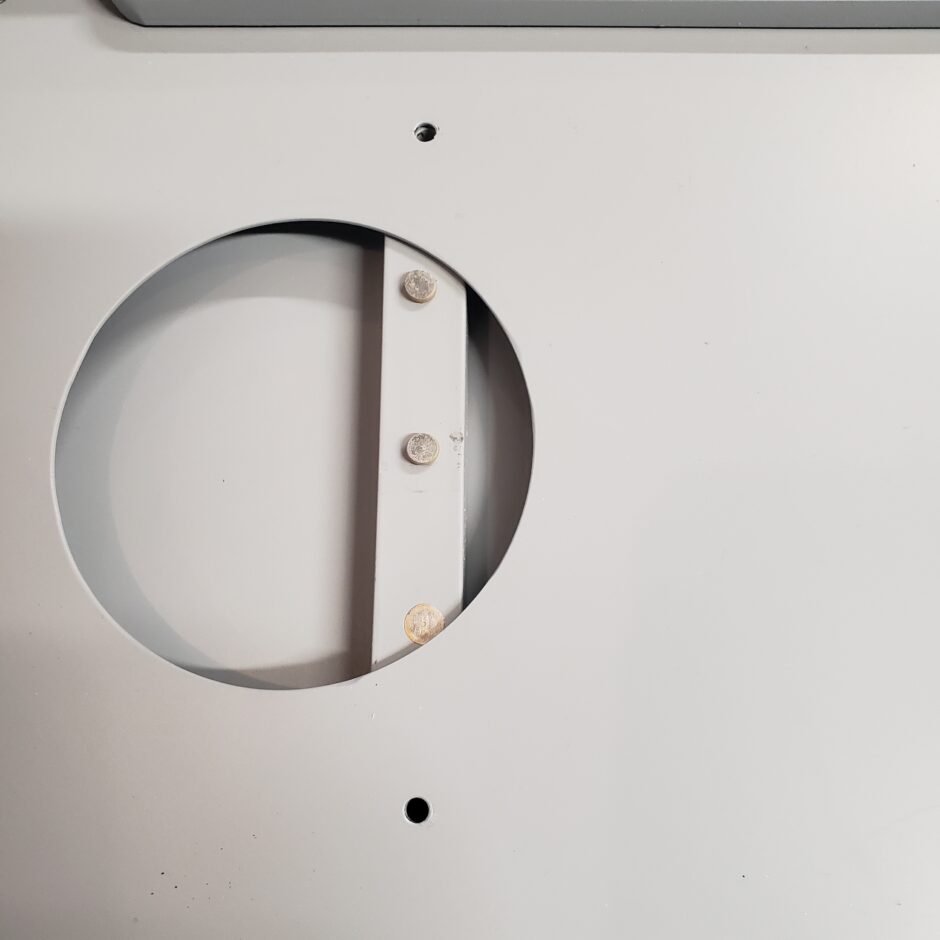
Here is another shot of the riveted spar web spacer blocks.
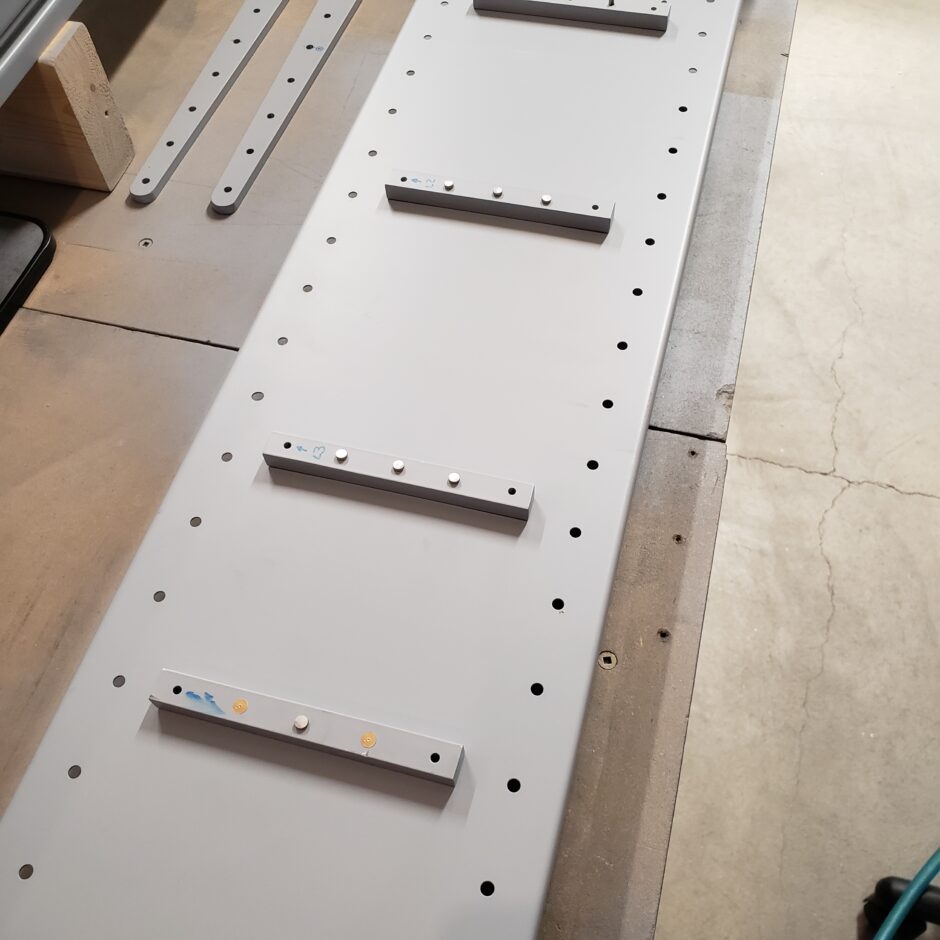
Here is another shot of the lightening hole spacer blocks.
Please comment. I love to hear from my readers. Thanks again for coming along for this ride, you make my work worthwhile.
Leave a Reply