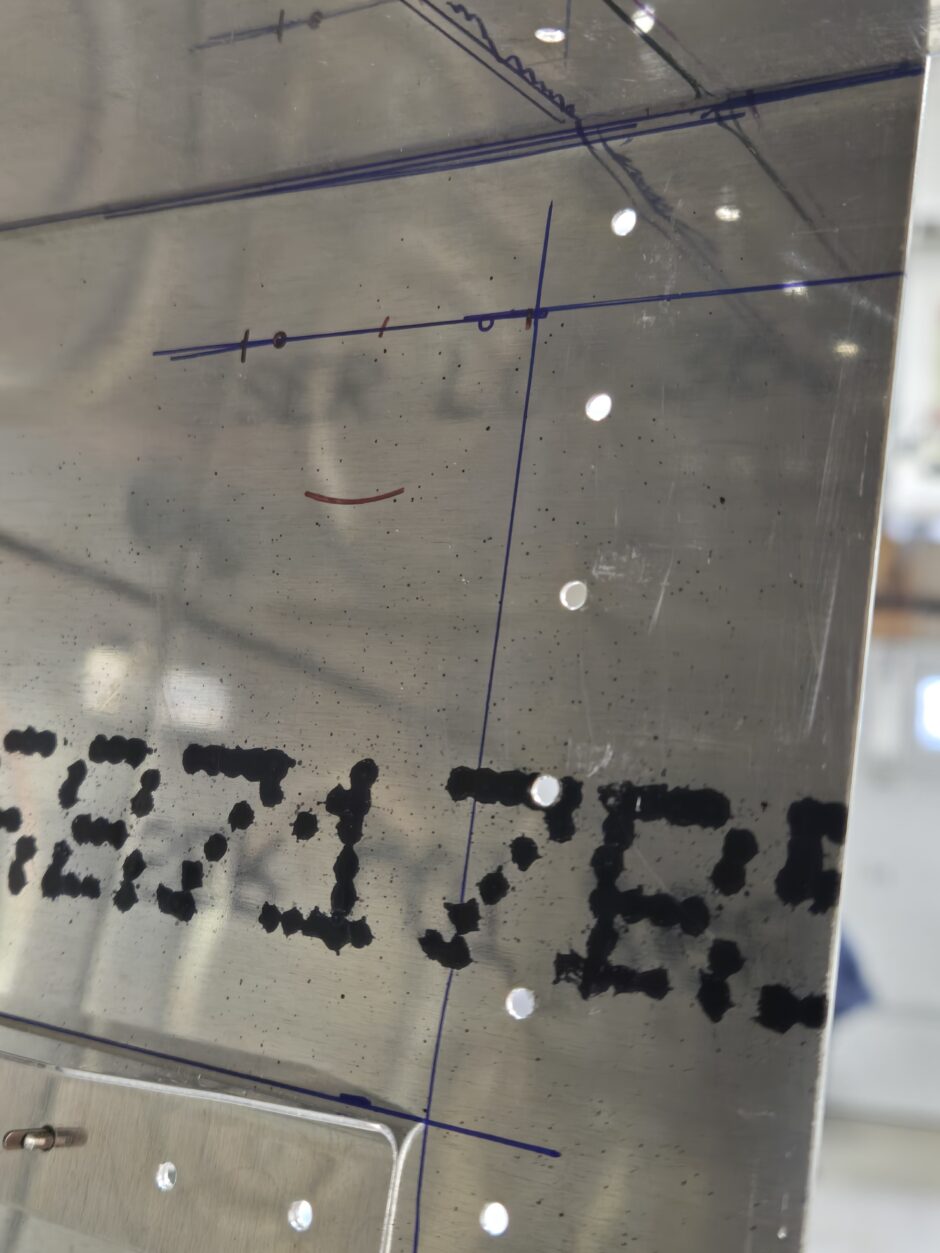
Good day, today I’m working on fitting the right fuel tank fuel filler cap and tank sump drain. I’m starting out with the sump drain because it’s the easier of the 2 jobs today. I began by identifying the inside limits of the tank in this area. Specifically the location inner surface of the root rib and the inner surface of the root rib. Leaving the tank baffle in place, I removed the root rib and got the sump drain bung as far into the corner of the tank as practical. I then marked the holes and made a horizontal line.
The line was then extended to the inboard edge of the tank, where I could then transfer the line easily over to the outer surface, as well as measure the distances to get the sump drain located in the same spot on the outside of the tank.

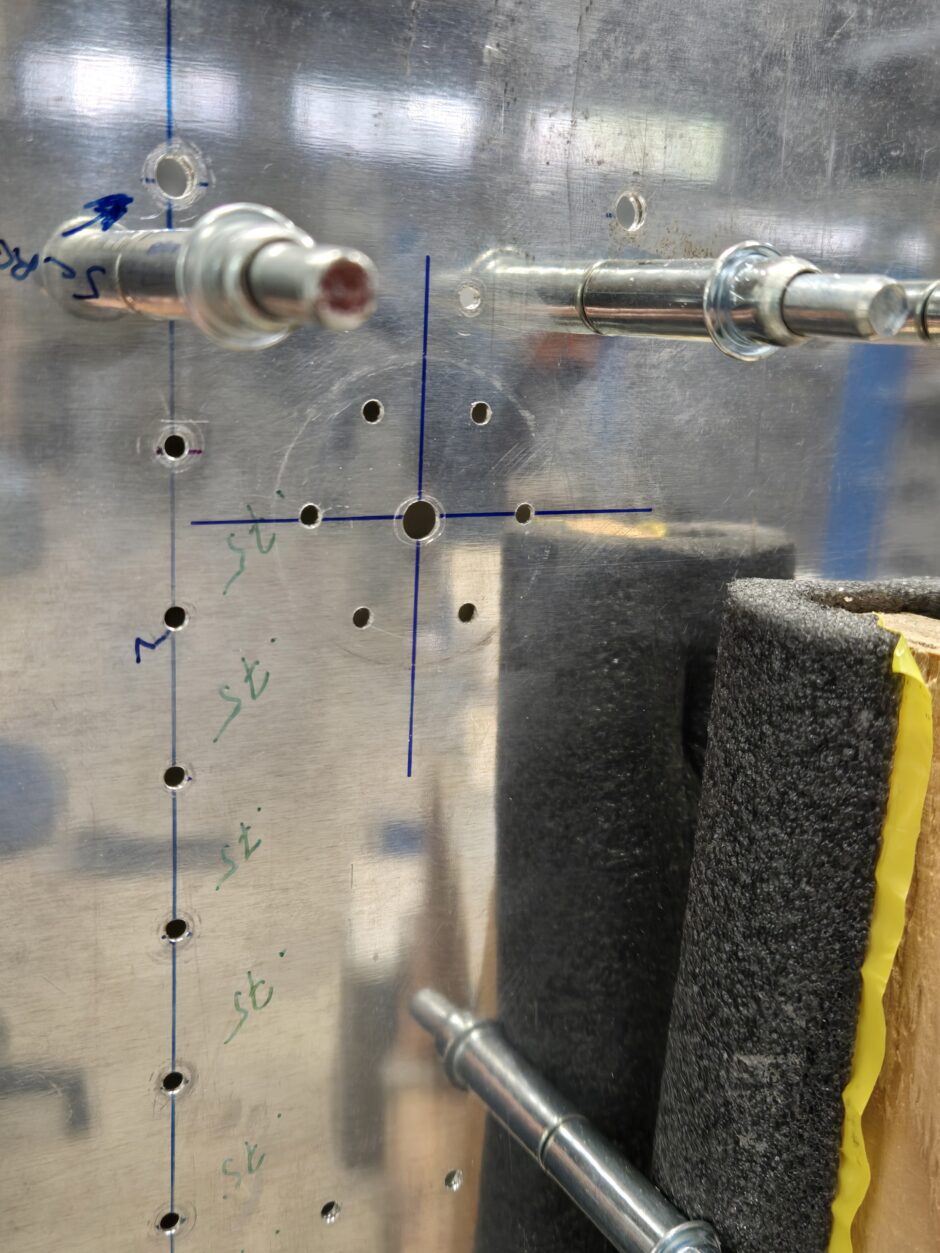
With the center of the sump drain location identified, it was easy to clamp the drain in place to drill it.

The drilling is straightforward.
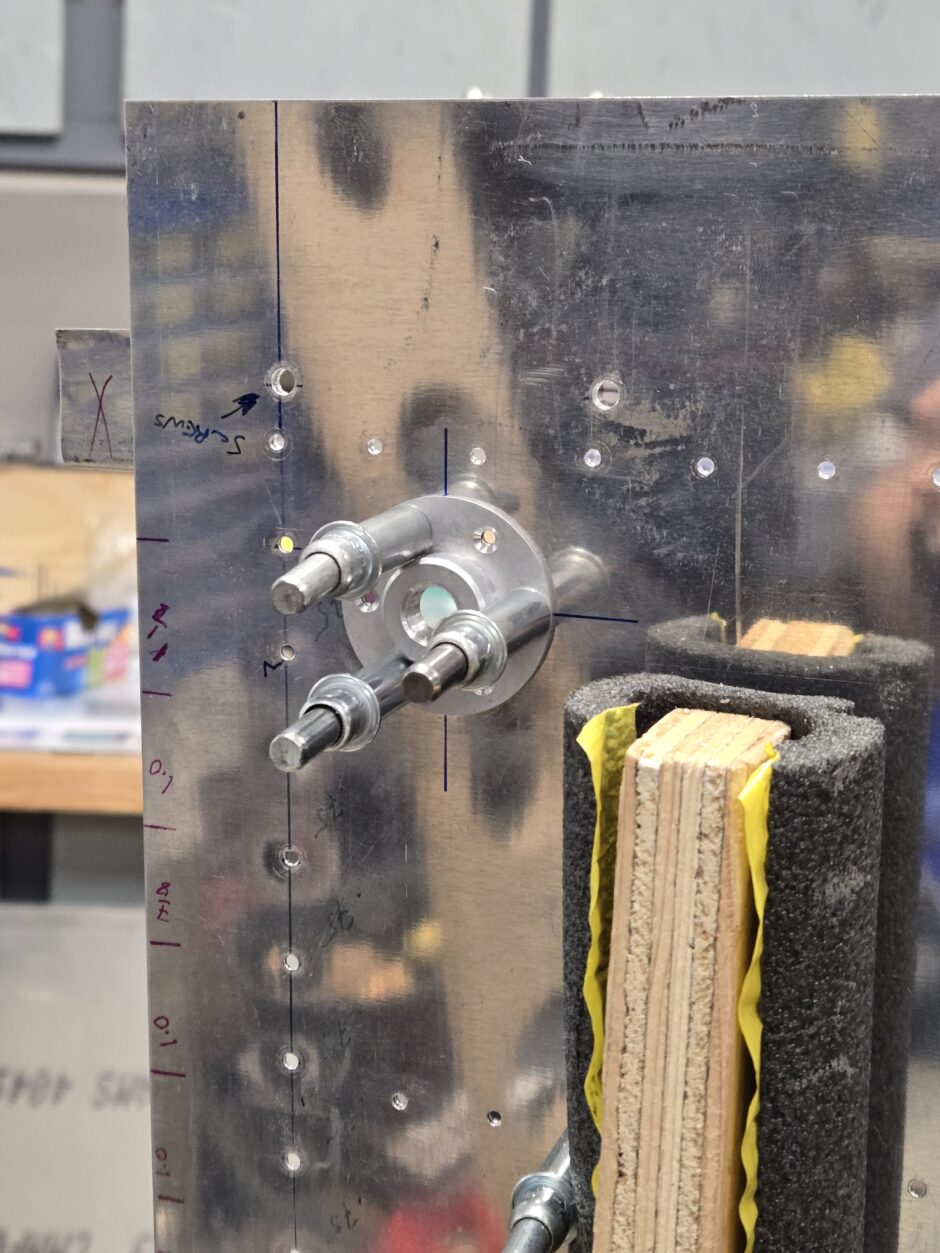
Here’s the sump drain ready to go.
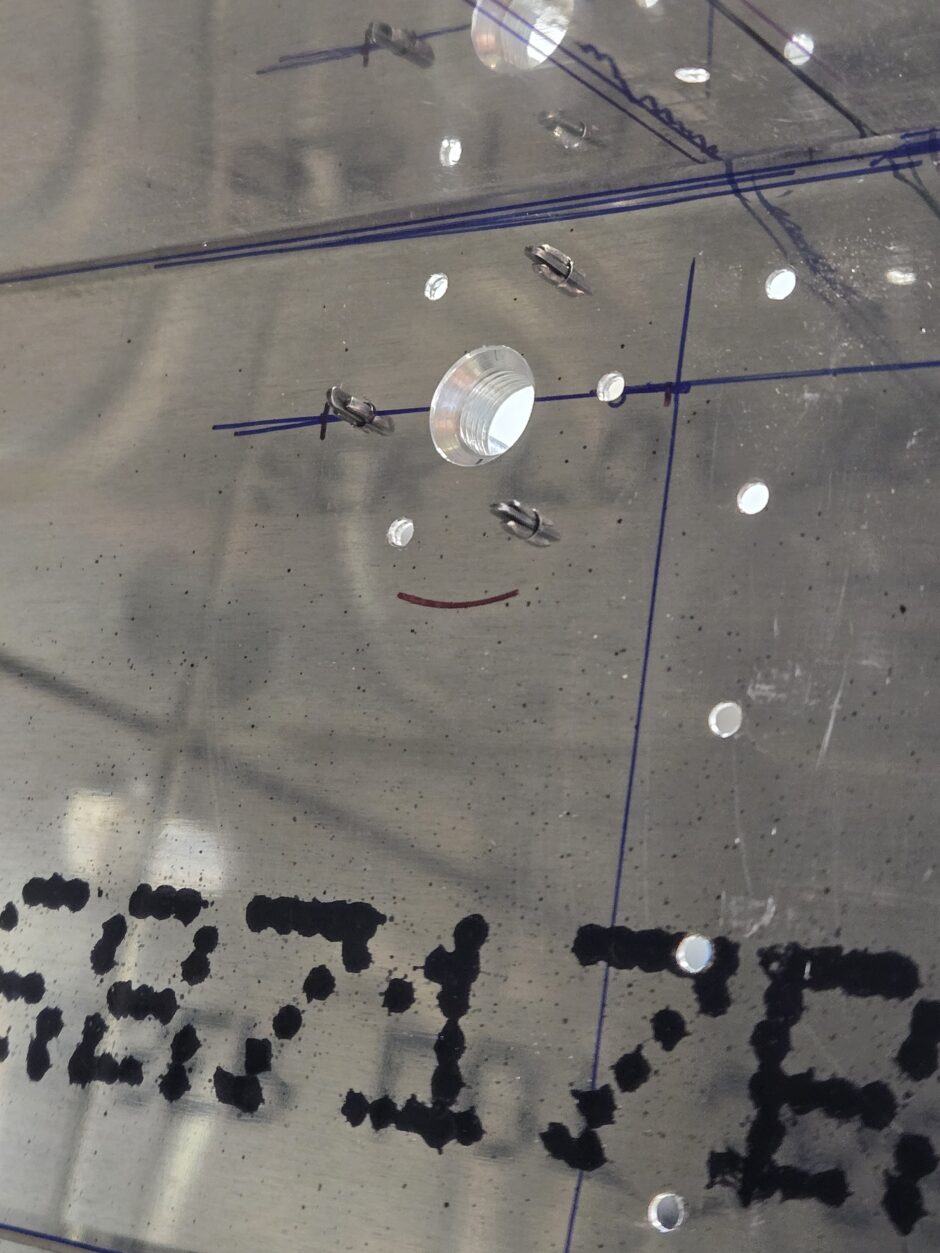
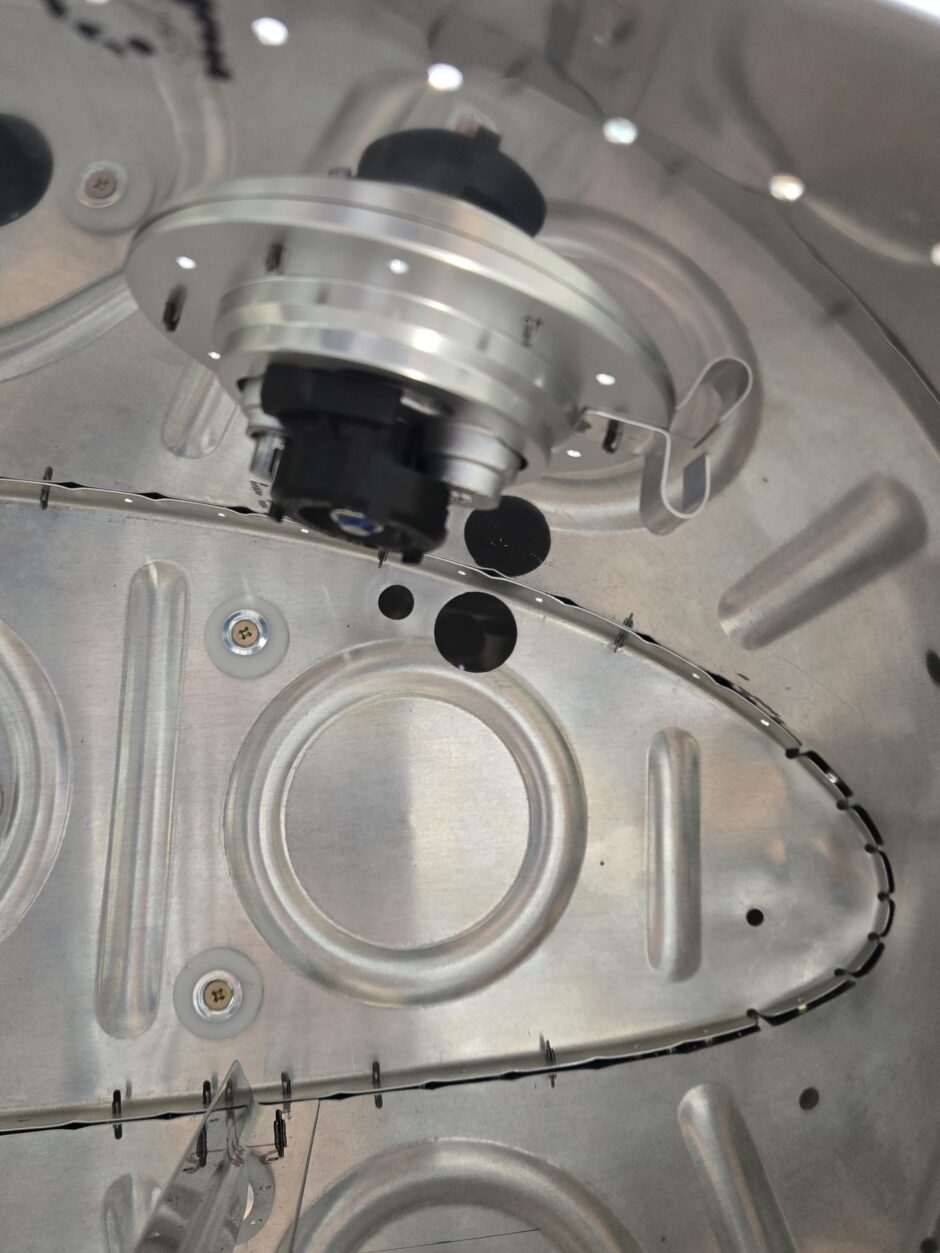
Here’s the view from inside the tank.
Right fuel tank filler cap installation
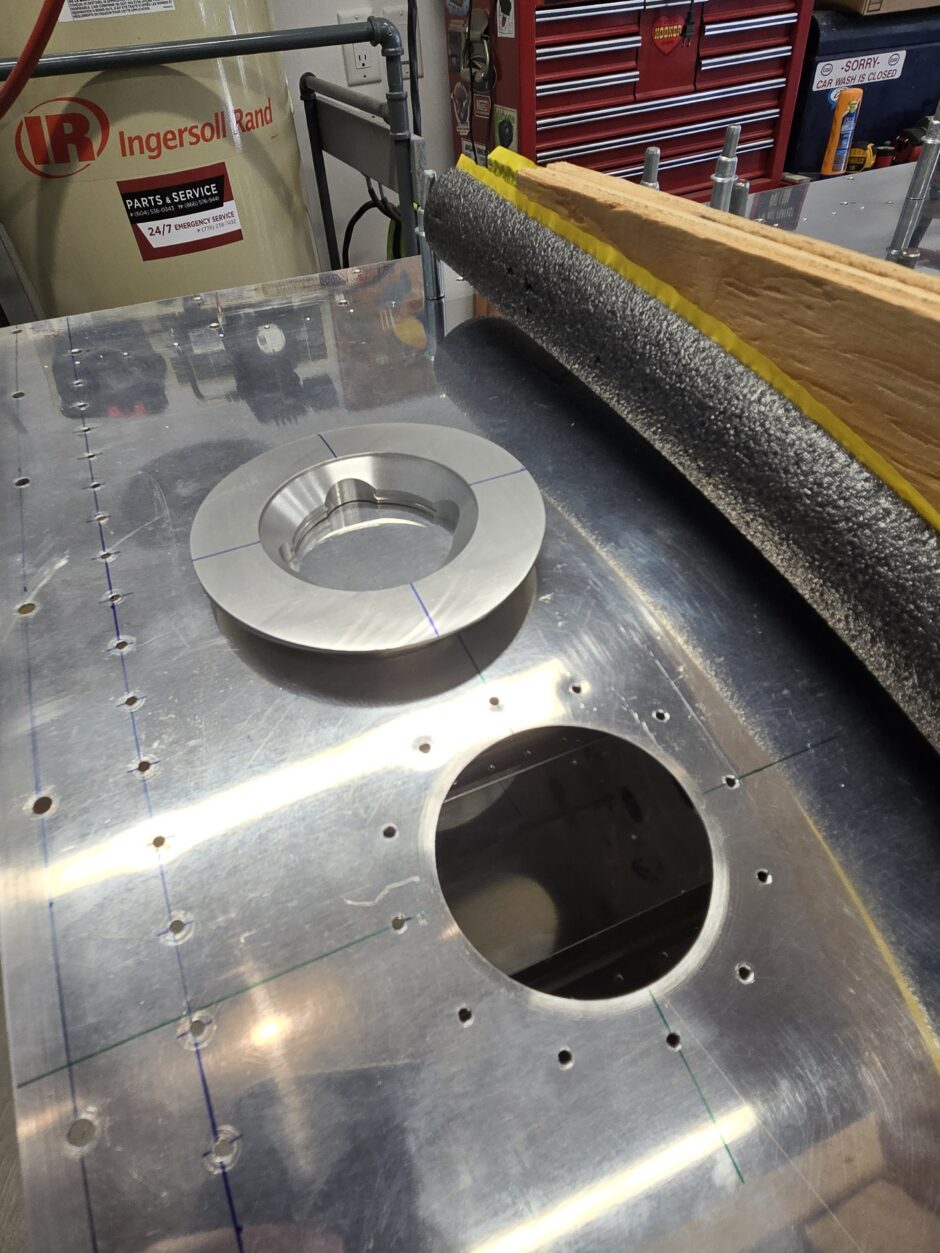
Moving on to the fuel filler cap installation, I used the paper layout template I used on the left tank, as well as the hole saw drill guide that I also used. Definitely some time saved this time around without having to make these tools.
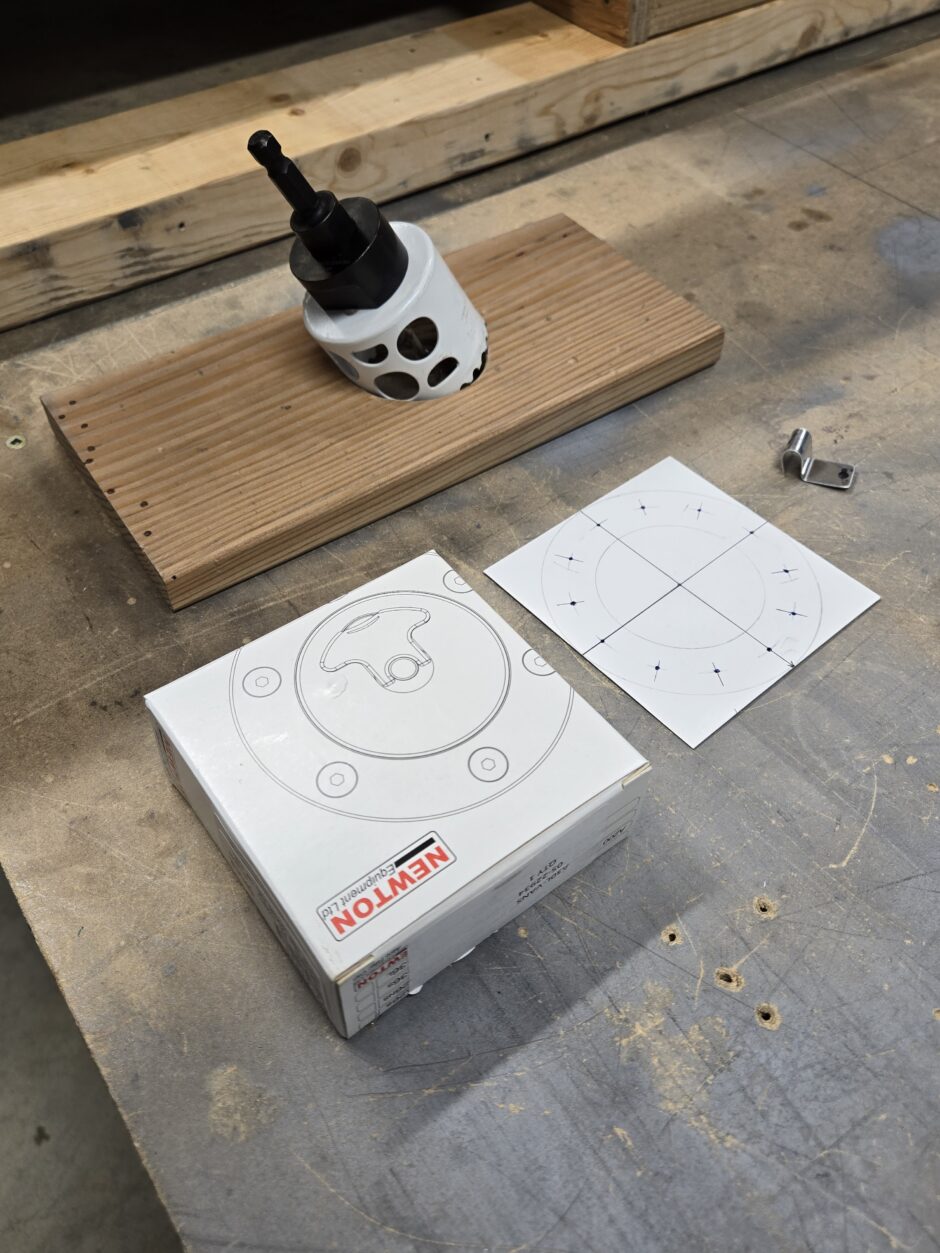
I started by measuring the location of the left tank for the filler cap, and then got the paper template positioned on the lines.
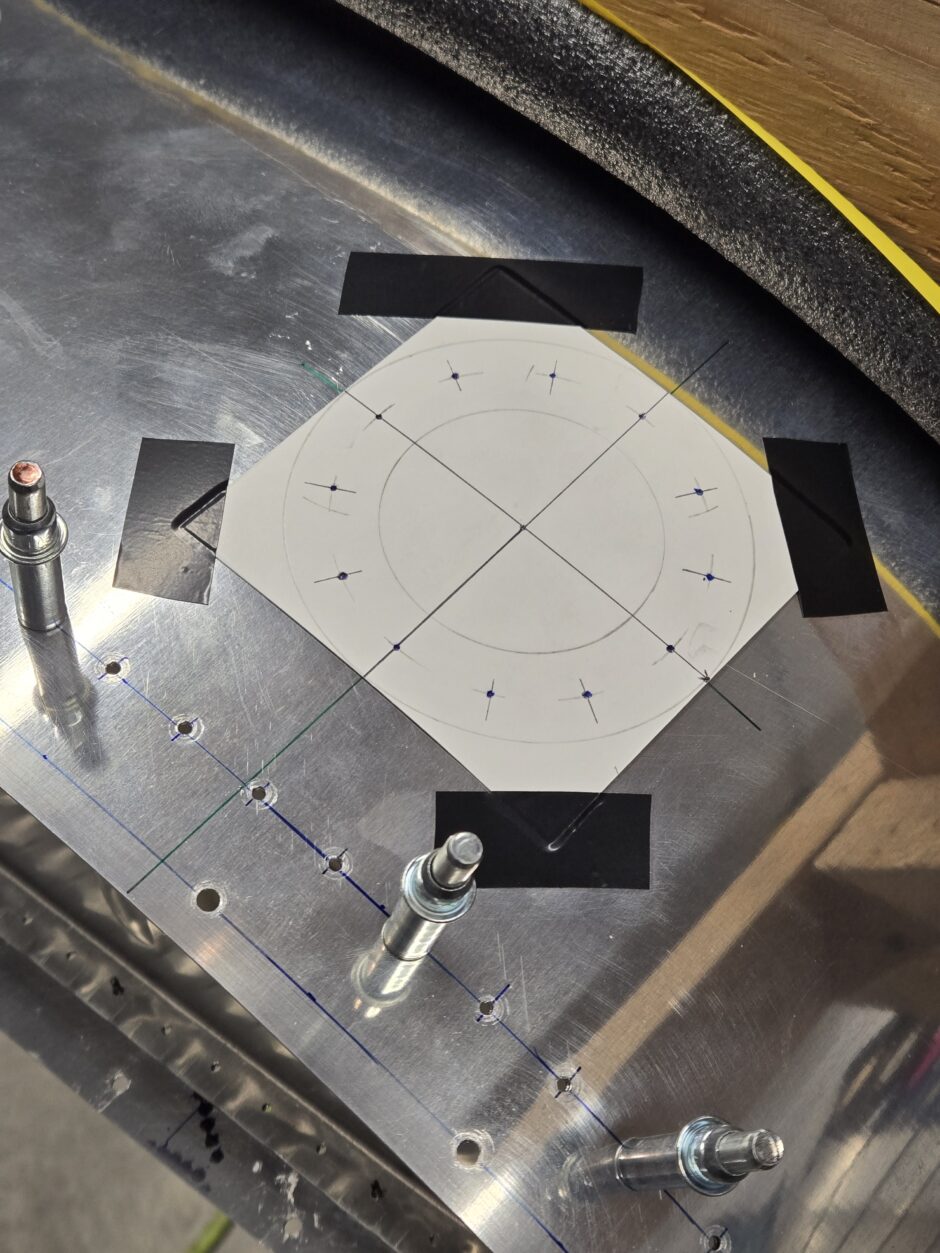
What isn’t shown is that before drilling the hole, I center-punched all the rivet holes and the center guide hole for the hole saw, and also drilled the guide hole. Then I got the hole saw drill guide in place, made it secure and drilled the tank skin.

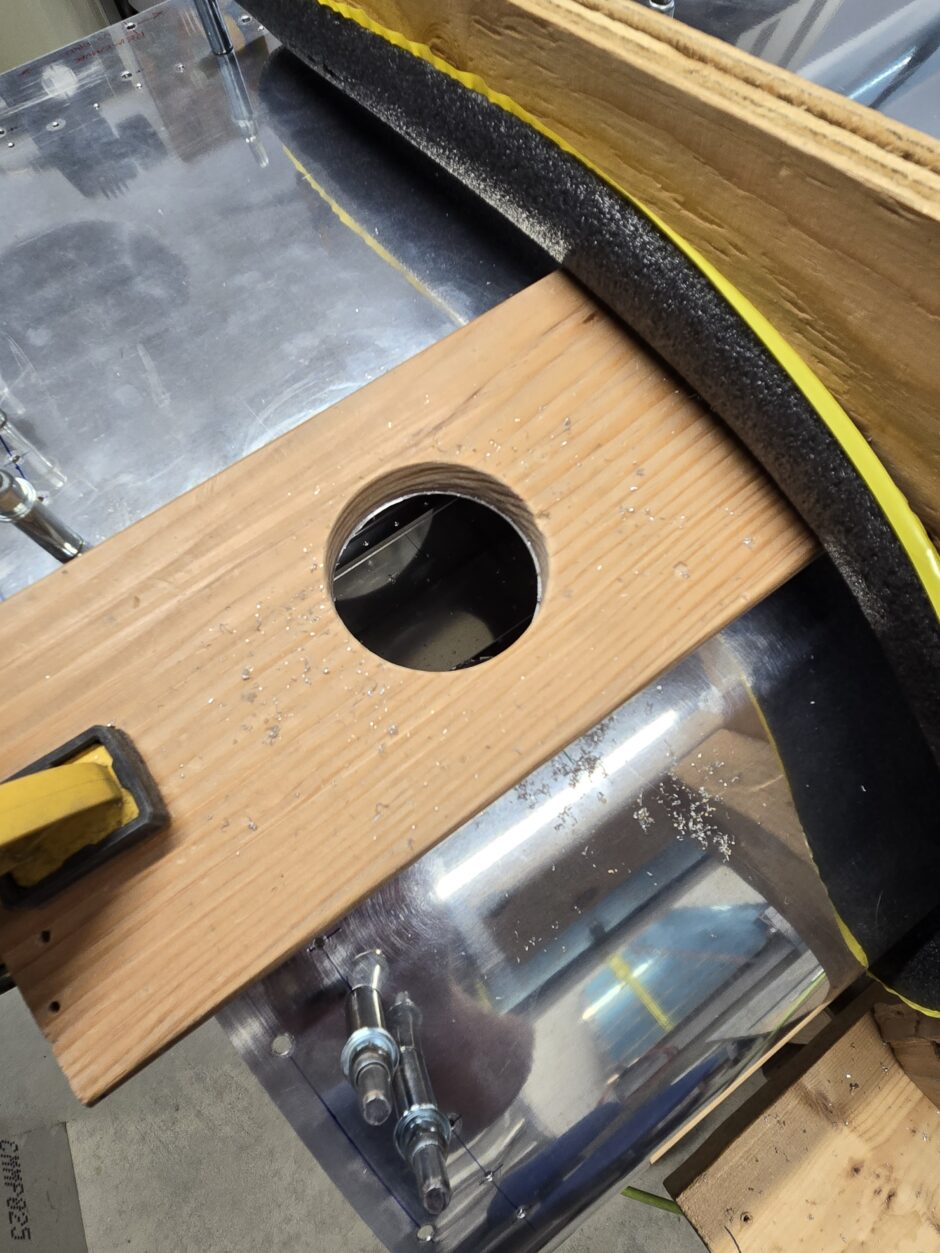
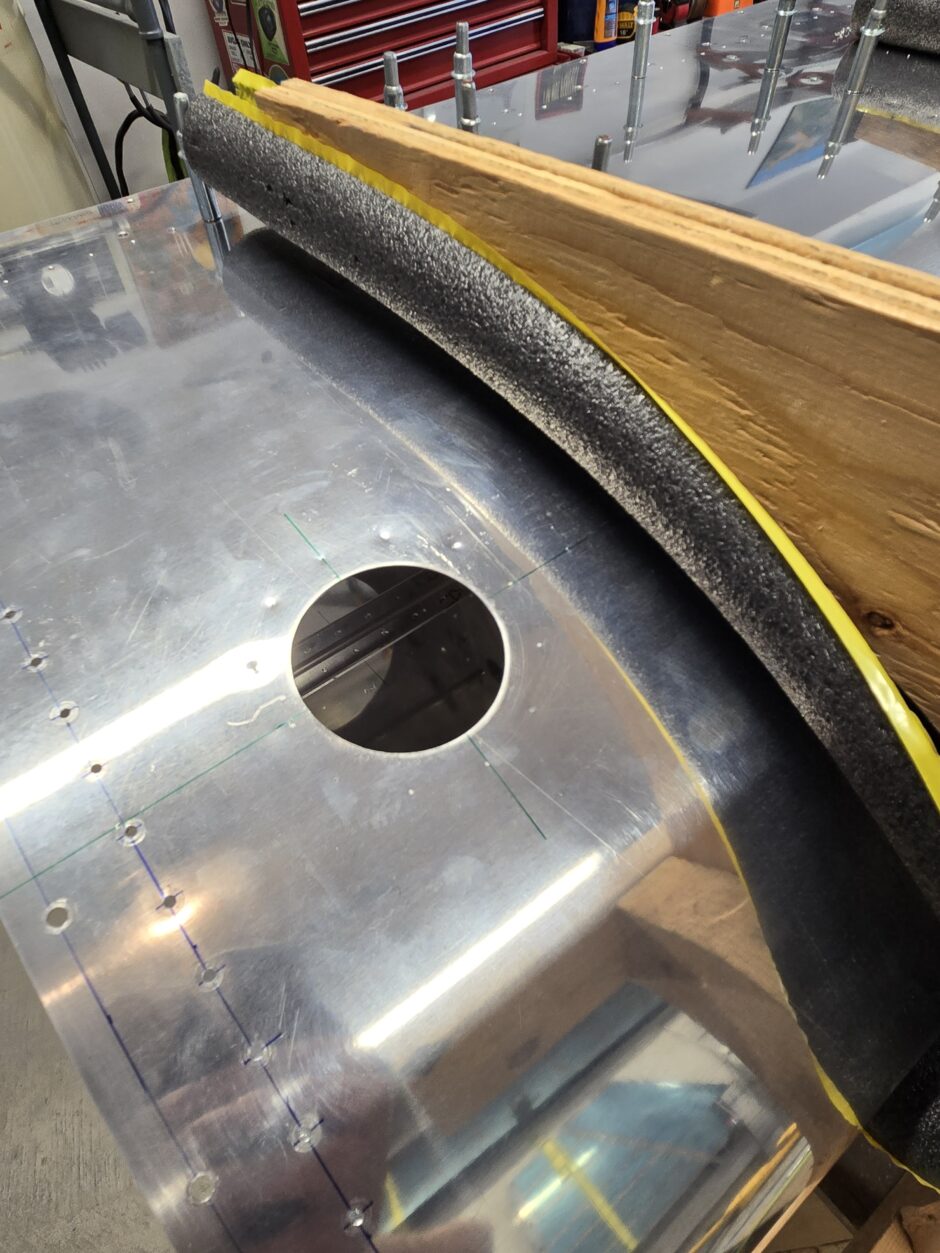
Again, the hole saw and drill guide did a fantastic job of creating a nice clean hole in the skin. There was very little cleanup required.
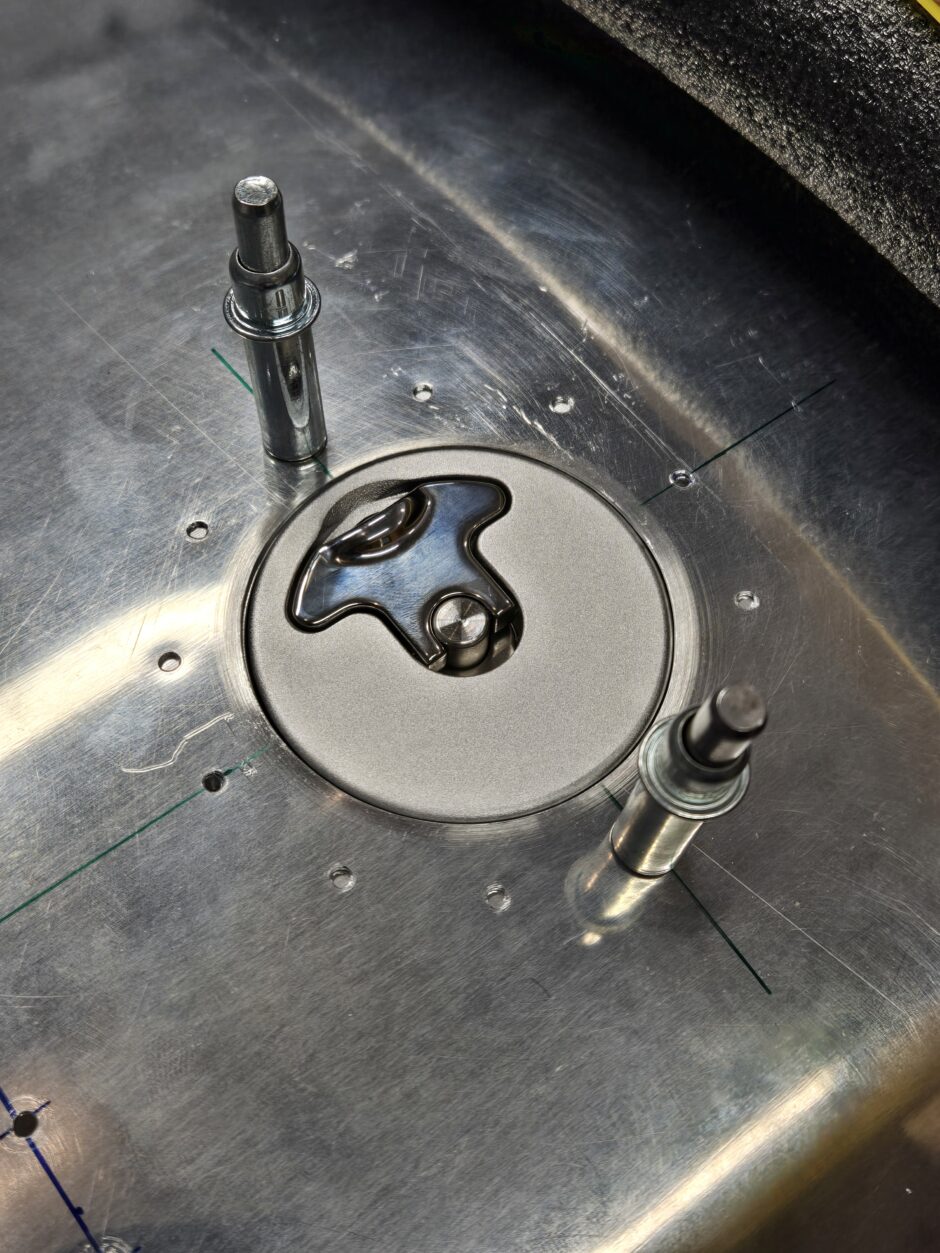
Next up was to drill the filler cap assembly to the skin. This is a bit more tricky to do as it’s a real pain to try and securely clamp the flange to the skin. I also pilot drilled the rivet holes to make it easy to transfer these holes to the filler cap flange.
After the first couple holes were drilled it was a relief to finally get some clecos installed to hold the flange in position. Again, I’m really happy with how the cap fit in the skin cutout.
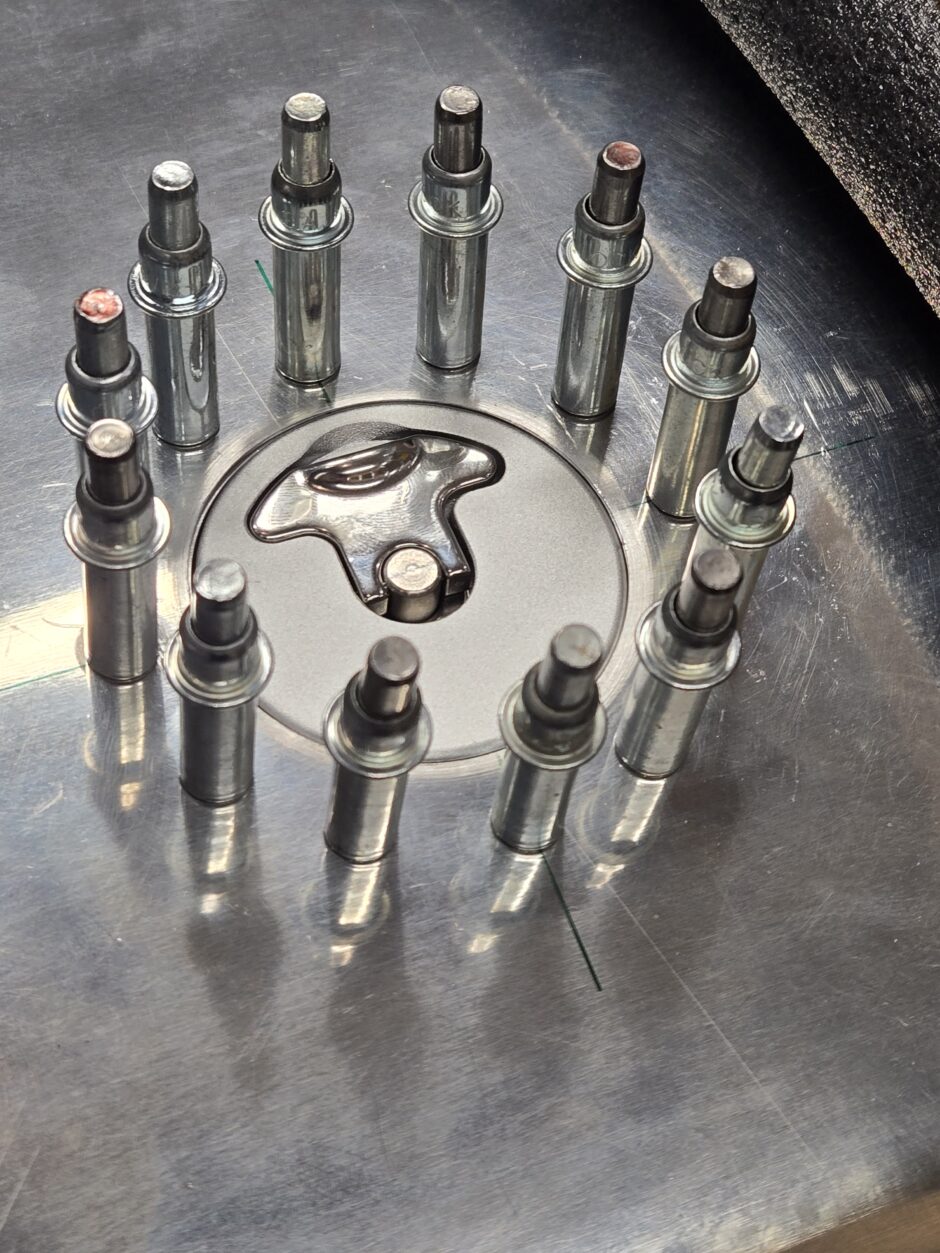
And here’s the filler cap fitting fully drilled to the skin.
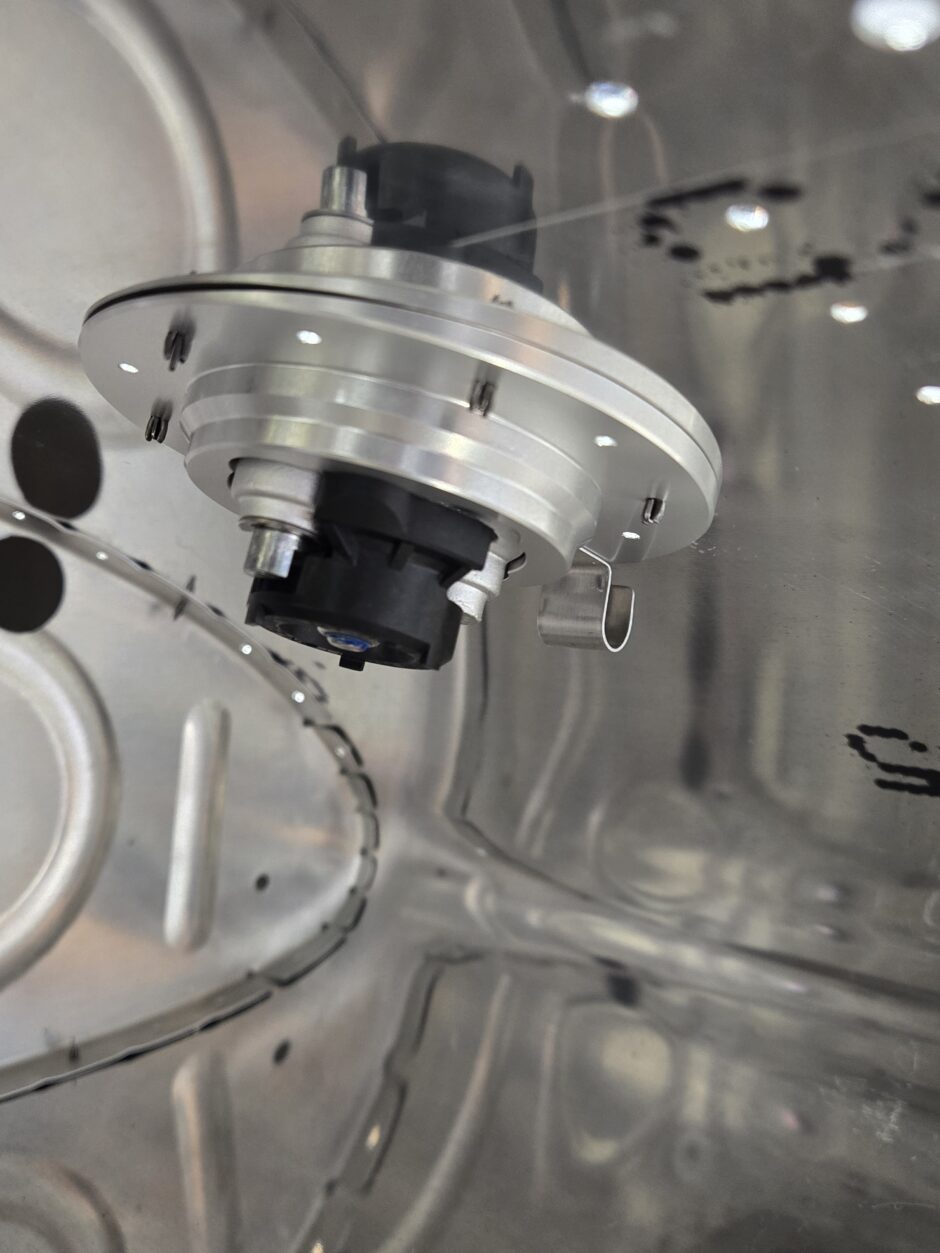
Here’s the view from the inside. These filler caps are absolutely a work of art. Excellent workmanship on these units.
That’s all for today folks! Please comment. I love to hear from my readers. Thanks again for coming along for this ride, you make my work worthwhile.
Leave a Reply