Good day, today I’m working on installing the capacitance fuel sender plates in the right fuel tank. As I previously made the Delrin isolators and have also made the sender plates, today I’m working on getting these parts installed on the tank. In the picture below, I already have the sender plate installed. Before this I needed to countersink the Delrin isolator to accept the countersunk washer which supports the screw in this assembly. This took a few tried of putting the plate on and off before I got the proper depth and the washer sat flush against the isolator.
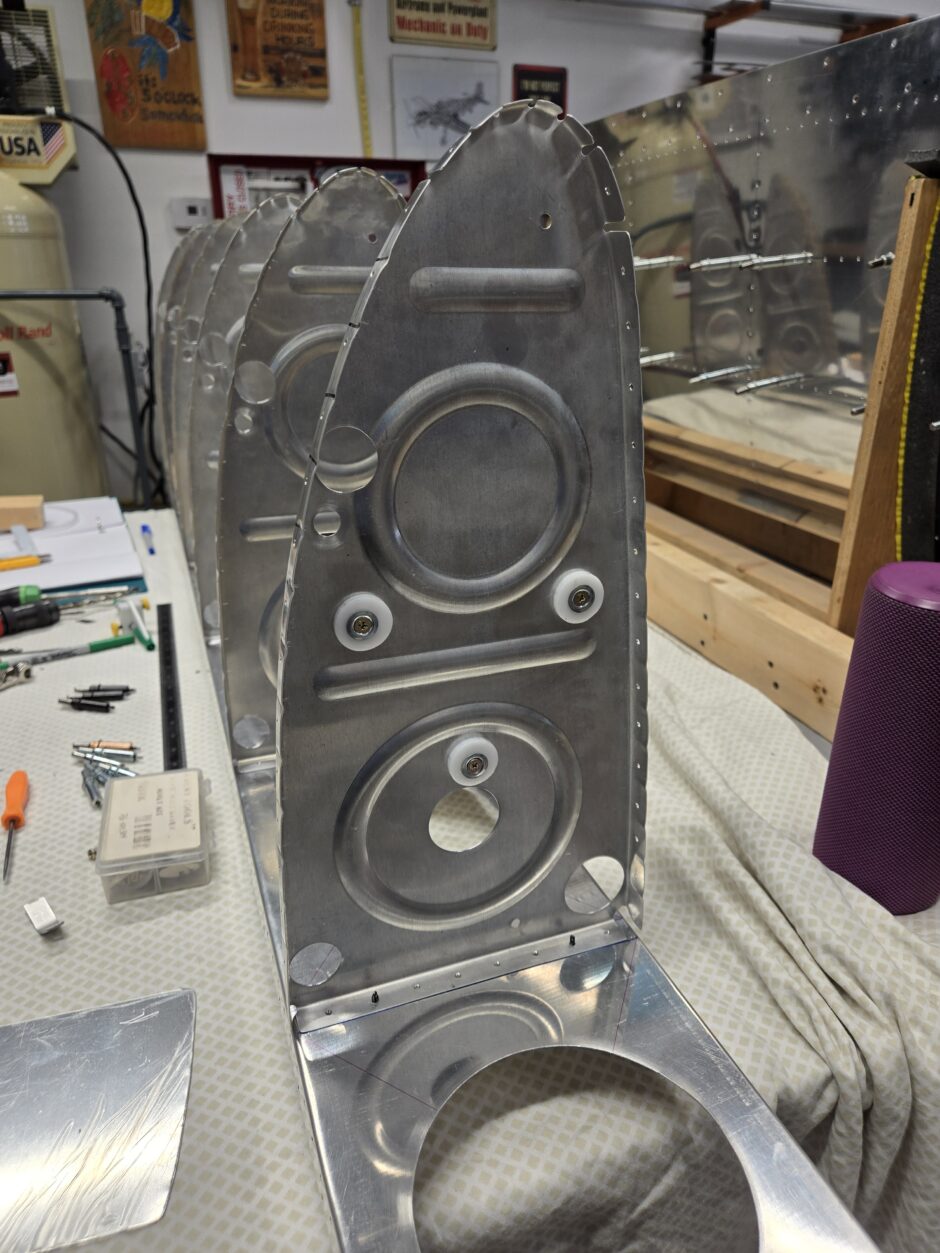
Here’s a shot of the plate side.

And here’s an end shot where you can see the isolator holding the plate off the rib.
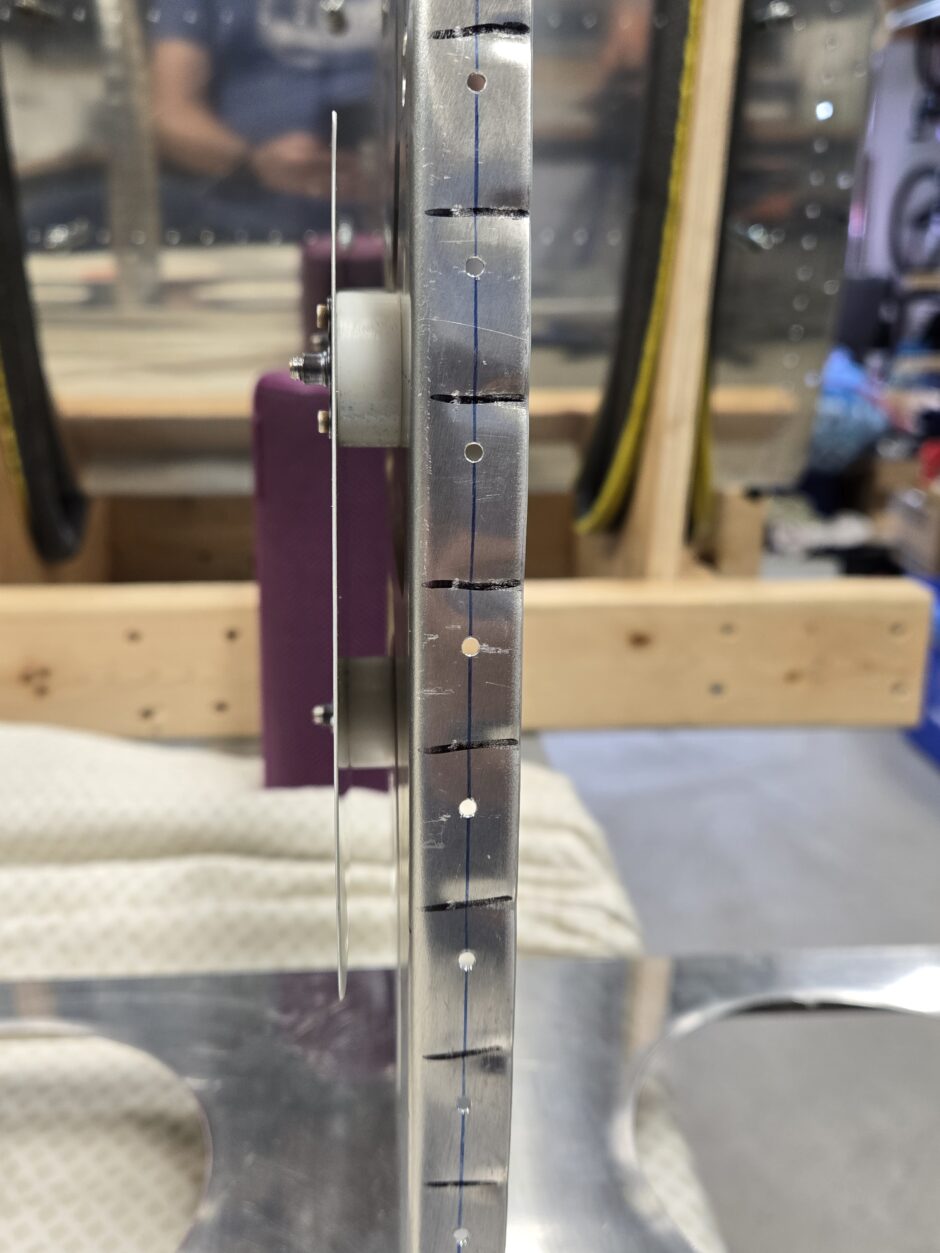
Here is getting the next isolator fitted. As this one sits inside the rib flange it’s a bit more critical to get the plate sizing and contoured correctly.
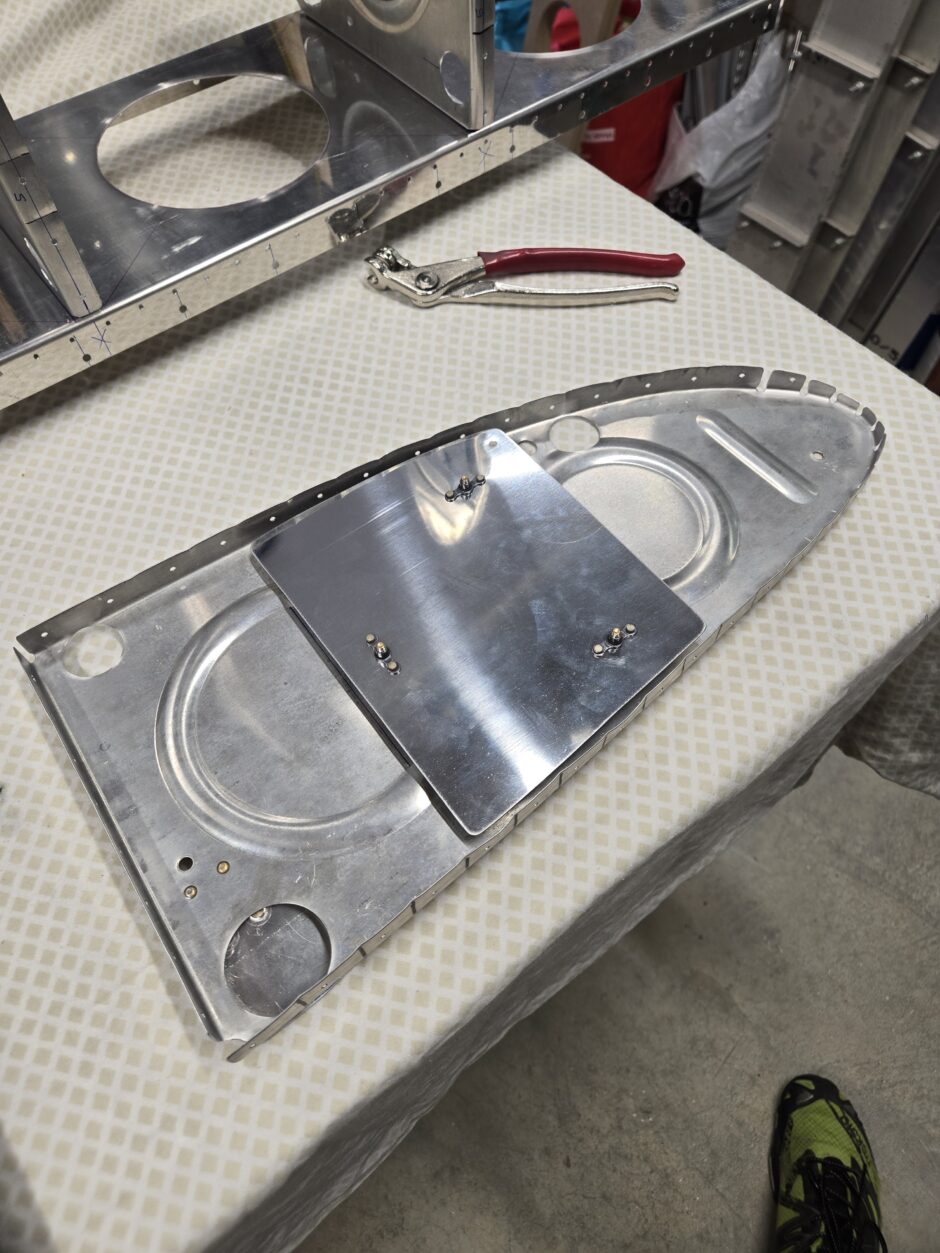
Here’s the other side of the rib and plate.
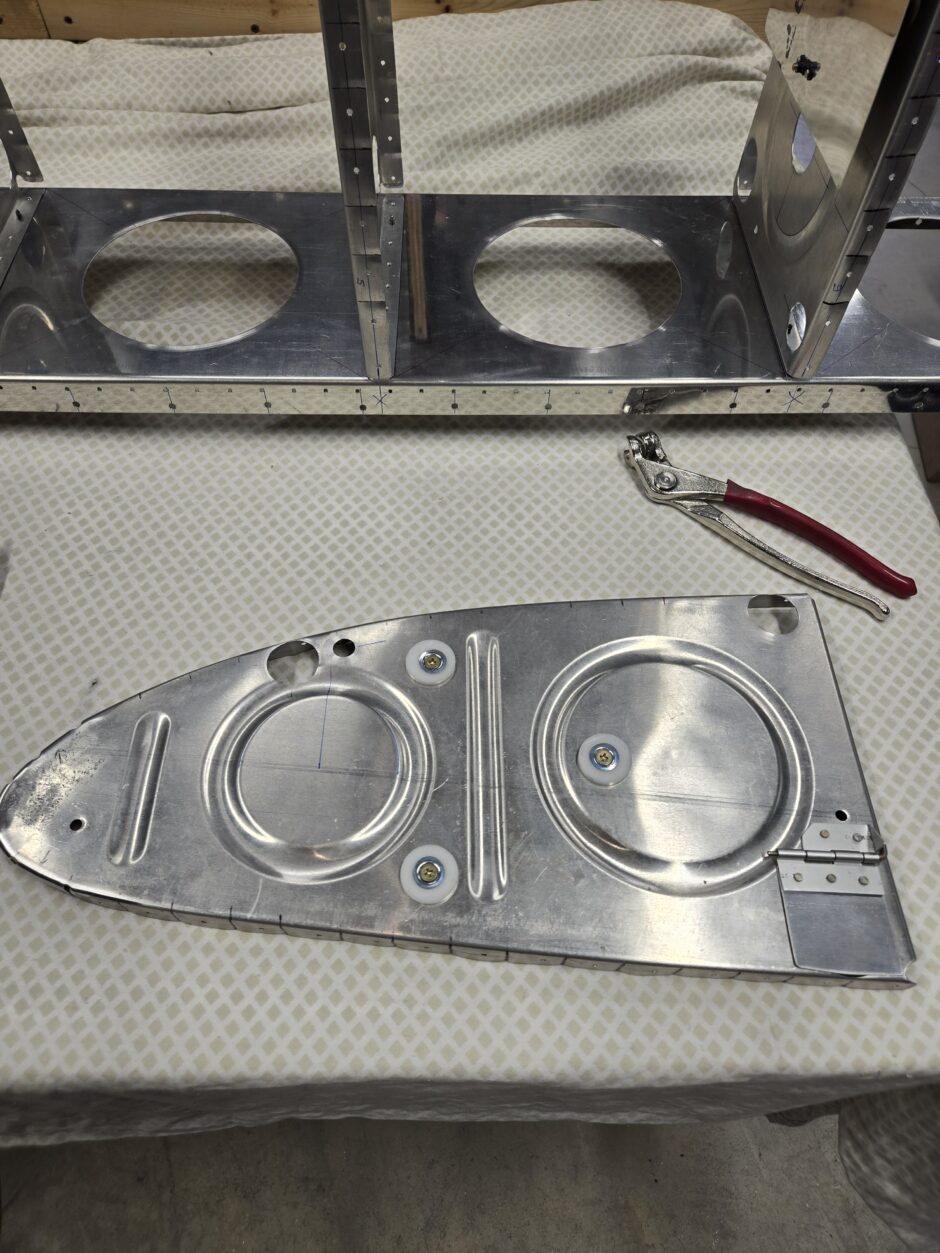
Here are some pictures of the sender plates installed.
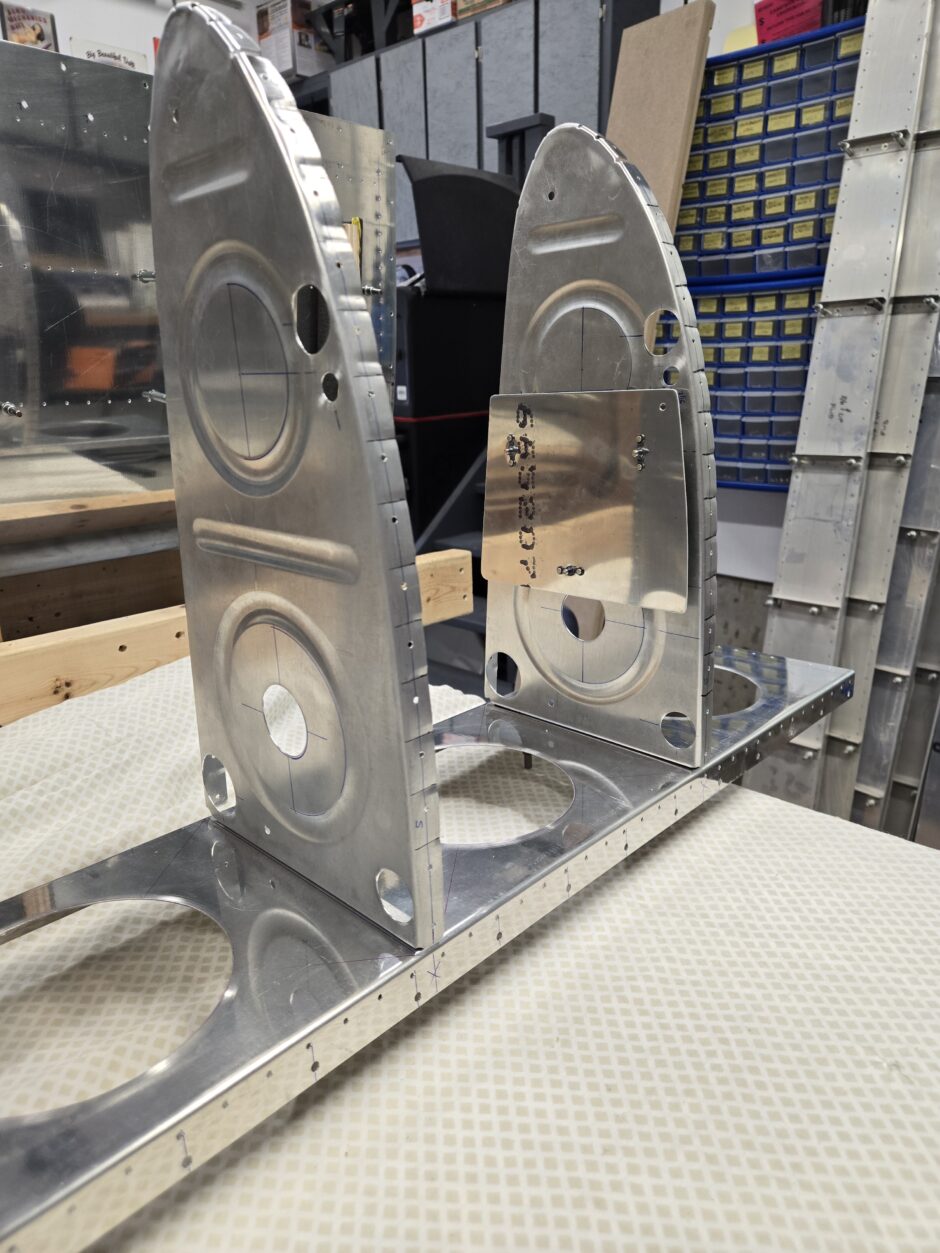
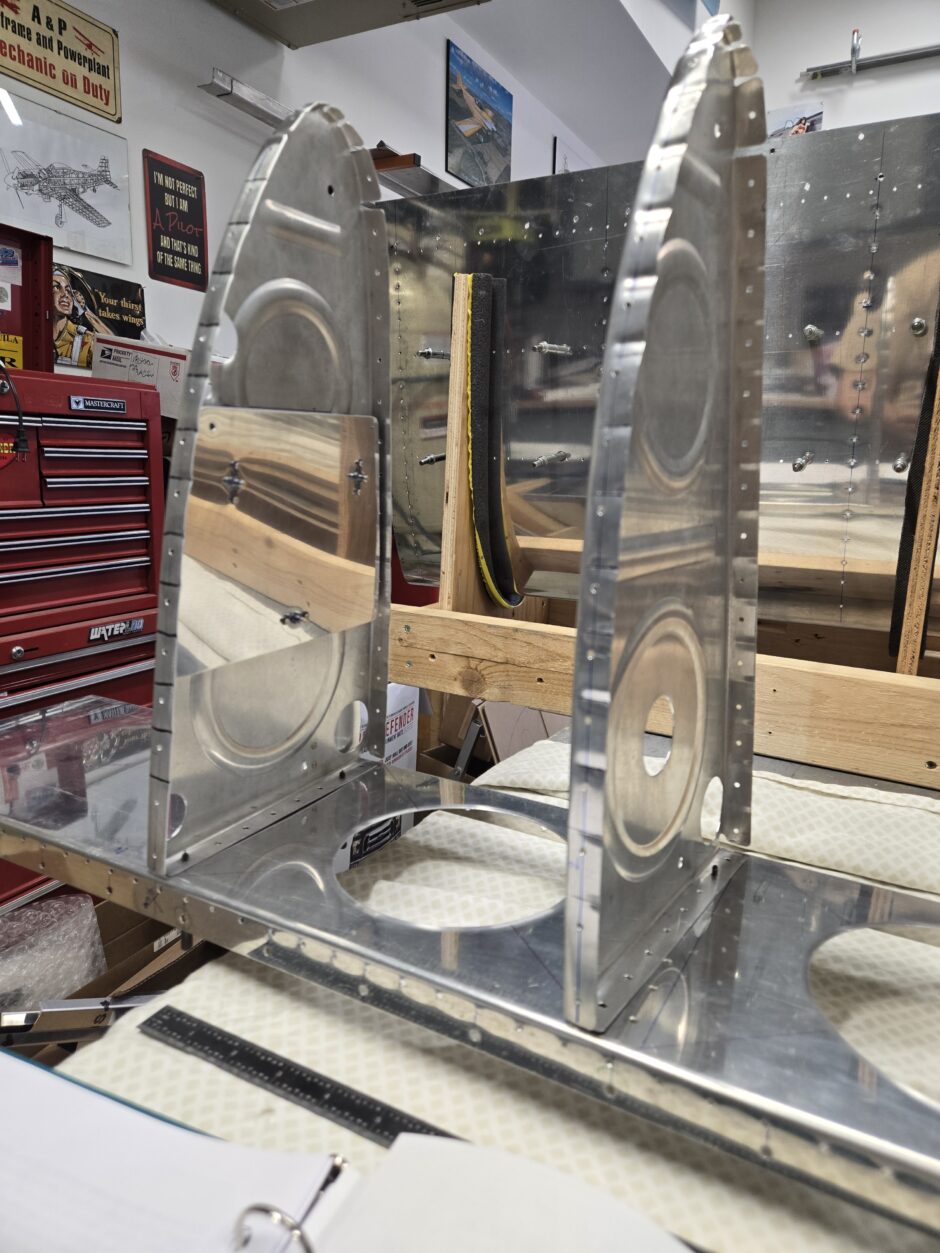
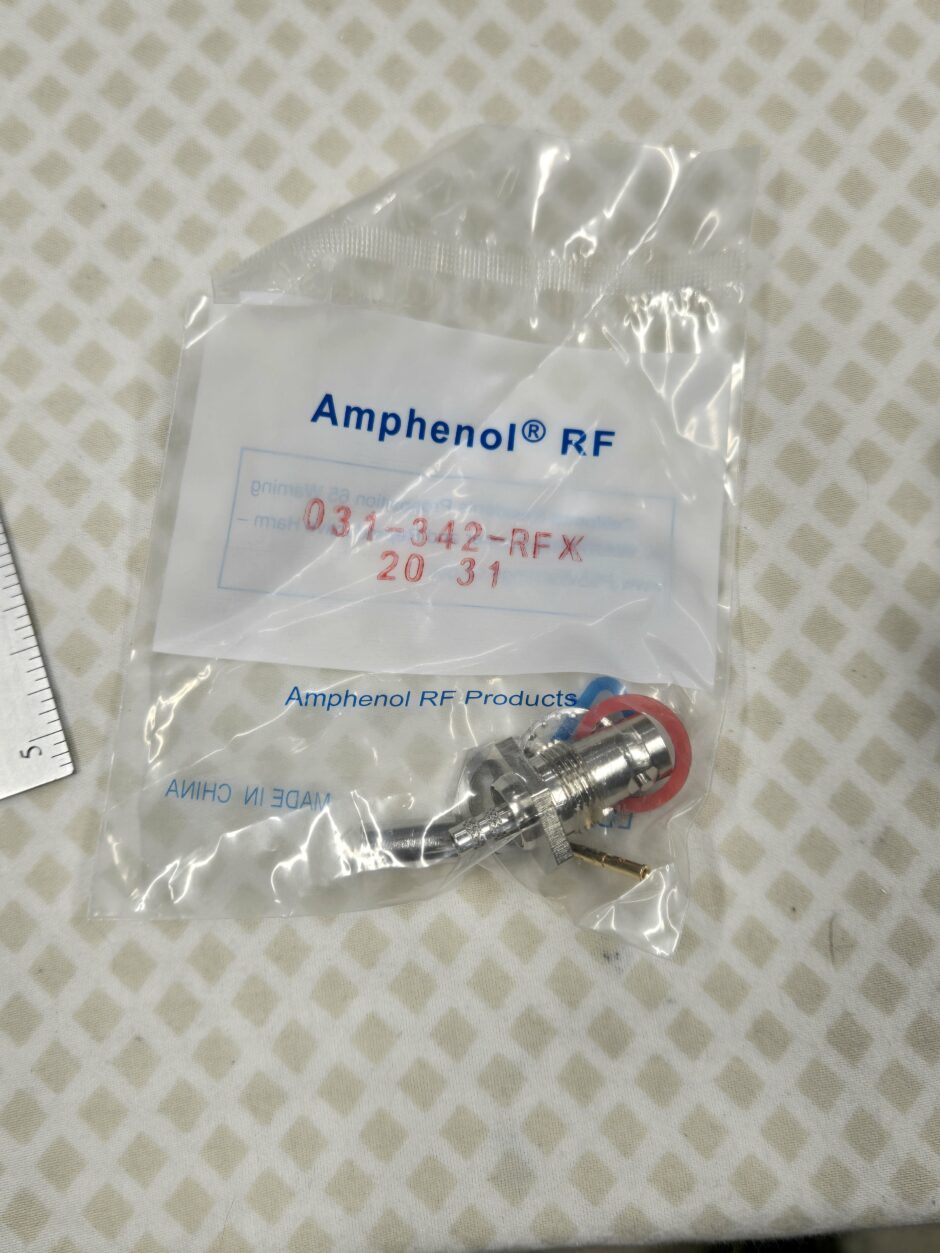
And before wrapping up today, I also installed the BNC connector for the sender plate wiring. Here’s the bulkhead BNC connector that I got from SteinAir. I went with the bulkhead connector because it has the rubber gasket which is an extra level of protection against potential fuel tank leaks in this area.
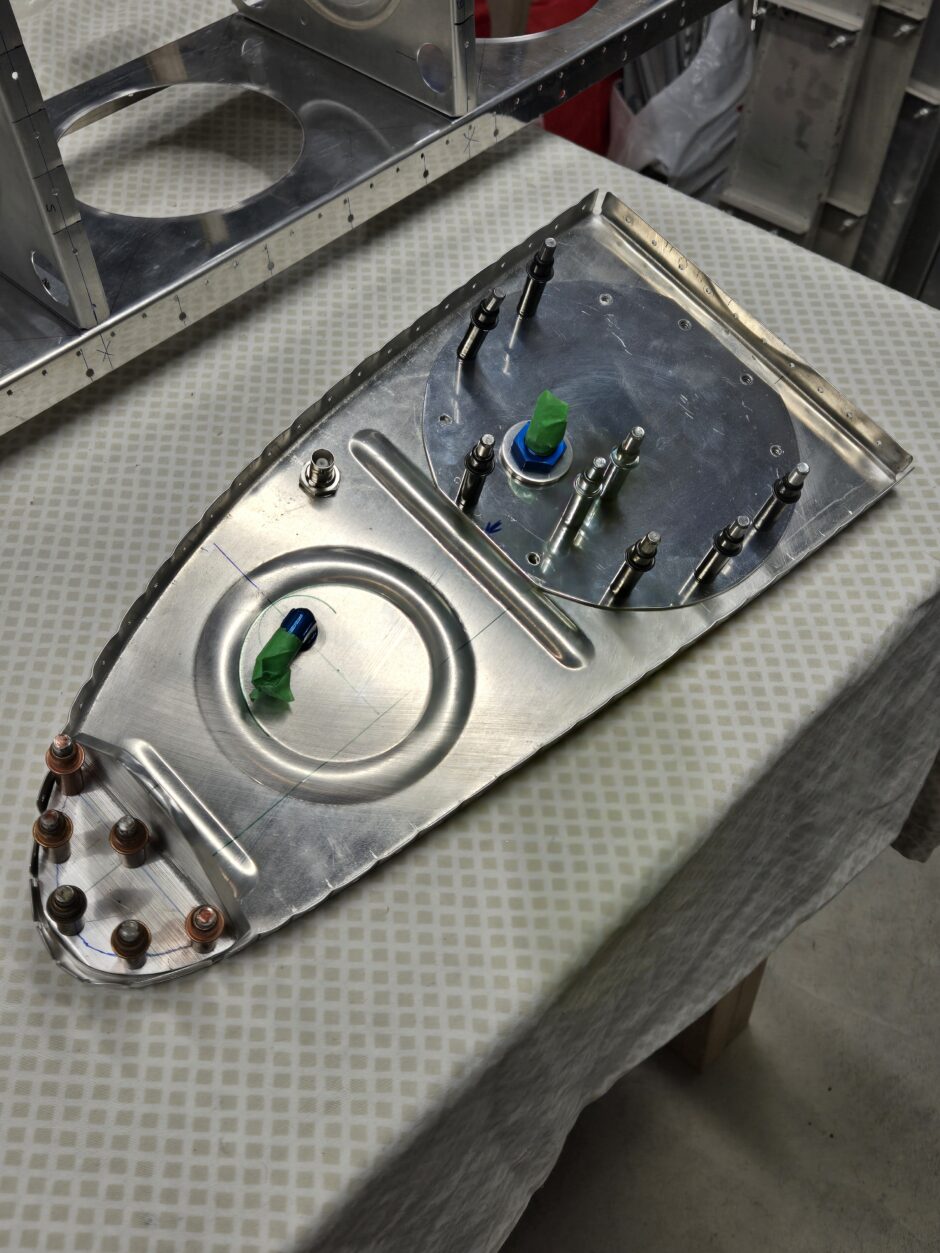
And here’s the end rib with the BNC connector installed. I’m not going to get into too much detail here about how to install it as I’ve previously covered that in an earlier post.
That’s all for today folks! Please comment. I love to hear from my readers. Thanks again for coming along for this ride, you make my work worthwhile.
Leave a Reply