Good day! Today I’m continuing with sealing and final assembly of the right wing fuel tank. In my last building session I got the tank stiffeners and filler cap assembly installed and now I’m going to progress with getting the ribs installed.
In the picture below, you can see that I’ve started with riveting the upper surface. No practical reason for it – top or bottom really doesn’t matter at this point. What you can notice is that I’m working to keep the surface as clean as possible as I go. I wipe up any excess sealant with MEK as soon as I see it. If you’re not on top of this right away, it can get away from you really quickly.
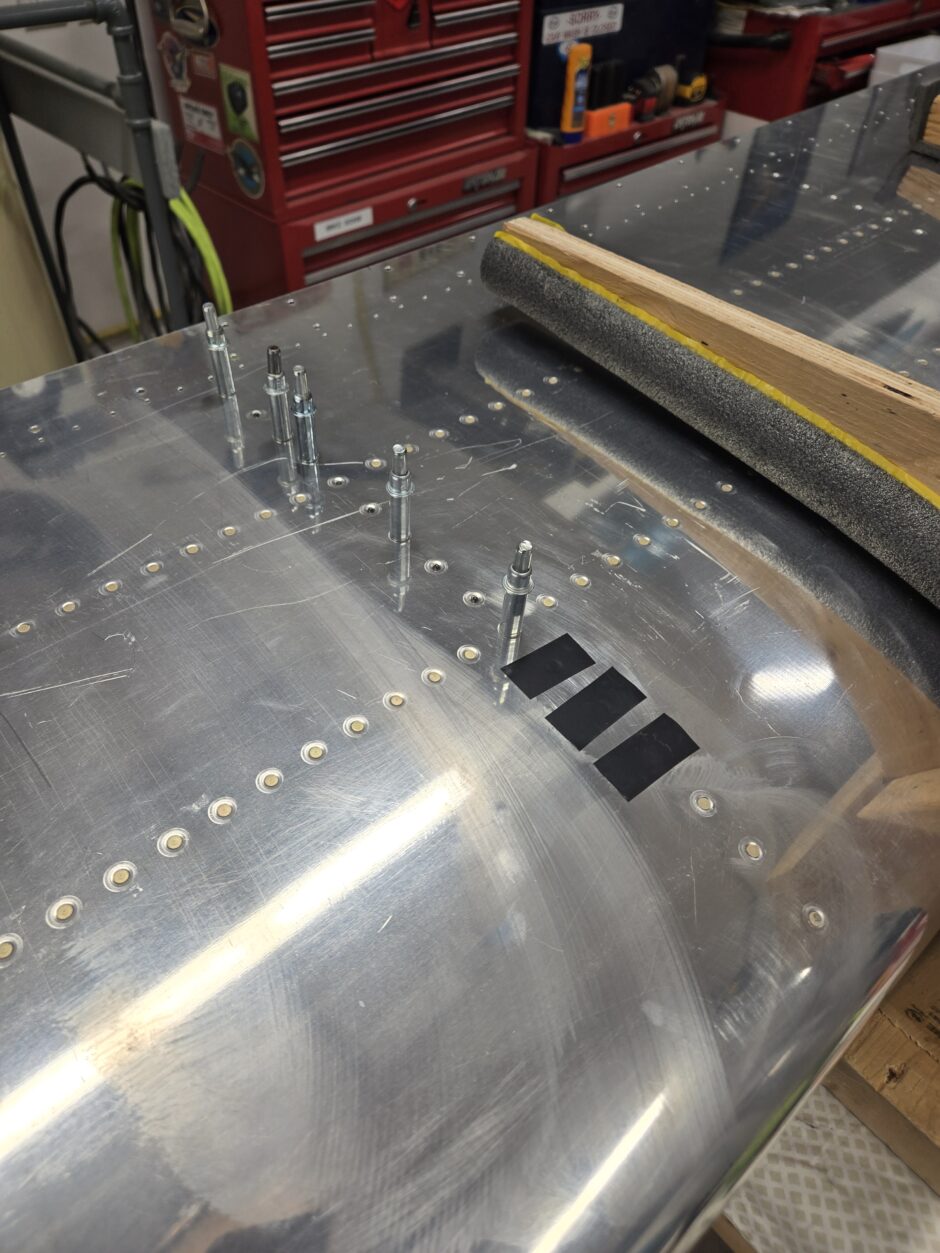
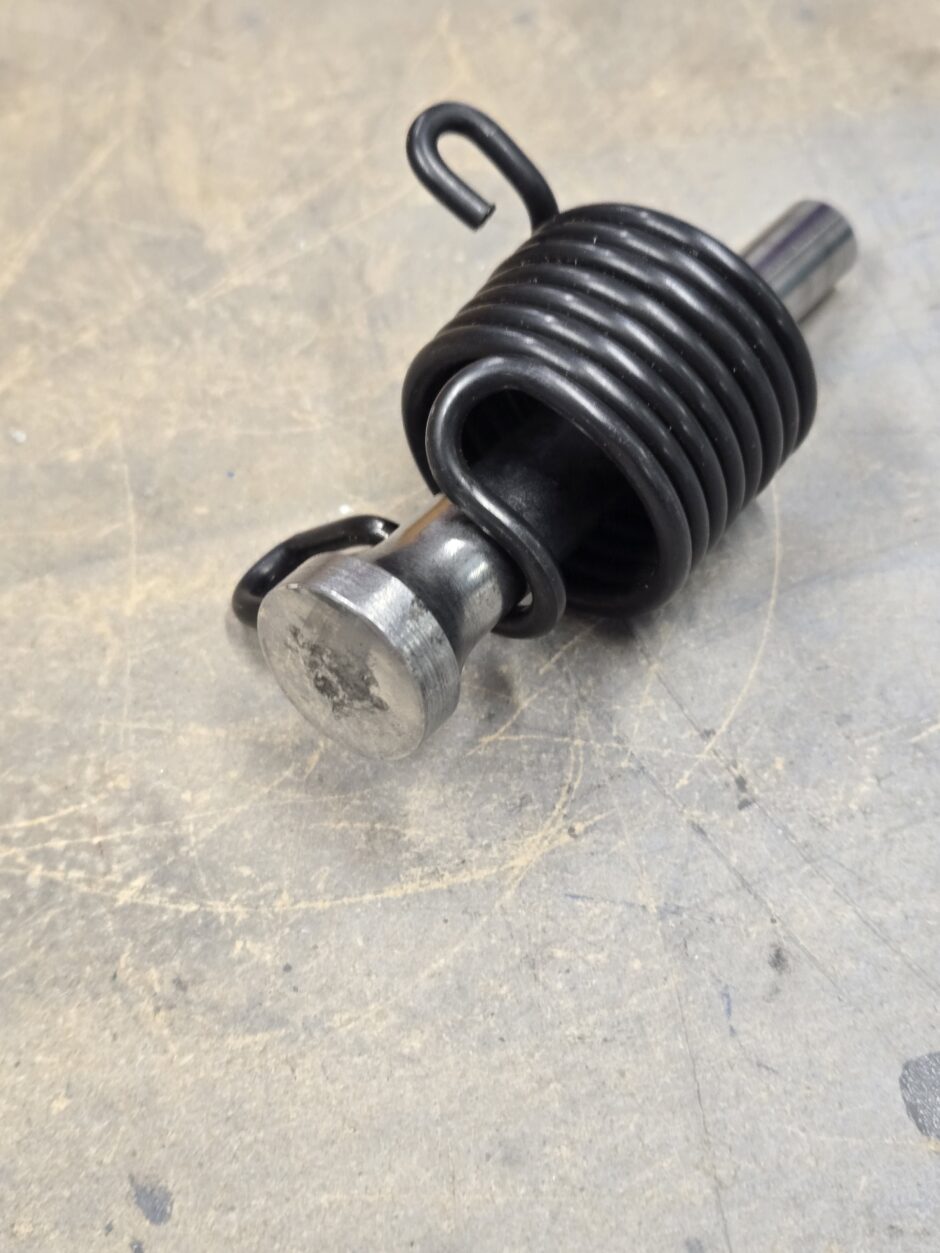
Update: After doing a bit more riveting on the fuel tanks – I also wanted to comment on the rivet set I’m using. Normally I’ll use the standard Avery Swivel Flush Rivet Set for all of my flush riveting. However, I found that when riveting on the leading edges, especially here on the tanks when you’re working with the sealant and the rivets are more prone to dump. I found that using the good old Mk.1-Mod.0 mushroom set worked really well on getting the leading edge rivets set. After setting the first 3 or 4 I would then switch back to using the Avery Swivel rivet set again.
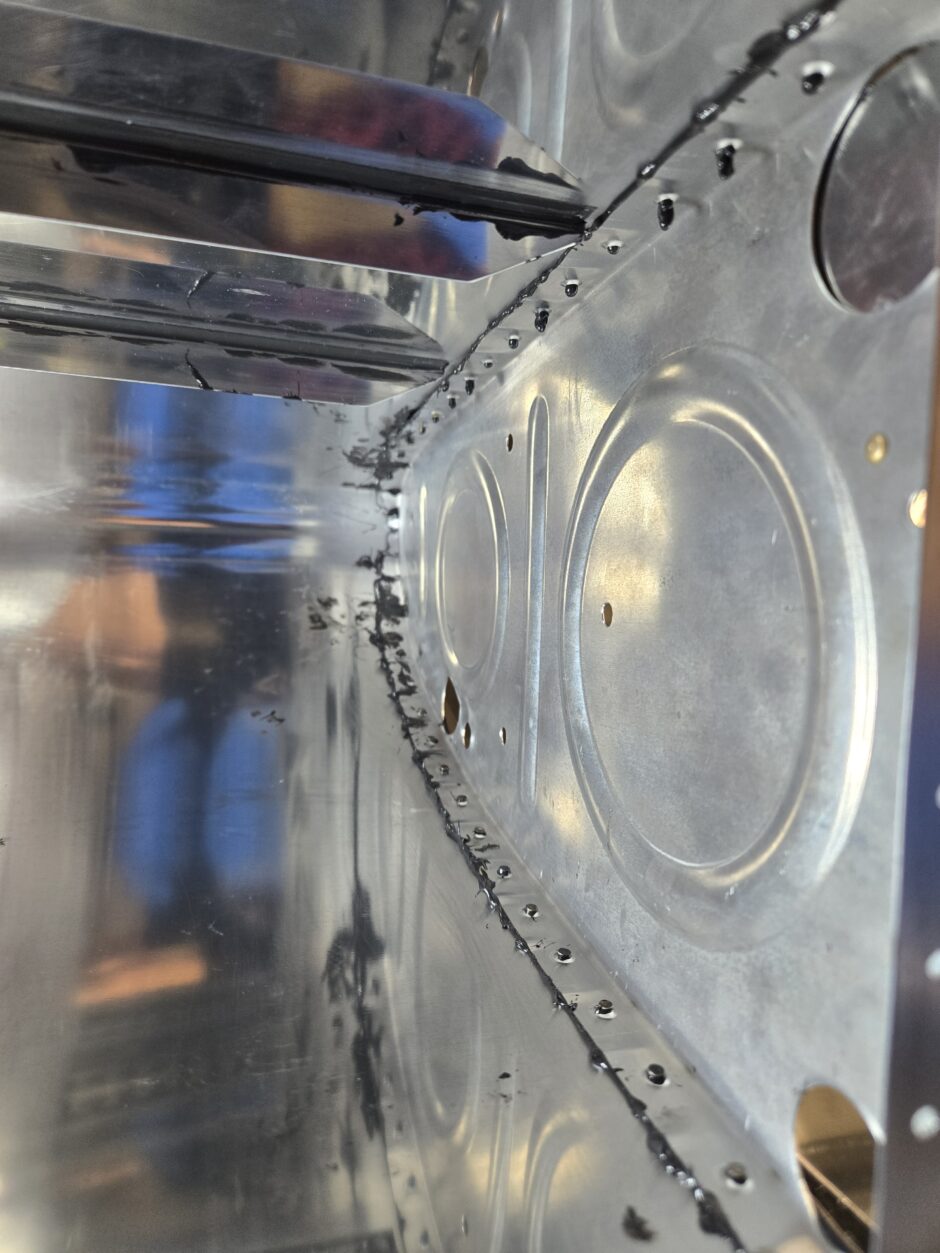
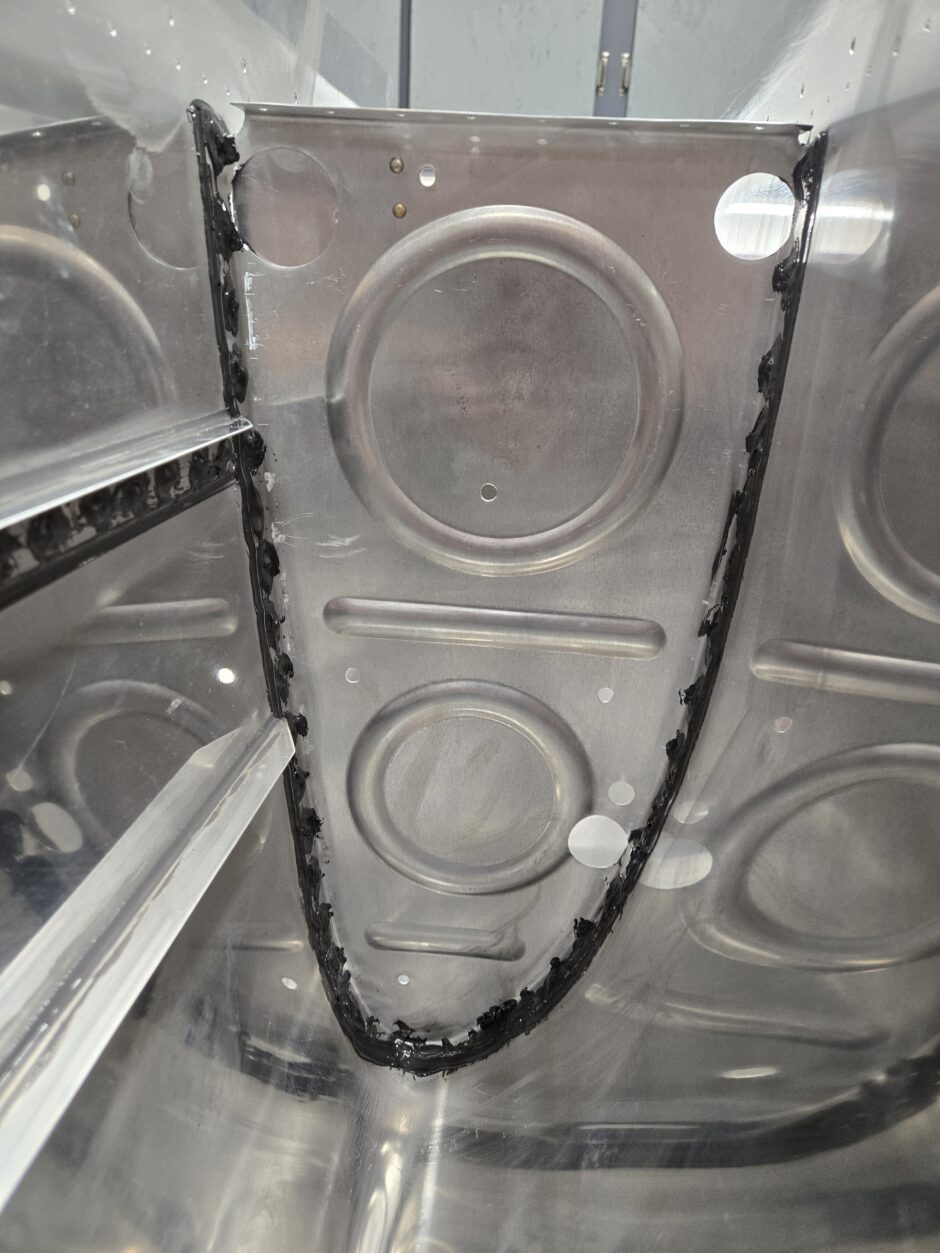
Below is a picture of the inside working surface, it’s goopy and a bit messy, but not bad for a first attempt at working with the sealant.
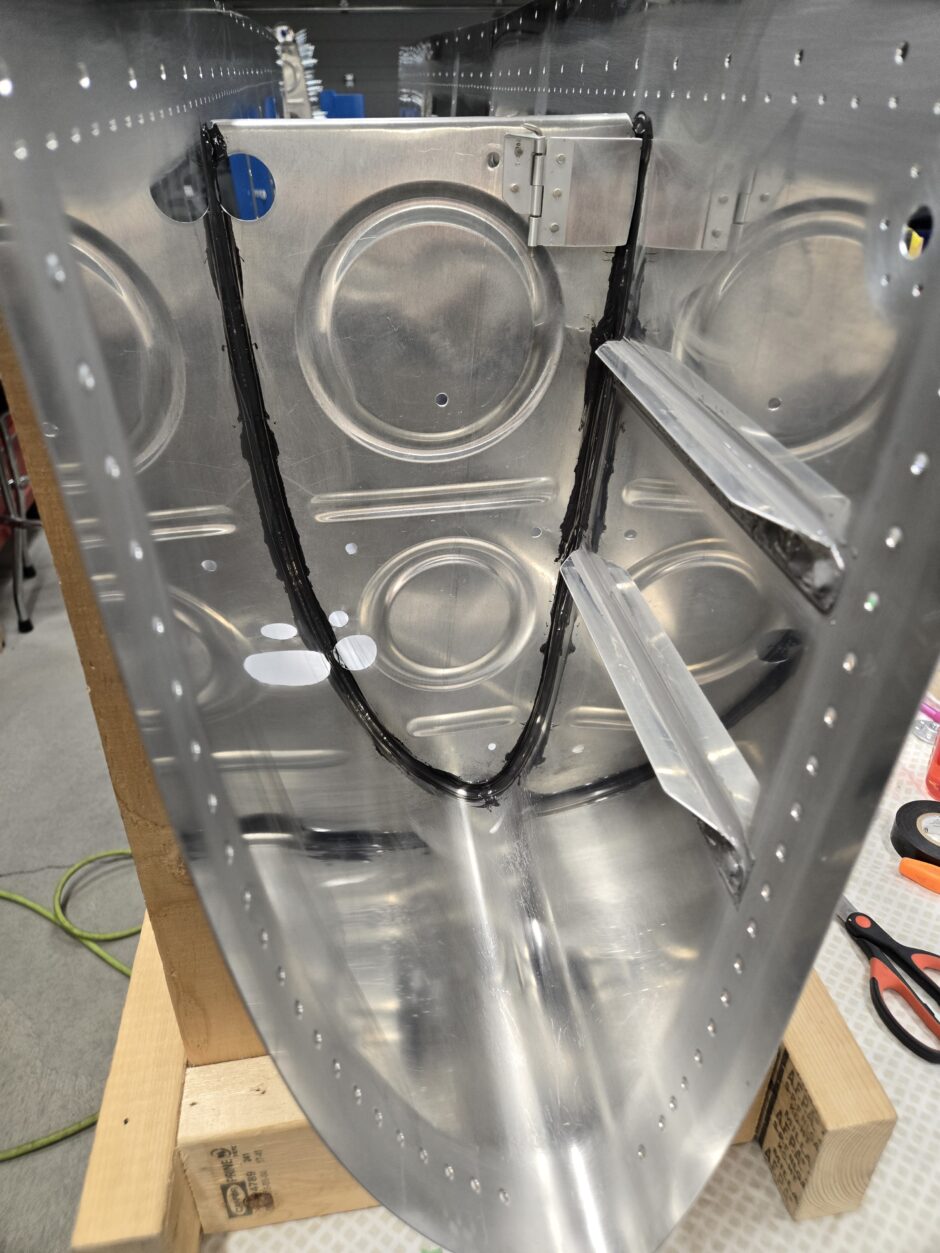
Below is the finished product of my first rib installed. If you’re trying to budget your time, I would plan on scheduling an 2-3 hour, uninterrupted, build session per rib!
That’s all for today folks! Please comment. I love to hear from my readers. Thanks again for coming along for this ride, you make my work worthwhile.
Leave a Reply