Good day, today I’m working on the right fuel tank rear baffle and installing the access panels. How am I here at this stage again. It feels like I just finished doing these on the other tank. Needless to say, I’m really not looking forward to doing all this drilling again…LOL! Another day in the life of building homebuilt airplanes. On a more serious note, even though this is a VERY repetitive task, I’m expecting that it will progress along fairly smoothly.
Starting out with the T-407 reinforcement rings, I’m again using the rings supplied by Van’s in the RV-4 kit as my drilling templates for the new rings I made. I’m clamping a few together to maximize my drilling.
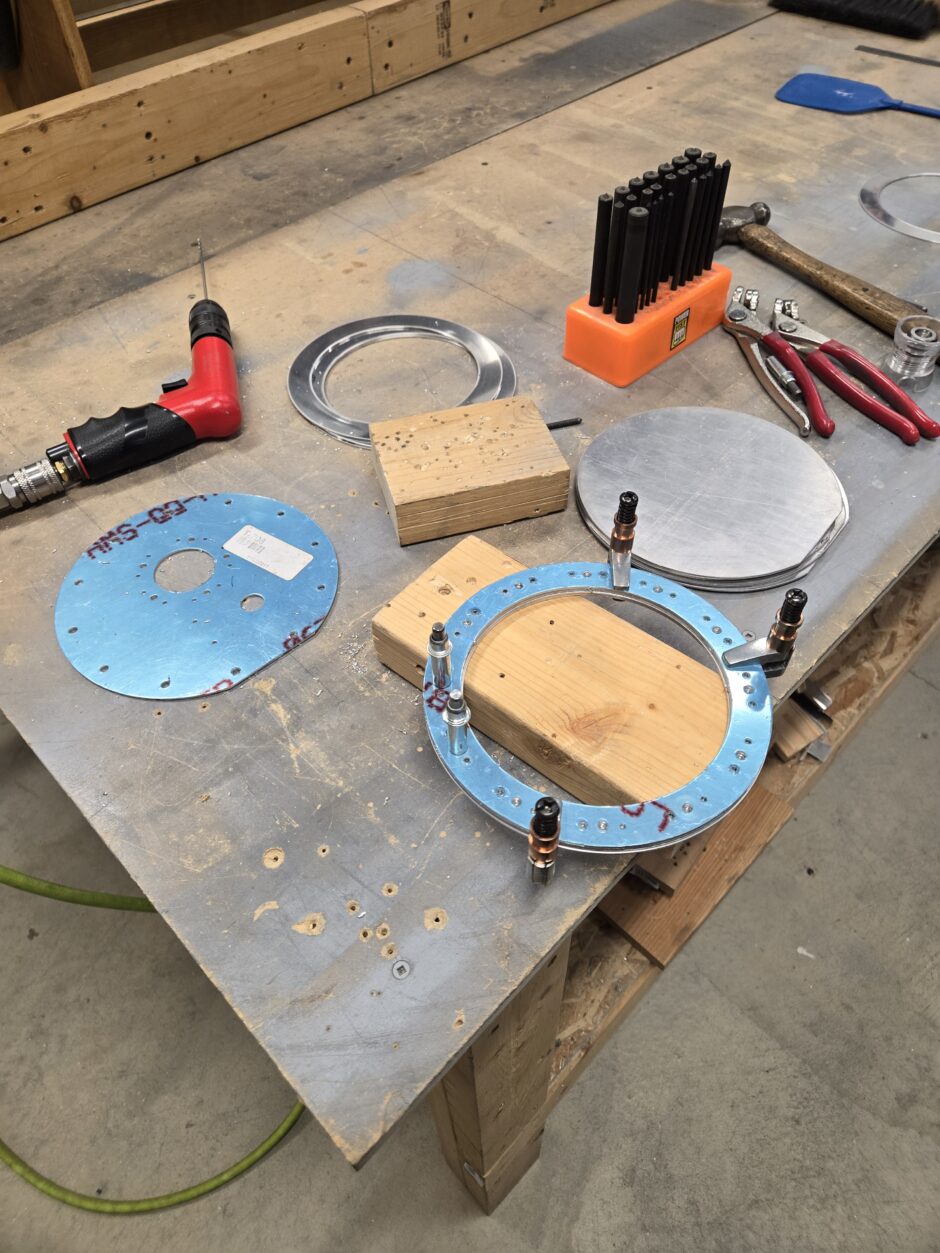
Here are the rings drilled for the nutplates, and pilot drilled in the screw holes.


Next, the T-708 access panels were also match drilled to each ring.
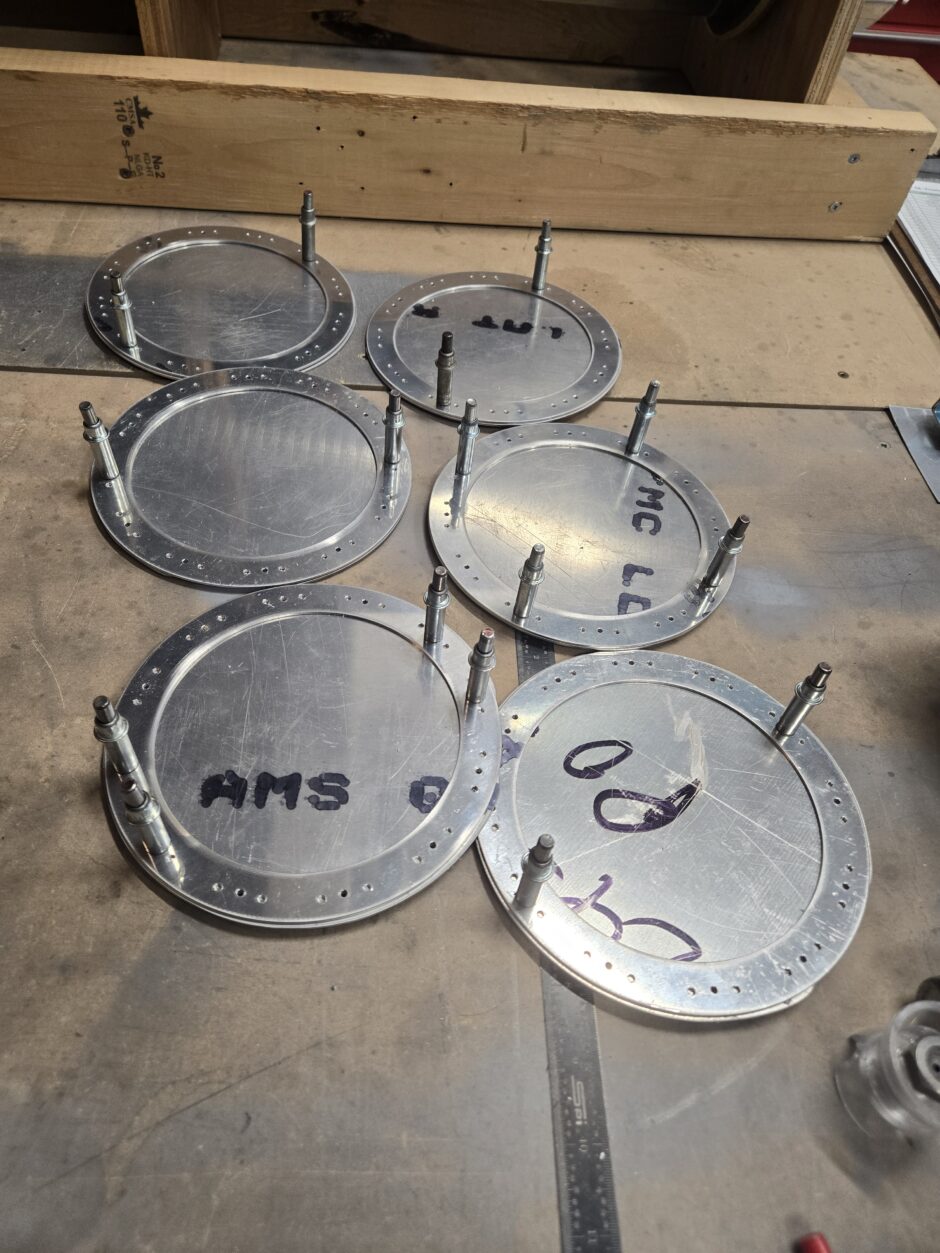
Working in a bit of a production line, I got each reinforcement ring clamped in position on the rear tank baffle. Then I back drilled the rings to rear baffle.
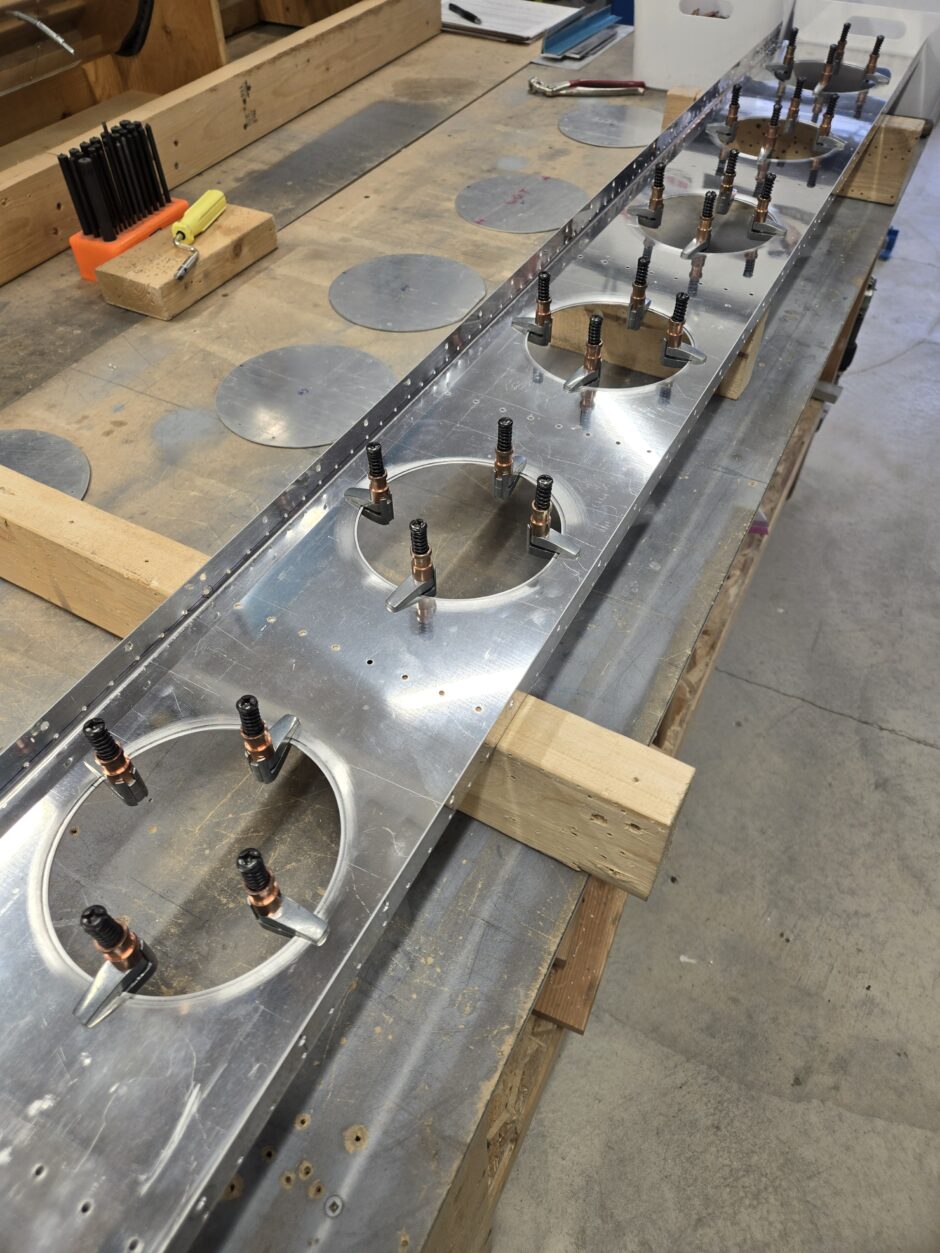
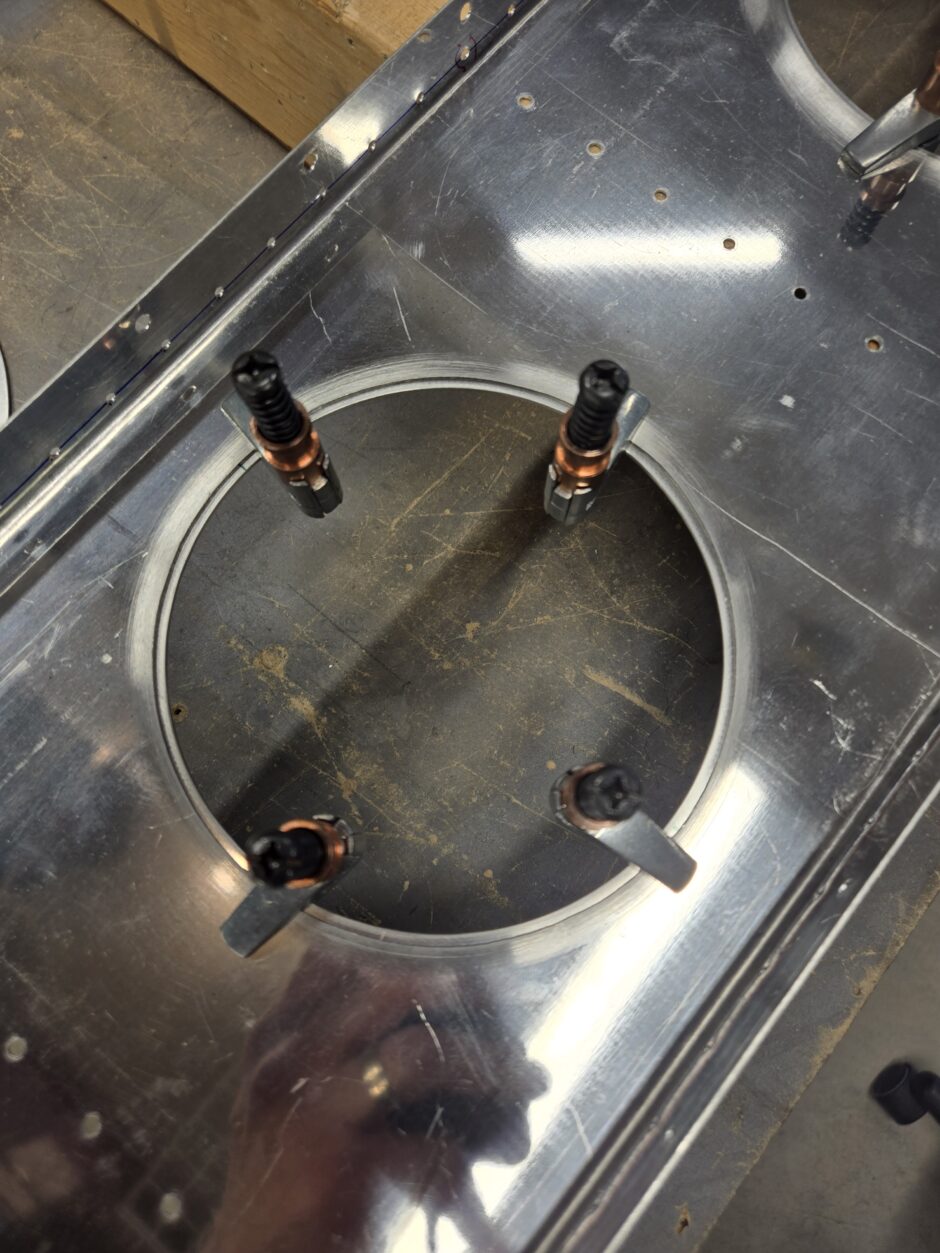
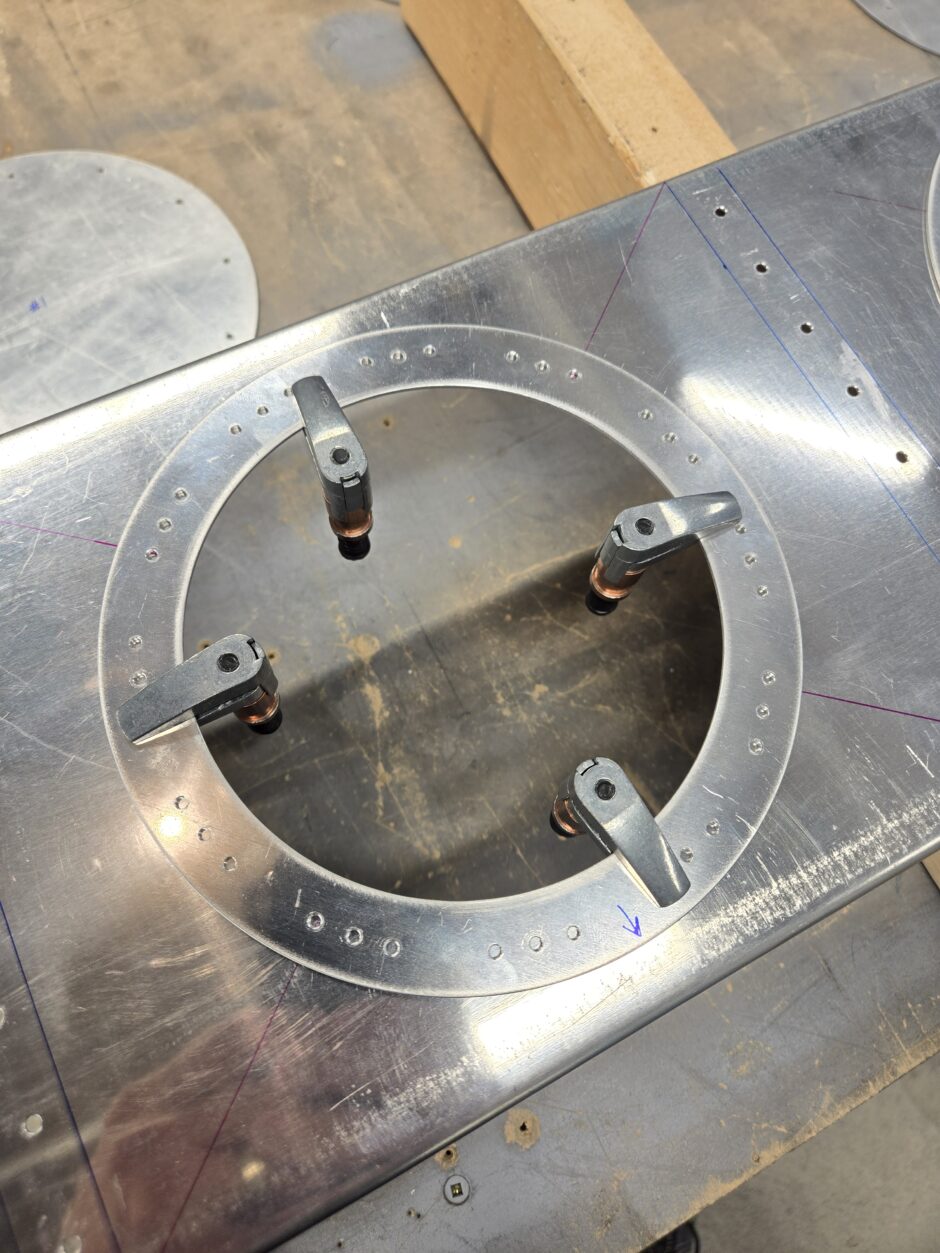
With the rings drilled to the rear baffle, the access panels were all able to be fitted. Once the access panels were in place, it was easy to upsize the holes to the #8 screw size. This worked out well, because all the layers are clecoed together, and the screw holes then can all align once they’re drilled.
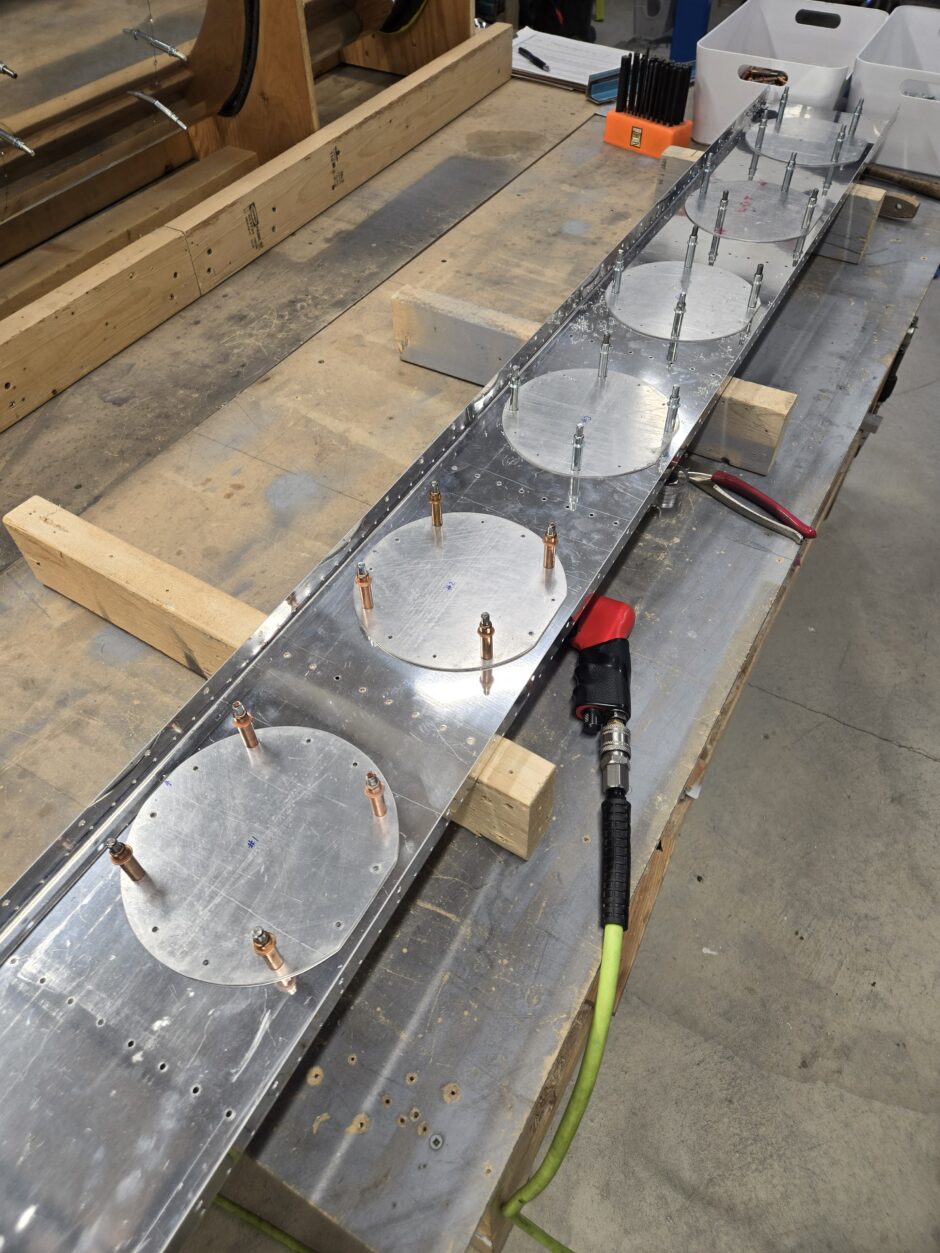
With all the drilling done, I moved on to dimpling all of the nutplate rivet holes in the tank baffle.

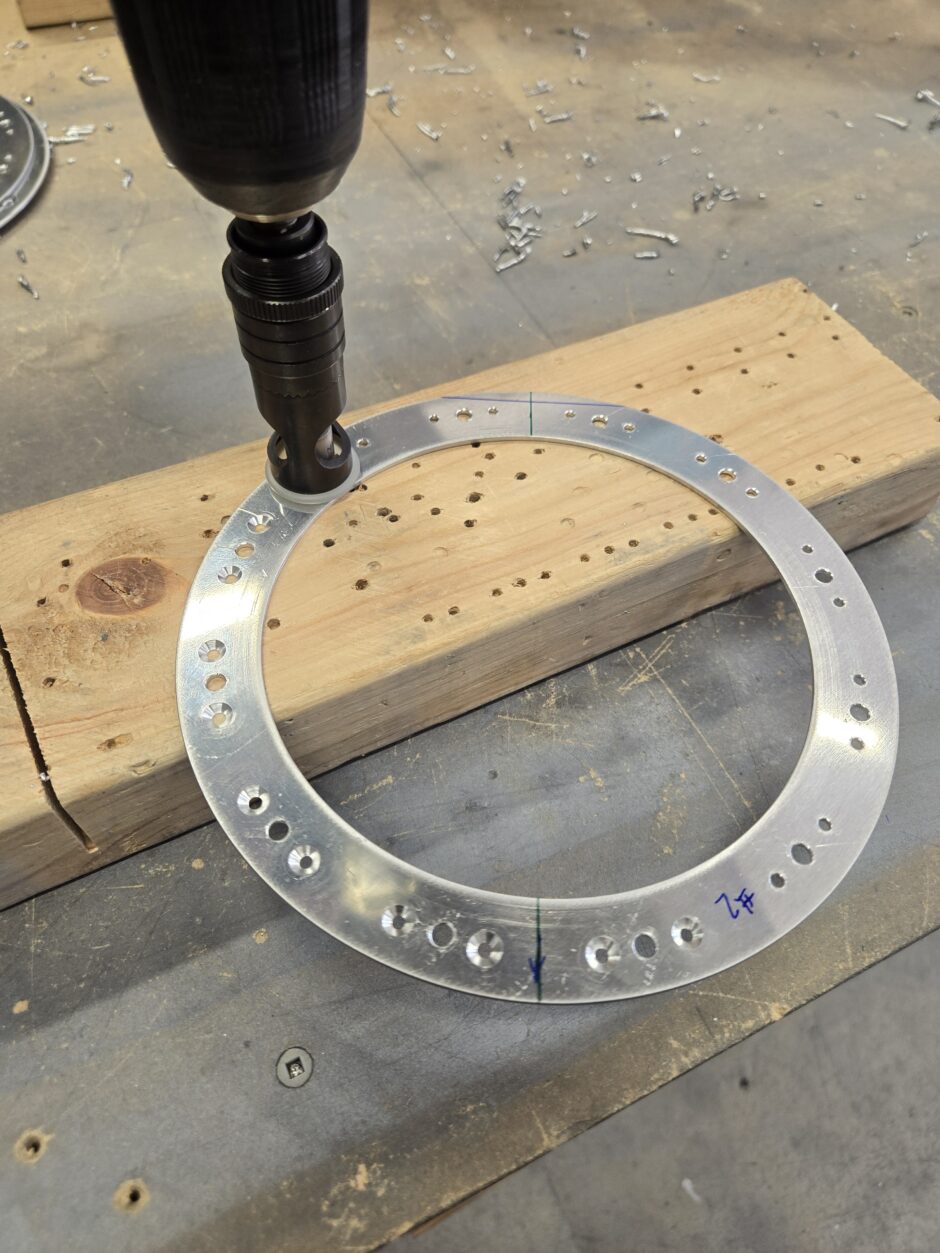
After the rear baffle is dimpled, the T-407 rings need to be countersunk to mate up with the dimples.
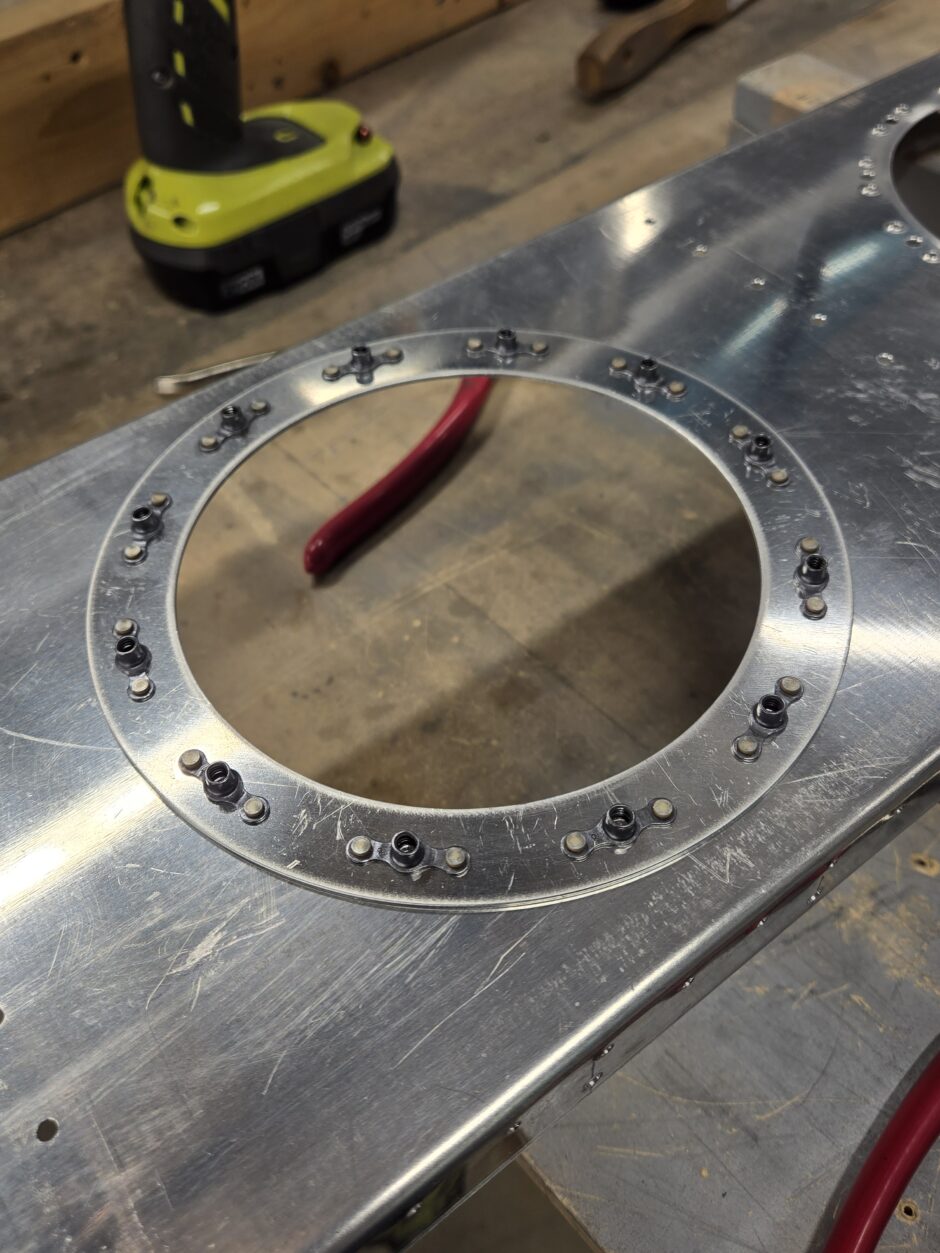
Then once all the dimpling and countersinking has been completed, I was finally able to rivet the T-407 rings to the rear baffle. None of this is tough or complicated work, it’s just extremely repetitive and I’m so happy to close this chapter in building the right fuel tank.

That’s all for today folks! Please comment. I love to hear from my readers. Thanks again for coming along for this ride, you make my work worthwhile.
Leave a Reply