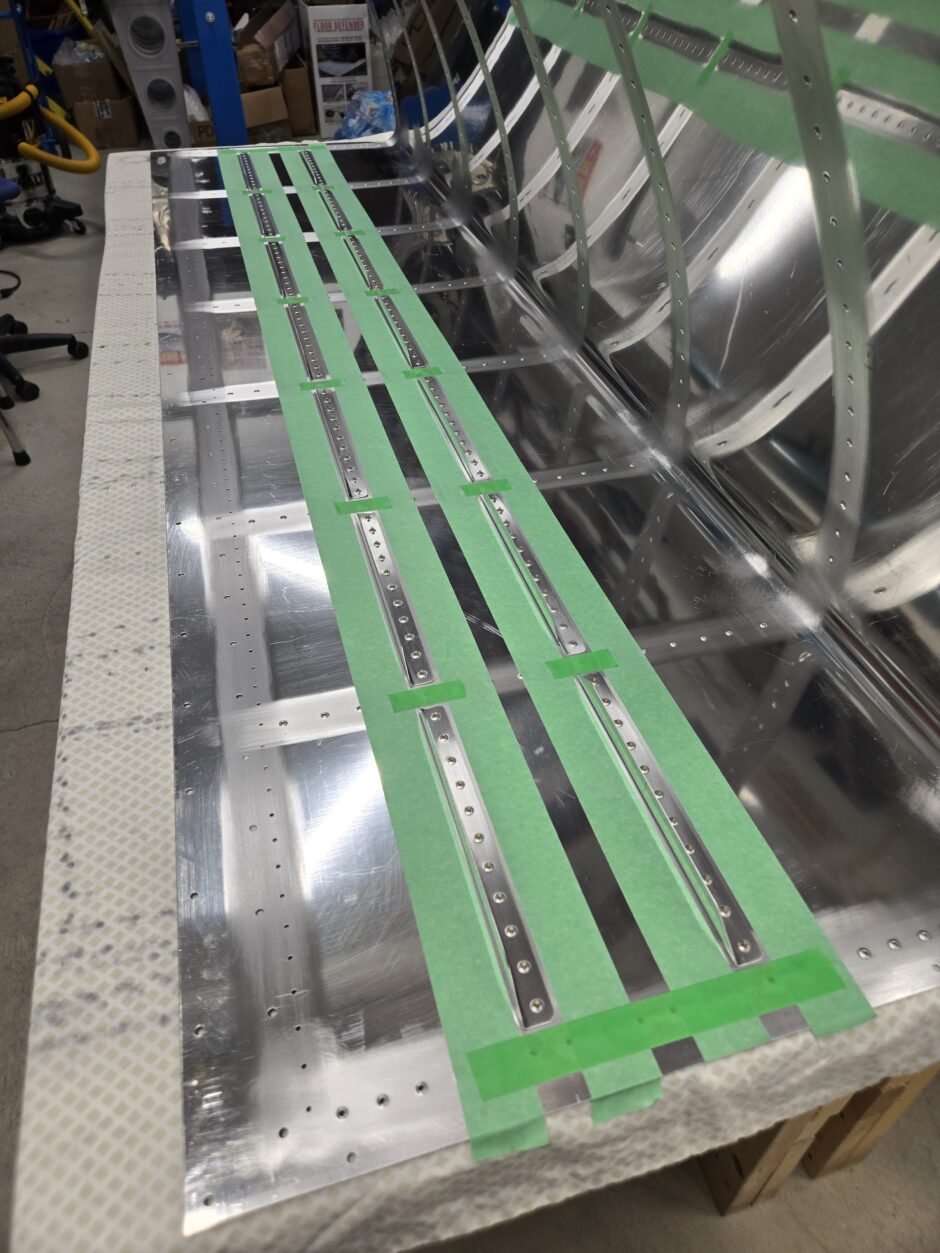
Good day! Today I’m riveting the fuel tank stiffeners. In my last build session I placed all of the rivets in the skin and held them in place with riveting tape. The first task today was to get the stiffeners in place, and then mask the area with painters tape. I did this to help keep the Pro Seal mess to a minimum.
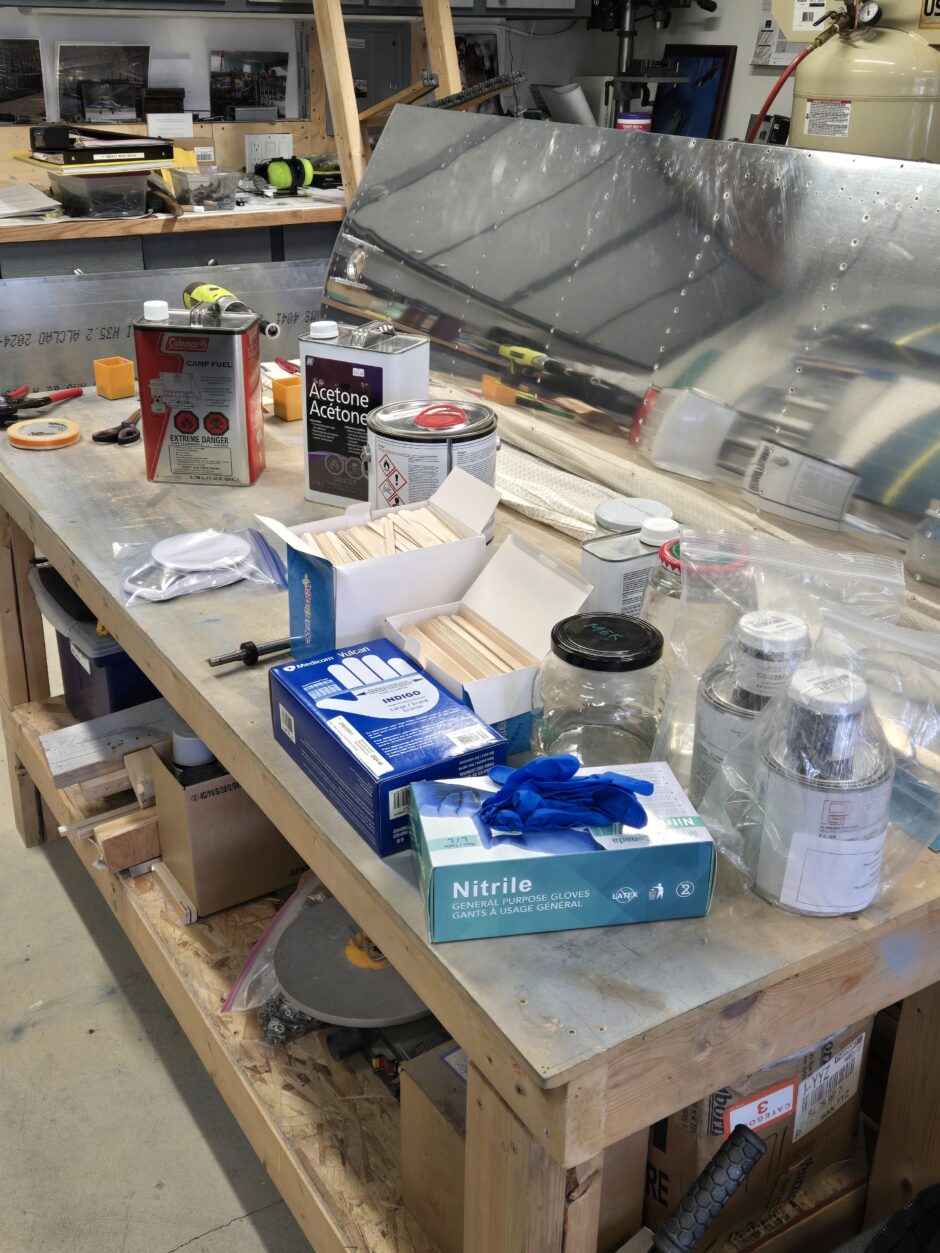
Here is a picture of all the tank sealing supplies. I have the Naptha (camp fuel) for cleaning the surface of all the metal parts prior to assembly. Acetone – if you’re building a plane, you’re already well acquainted with this stuff and it’s many uses. Next is the Methyl Ethyl Keytone (MEK) which is nasty stuff, but it’s absolutely necessary to use for clean up of any tools or any were you get Pro Seal and don’t want it. The last little bit of stuff you need are some various sized popsicle sticks (for mixing and application) and lots of nitrile gloves.
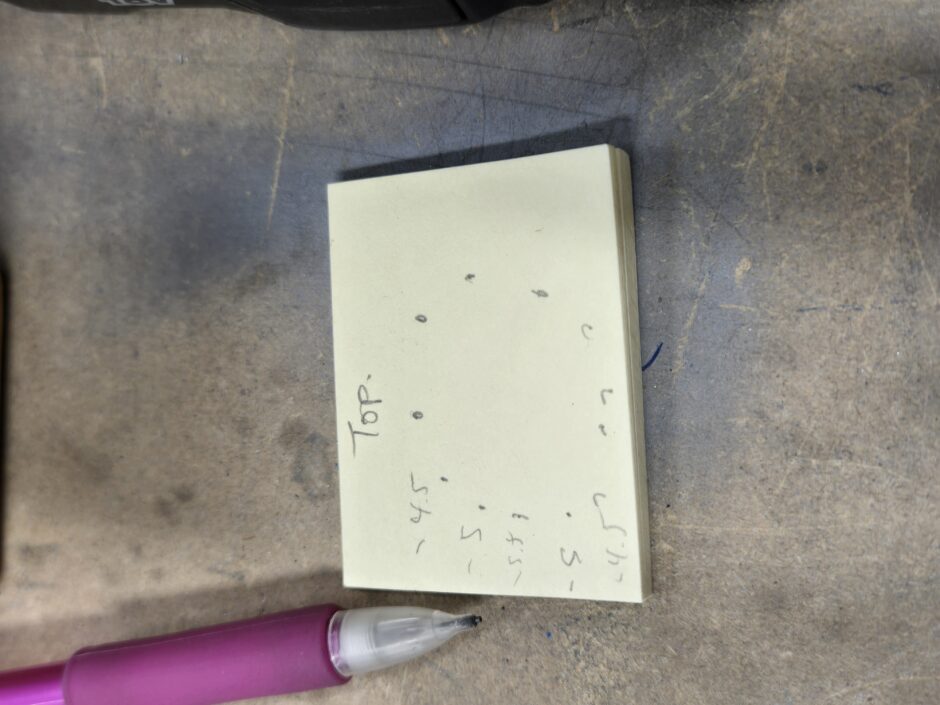
Also, in preparation before I start riveting, I also made note of the various rivet sized needed for the fuel filler cap, as it’s machined to match the curvature of the leading edge wing skin. So that’s another area to be mindful of and to be prepared with by having the rivets out before you start riveting the filler cap on.
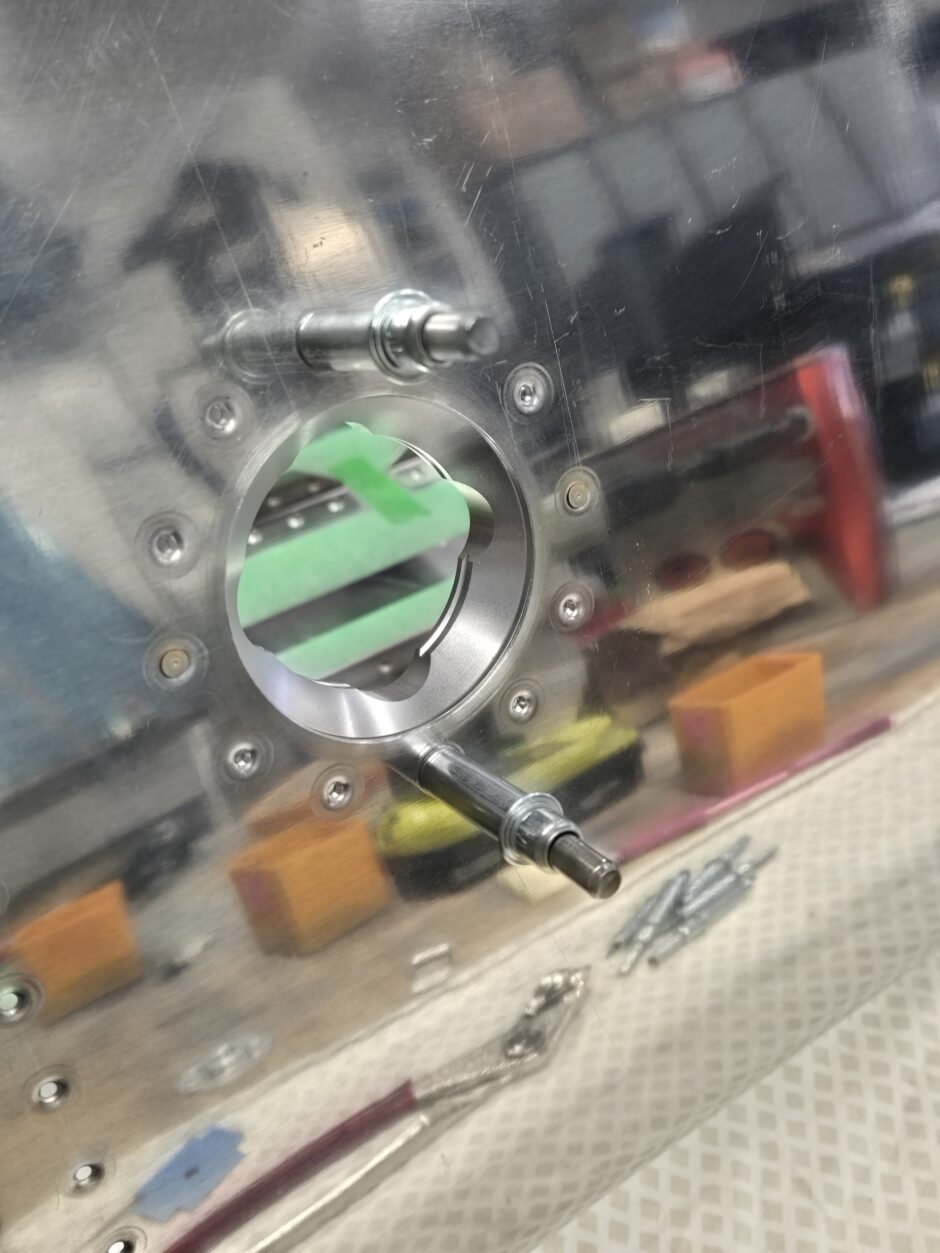
In the picture below, I’m doing one last trial fit of the filler cap assembly. Make sure you get it in the right orientation before you goop it up and start riveting. I also tested all the rivets that I had cut to make sure I had the right size before I got riveting.
Showtime!
With Proseal applied to the filler cap assembly I got it place and began riveting. The first thing you’ll find evident are all the rivets marked with a red dot. I don’t know why I was struggling with this but I was losing my mind because just about every rivet wanted to tip and be difficult. Part of the issue is that the skin is so flimsy. I actually had to get my neighbor over to help me support the skin to finish this riveting. On the next tank I’m definitely leaving this until the end when the tank structure is built up around it. Don’t let the Van’s RV video about tank assembly trick you into thinking you should be doing this first. It’s definitely not at easy as buddy in the video made it out to be.
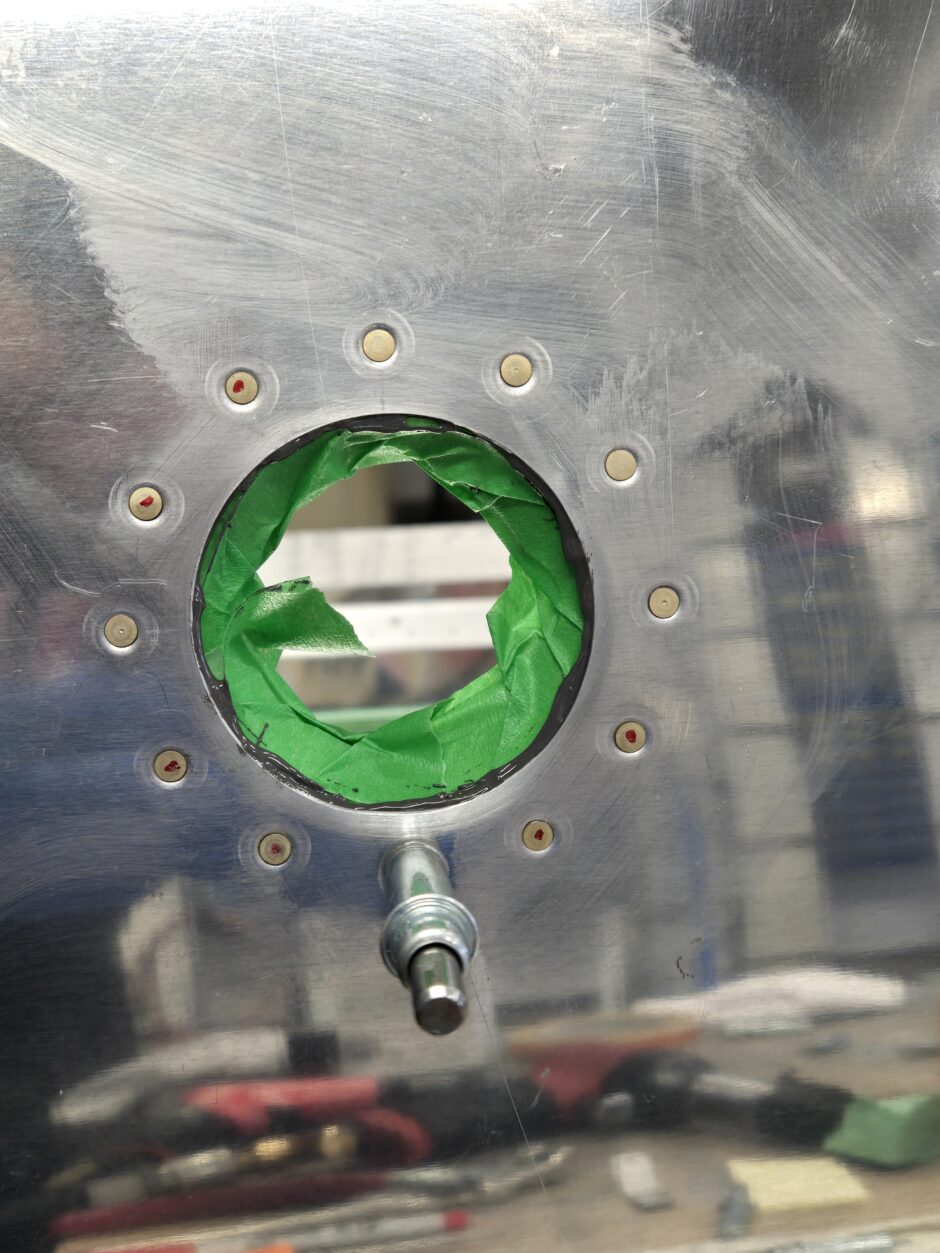
With the filler cap done, I moved on to working on the stiffeners. This is all back riveted and so much easier to do than the filler cap. I did lots of masking on the area to help keep the mess to a minimum and it worked out well.
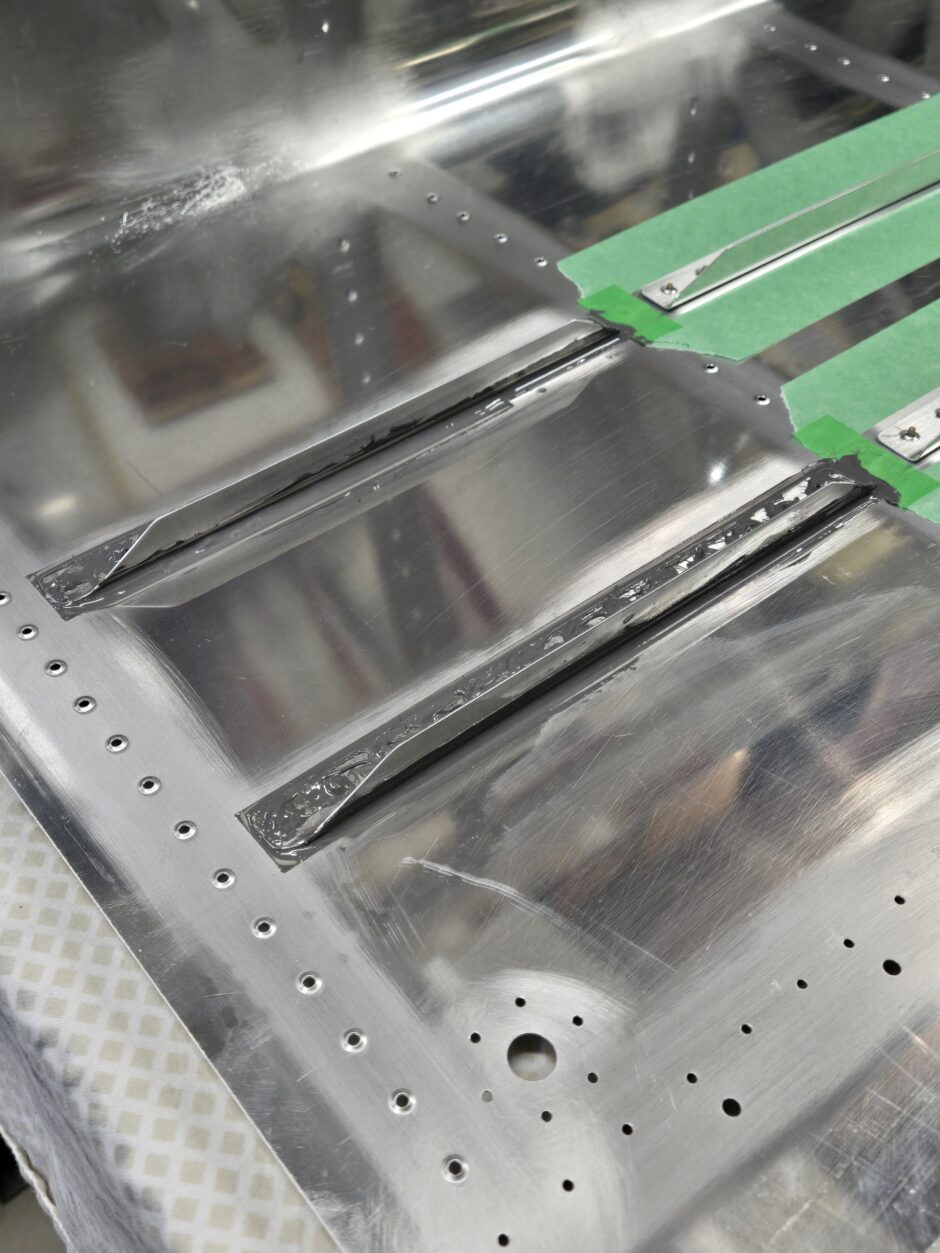
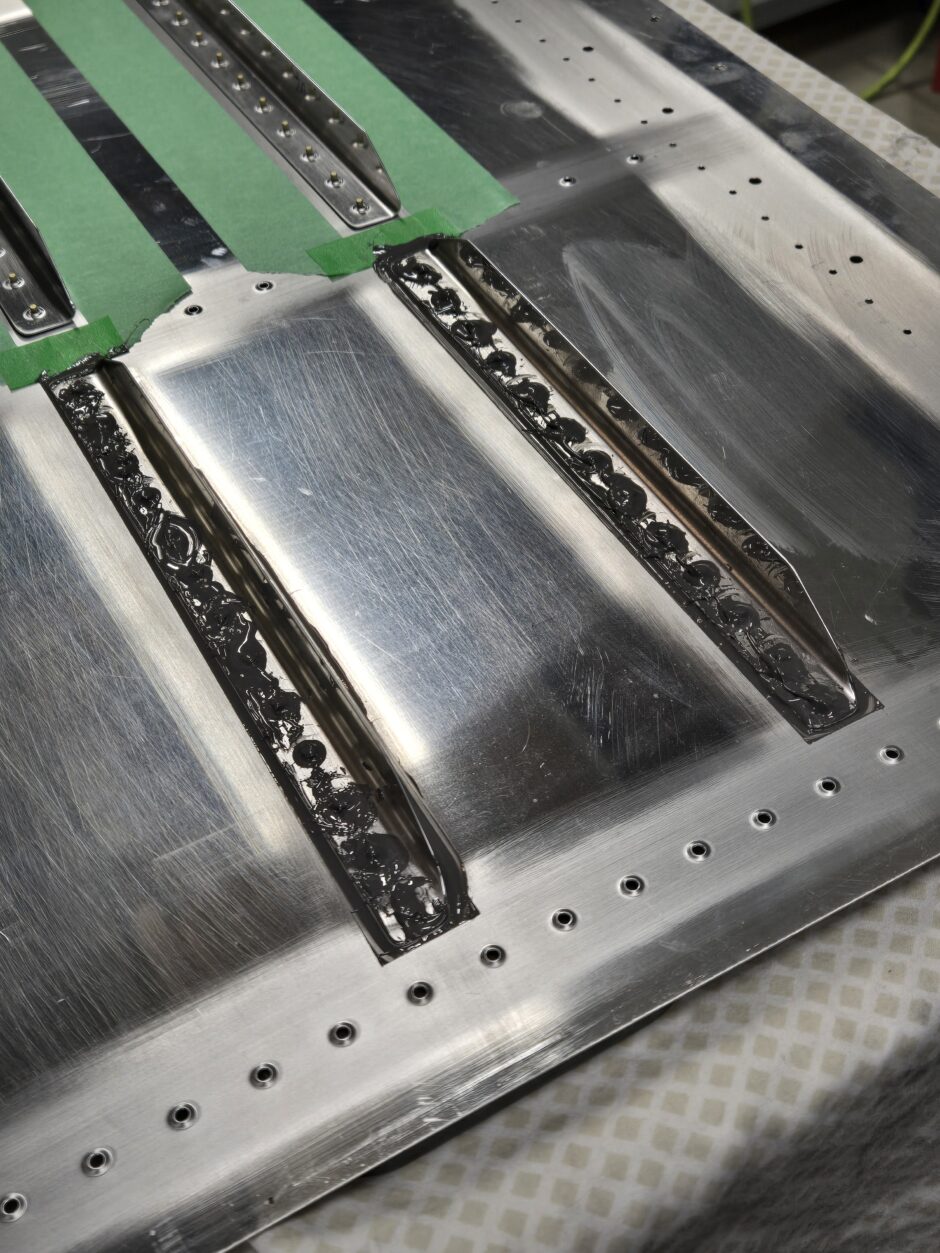
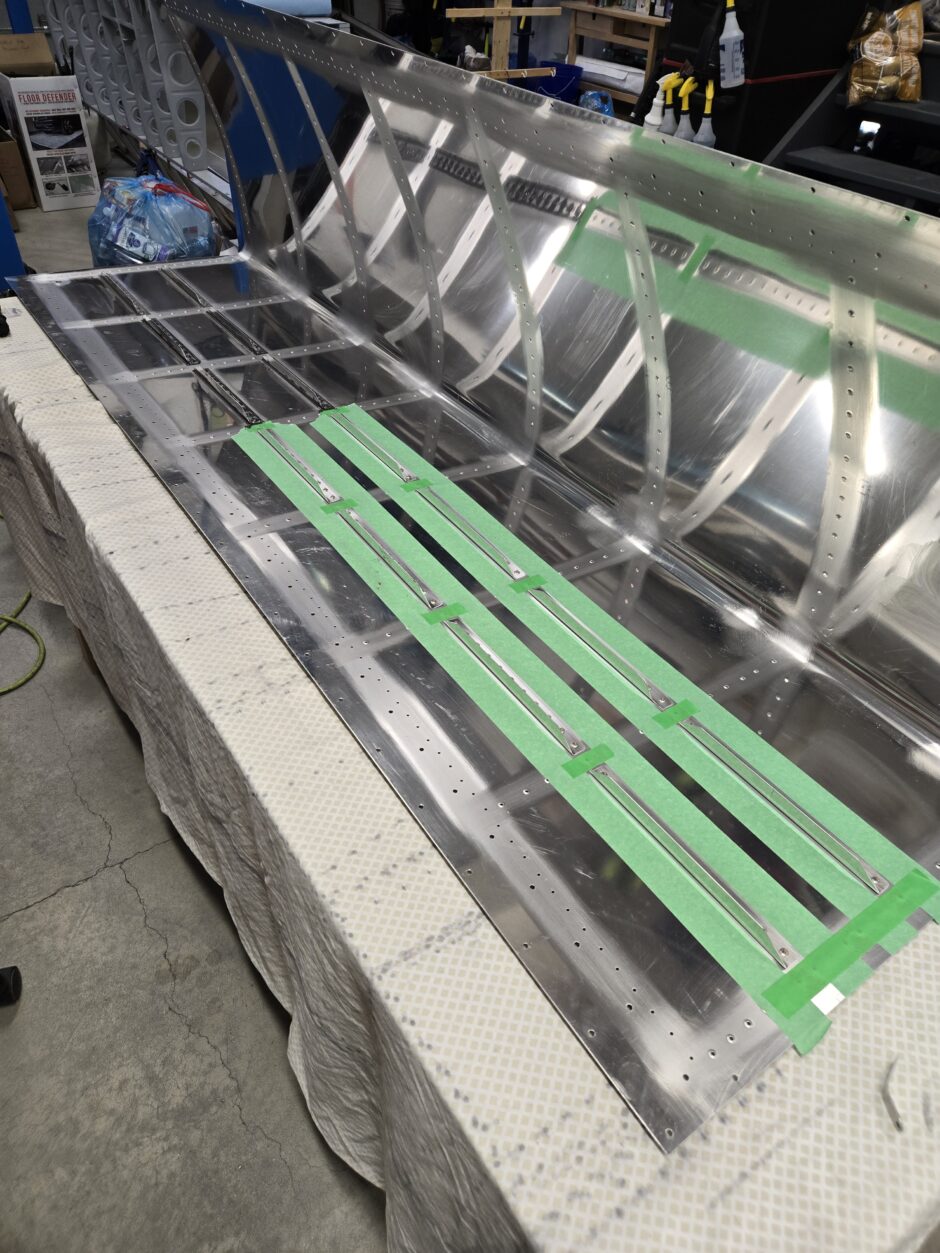
I don’t have a lot to comment on here, as this part of the process is really straightforward and self explanatory.
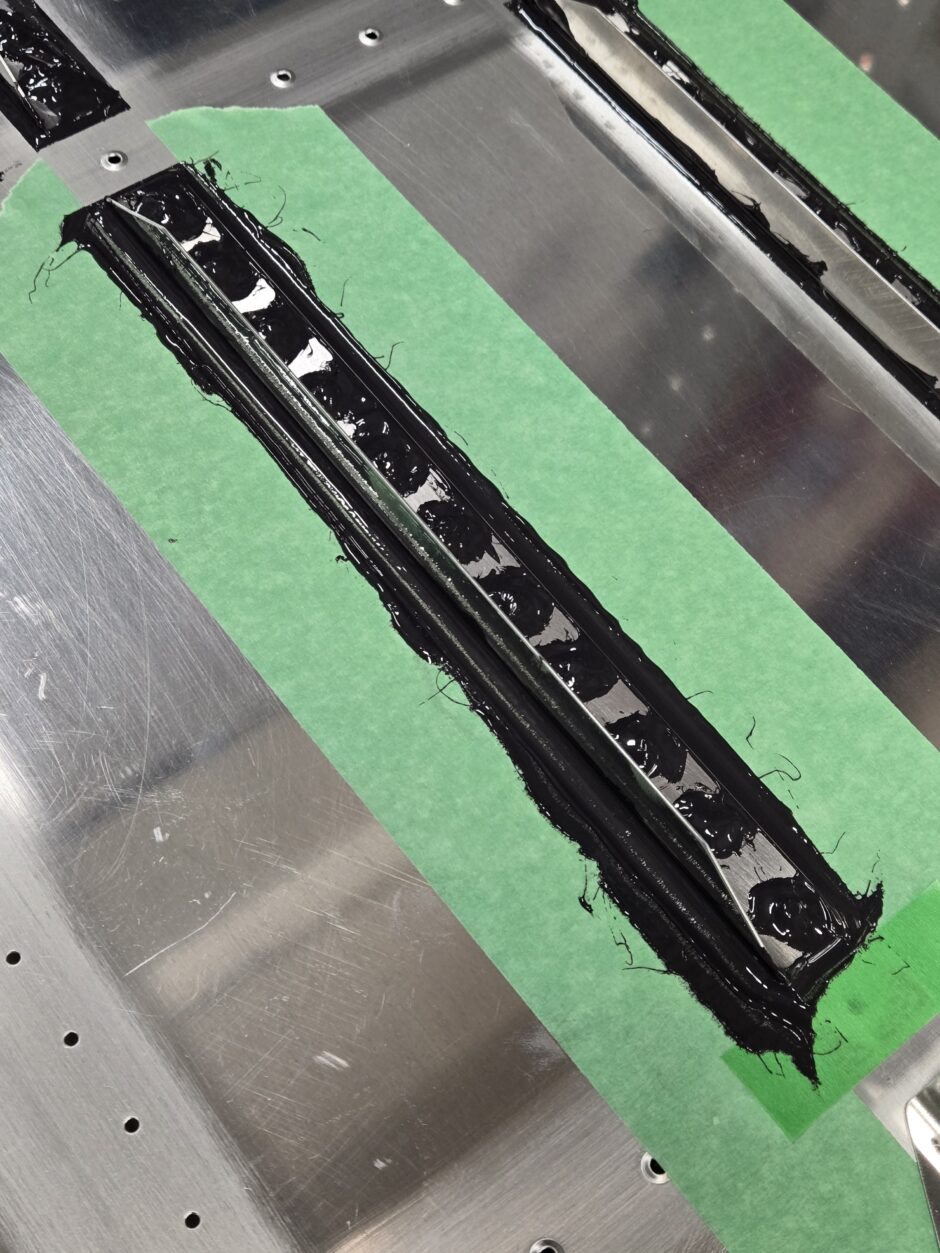
At the end of my building session, I now have all the stiffeners riveted and the filler cap installed. That is certainly enough for one day!
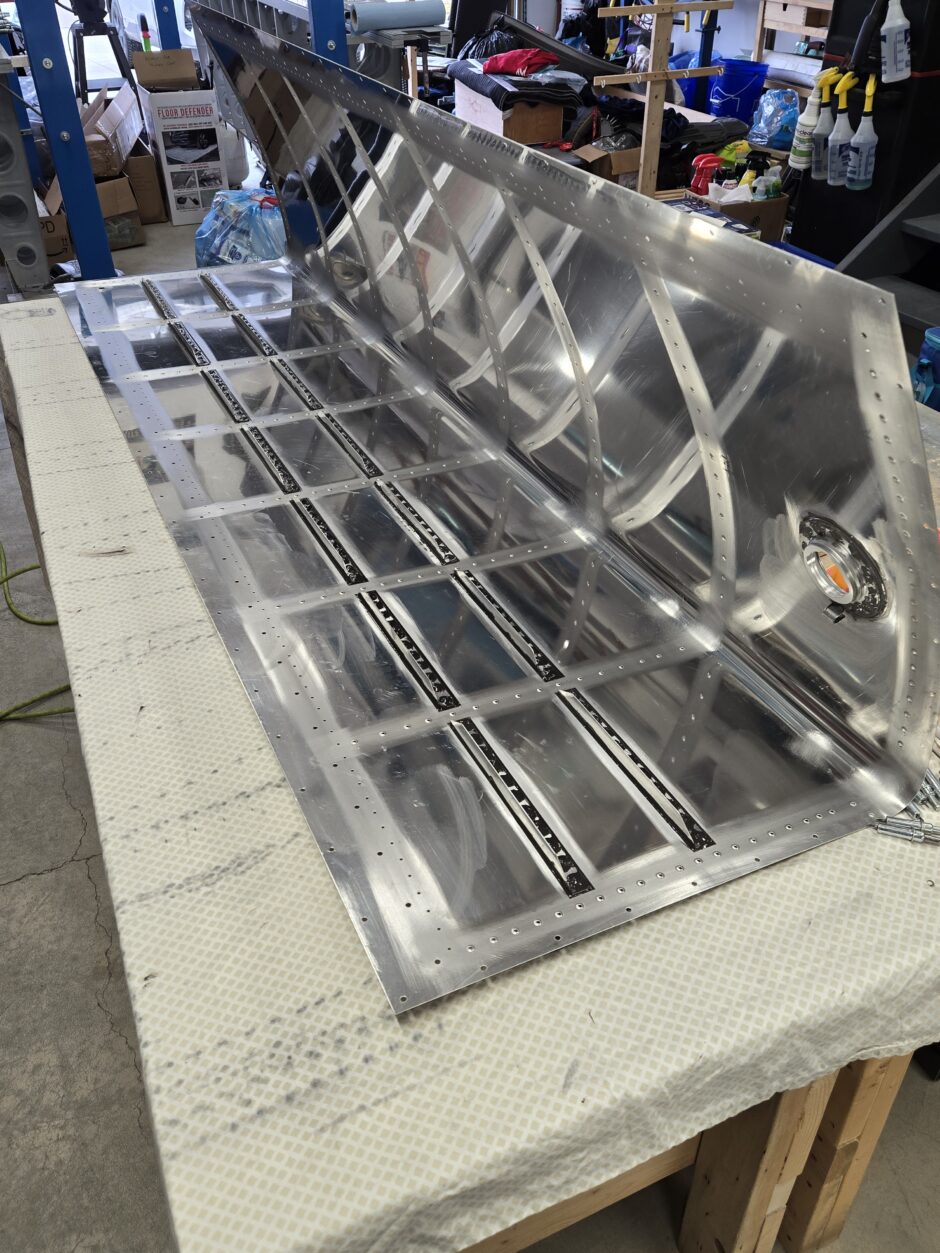
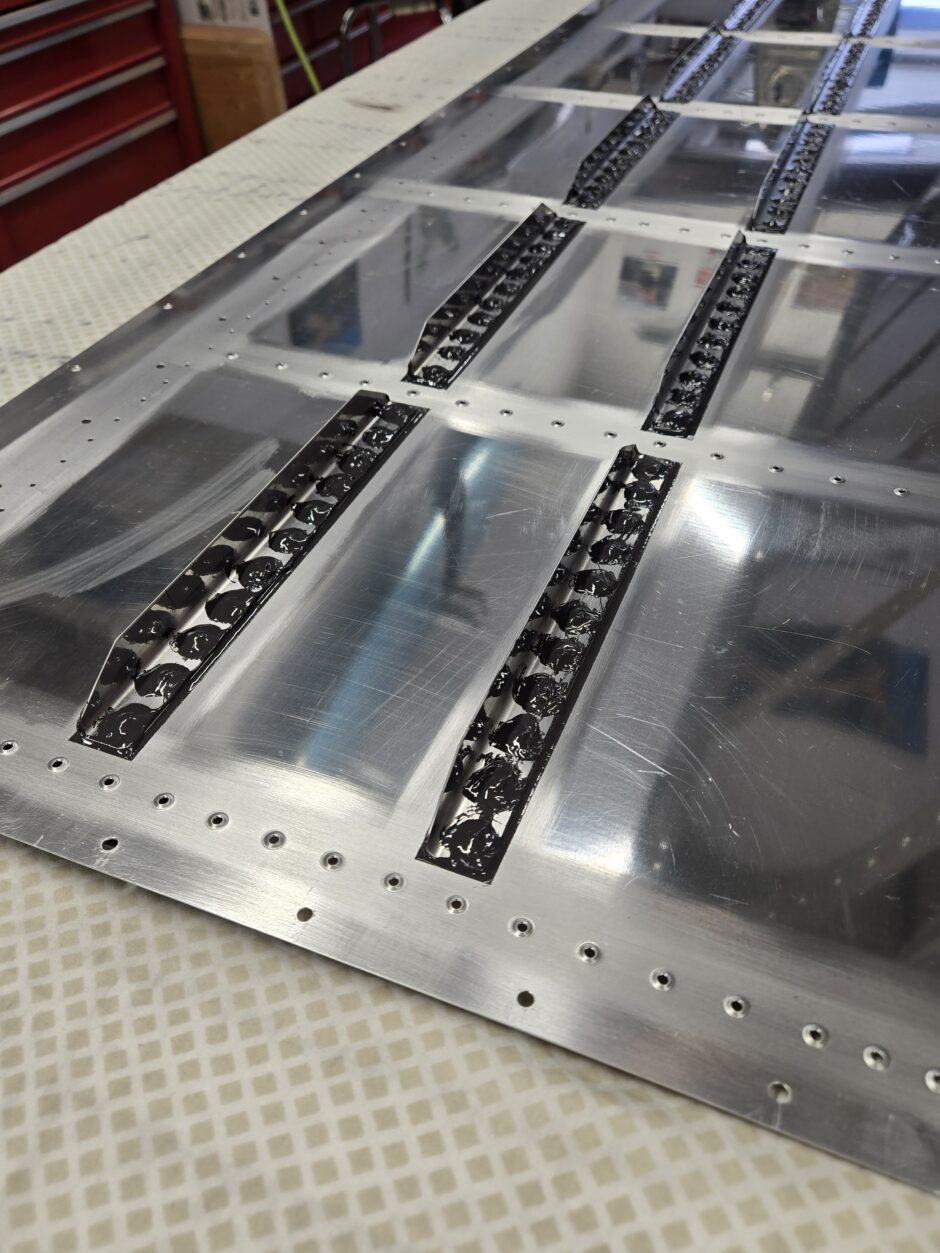
That’s all for today folks! Please comment. I love to hear from my readers. Thanks again for coming along for this ride, you make my work worthwhile.
Leave a Reply