Now that the right wing spar parts are all primed, there is just a bit more pre-assembly to do before I get into riveting the spar together. One main item is finishing up the tie down bracket.
On the F1 (and Harmon Rocket II for that matter) the tie down bracket is installed a bit differently than the RV-4 plan details. In my case, as I’m using the 55 USG fuel tanks, my tie down bracket needs to be located further outboard than detailed in the HRII and F1 plans because the fuel tank is physically larger.
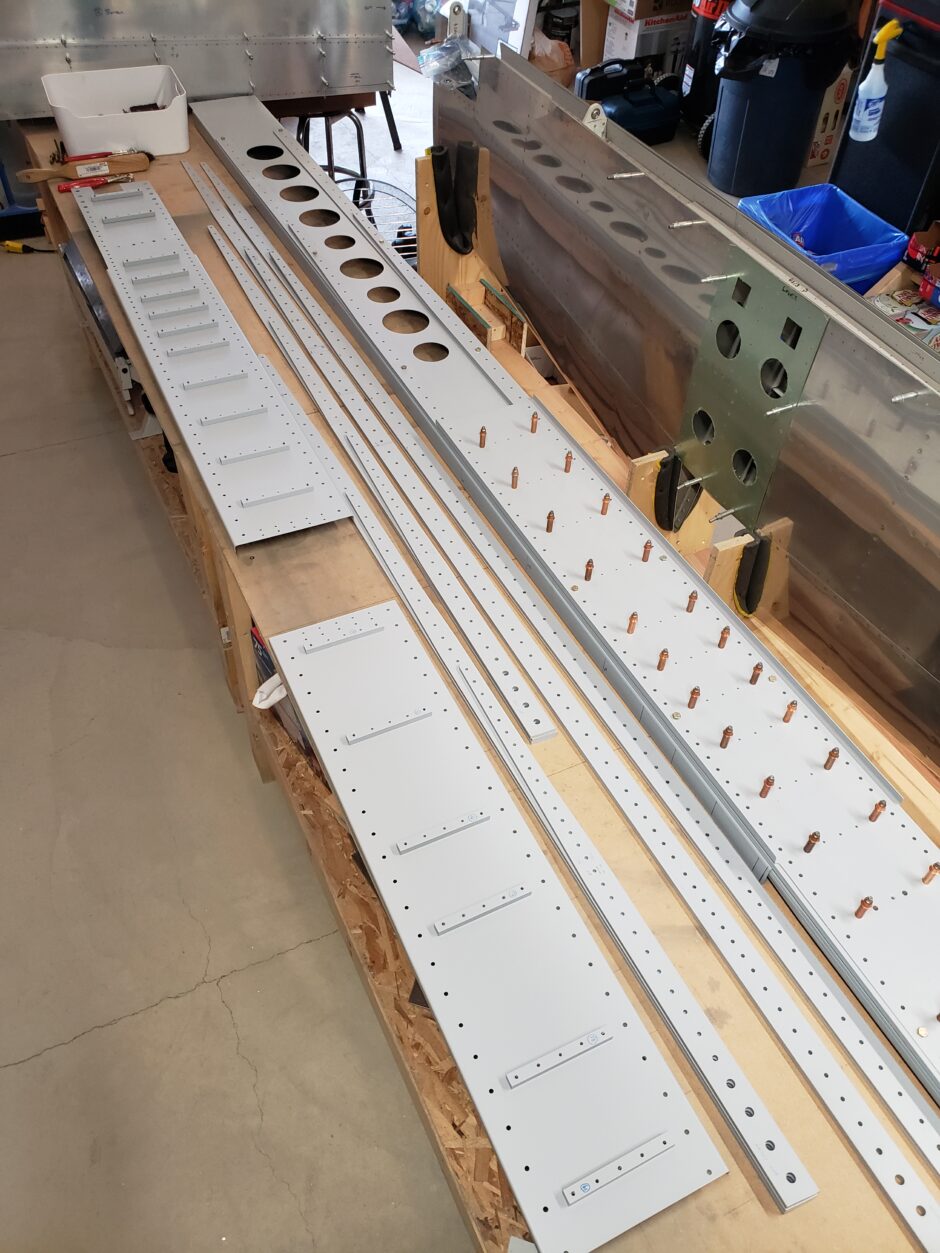
I ended up locating the tie down bracket in line with the number 2 spar web stiffener angle (this is the center one of the three). Additionally, in Vince’s Rocket Build notes, he mentions to install the tie down on the forward side of the spar. Which is what I did.
In the picture below, you can see I’m taking the upper and lower bolt attach details from the RV-4 plans as a starting point. You will also note that I’m using the 5 rivet holes in the angle to attach the tie down bracket with.
However, as the lower hole of the spar web stiffener angle is lower than the lower hole dimension shown on the RV-4 plans, I needed to amend my plan just a bit. As the tie down eye-ring would certainly interfere with the lower attach bolt.
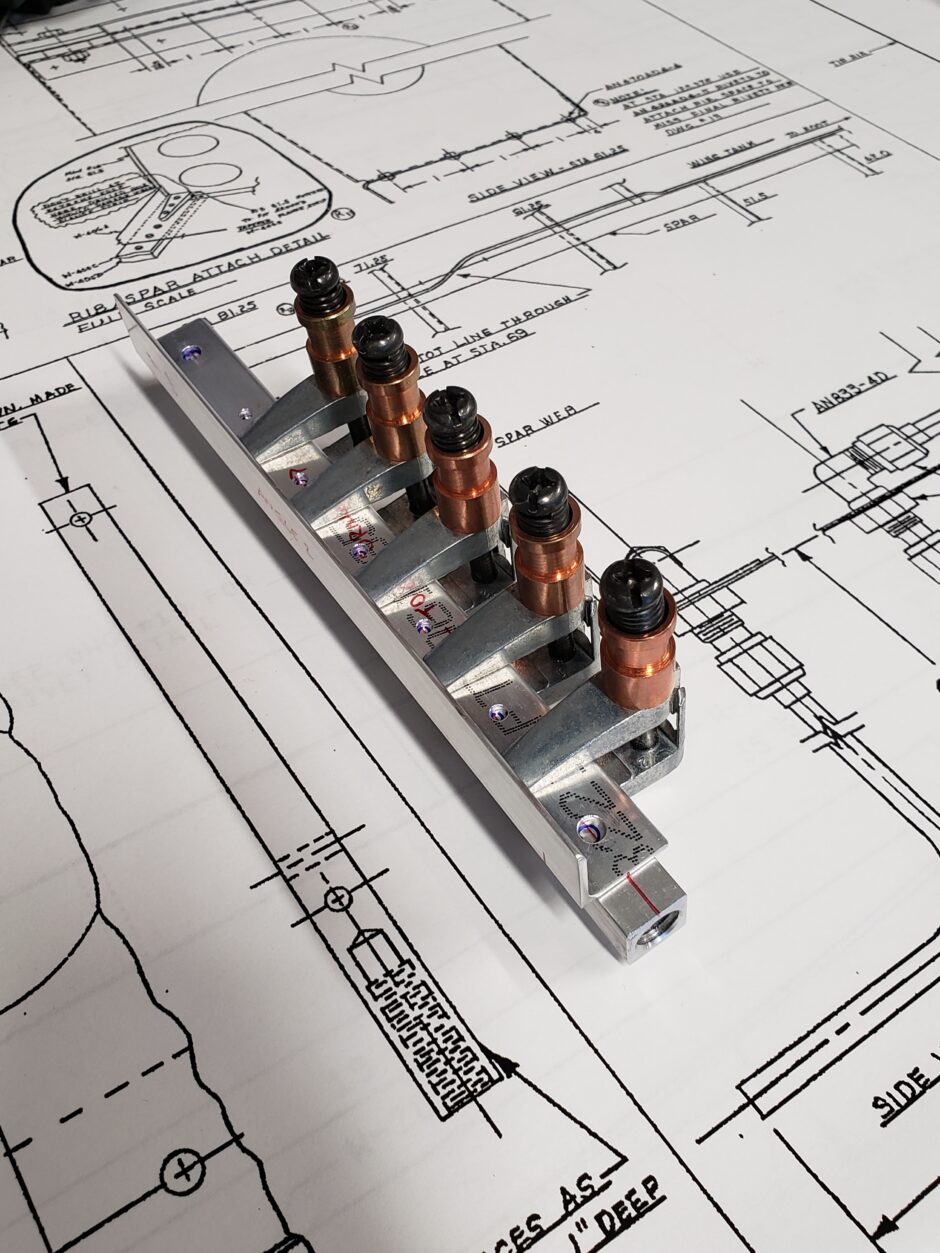
Below, the tie down has been match drilled to the angle.
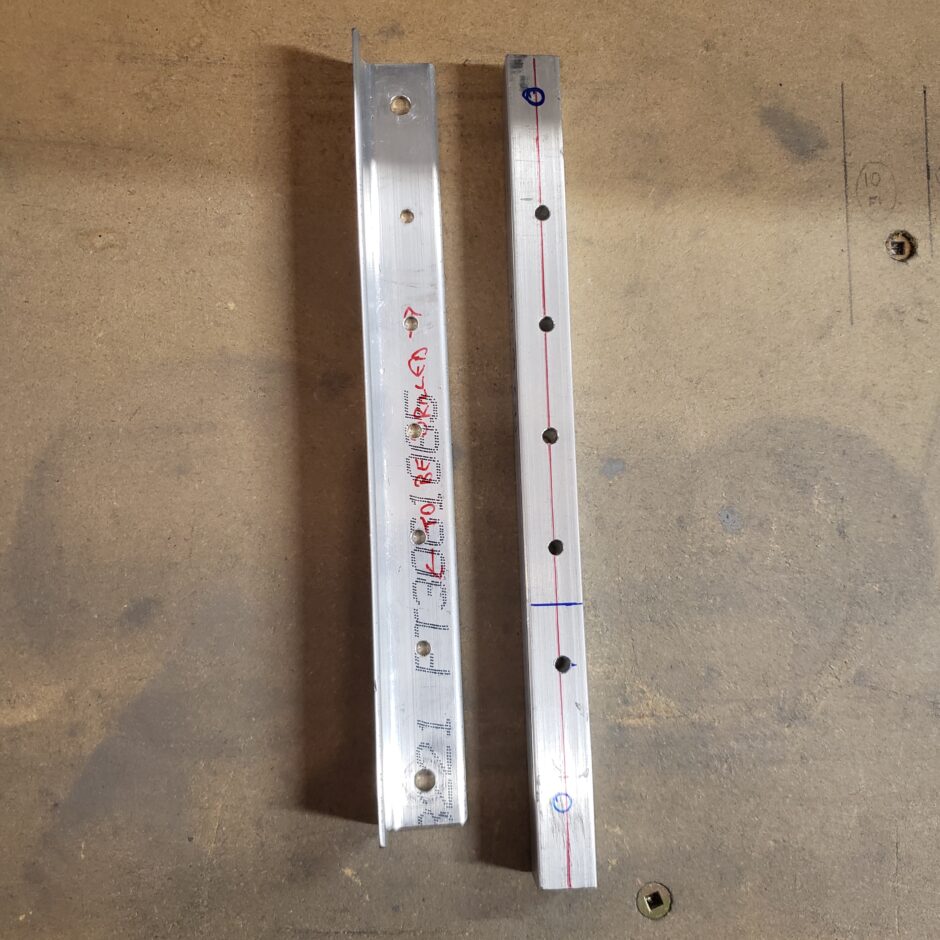
As the tie down bracket is mounted on the forward side of the spar, I added a 0.125 spacer to ensure a secure rivet joint.
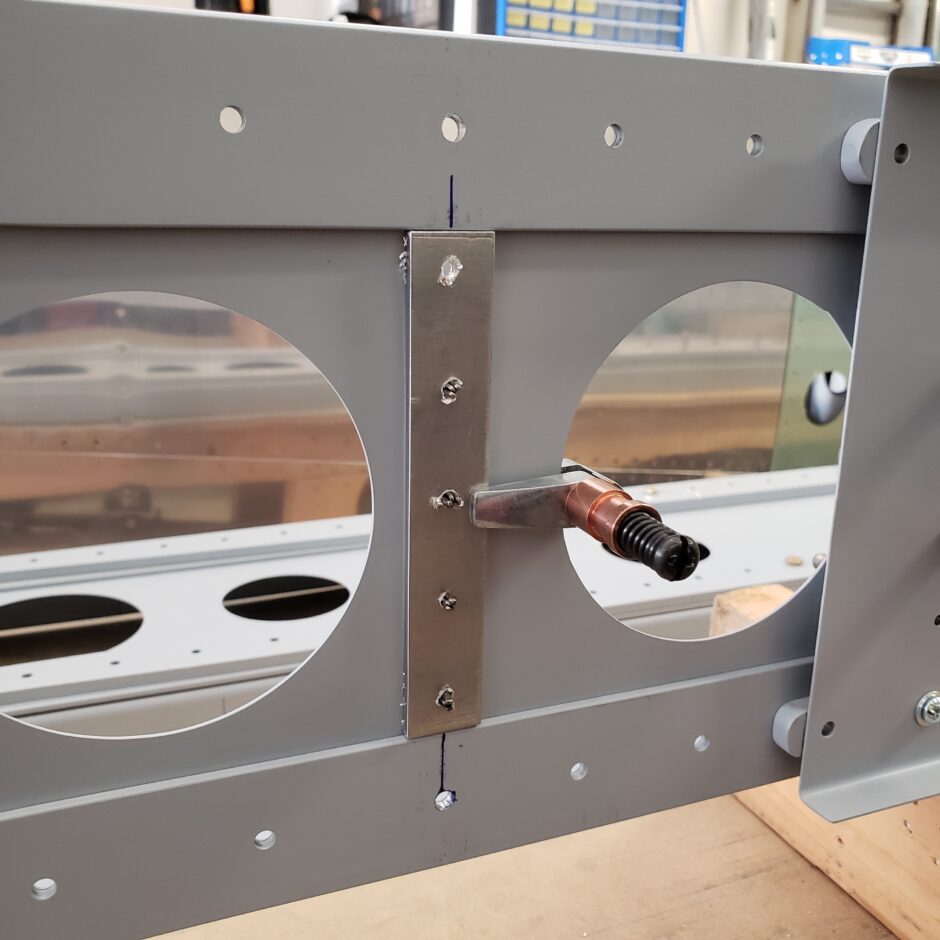
Below, is the tie down bracket clecoed to the forward side of the right spar. Note that the lower surface is level with the lower surface of the spar.
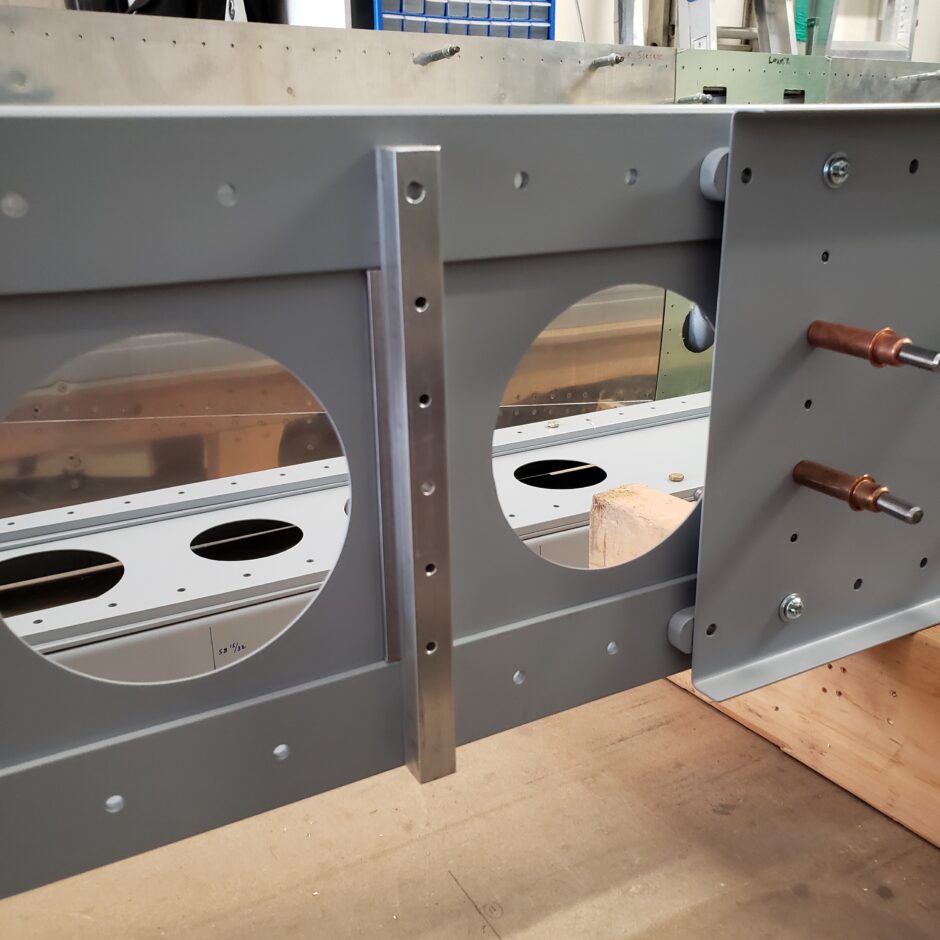
Here is a shot of the aft side of the spar with the angle in place. Now just to prime these parts and the right spar is ready for riveting.
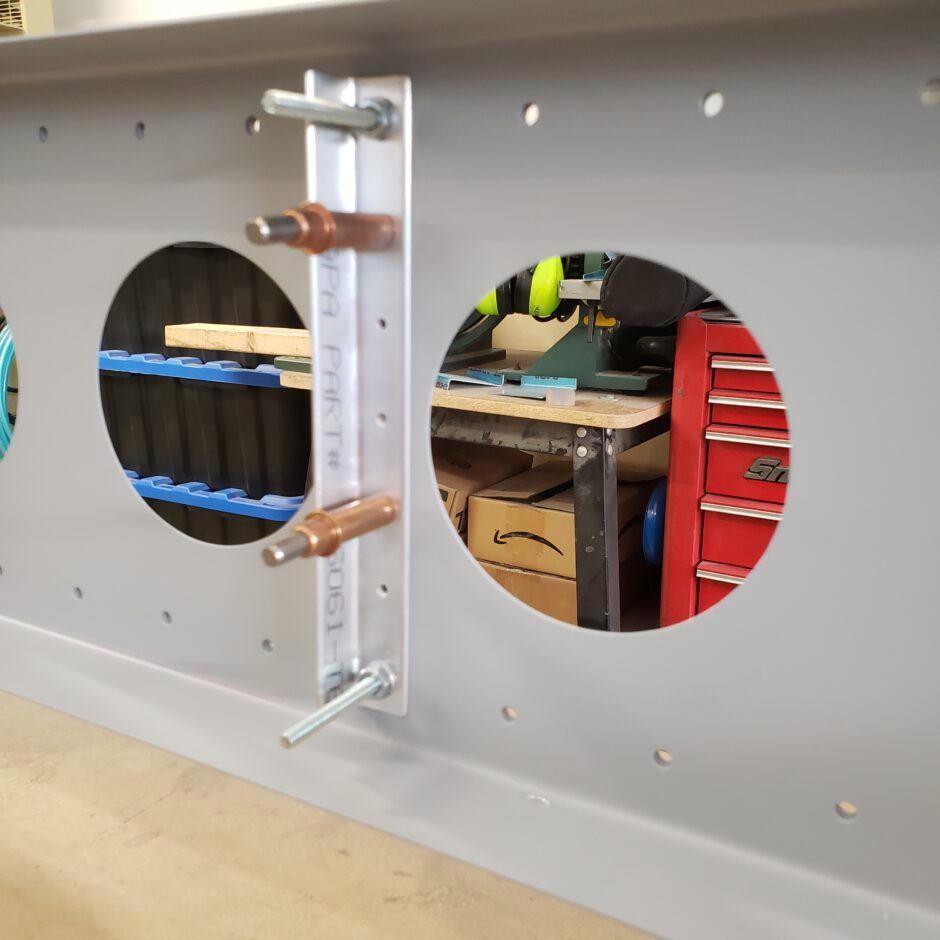
The right wing spar is pretty much ready for final riveting. Below is the forward spar web doubler extension splice.
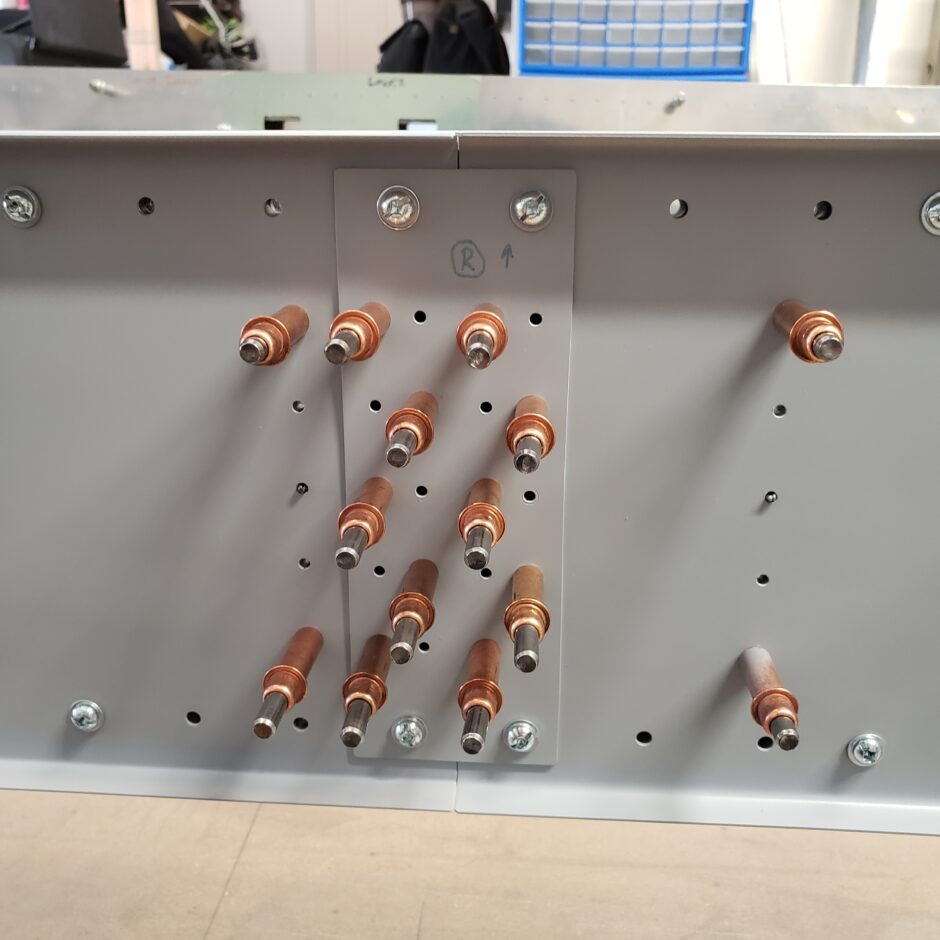
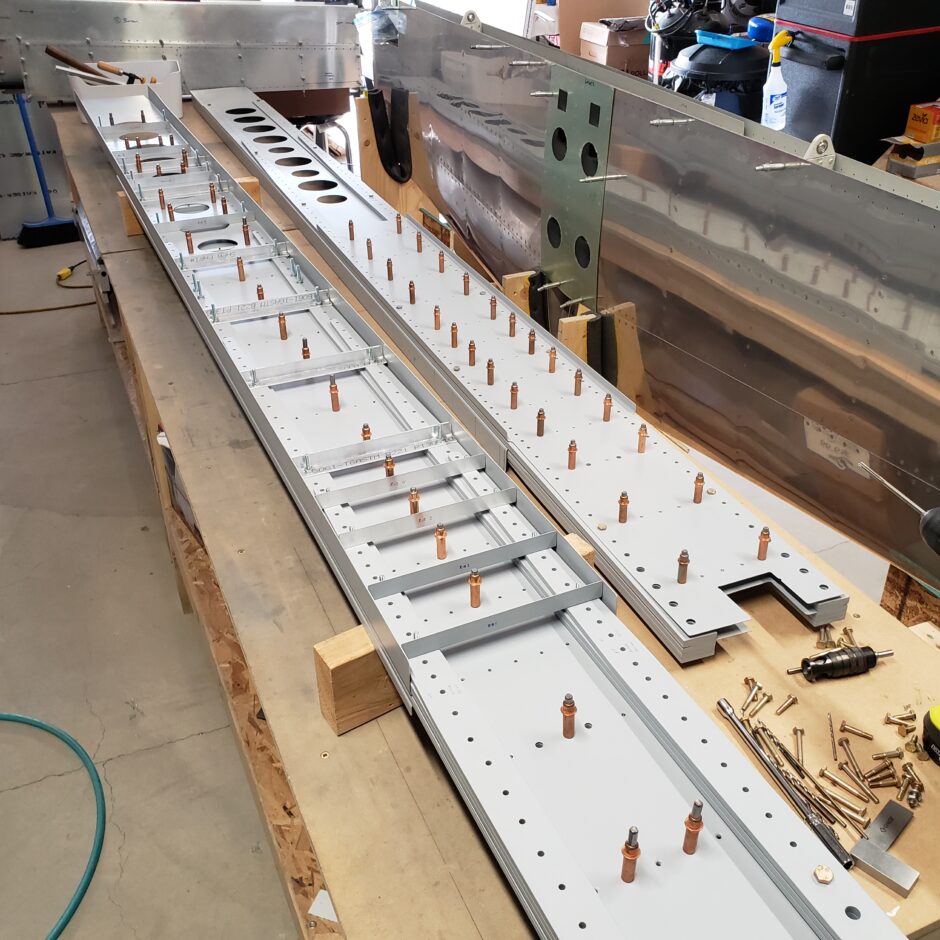
All ready for riveting! Woot Woot!
Please comment. I love to hear from my readers. Thanks again for coming along for this ride, you make my work worthwhile.
Leave a Reply