Good day! Today I am going to be working on doing the layout and drilling of the row of rivets that attach the rear tank baffle to the tank skin. This row of rivets is in the space between the spar channel that we drilled in the last build session, and the vertical face of the tank baffle itself. This is a very tight area and measurements here are critical.
To begin, I started by removing the fixed leading edge again, just to be able to double check that I had good baffle and spar channel reference marks.
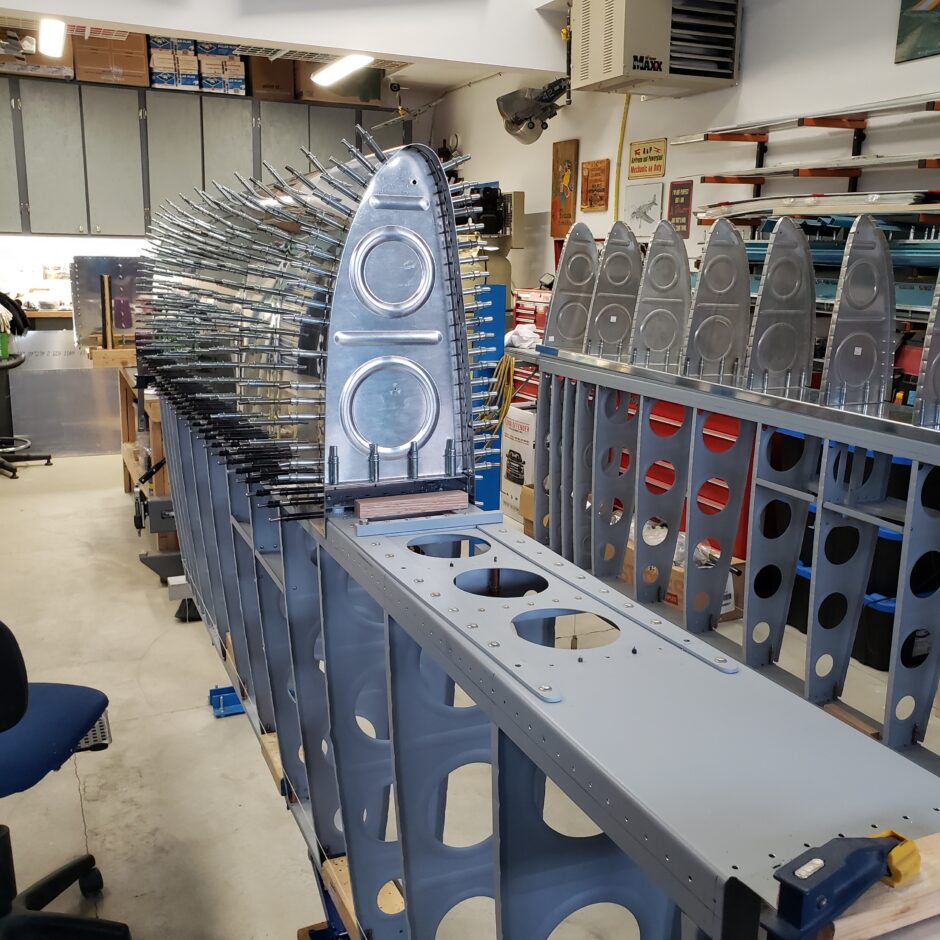
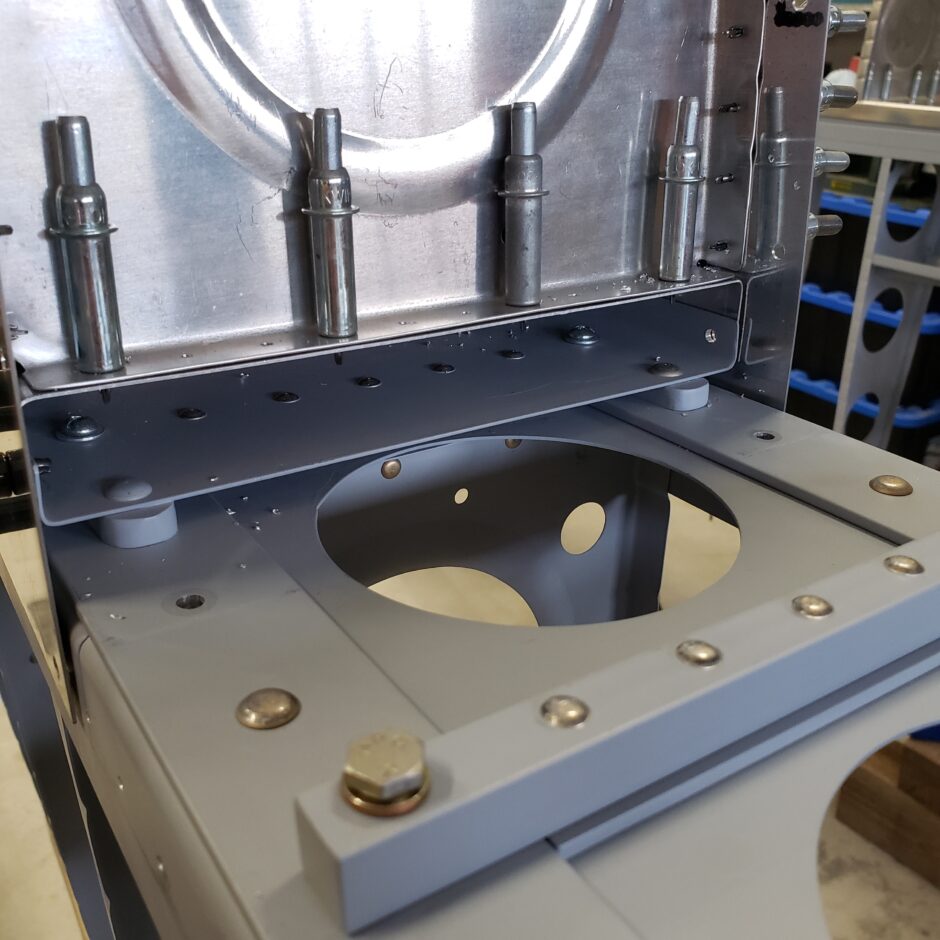
In the picture below, you can see the reference line I made of where the spar channel ends. The row of rivets we are locating today will be centered in the space above that line. But since you can’t draw the line from end to end with the tank in situ, I’ll have to connect this reference mark and the one at the other end when it’s off the wing and on the bench.

In the picture below, you can see that I’ve already drill the 2 rows of screw fasteners that attach the tank to the spar. The row closest to the edge of the skin is for the screws that go just into the spar flange, and the other more inboard row is the ones that go into the spar channel.
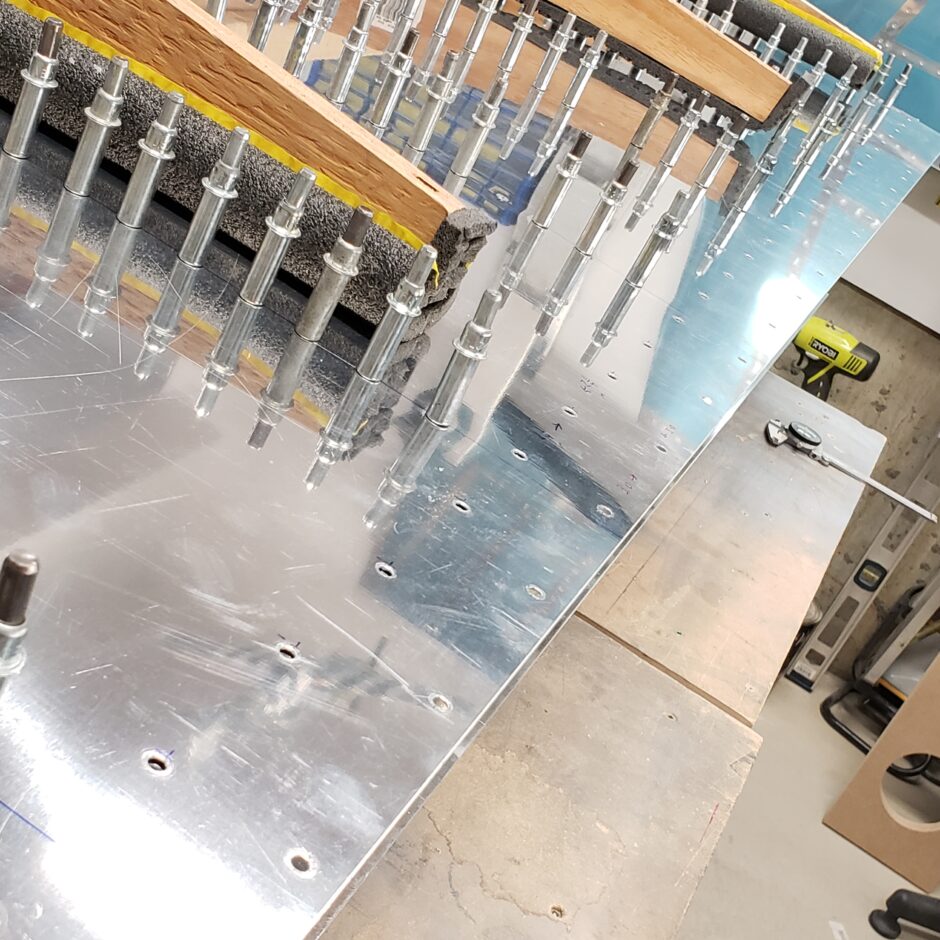
Before I get too far ahead of myself, you can see that I’m reviewing the F1 Aircraft builders notes. I think these notes were found here at Vince’s Rocket website. Scroll down to the ‘Tanks’ section.

As indicated in the picture below, this is the area that I’m going to be working in, to lay out this row of rivets.
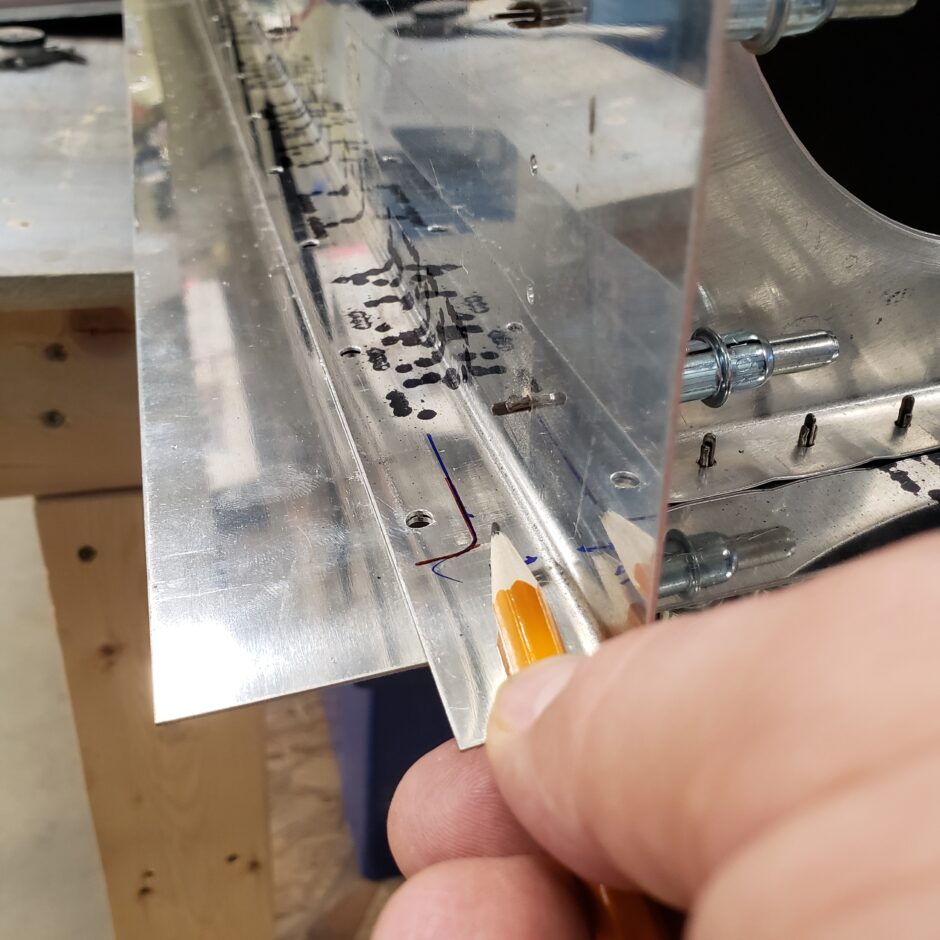
As you can see it’s not a lot of room to work. I found the center between the reference marks, and then made a line with a straight edge all the way across the tank baffle. This is my rivet line where I’ll be marking the rivet spacing.
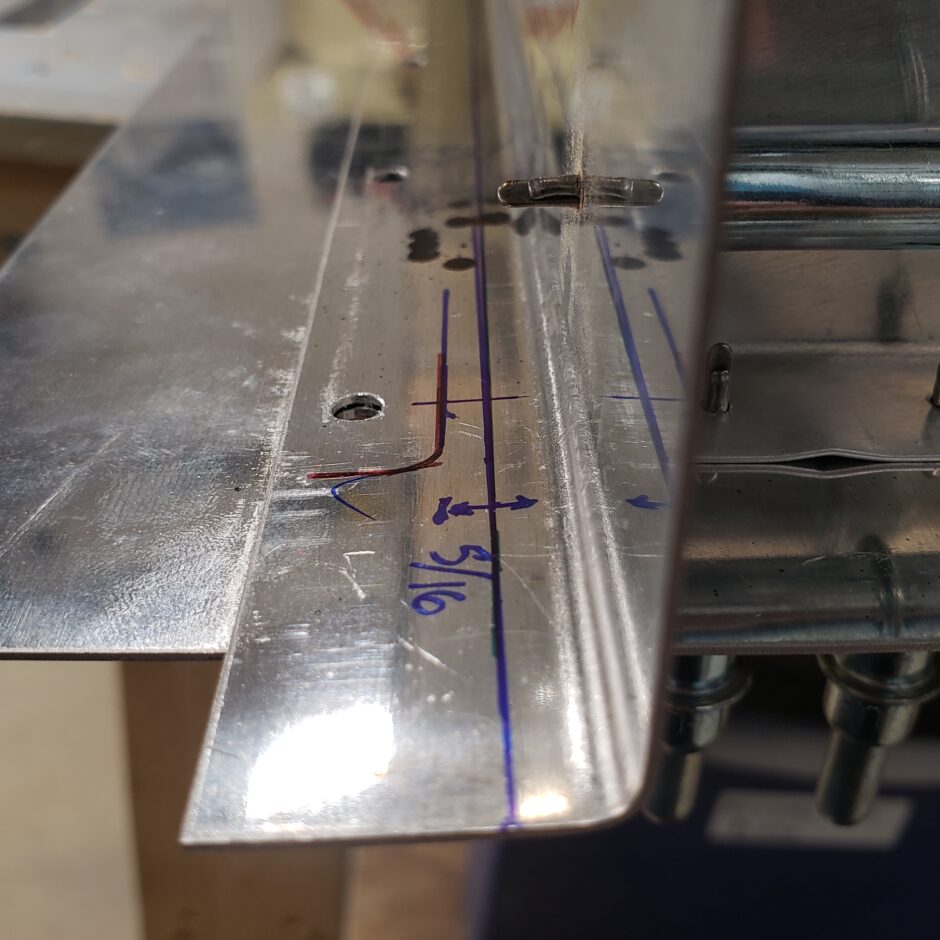
The rivet spacing for these rivets is 3/4-inch.

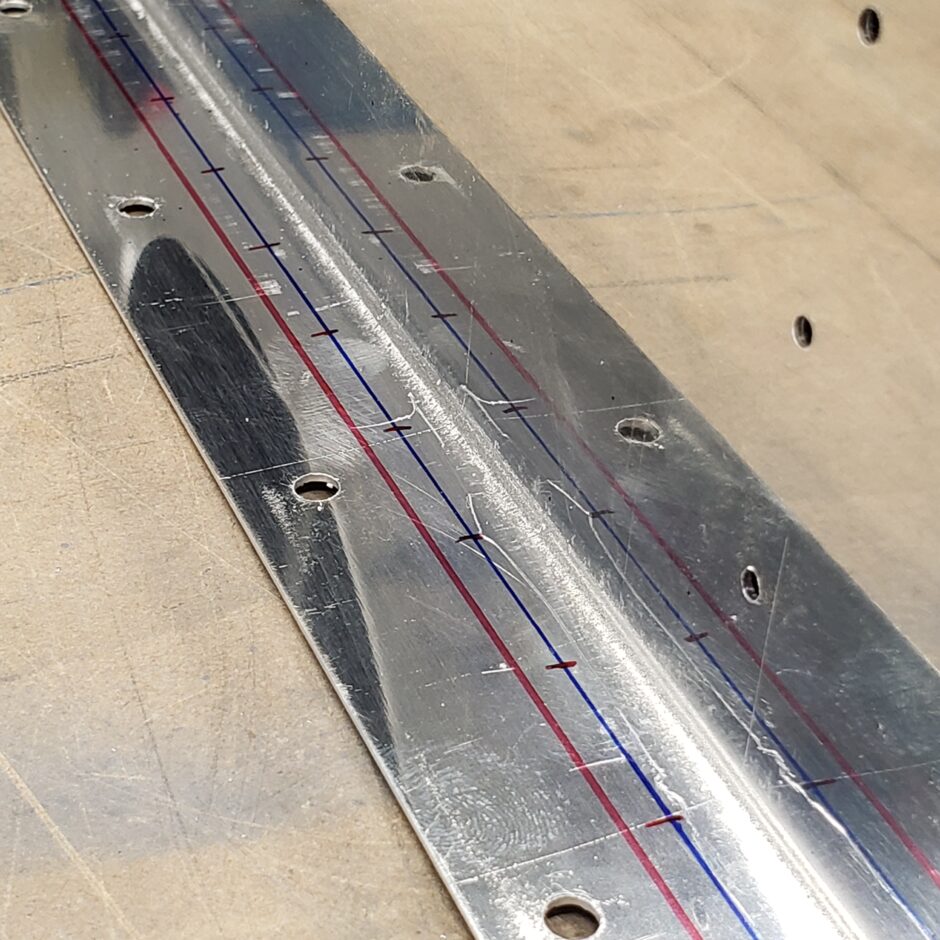
With the layout done, I then center punched each hole, and started drilling.

Here the drilling is completed.
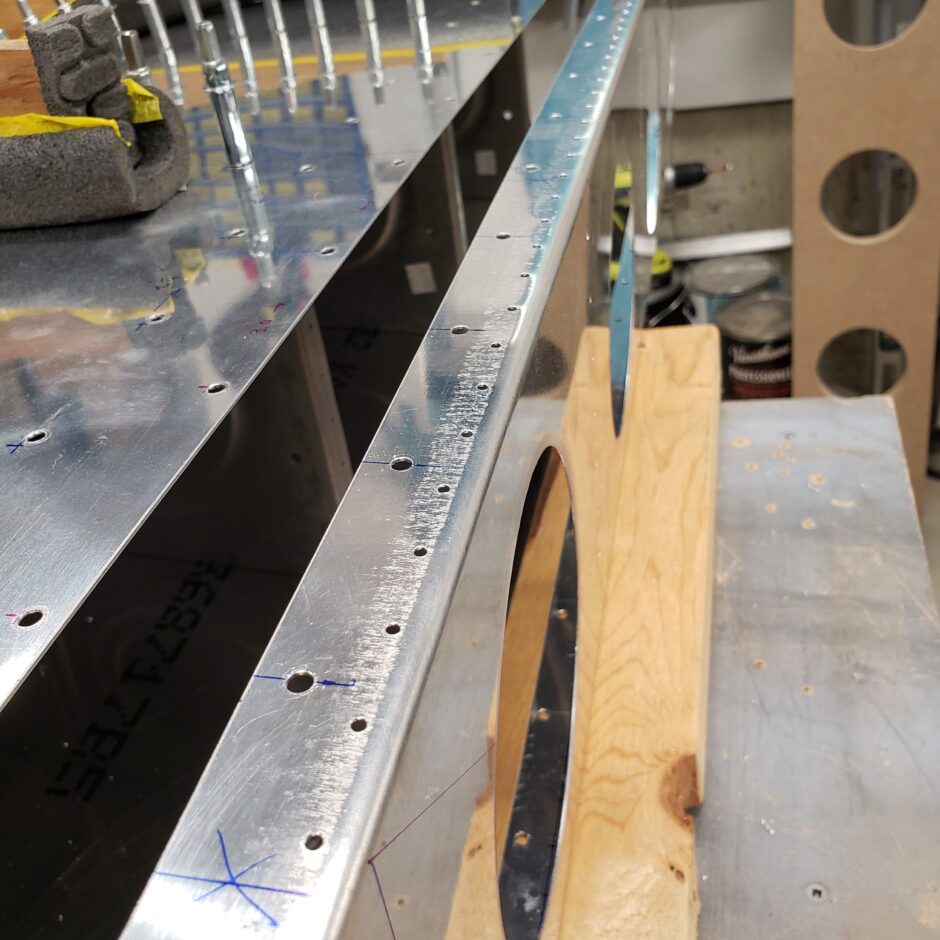
Next I put the tank assembly back on the wing, and here in the picture below, you can see the row of rivet holes, and there is just enough room between the spar channel and the tank baffle for these rivets. Now to go back through the process of back-drilling them to drill to the skin.
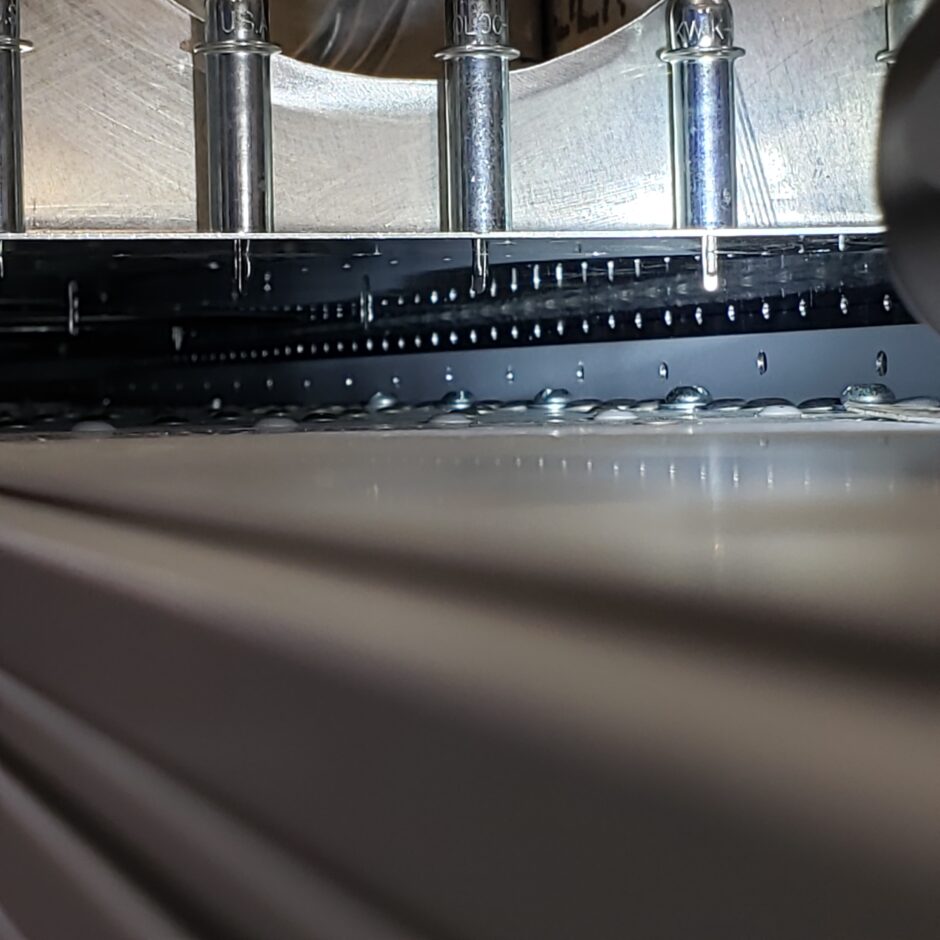
Once again, we open up the one side of the tank to back drill the opposite side.

Here you can see the back drilling is completed, and again, I’m pretty much all out of clecos!
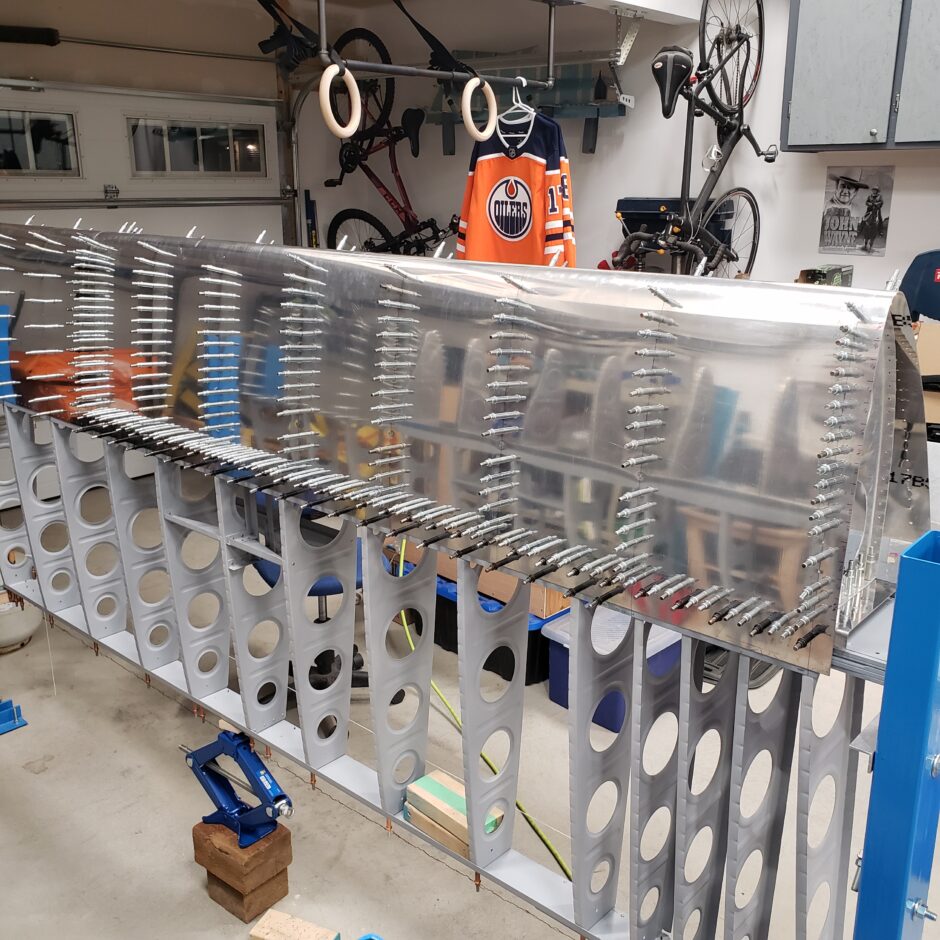
Then we closed up the top side, open up the lower side, and then drill more holes once again.
Have I mentioned that this can be quite the monotonous process…
…Somebody tell me again why did I want to build these extended range tanks…
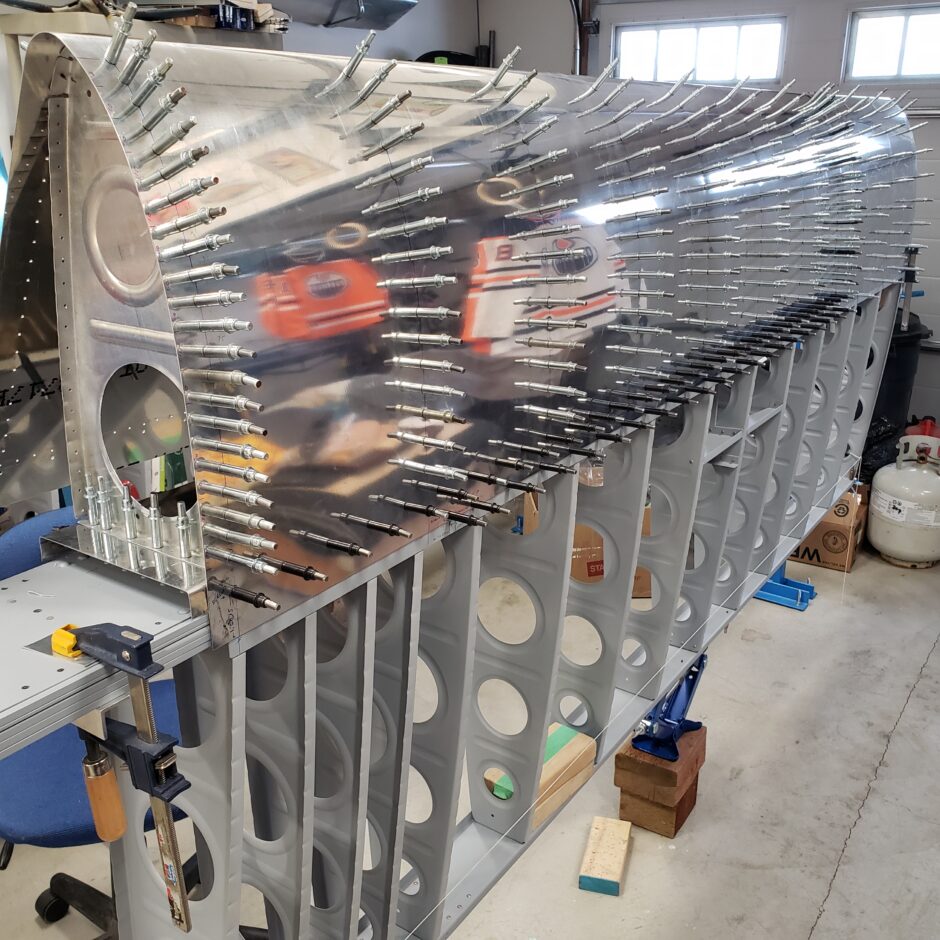
Okay, so now that the skin has been completely drilled on the right fuel tank, I can now move on to the left tank and do it all over again. At this point, I’m really not looking forward to all this drilling and clecoing again…and again…and again!
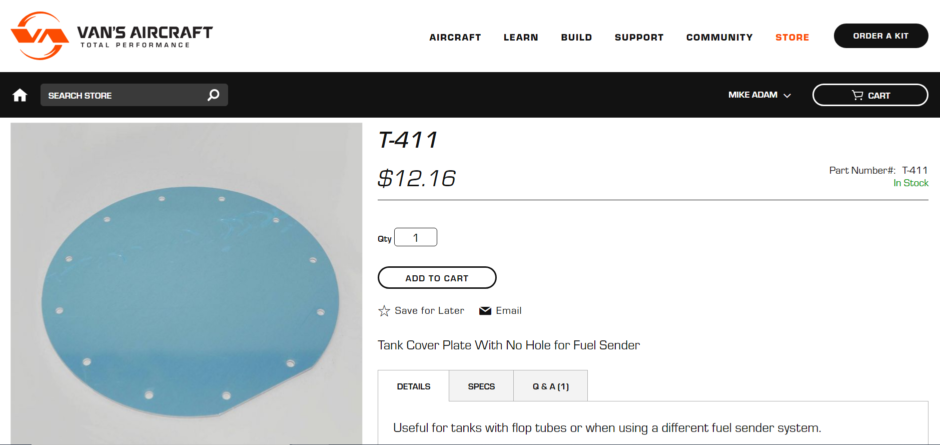
I also had some spare sheets of 2024-T3 0.063-inch and started to layout all of the fuel tank access panel cover plates and reinforcement rings. I had originally thought to purchase these from Van’s, in particular the T-411 plates. The one shown below is made to mount the fuel sender unit on the inboard end of the tank, however since I’m using the capacitance system, I won’t be using these plates, and I need new ones for all the additional access holes. But since Van’s recent restructuring and price increases (30% increase or so) there is no way I’m going to pay $12.16 USD for 14 of these. That would come out to $170.24 USD. I also need 12 more of the T-407 reinforcement rings which are currently priced at $16.01 USD. This would be an additional $192.12 USD for a total of S362.36 USD. Then add another 35% on to convert this into Canadian dollars (another $126 – subtotal $488), and then to add shipping and duty.
For over $500 dollars worth of materials, I can make a lot of these rings and plates on my own! Sorry Van’s…not sorry! These plates and rings have all been increased by about 50%…no way I’m going to let Van’s take me to the cleaners on these parts.

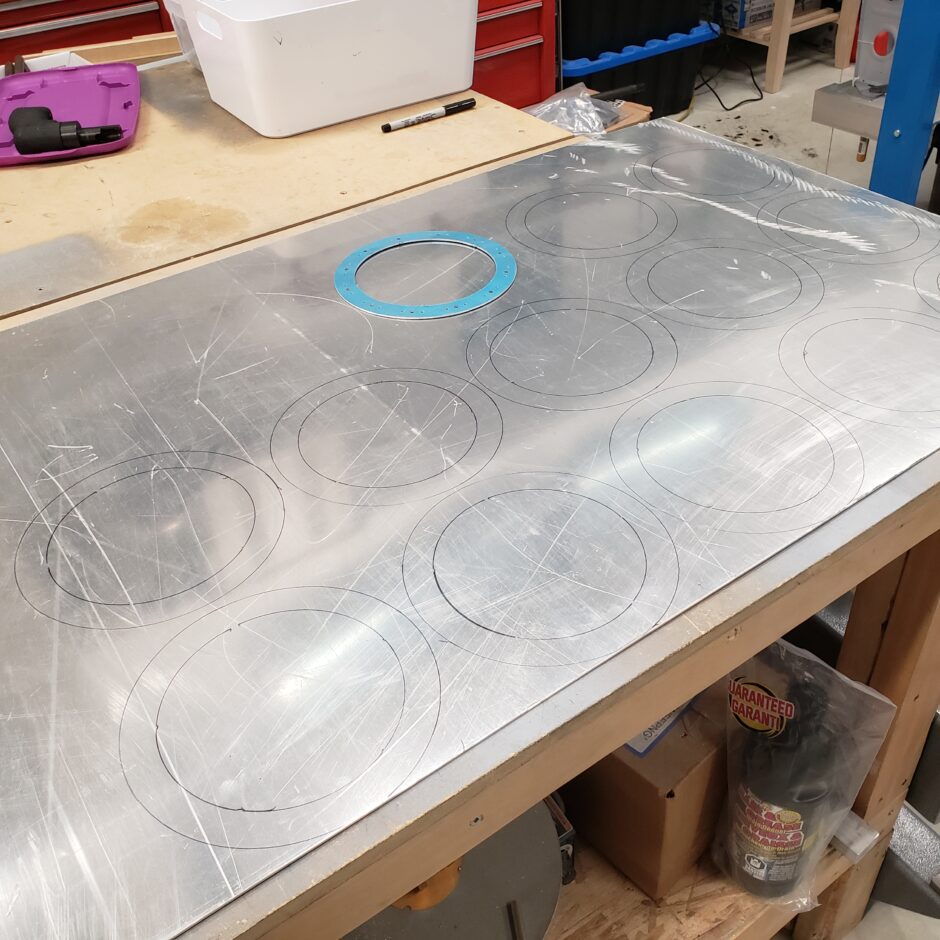
So as previously mentioned, before I got on my soapbox, I laid out all the access panel cover plates that I will need.

I also did the same for the T-407 reinforcement rings that I need and that’s about all I can do for today!
Please comment. I love to hear from my readers. Thanks again for coming along for this ride, you make my work worthwhile.
Leave a Reply