Now that all the ribs have been located (with the exception of the aileron bellcrank rib), the next step is to locate and drill the rear spar to the ribs.
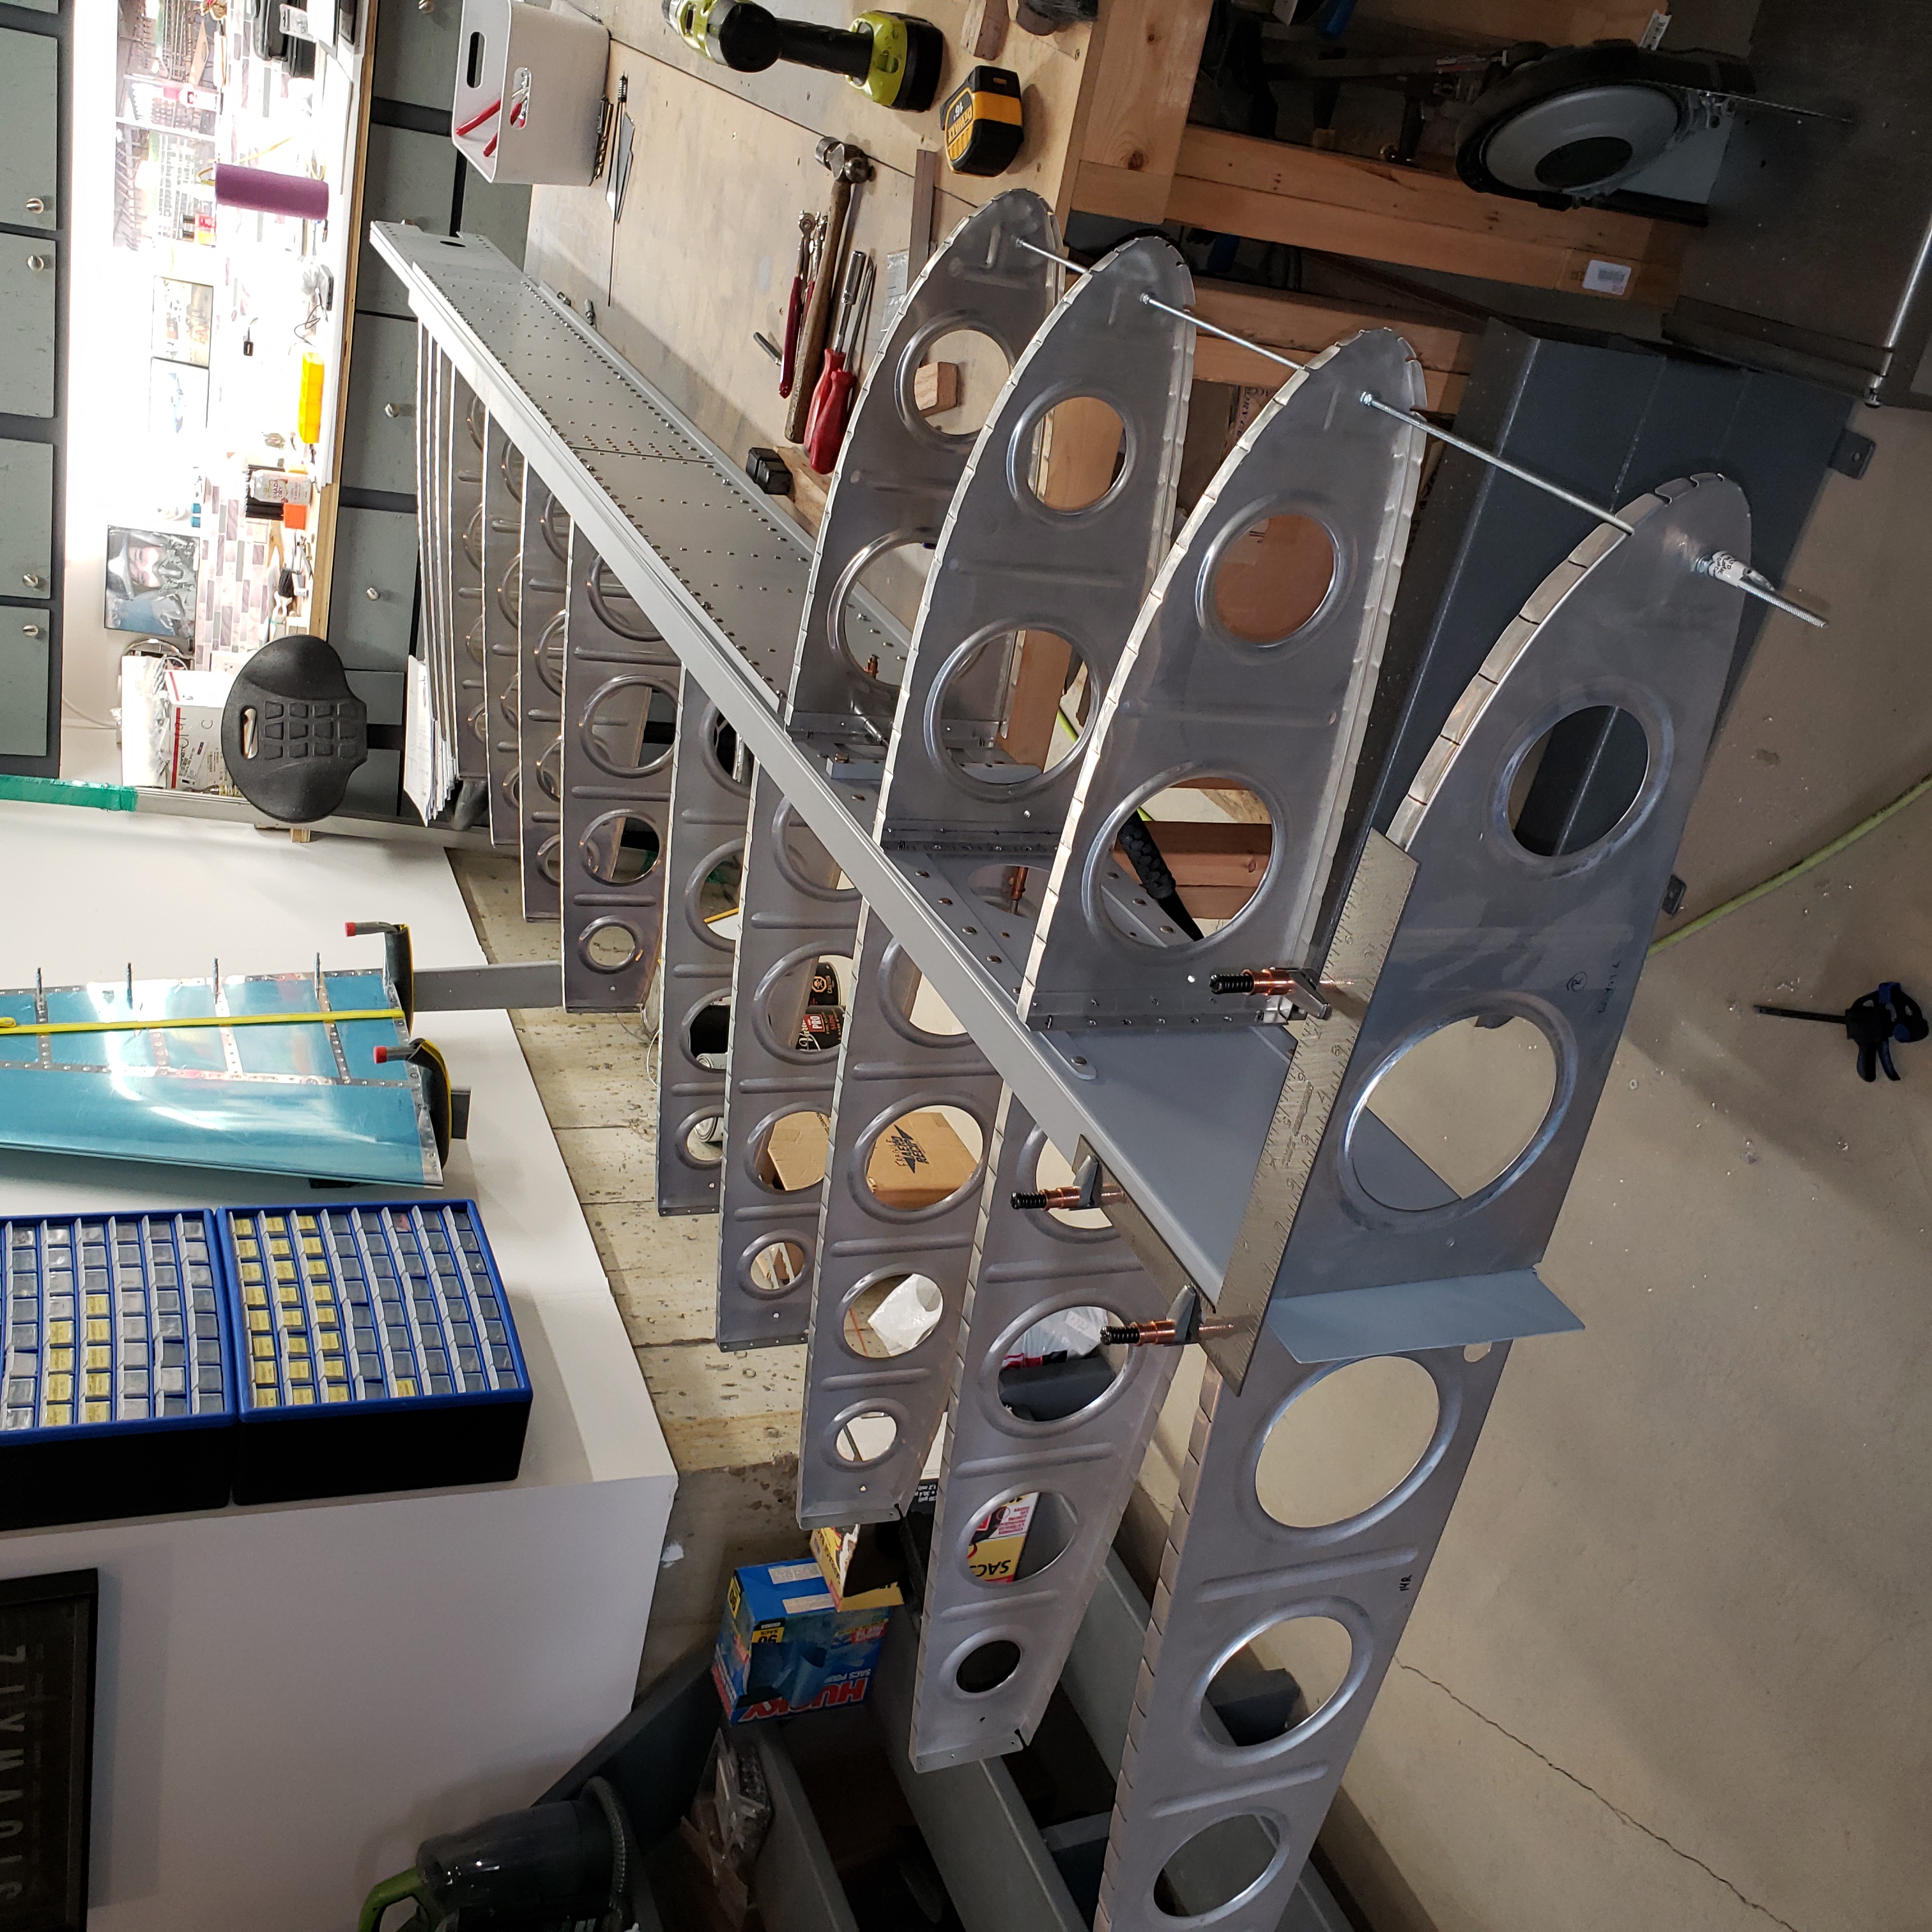
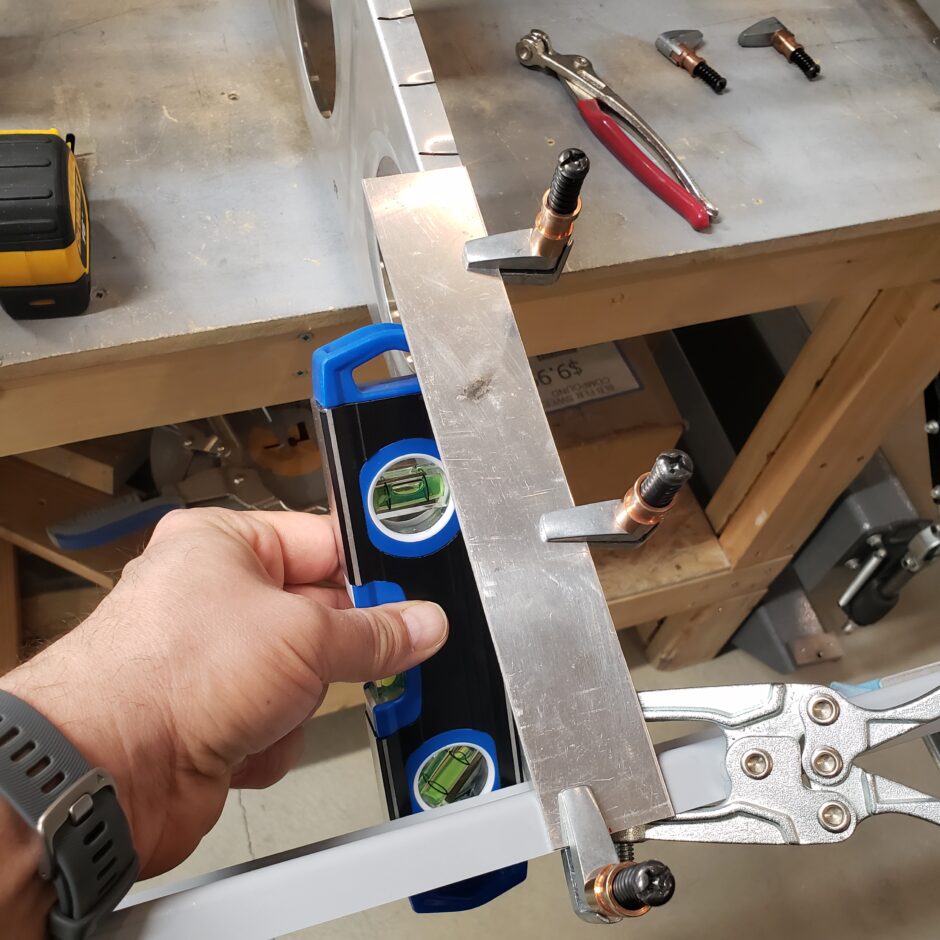
For me, the best place to start the work of locating the rear spar is to begin with getting the end ribs perfectly perpendicular to the main spar (at 90 degrees). I did this by using 2 carpentry squares and clecoing them to the rib and the spar. This would give me pretty darn close to 90 degrees as I can get.
I clamped one to the top and one to the bottom of the end rib.

I also used a couple clamps just to hold the rear spar in place while I’m getting myself organized to proceed.

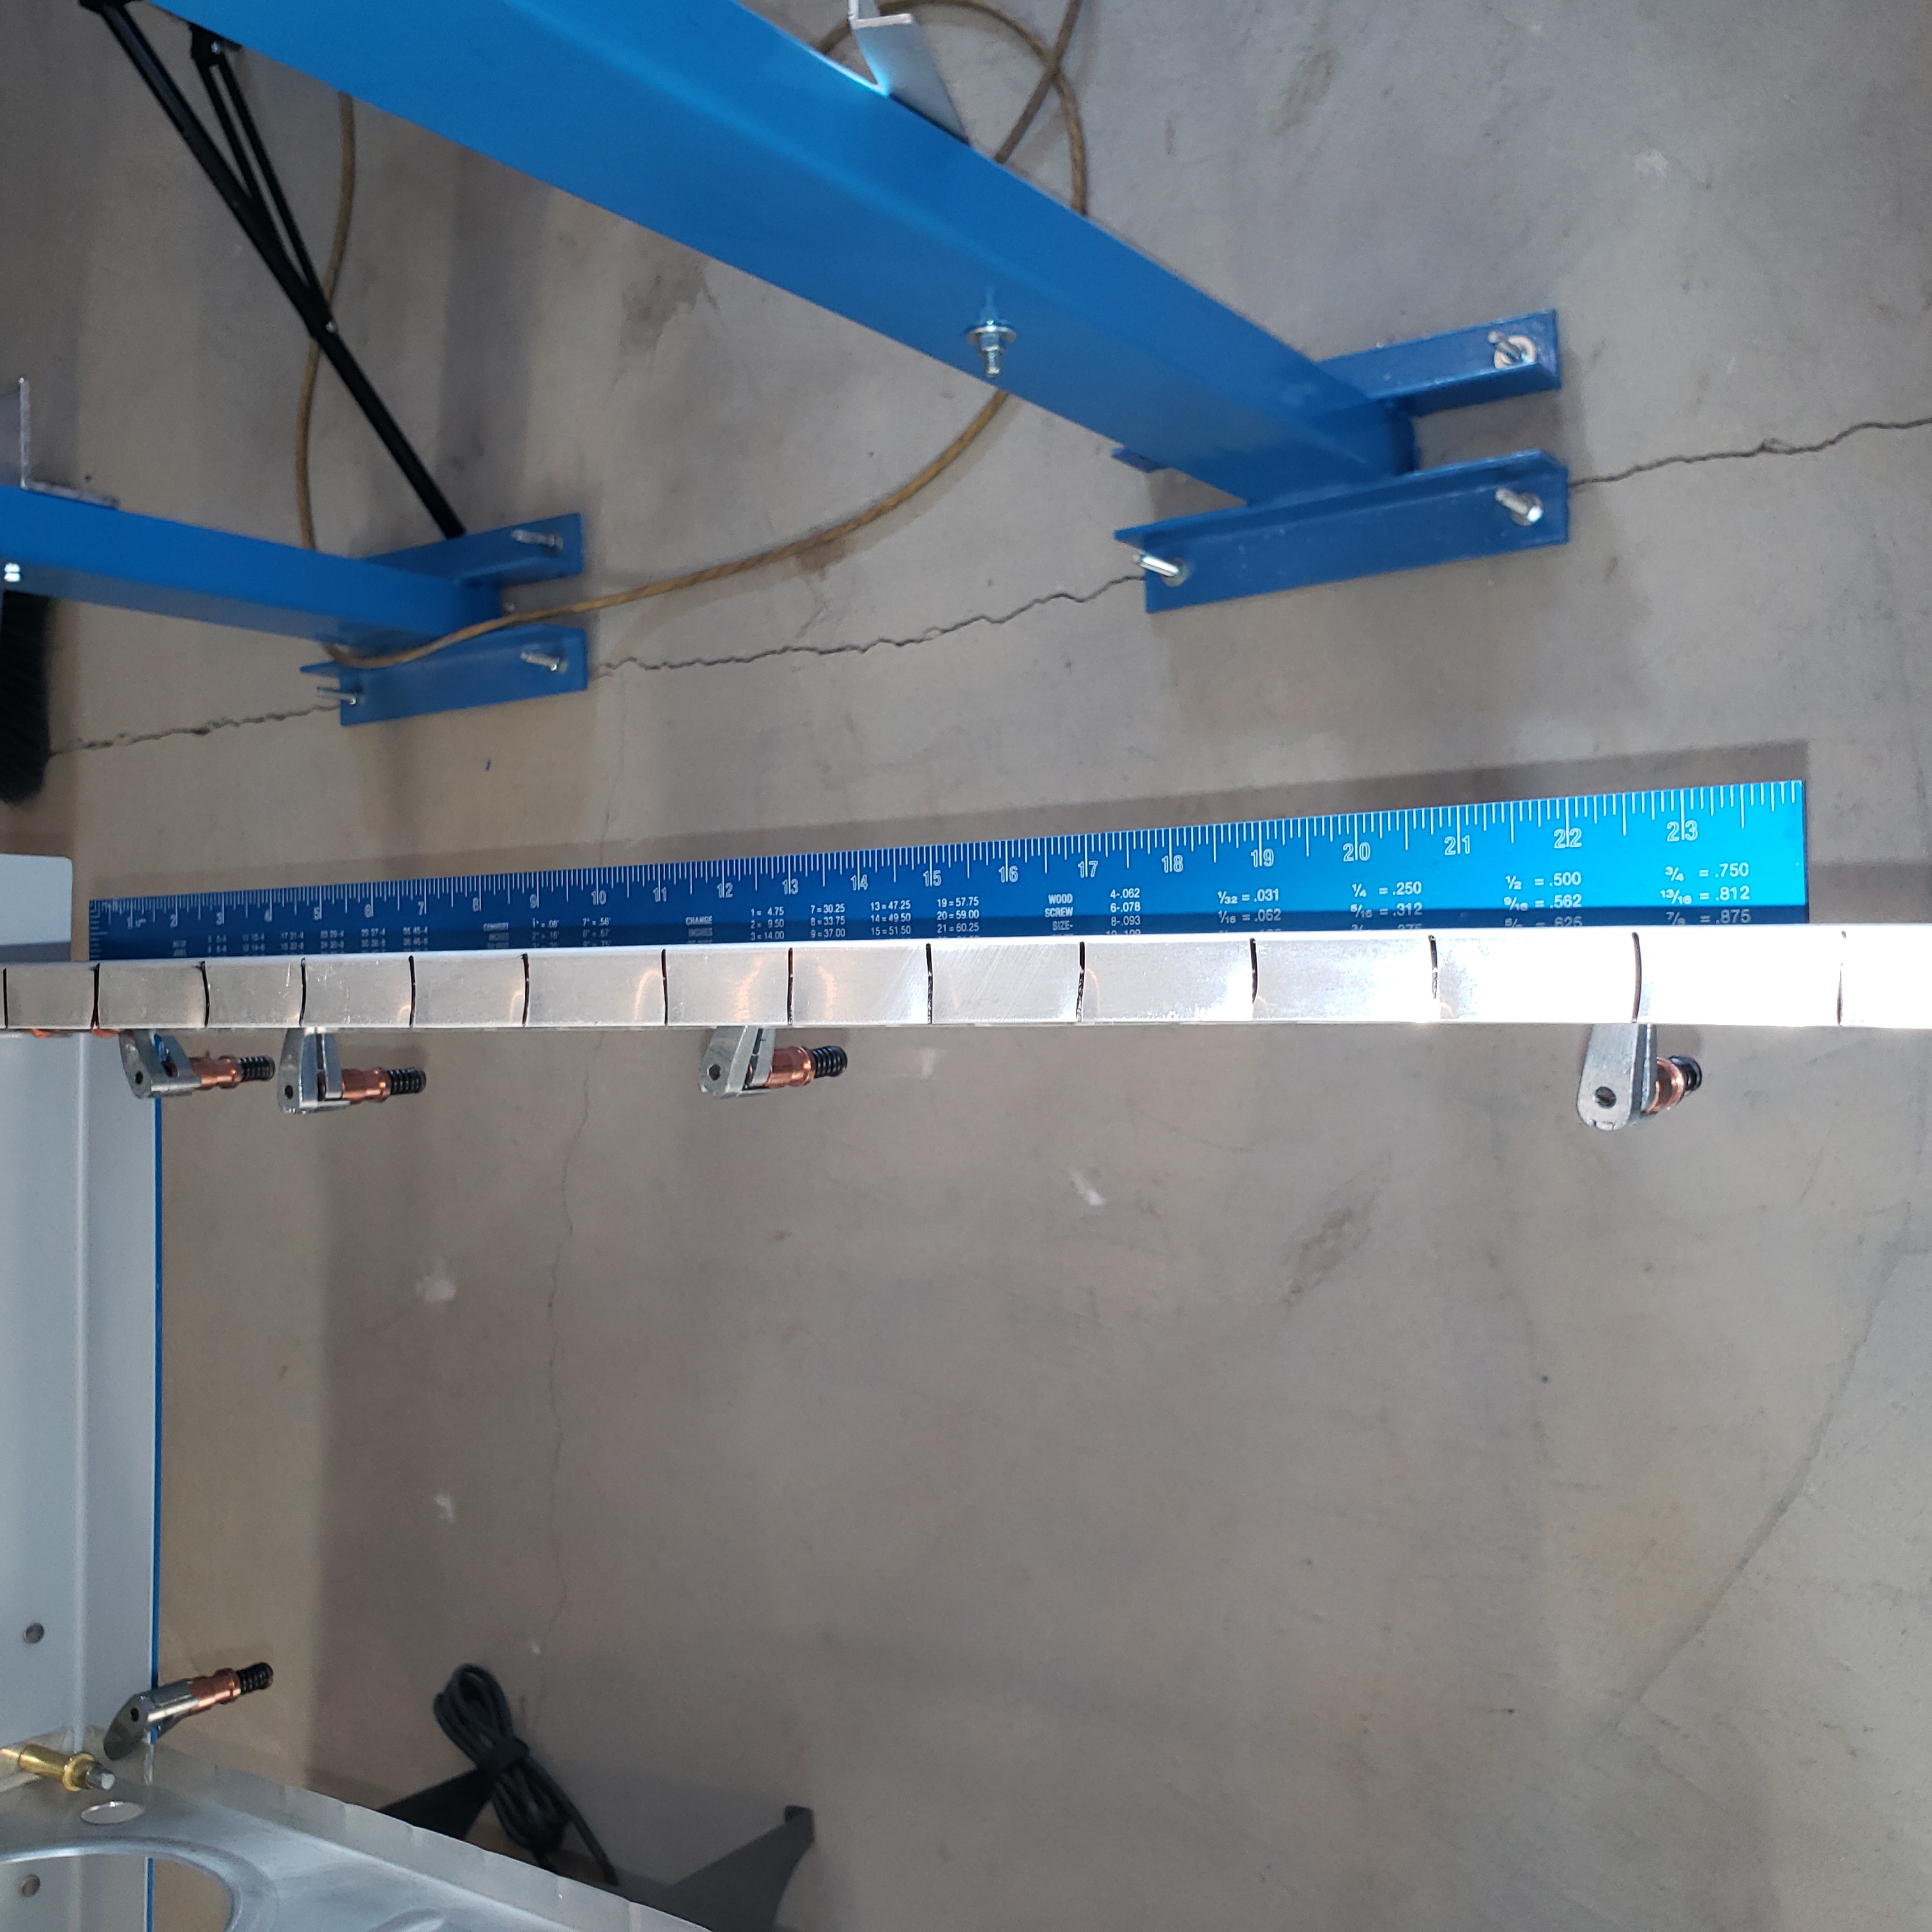
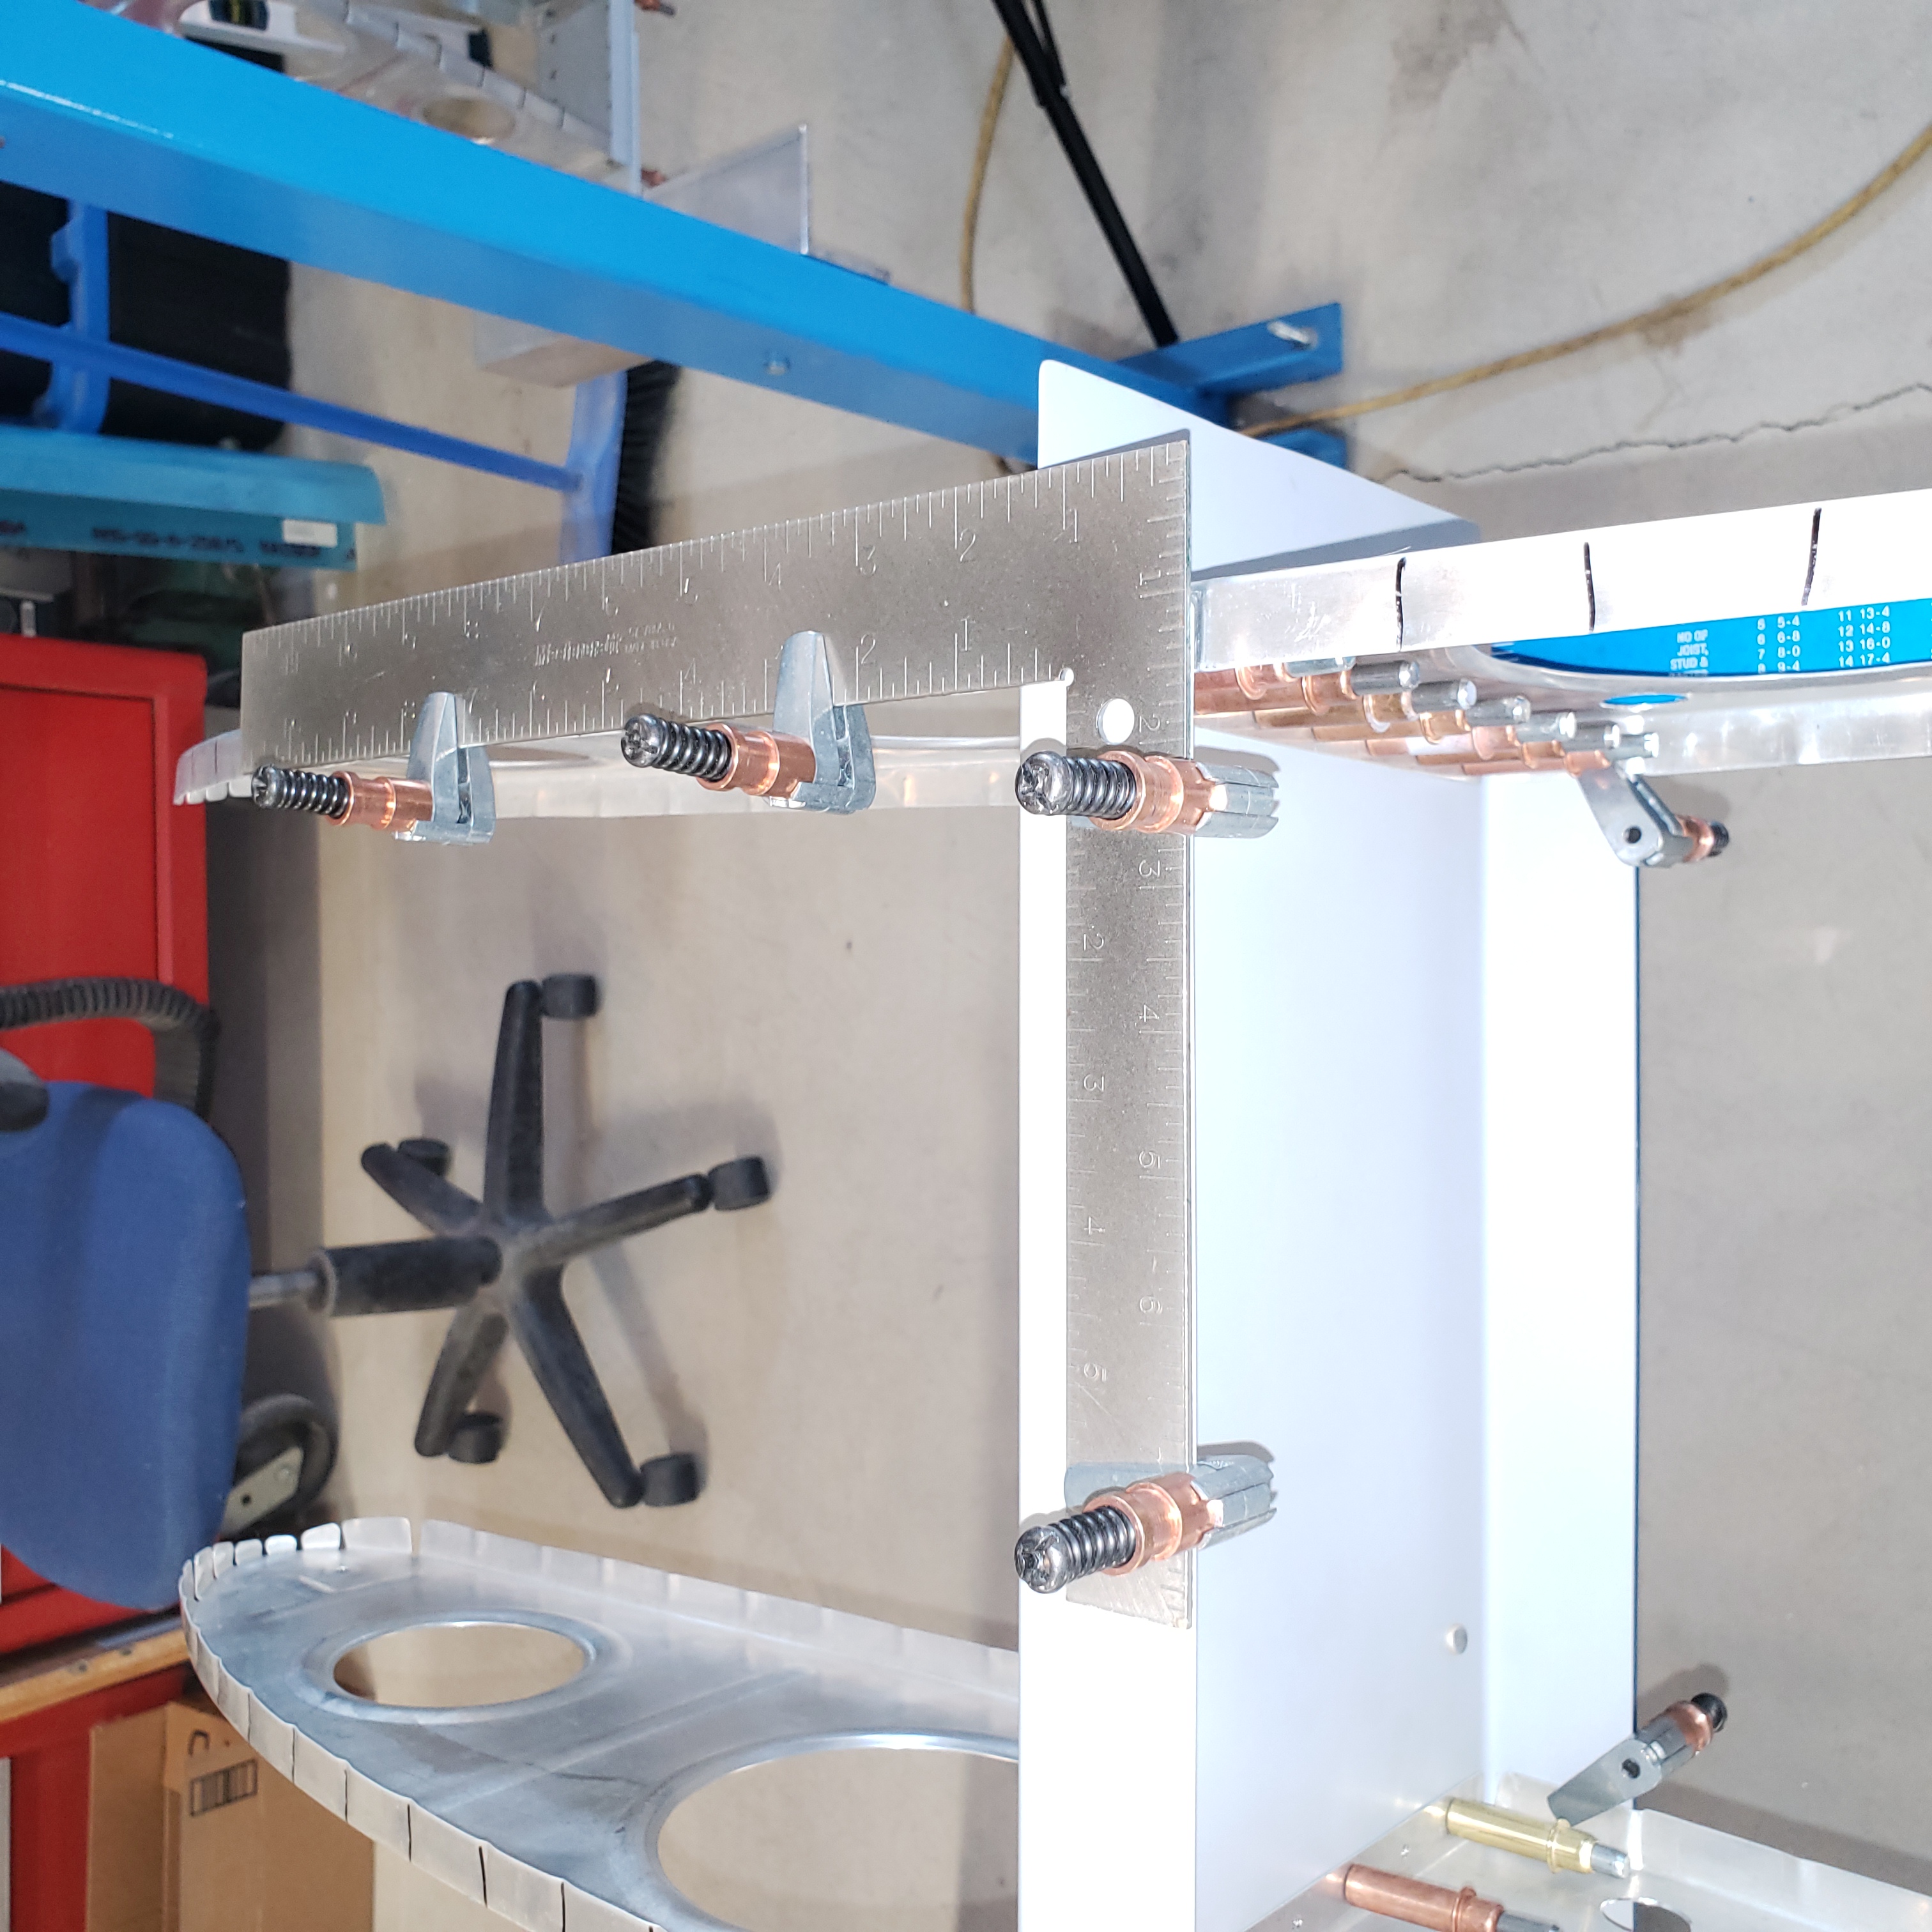
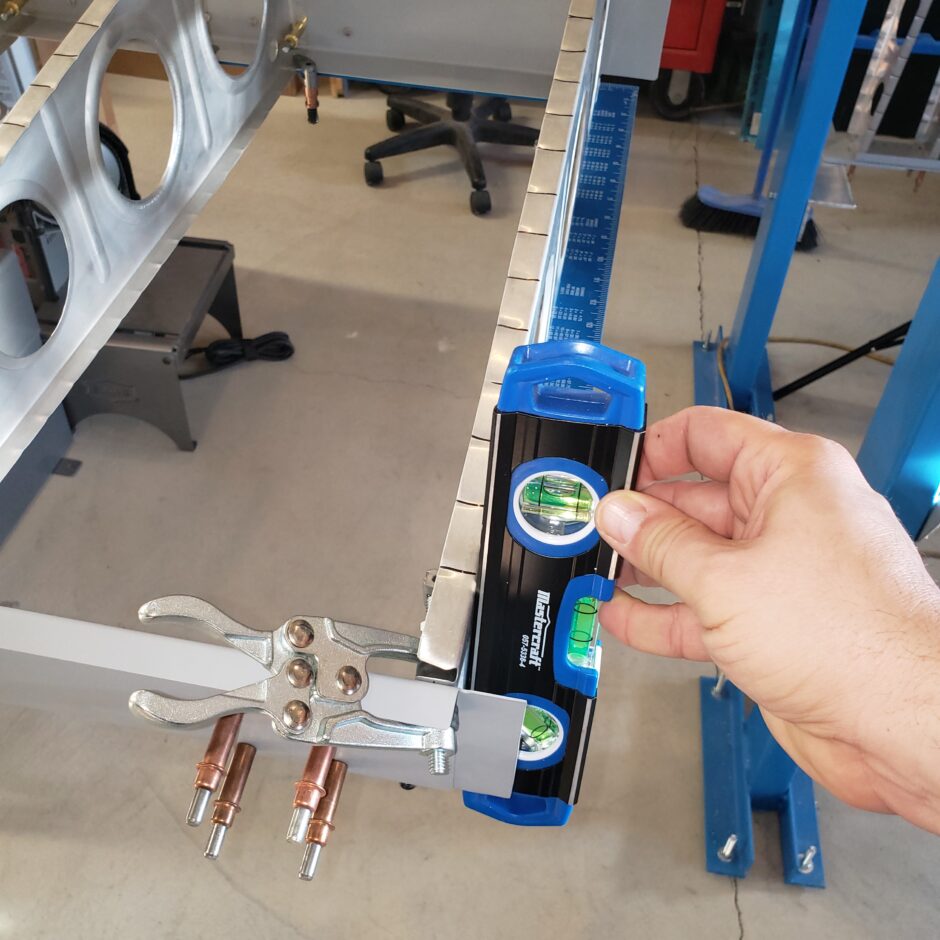
Now that the end ribs have been clamped to the carpenter squares, it’s time to make sure the rib itself if perfectly straight up and down. I should also mention, that before this step, I also leveled the main spar. With the main spar level, I’m then able to get the end rib level. Once happy with the measurements, clamp the tip rib to the rear spar, and then you’re ready to drill it.
Here’s a picture of the inside of the tip rib, and you can see that the rib flange is already drilled, so now it’s an easy exercise to match drill the holes into the rear spar.
These steps of getting the rib level, and clamped to the spar and drilling is the same now for all the other ribs as you work your way inboard.
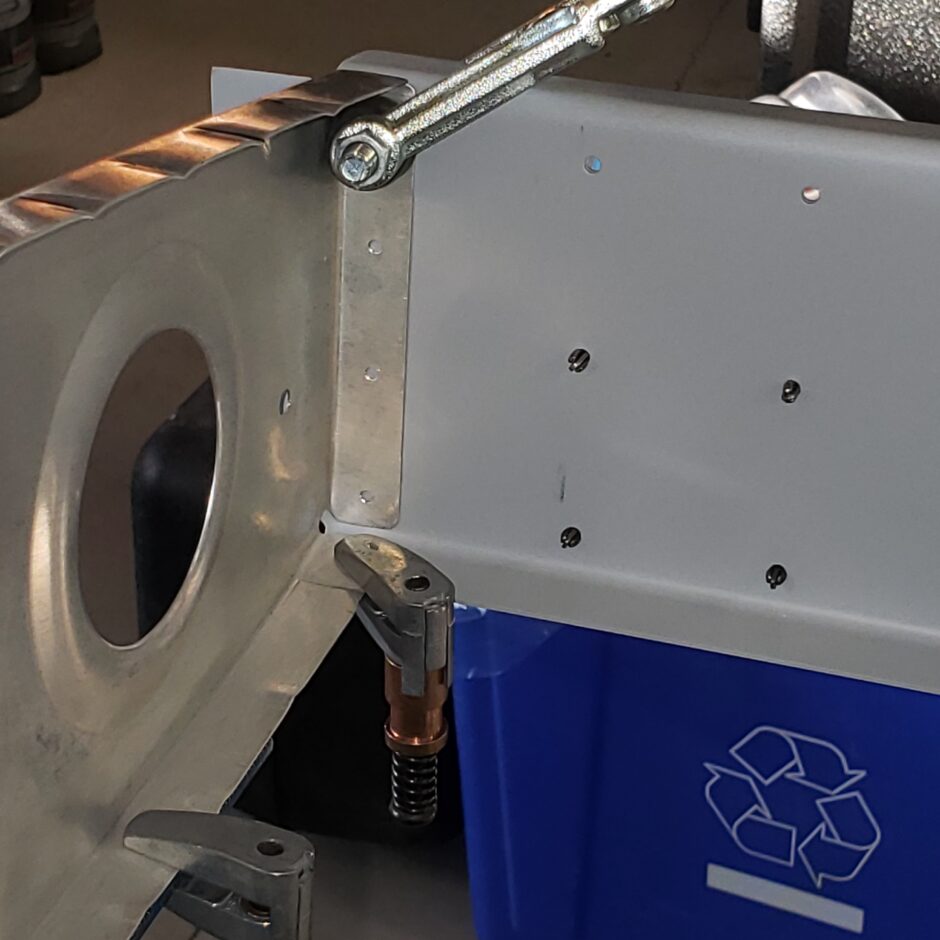
To ensure the accuracy of the rib spacing, the method I used was to measure the rib spacing at the main spar, and the getting the rib set at that same dimension when I clamped it to the rear spar.
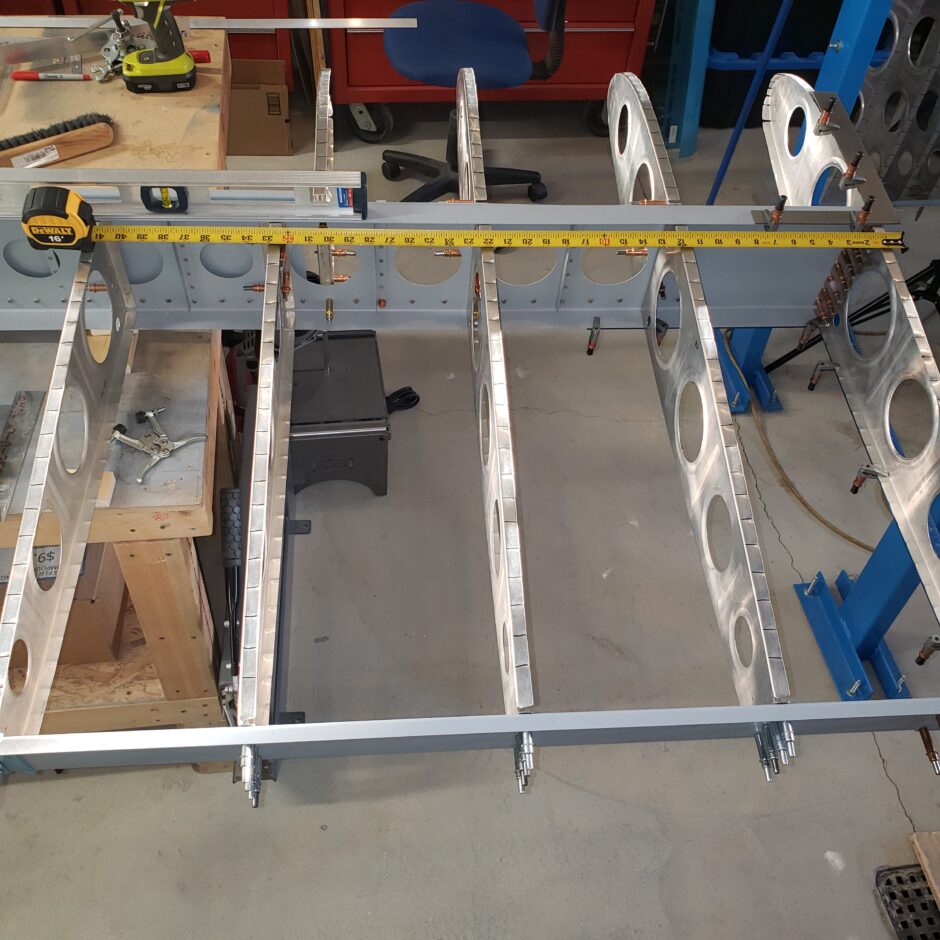
This task proceeds along pretty quickly. As you can see here, I left out the aileron bellcrank rib because it needs a bit more attention and some trimming.
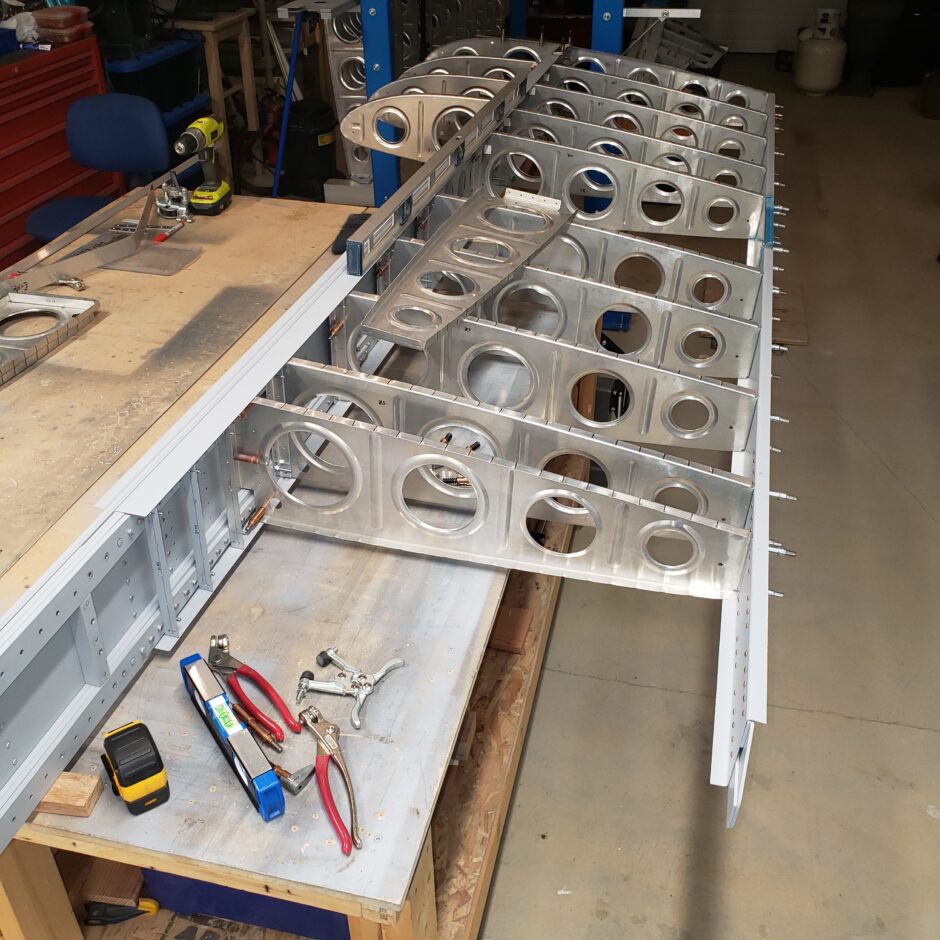
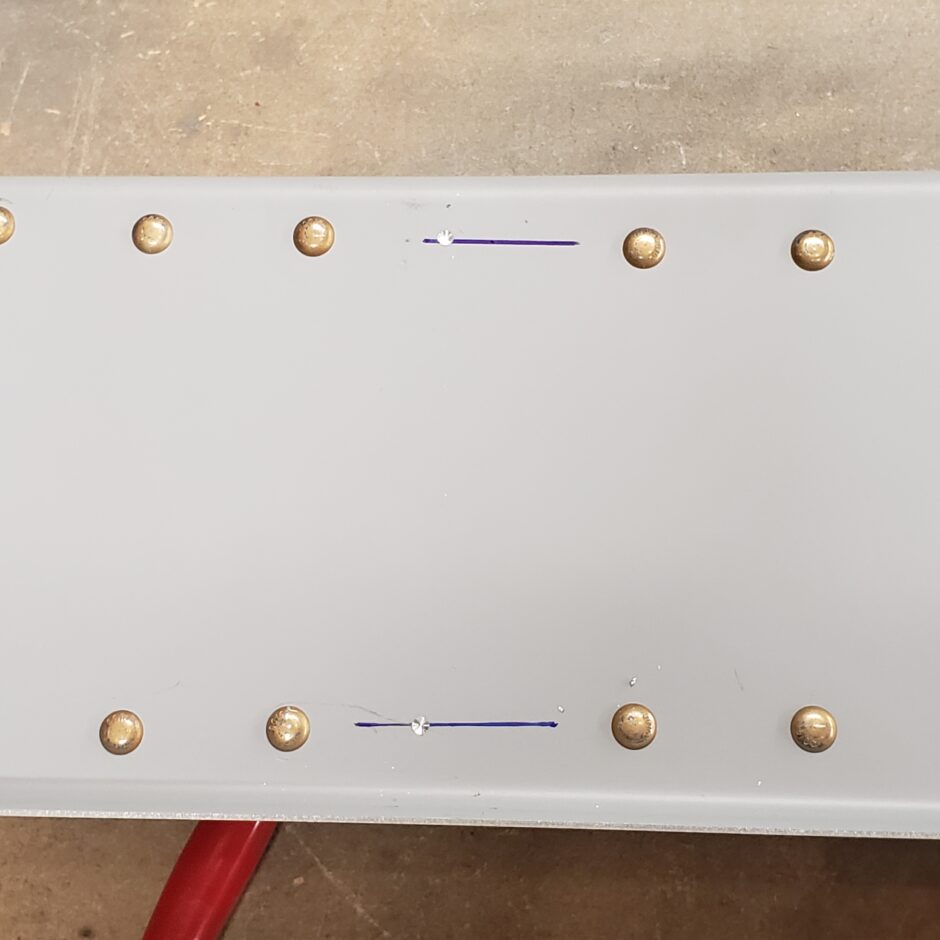
Then finally you’ll work your way inboard to the ribs that are riveted to the inboard aft spar spar beams. In this area, the ribs are only fastened by 2 rivets (one top and one bottom). In the picture below, I drew some marks to help me align the rivet with the existing rivet line.

With the reference lines drawn on the spar, I then put the rib in place and then could transfer these reference lines onto the rib which will eventually be used for drilling the rivet holes.

In the picture below, I transferred these lines across the flange and also marked a centerline for my edge distance. Once this was marked I then drilled the two fastener holes.
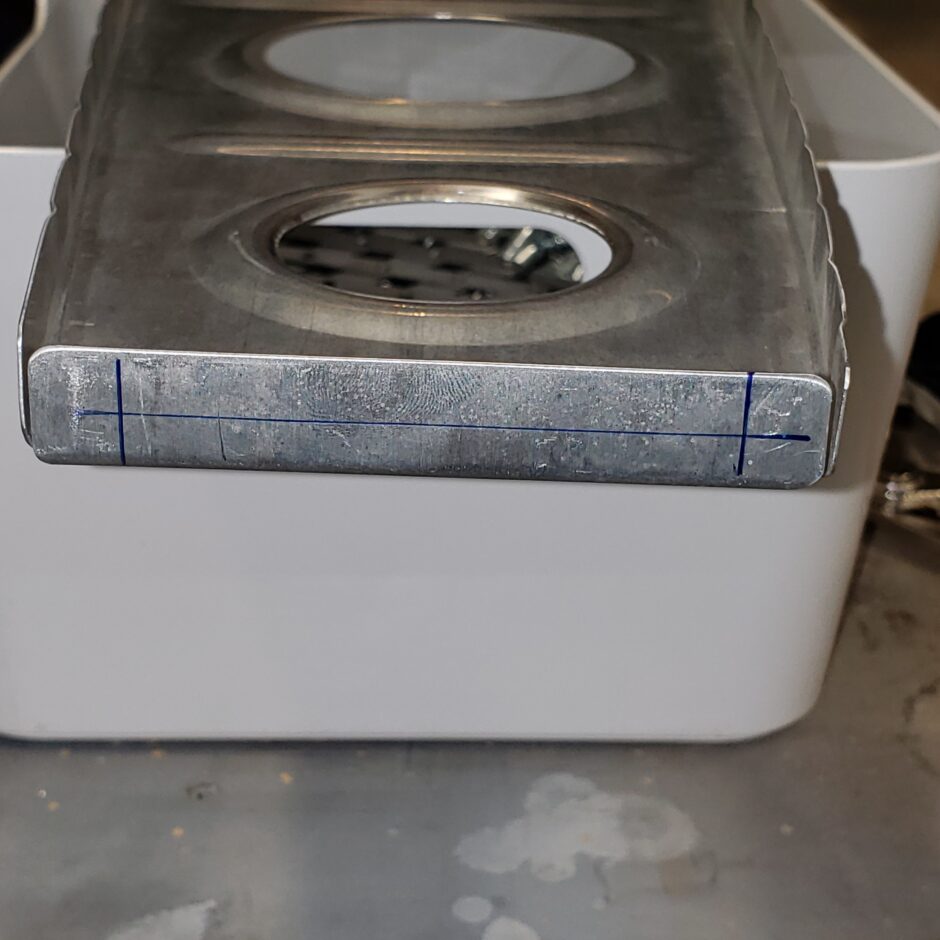
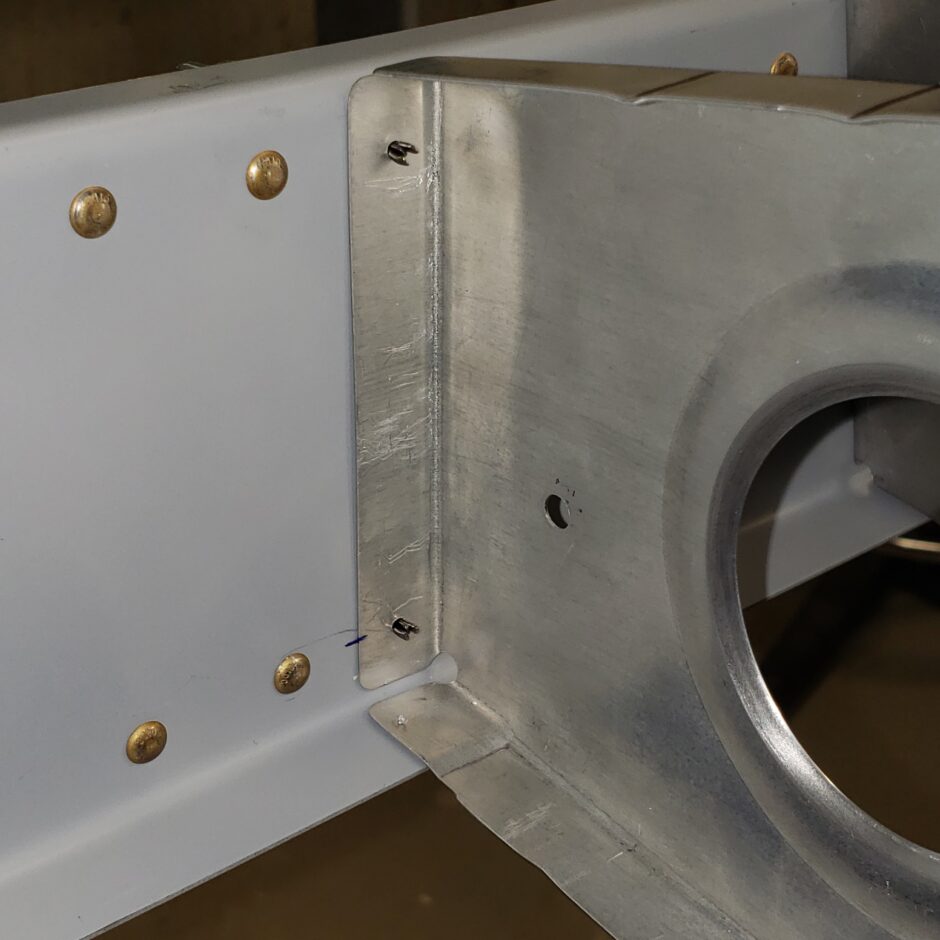
With the rib drilled, I put it back in place, and then got the aft end squared-up and clamped.

Rather than drilling the rib all the way through the spar and spar beams, I drilled a small dimple. Then removed the rear spar and then could easily and squarely drill the holes. It might seem like a lot of extra work to pull off the spar to drill these holes, but it’s just a few clecos and some repetitive work, but definitely worth getting straight holes through the thick layers of material.
Here’s the finished product. A perfect fit!
And here’s from the forward side of the spar.
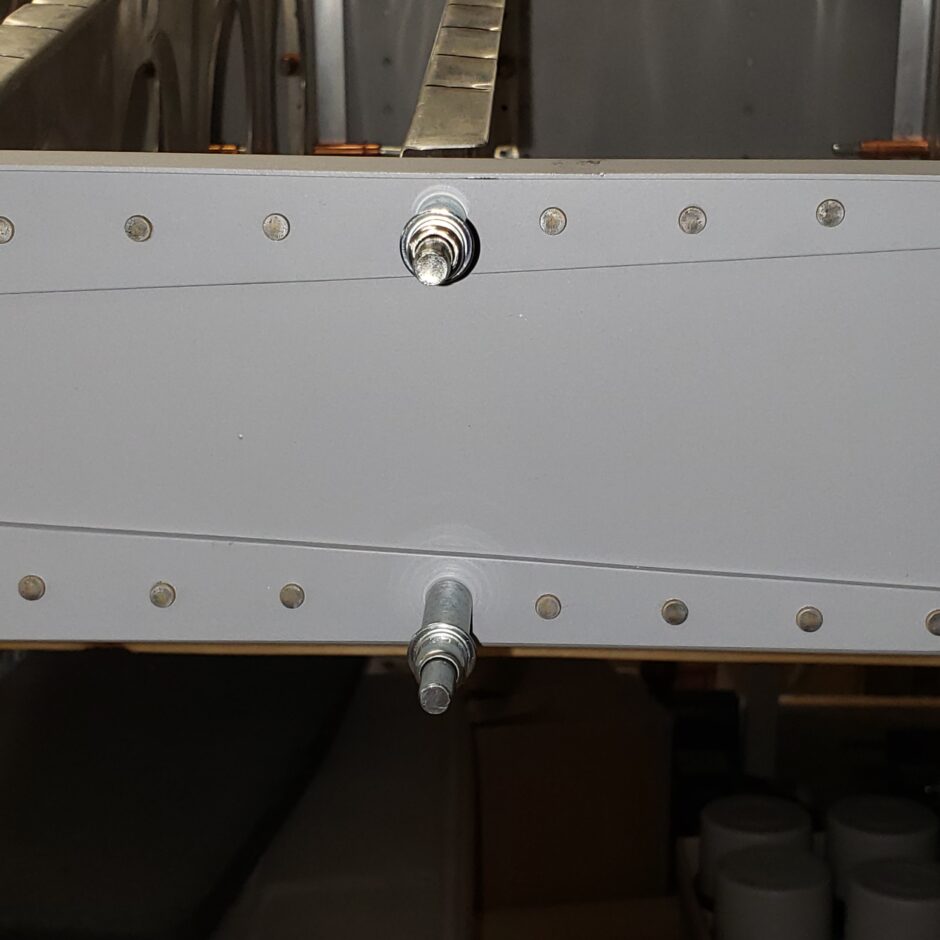
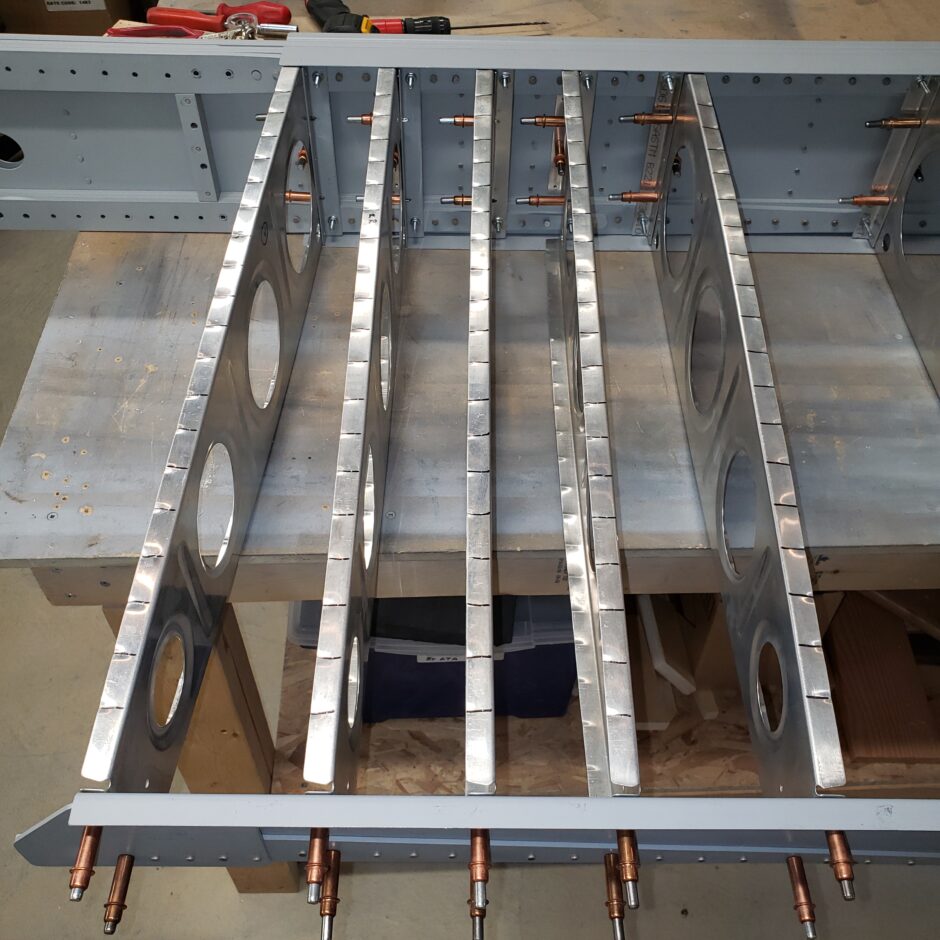
Here are the 5 inboard ribs that need this extra bit of work.
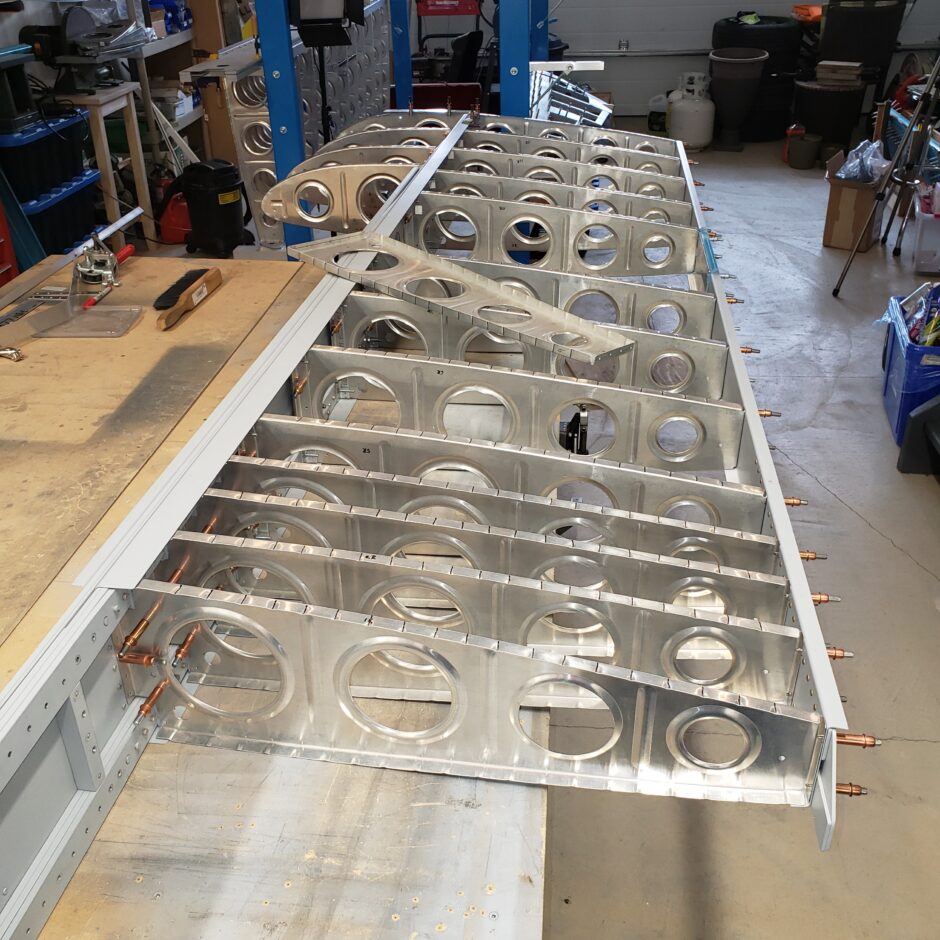
The only thing left to do now is to install the aileron bellcrank rib.
That’s all for today folks! Please comment. I love to hear from my readers. Thanks again for coming along for this ride, you make my work worthwhile.
Good day!
Leave a Reply