The plan for today is to start riveting and assembling the right wing. I didn’t post about the prep work and priming in between this and the last post, by now we all know how much of a thankless job that part of homebuilding is.
I would like to say, just for those who are interested, that it took me 6 spray cans of SEM self-etching primer to cover all the ribs, angles, and various other bits and pieces that make up the aileron bellcrank ribs. At $36.00 CDN per can, that priming job sure adds up quickly.
Also, doing that much priming in one day, left me surprisingly sore. Consider the repetitive movements of using your pointer finger, over and over to activate the rattle can. What caught me off guard was that for the next day or two, my forearm was sore and I really had to struggle to make a fist.
Anyway, back to building!
I began the assembly with riveting the angles on the bellcrank support rib. For the two rivets shown below, these are the first 2 I set because this assembly of angles is a bit awkward to hold and get riveted. Also these rivets only go through the angles and don’t get riveted to the rib itself. They are really just used to tack these pieces together.

Moving along, I got the angle assembly clecoed in place and now the rib is ready to be riveted.
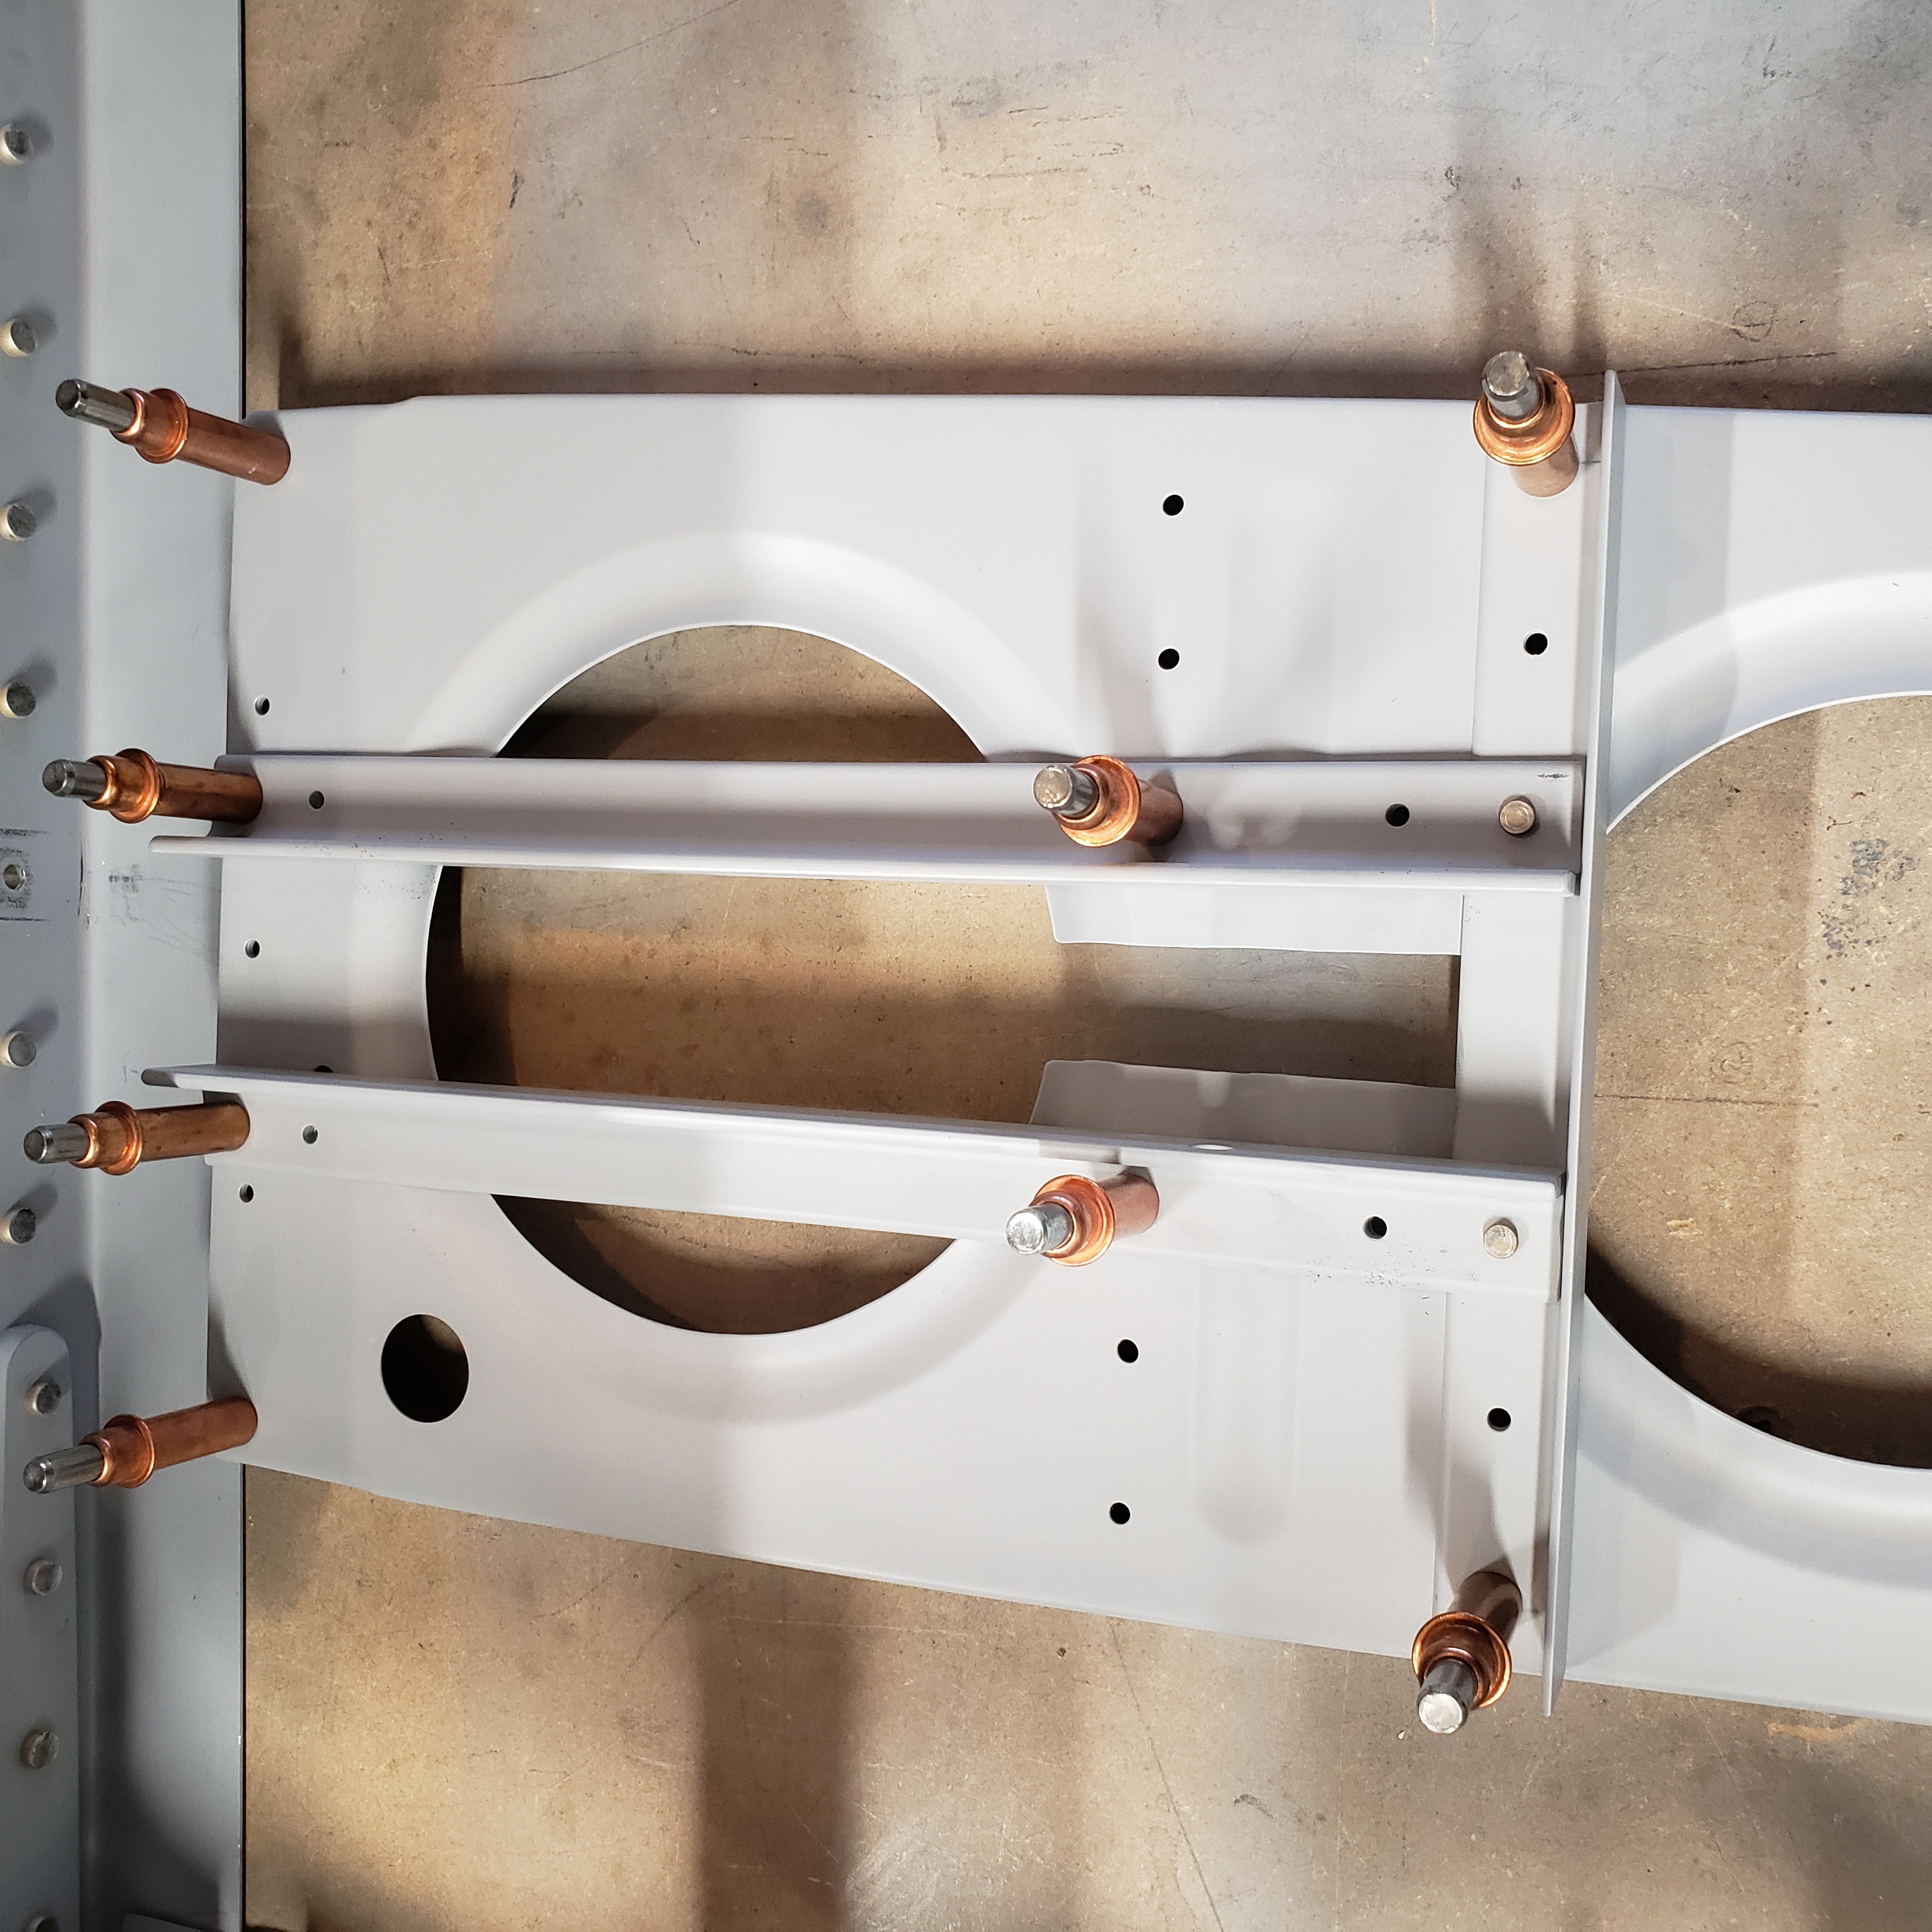
After getting the aileron bellcrank rib and associated support structure riveted together, I then moved on to riveting all the rib to spar attach angles on the remaining ribs. As you can see in the photo below, this is a really straightforward process, and using the pneumatic squeezer worked like a dream here.
I won’t document every rib here, but the photos below, are practically the same for all the other ribs.
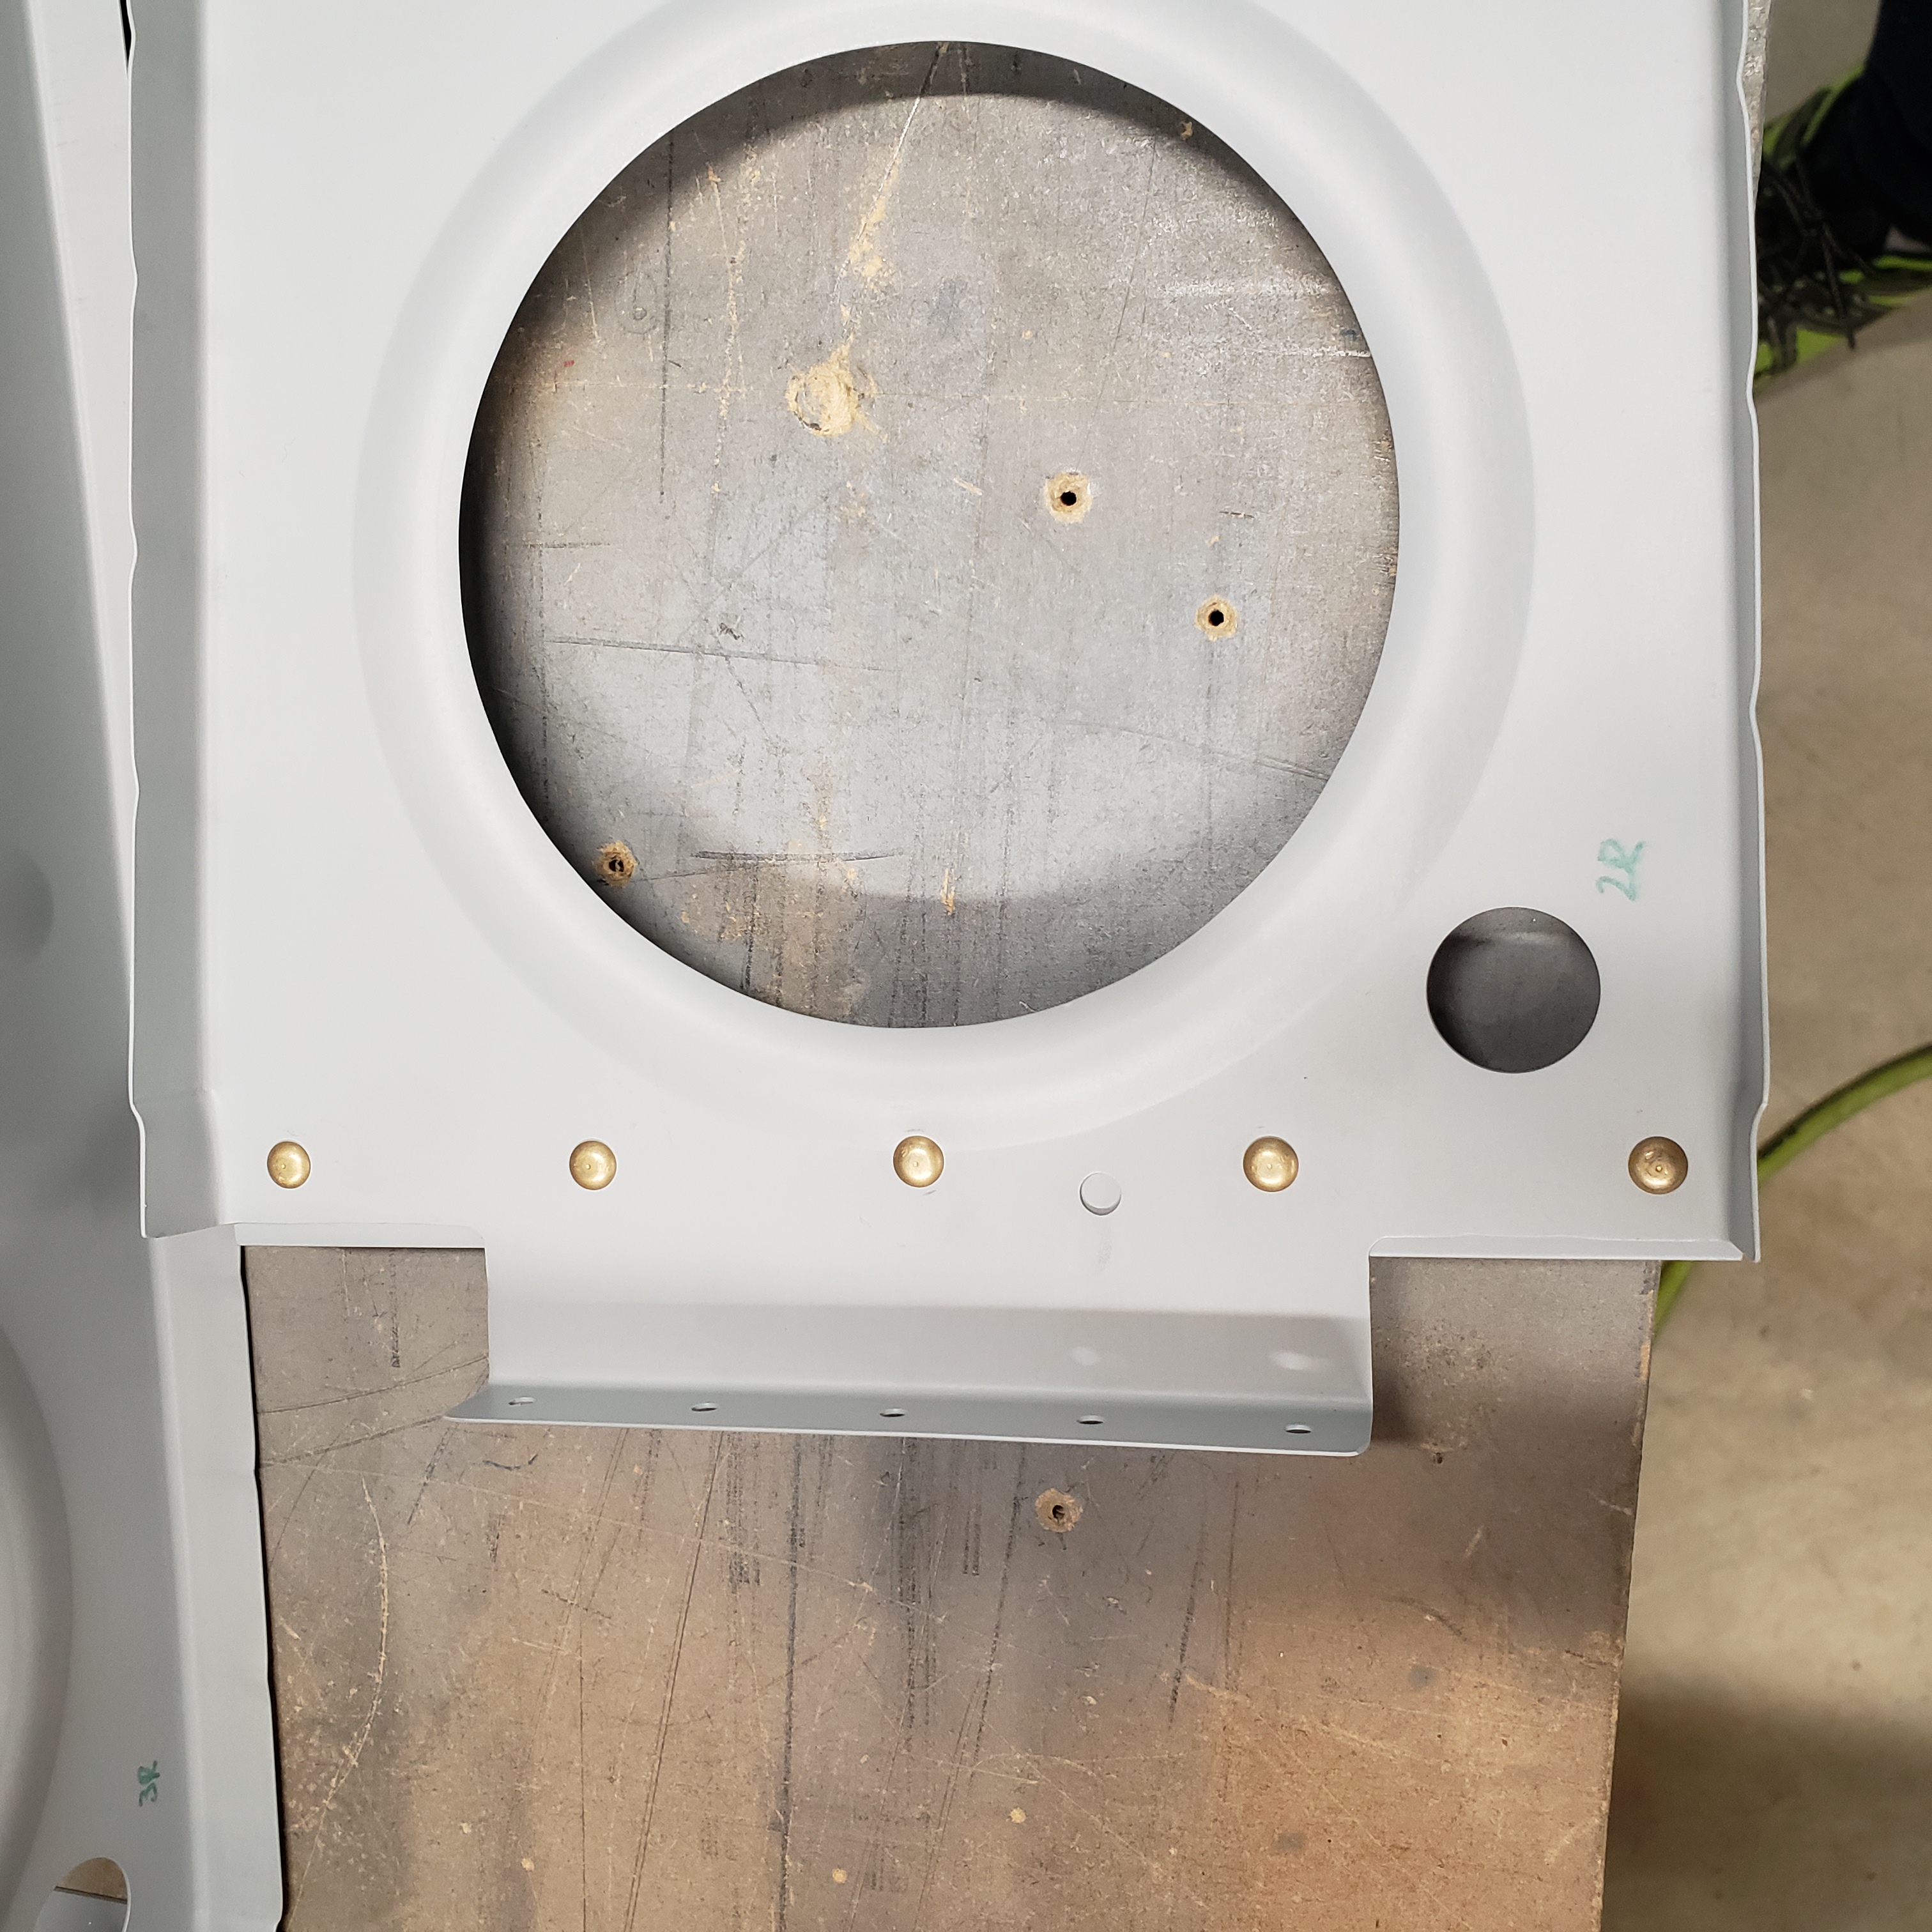
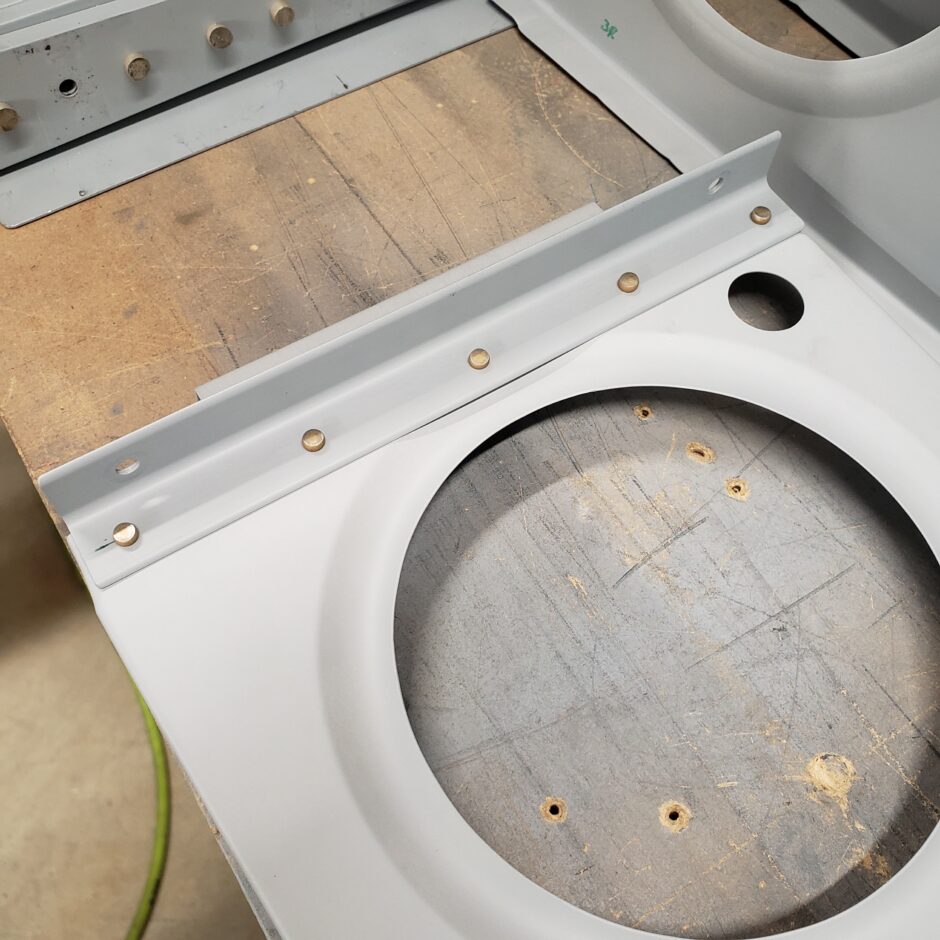
With all the ribs riveted to the attach angles, and then temporarily bolted back onto the main spar, the next thing to do was to rivet the aileron bellcrank side-support ribs. This is a bit more tricky to rivet, mostly because when doing this by yourself, it’s a bit flimsy and hard to hold steady.
I also found that it was much easier to rivet this with a 2x gun and an offset rivet set. This was too awkward to maneuver the squeezer around.
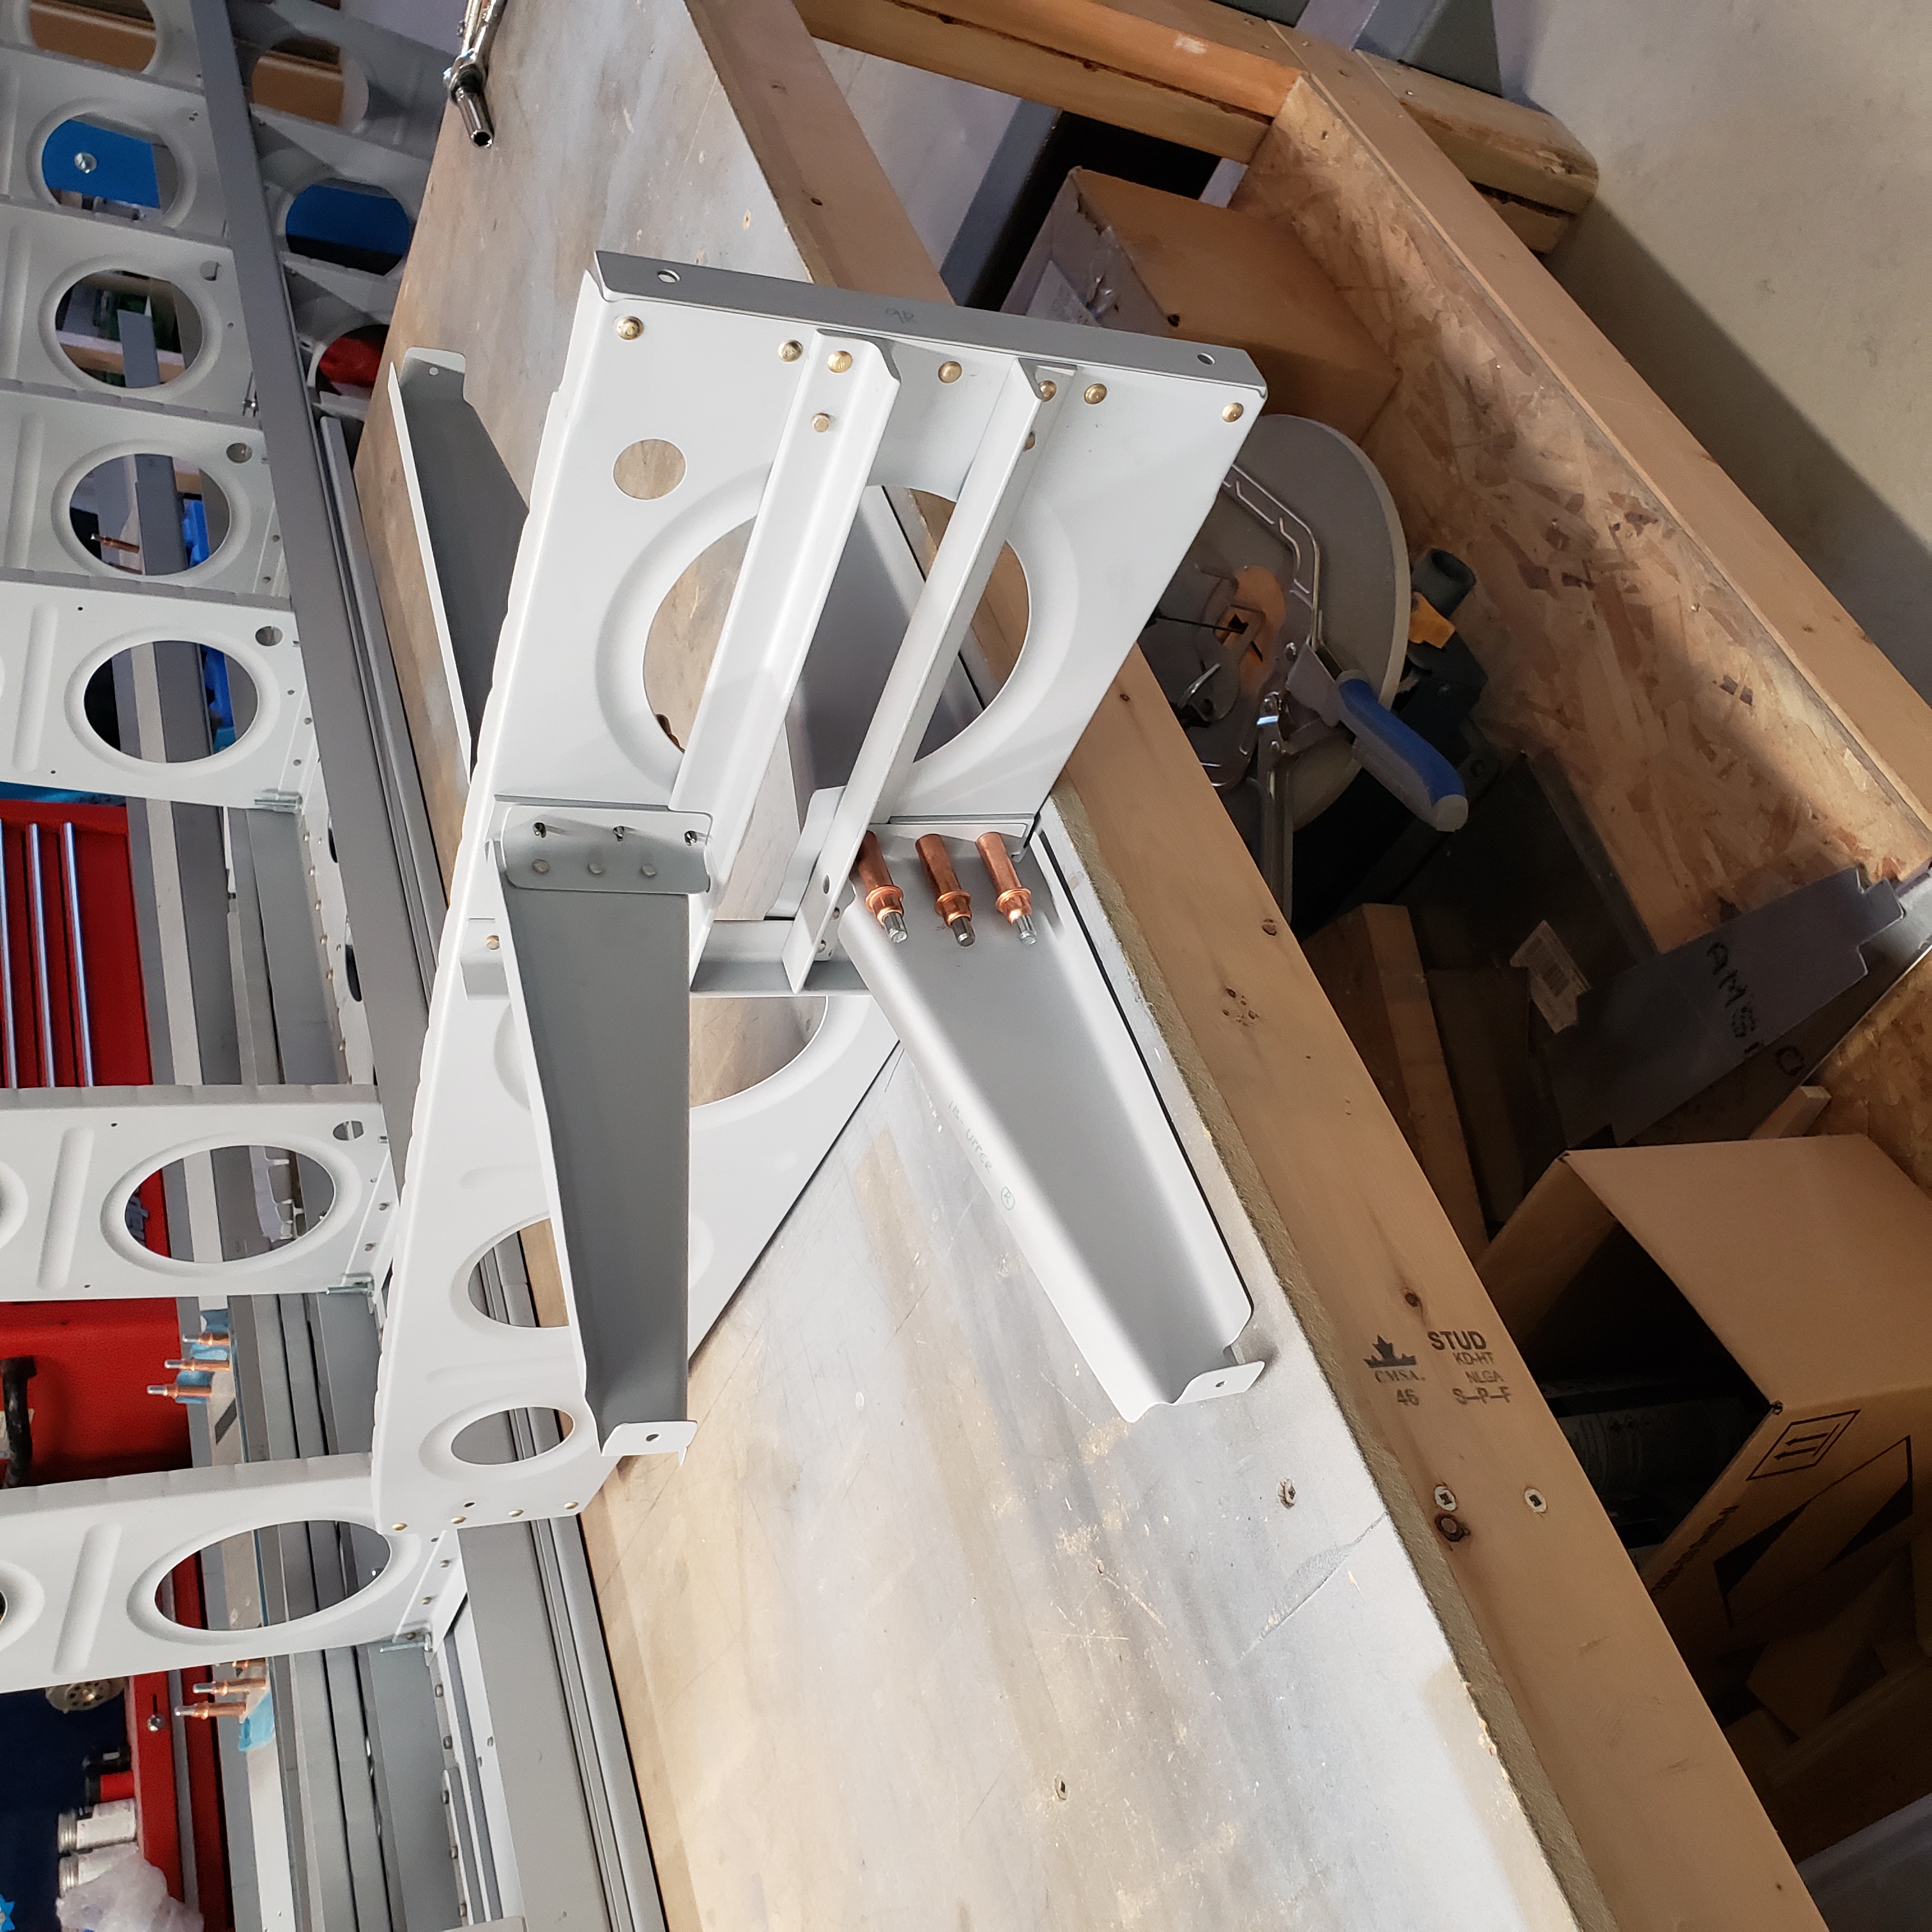
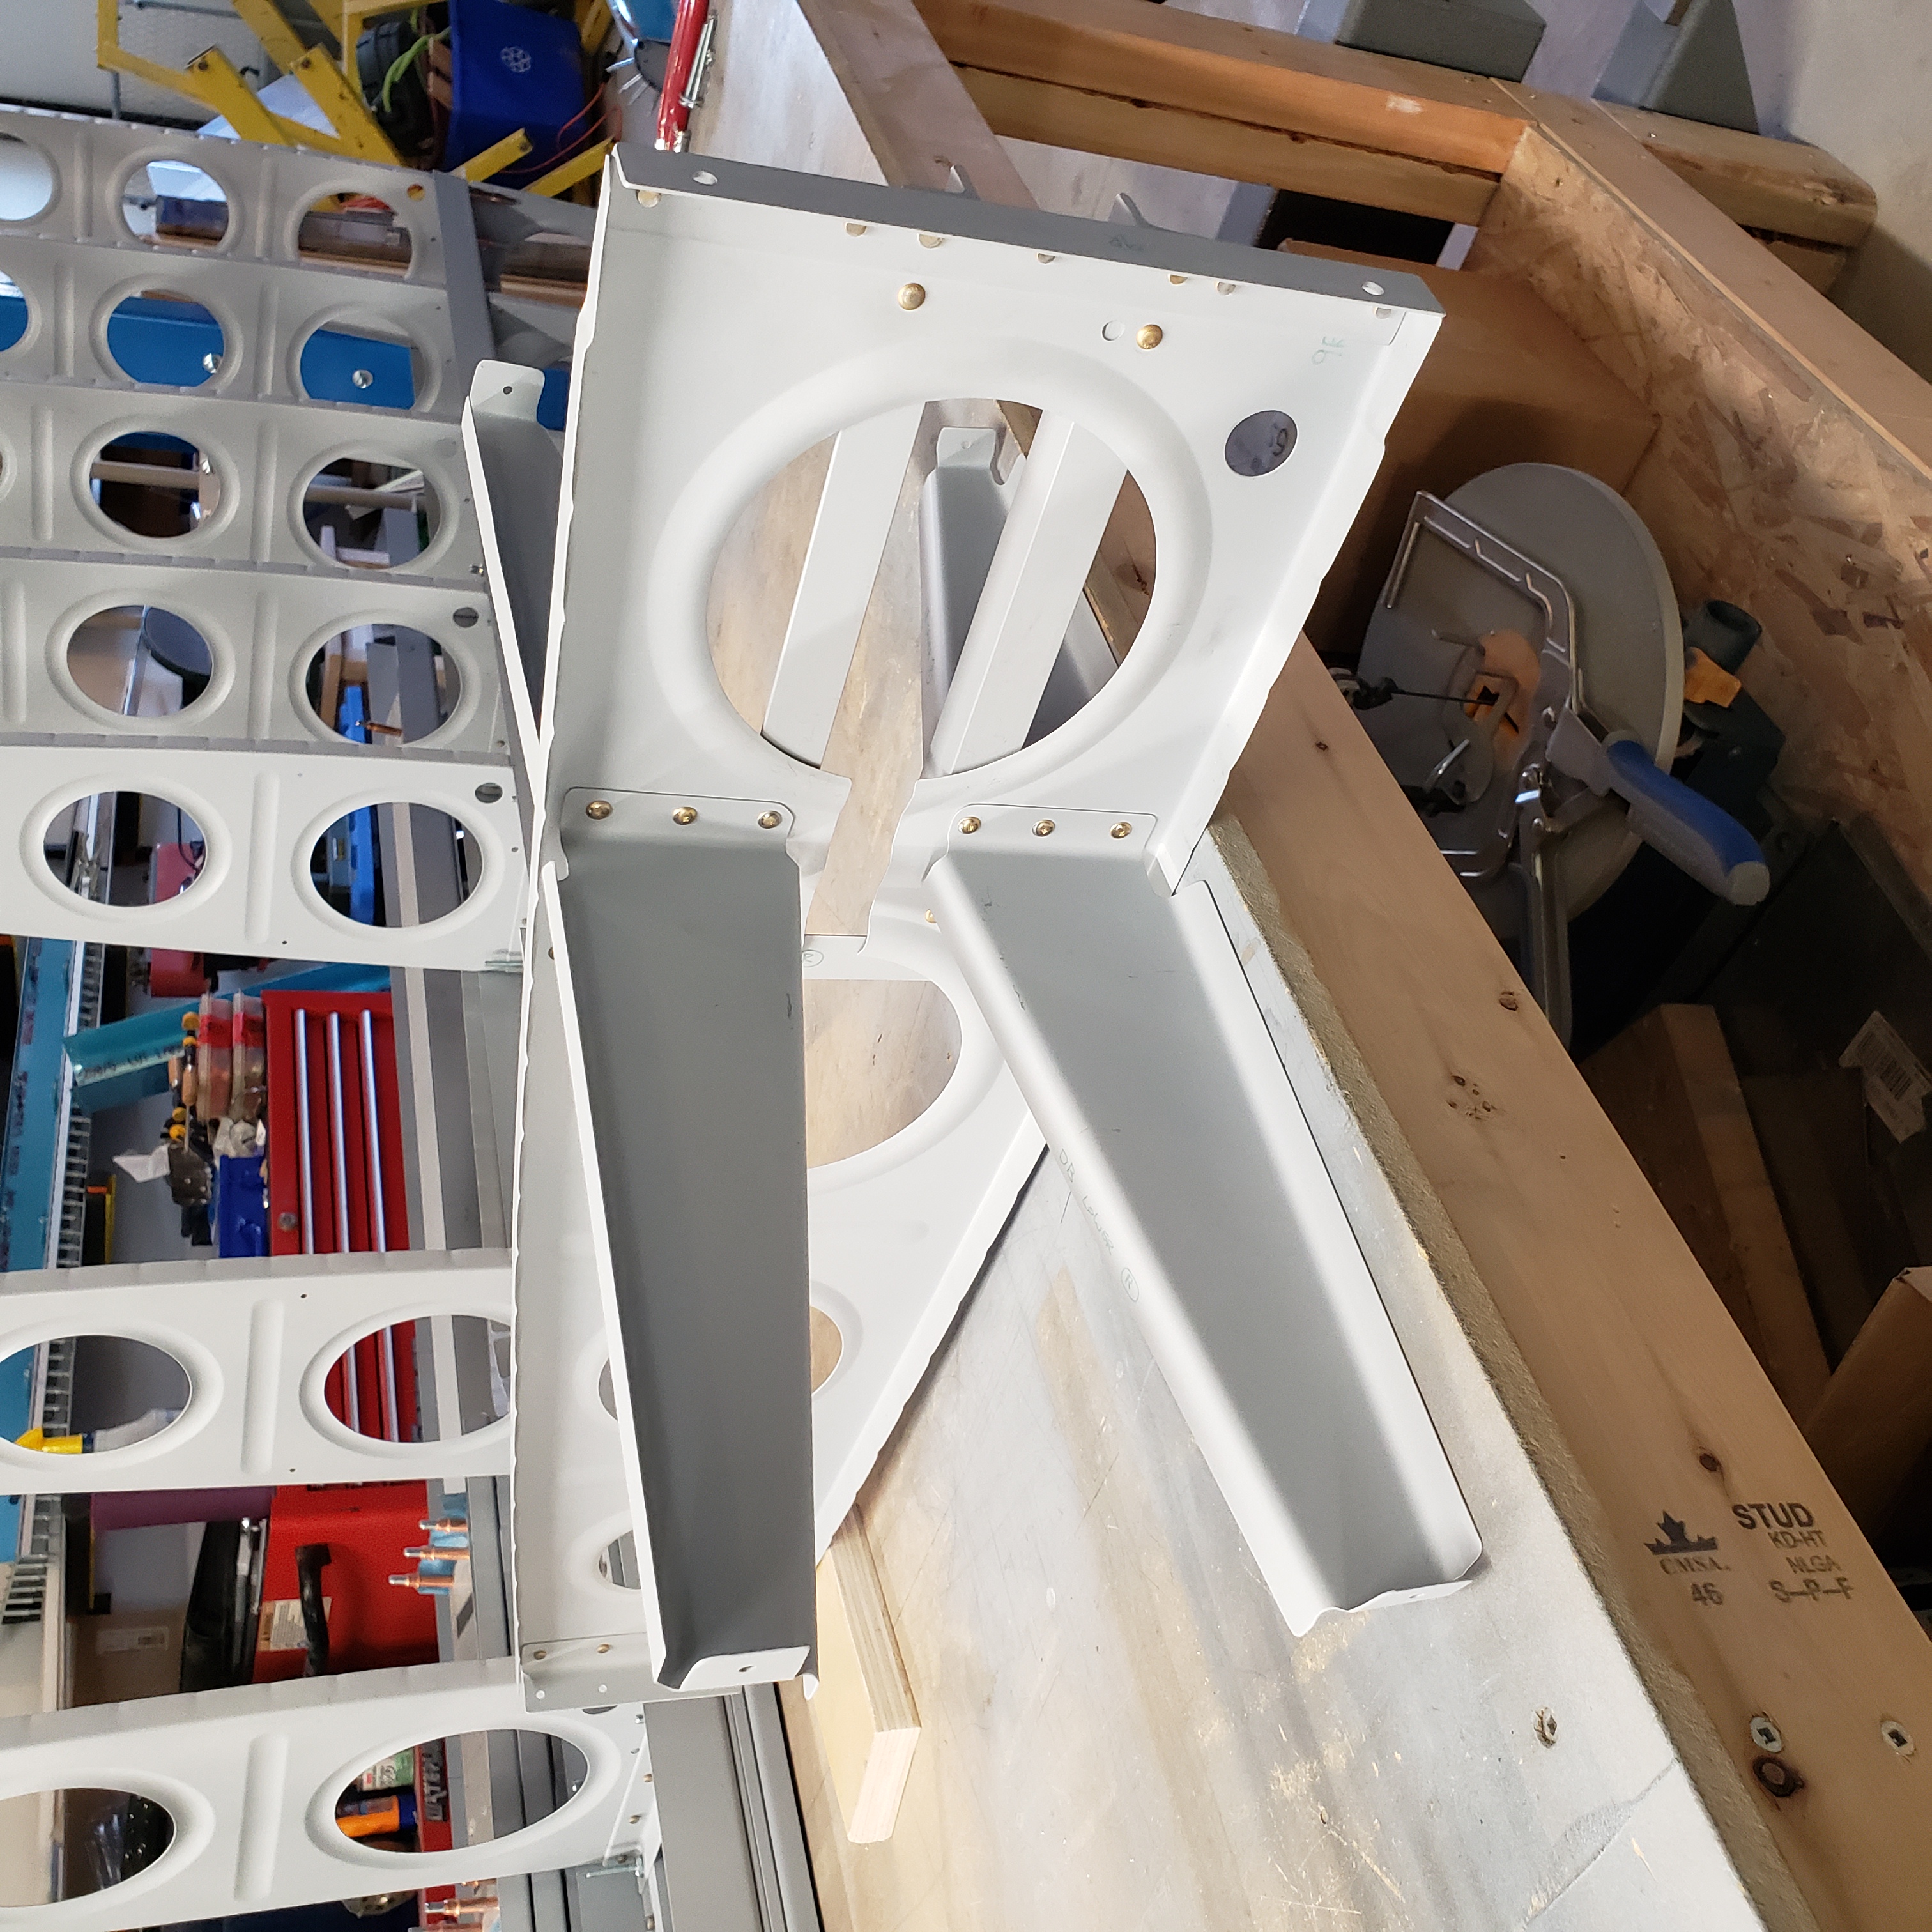
With the side-supports riveted to the aileron bellcrank rib, I then was able to put the assembly into the wing. As you can see below, I also needed to remove the next inboard and outboard ribs to be able to get enough access to be able to rivet the side-supports to the adjacent ribs. This is another good reason why I don’t want to put these ribs in permanently … until I absolutely have to.
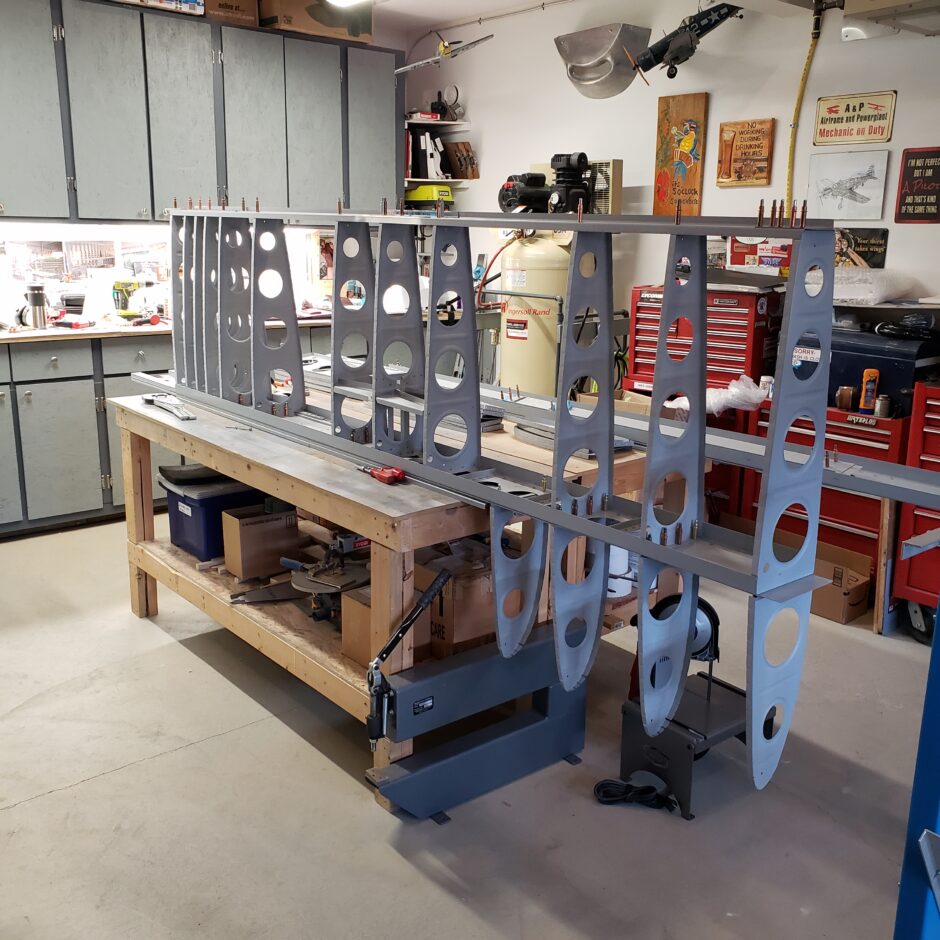
Here are some close up shots of the bellcrank side-support attachment.
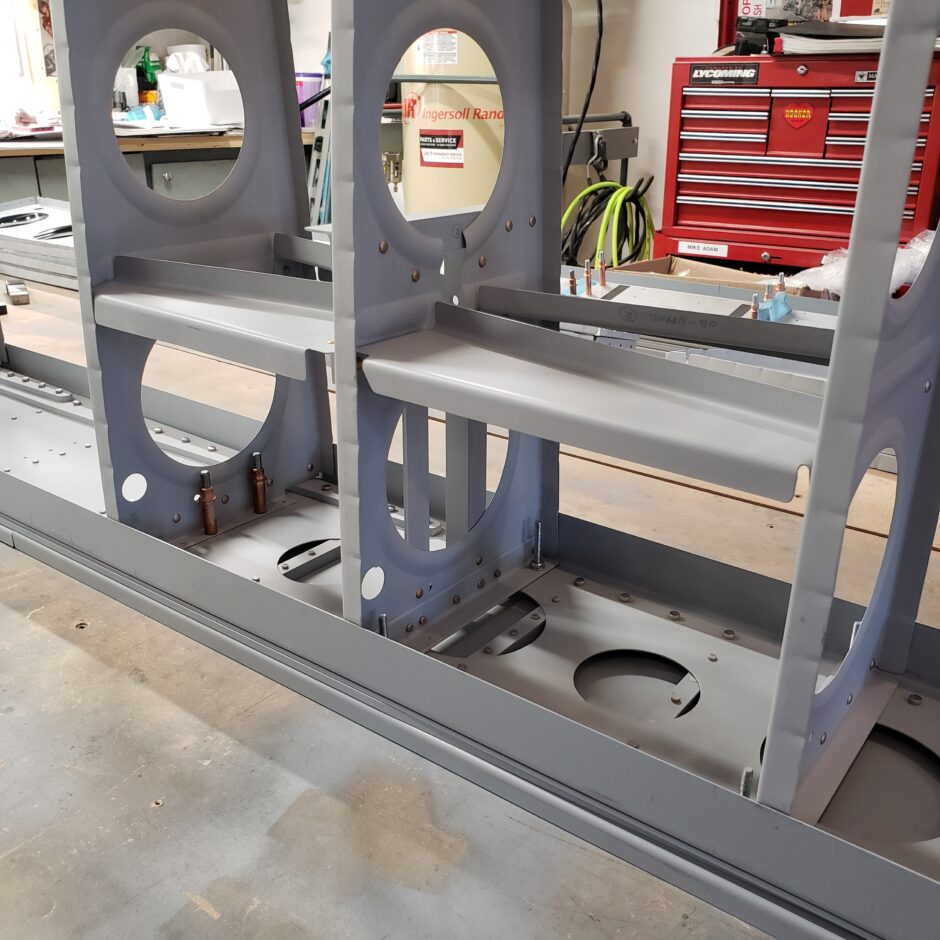
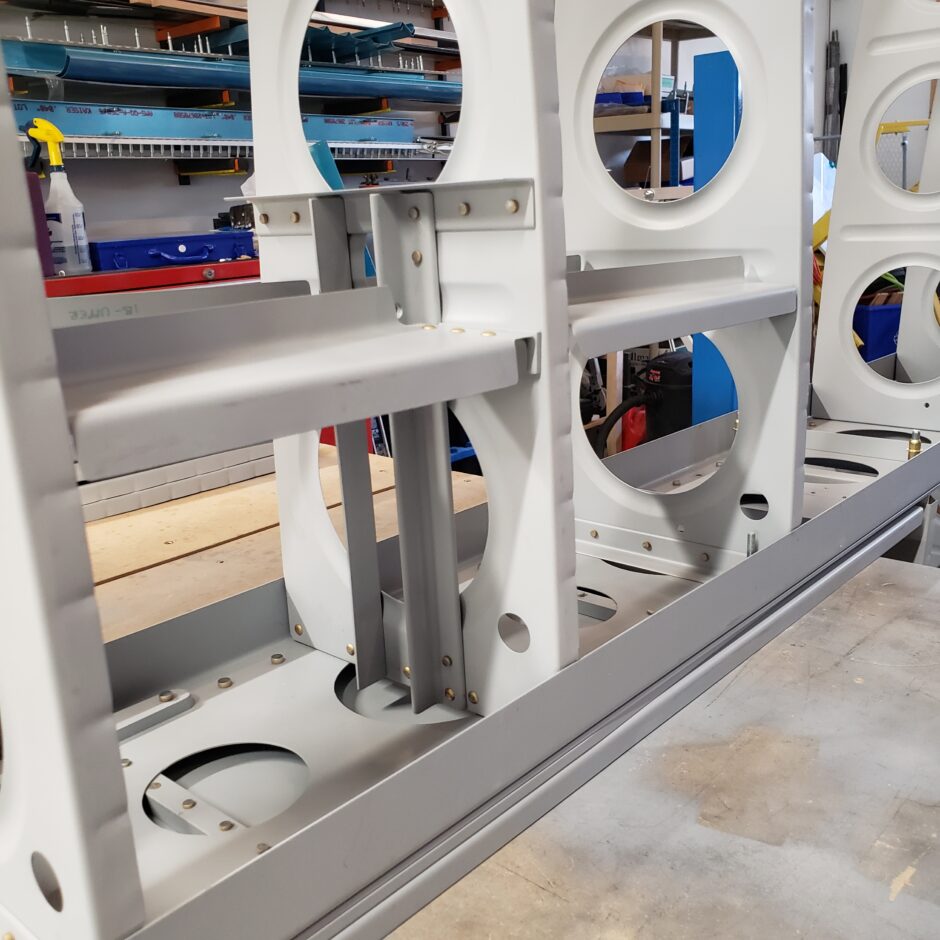
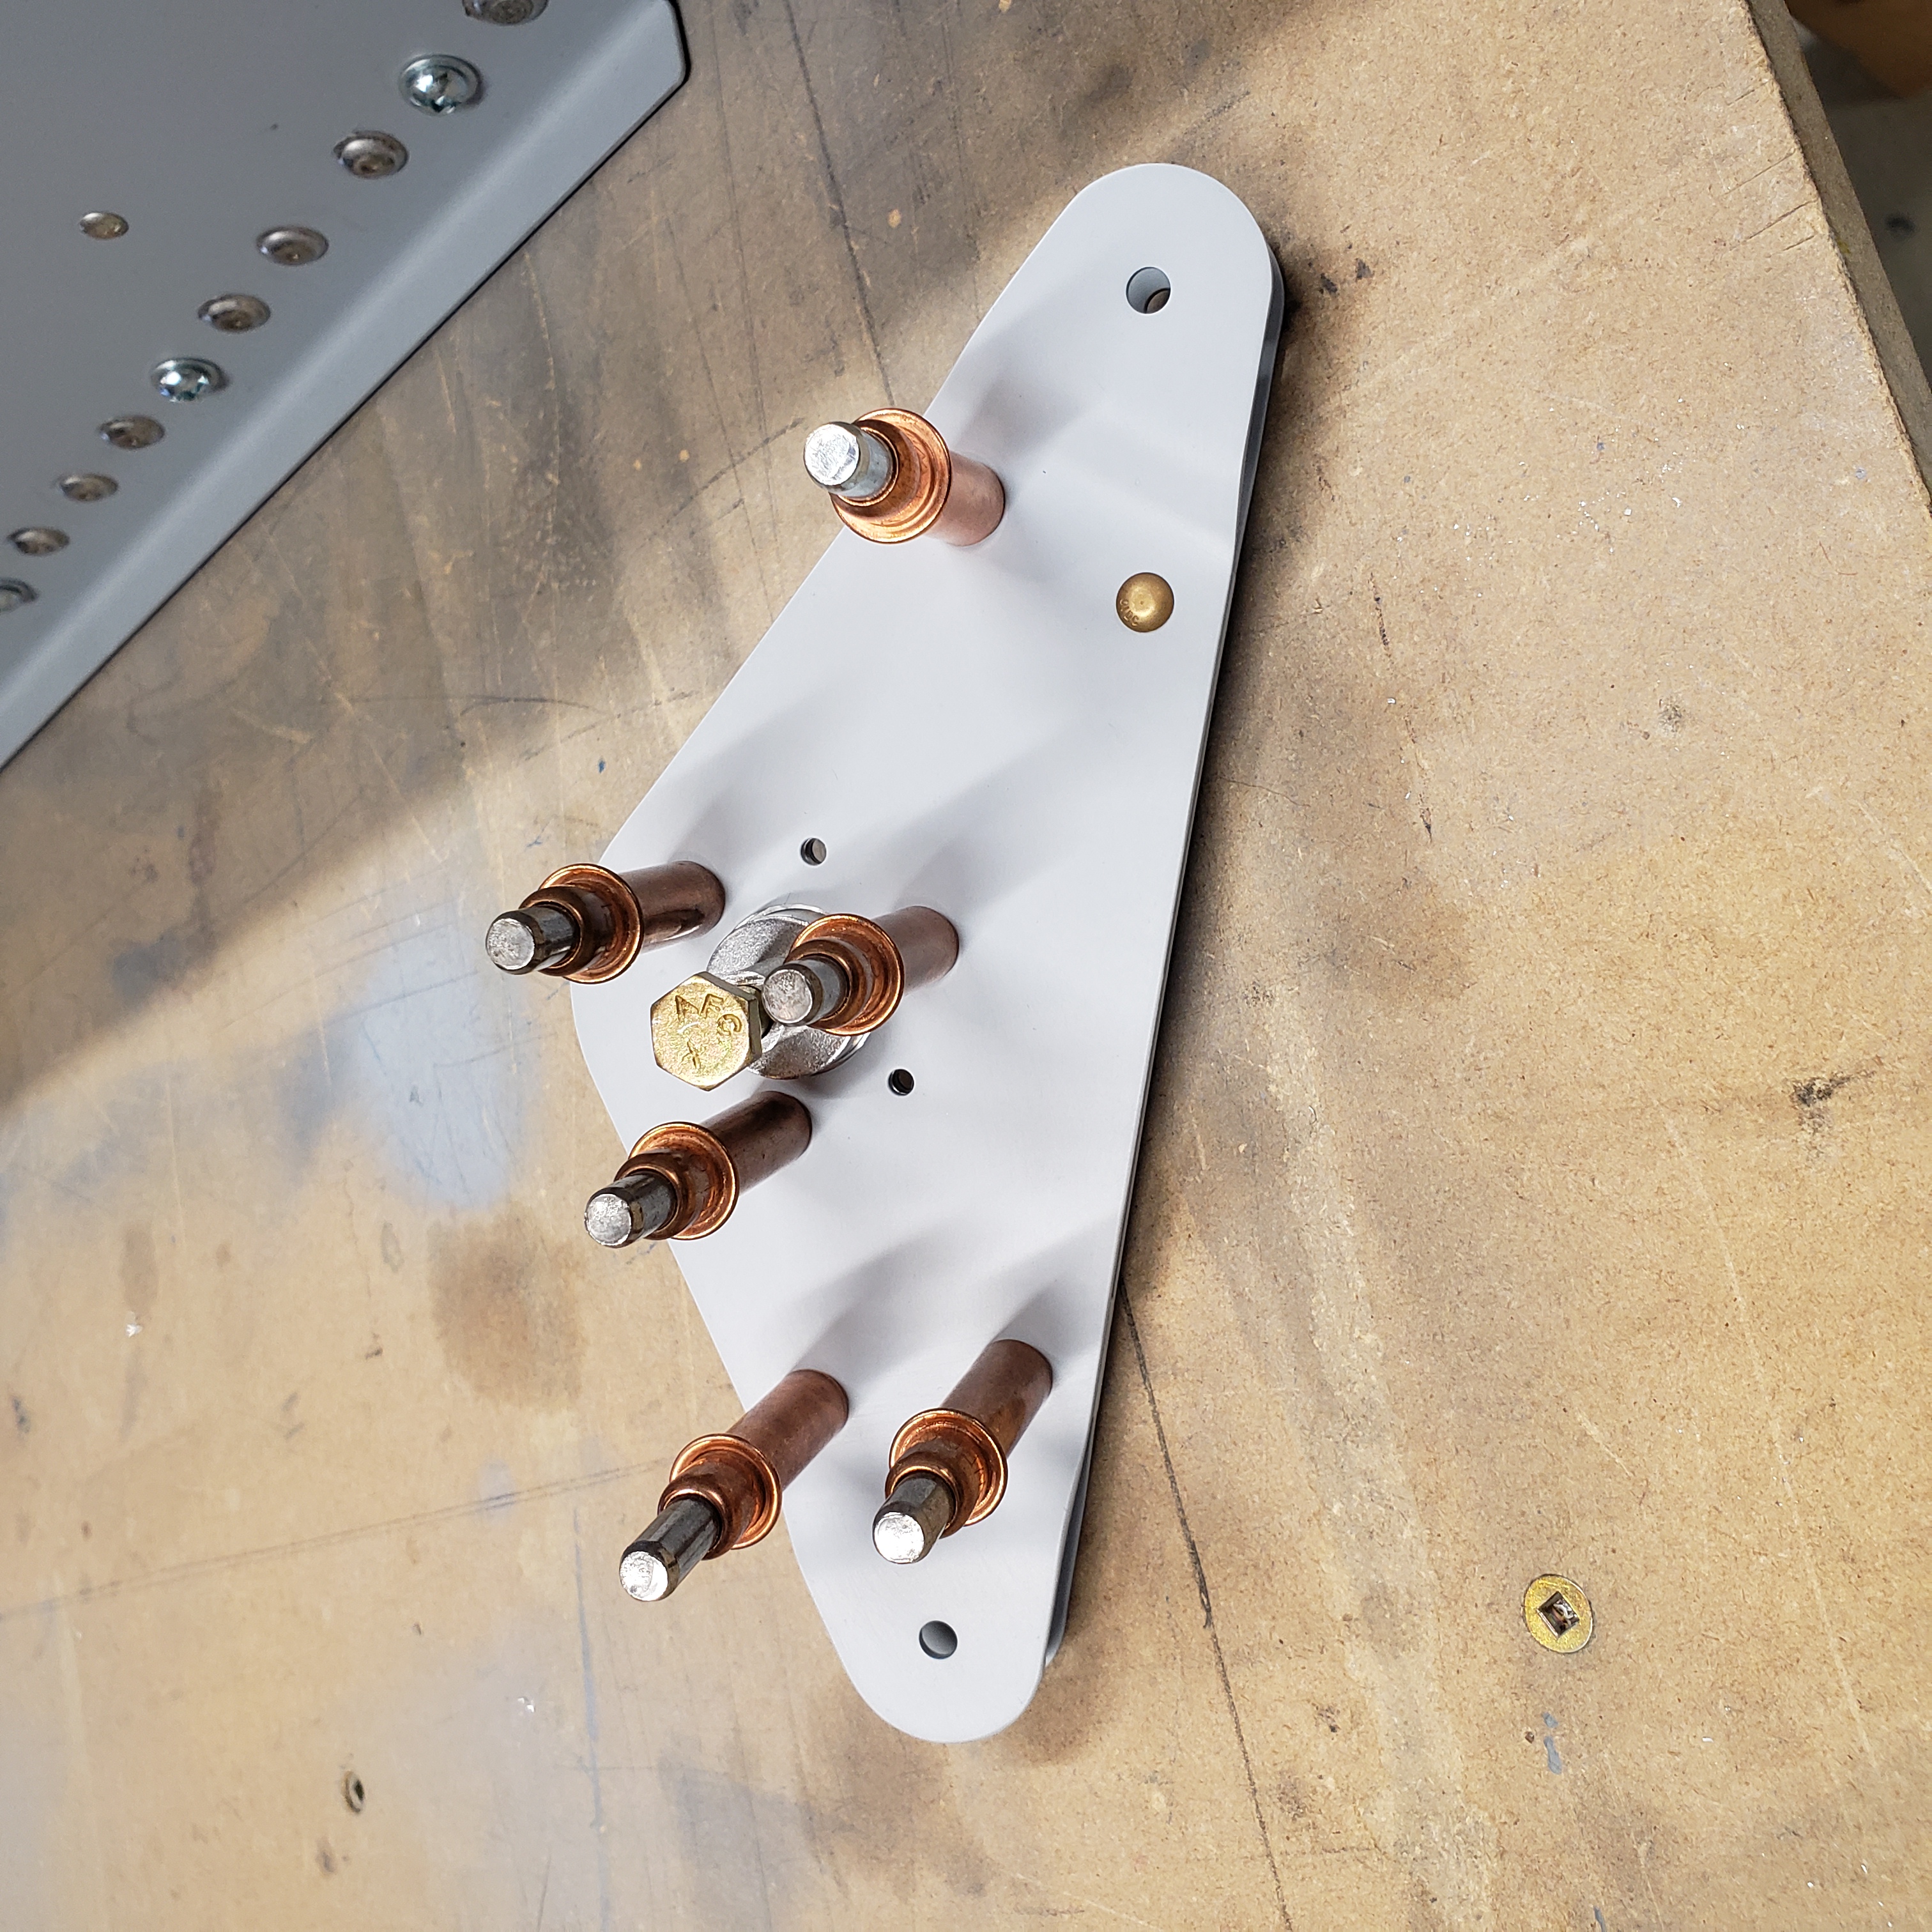
And to finish off the riveting of this part of the wing structure, the last part to do was the aileron bellcrank itself.

That’s all for today folks! Please comment. I love to hear from my readers. Thanks again for coming along for this ride, you make my work worthwhile.
Good day!
Leave a Reply