Good day, today I’m going to begin working on the leading edge of the right wing. I’m not quite ready to jump head first into riveting and sealing the fuel tank yet, and I also think that tackling the (fixed) portion of the wing leading edge will also help get me warmed up to the fuel tank riveting process, but without the sealant. One other point is that this part also needs to get done anyway.
But before I get too far ahead of myself, I have one little job to finish in order to prepare for the fuel tank sealing which is to dimple the stiffeners and ribs. Now that they have been well scuffed and cleaned, I’m going to get them dimpled so that I’m ready to move forward on the tank.
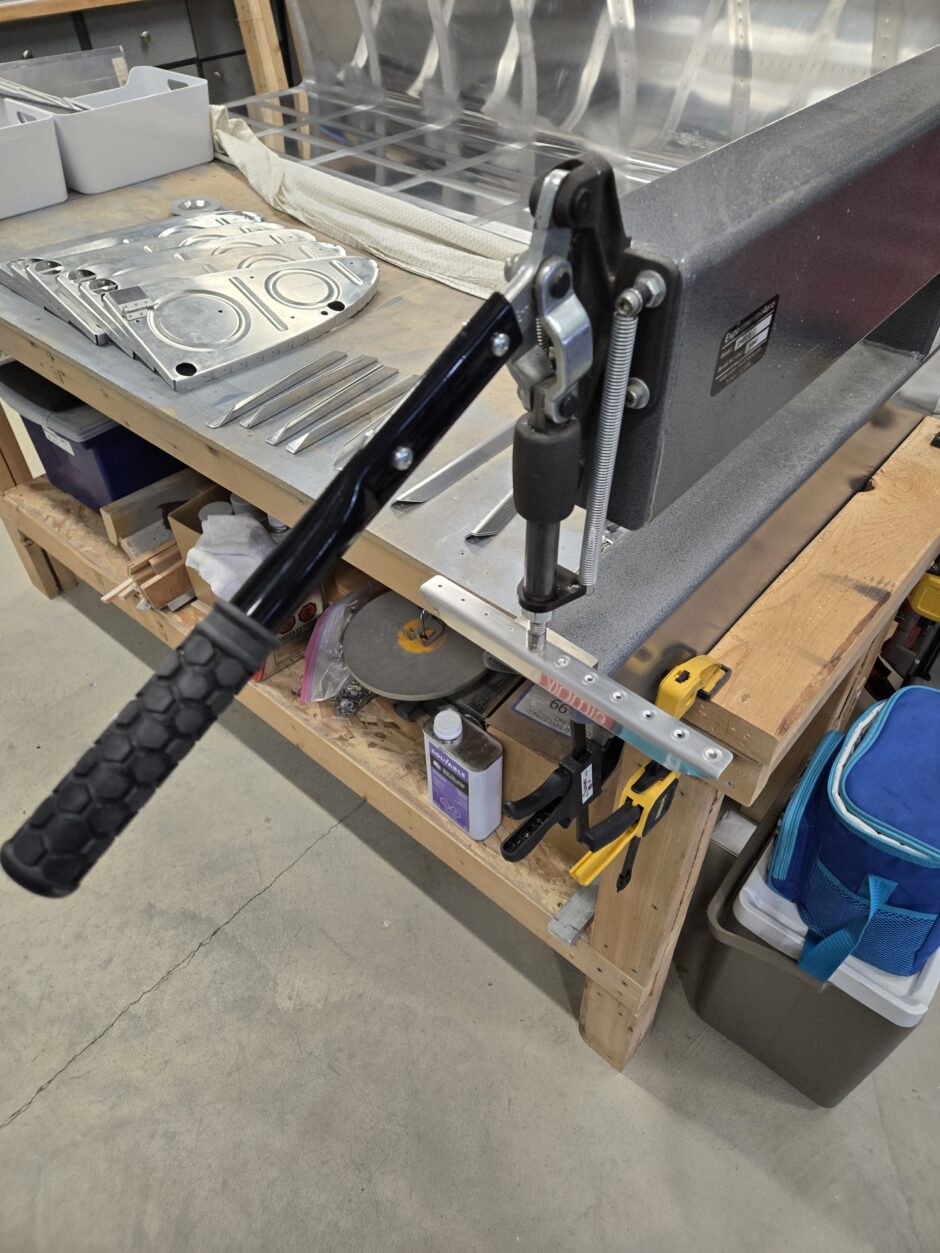
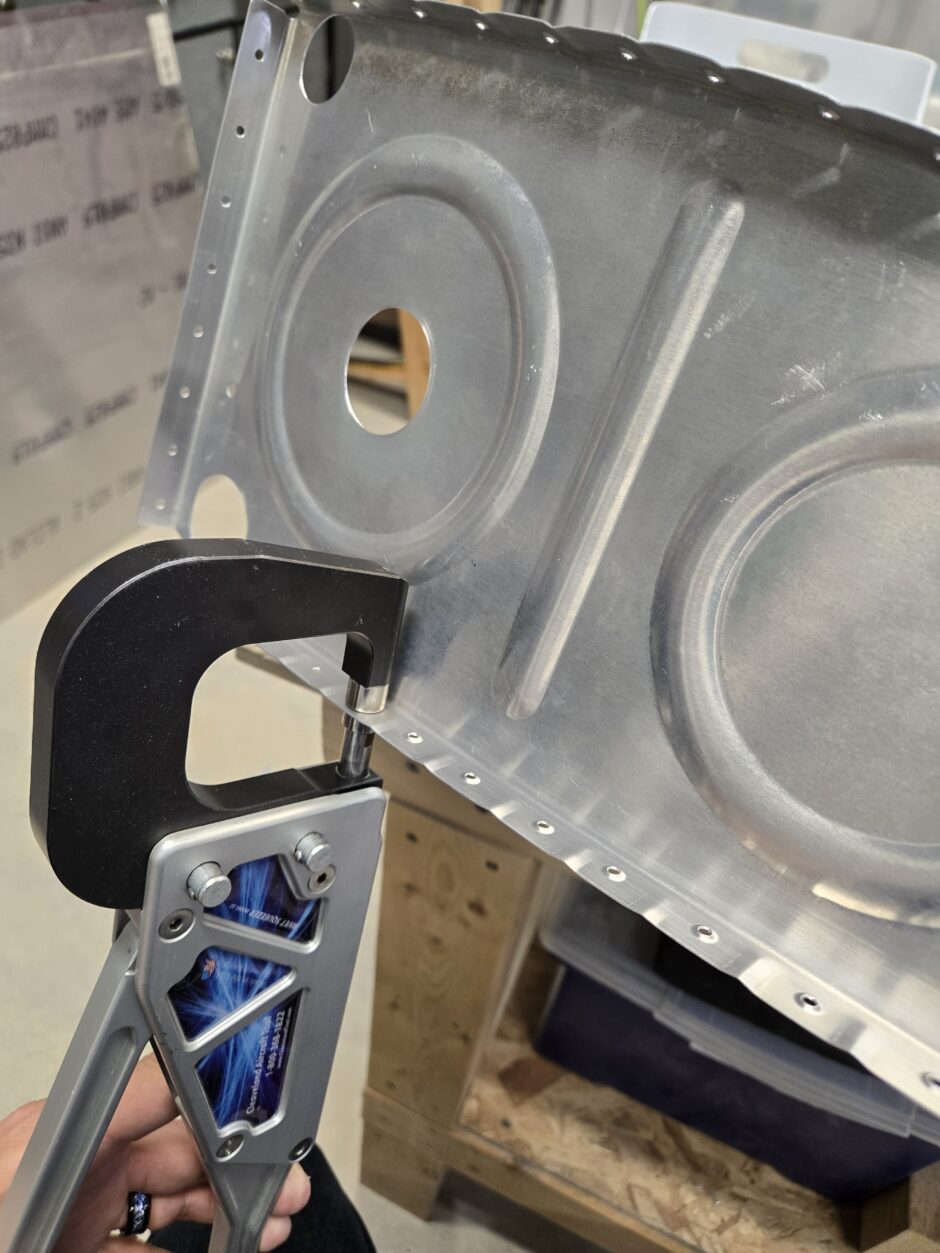
This is easy work and progressed along well. As you can see for the ribs I used my hand squeezer and this worked really well for me.
On to the leading edge
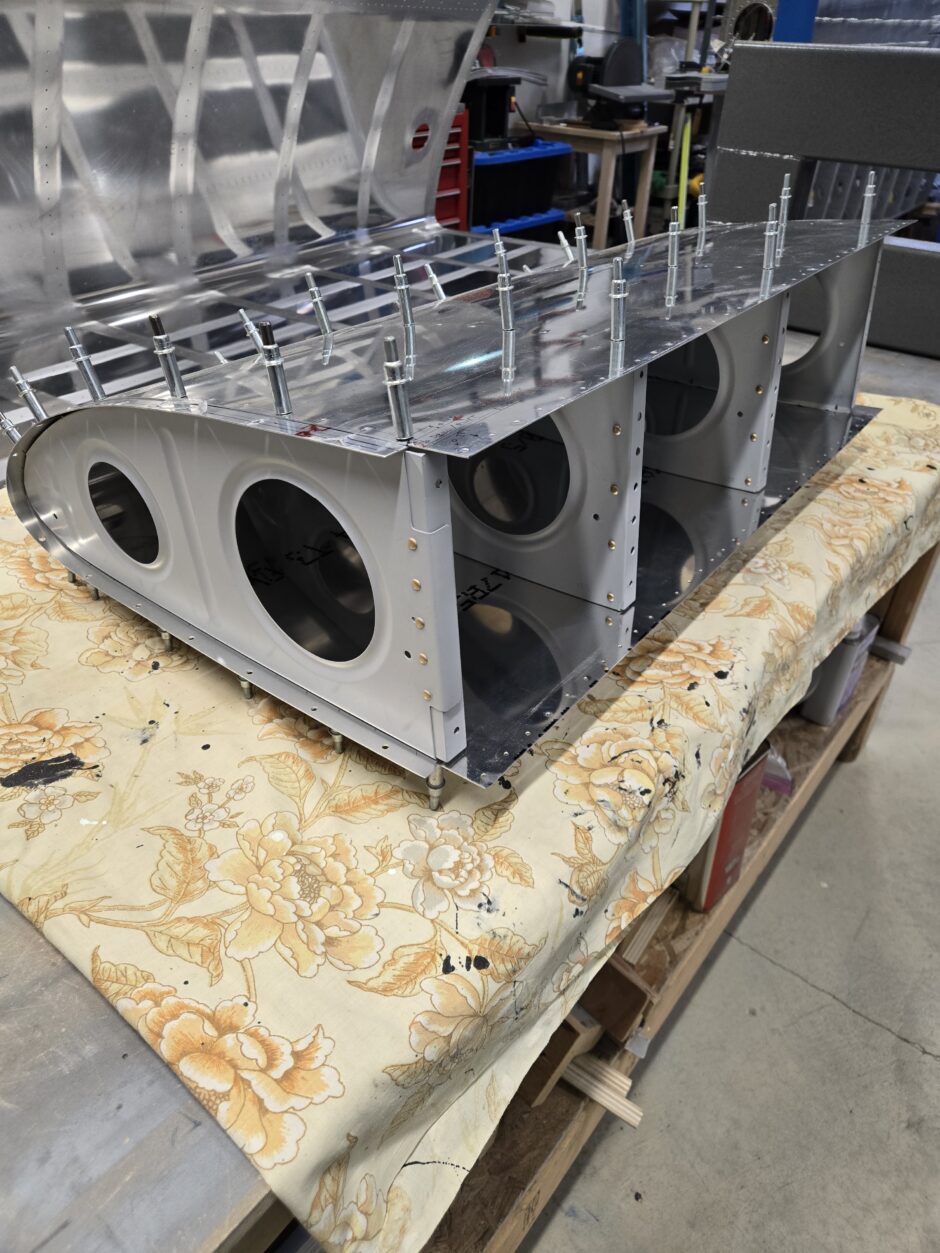
Now with all that dimpling out of the way, I moved on to working on the leading edge. With the long range fuel tanks, this leading edge part becomes pretty small and is an easy size to work with, as compared to the big fuel tanks.
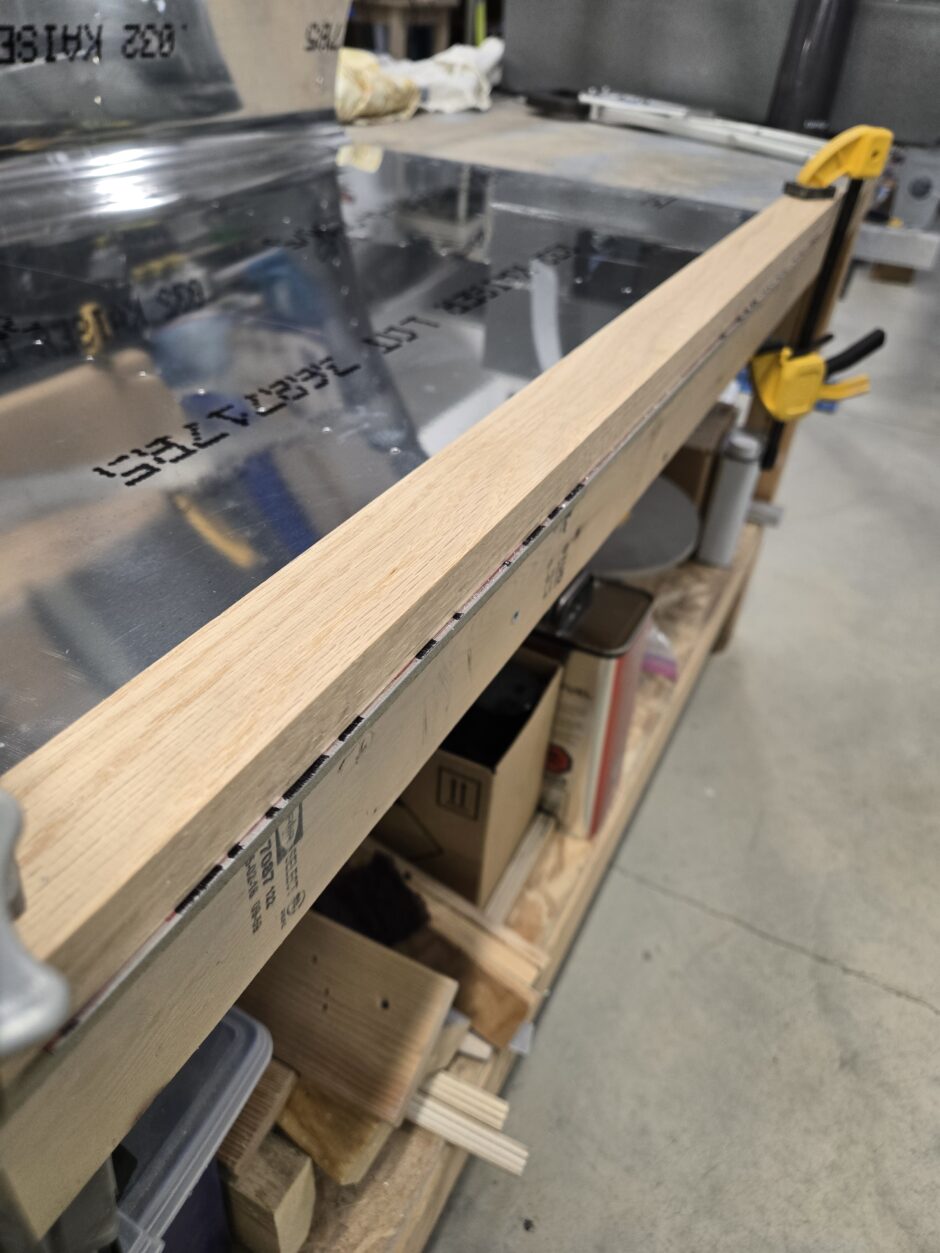
When this leading edge is on the wing, the top skin aligns with the centerline I marked (a long time ago) on the main spar cap flanges. However, on the lower wing surface, the skin just slightly hung over the line, which is where the wing skin is to butt up against. Due to this, I need to file the lower surface skin down about 1/32 or so to bring the skin back to the reference line.
I began by marking the line (overhang) on the outer surface of the skin while it was in place on the wing. With the leading edge on the bench, the skin was removed and allowed me to transfer that line to the inside surface. Then the skin was clamped to the edge of the workbench, along with a straight piece of oak. The oak is used as my file guide to help me keep the line straight.
With lots of filing I trimmed off the excess and this one loose end has been successfully tied up. That’s all for today folks! Please comment. I love to hear from my readers. Thanks again for coming along for this ride, you make my work worthwhile.
Leave a Reply