Carrying on with the final assembly of the horizontal stabilizer, this evening I continued with the next few steps in the assembly manual for riveting the HS-707 nose ribs in place.
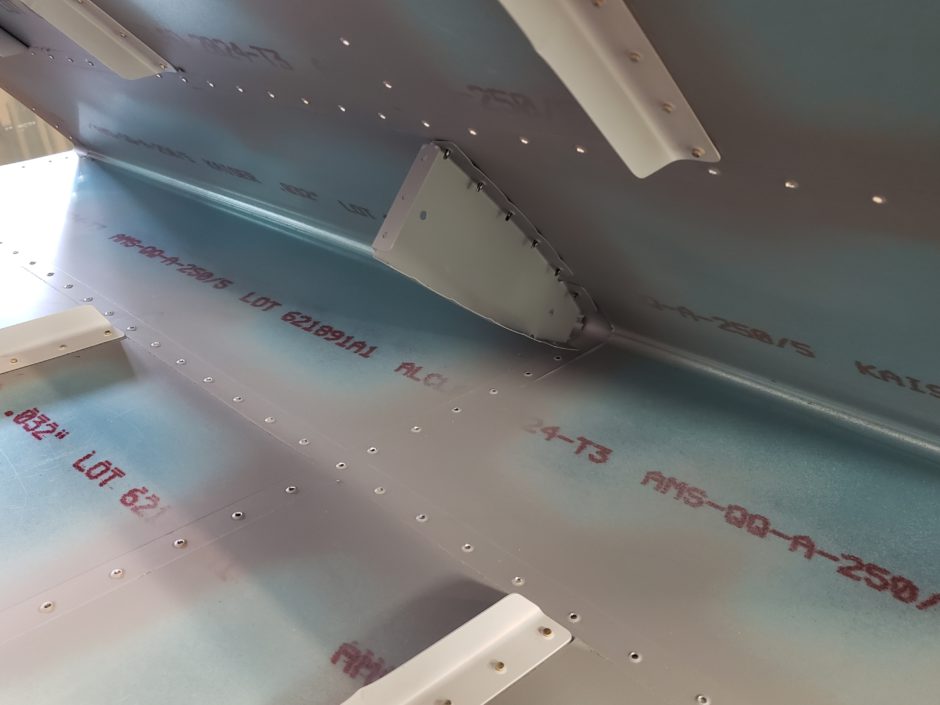
For this, you first start by laying the horizontal skins, top-side down. Then cleco and rivet the HS-707 to the top side of the skin (which is actually the lower skin surface as the skin is placed upside down on the workbench). Below show the HS-707 rib clecoed in place.
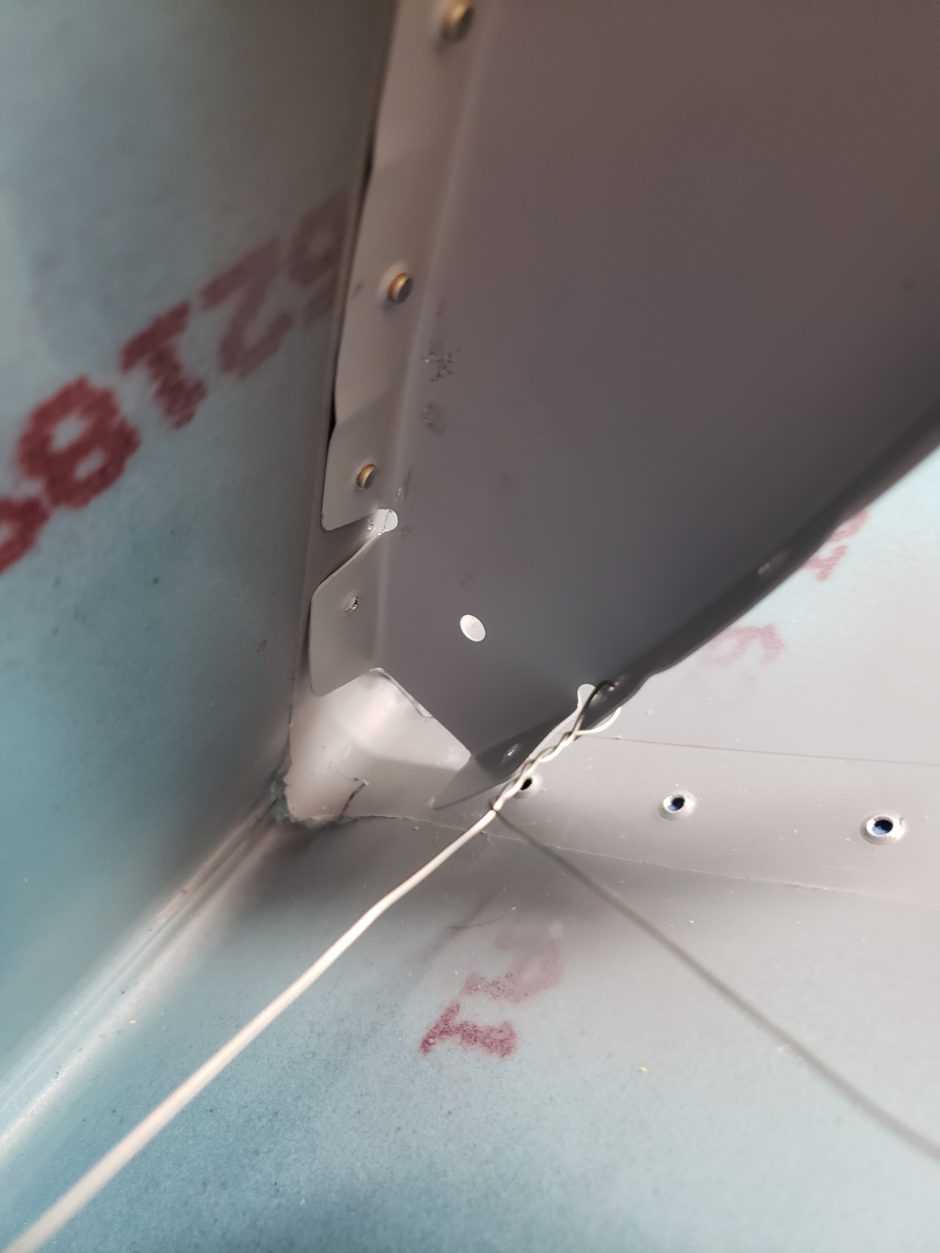
Riveting wasn’t too bad…however I struggled with the forward most rivet. In the picture below, you can see that the rib didn’t sit tightly against the skin. Until that gap is tight, there is no use in trying to rivet this because it won’t get better on its own. I started by adding some lockwire to pull the rib in the right direction, but it still needed a bit more upward pressure.
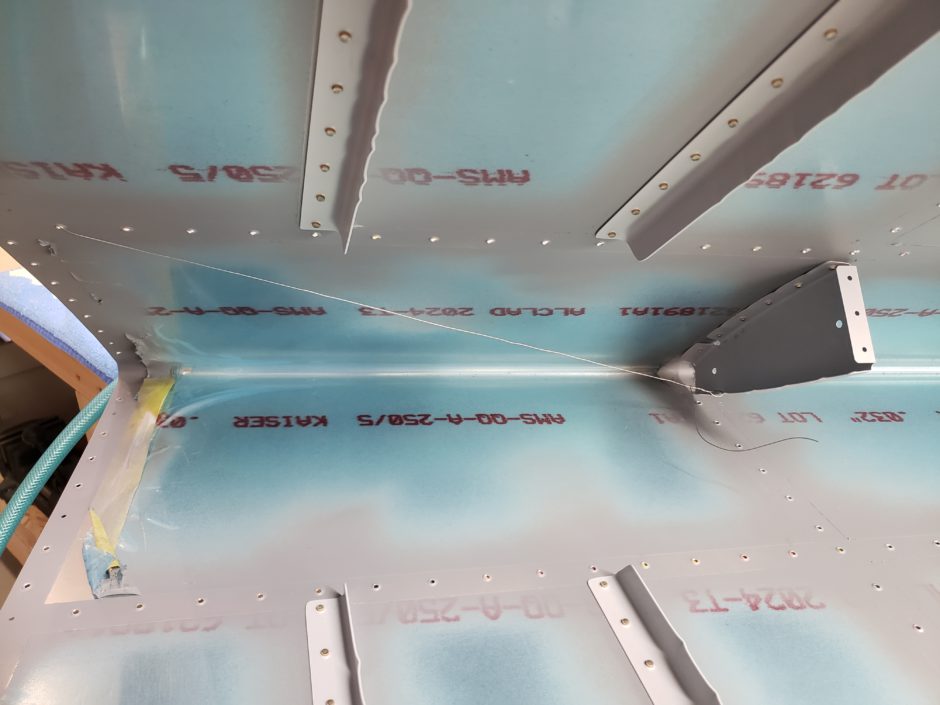
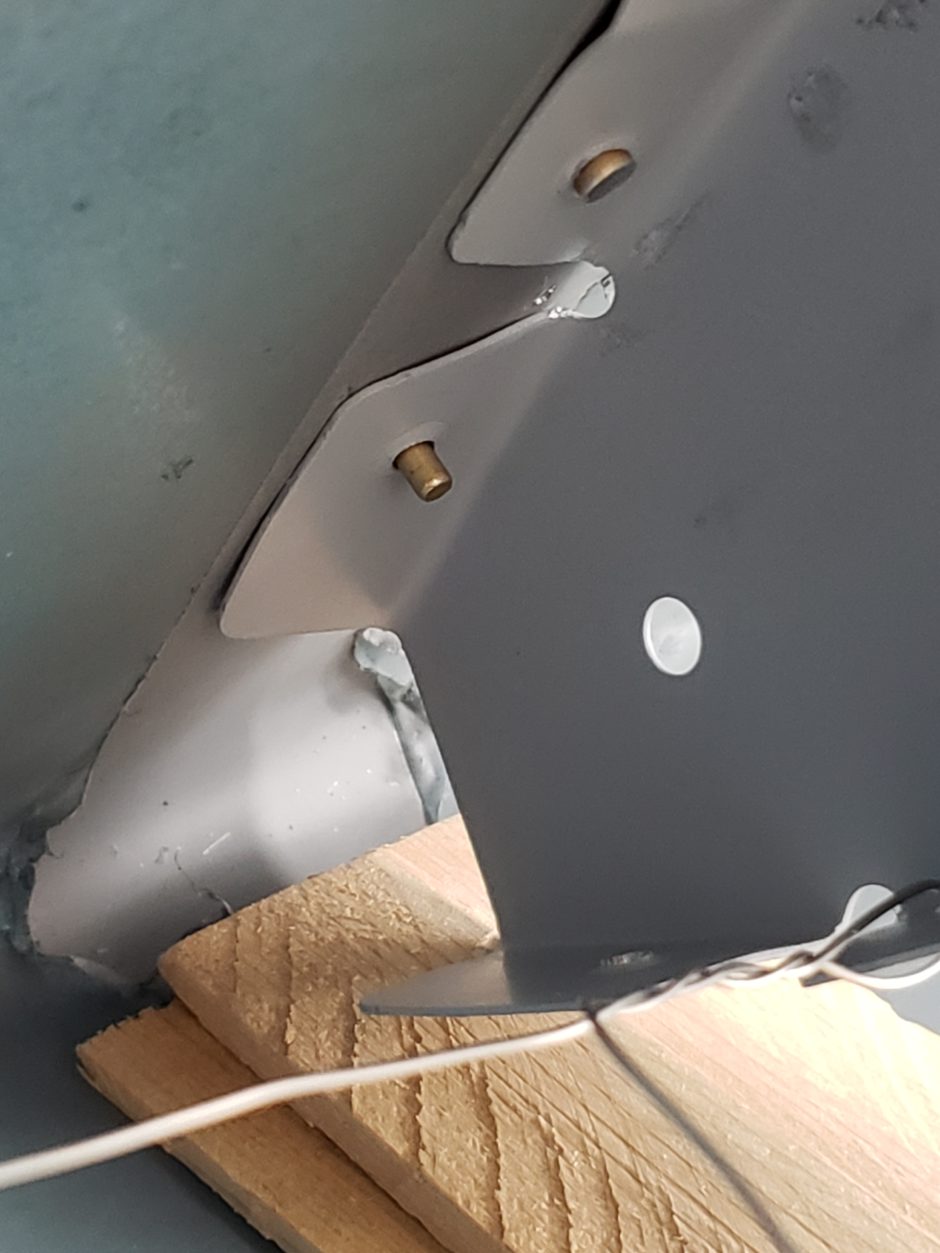
I then added some wood shims below the rib to help push it up. Now it’s looking better. What the picture below didn’t capture, was that I struggled with getting this rivet set. I ended up drilling this out twice because the rivet gun kept slipping on me.
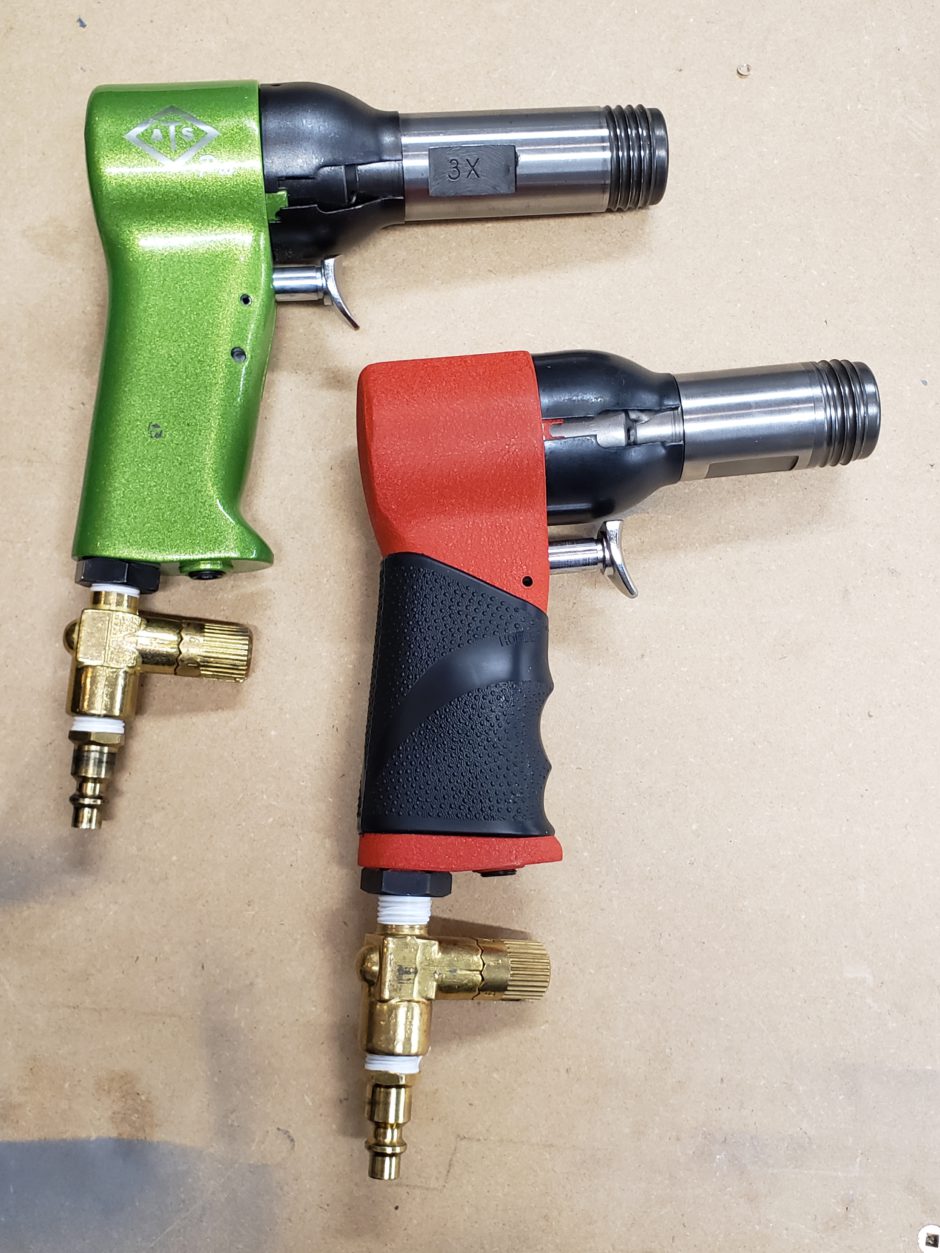
On the third attempt, I knew I had to adjust something in my approach. When doing this riveting on your own, it’s quite a stretch to hold the rivet gun square, and hold the bucking bar with the other hand. I ended up switching my rivet gun from the big 3x gun to the smaller 2x. This change worked out really well, and the rest of the riveting for the day went smoothly with no more screwed up rivets.
In the image below, you can see there is a bit of difference between the 3x and 2x rivet guns.
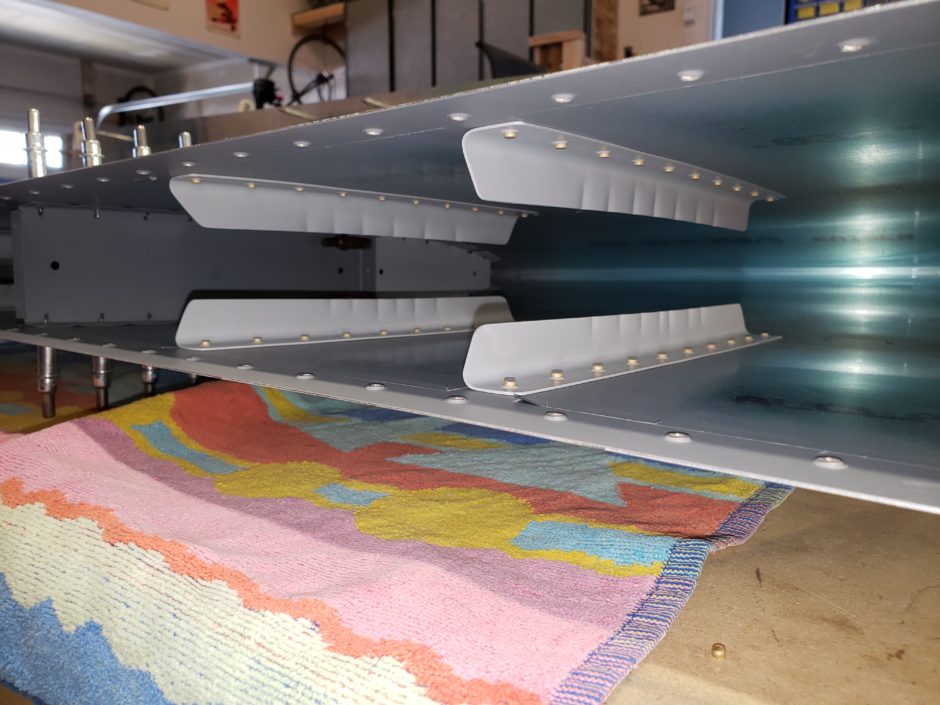
Below is a picture with the HS-708 mid-span rib and the HS-706 end rib clecoed in place. This gives a good demonstration of the horizontal stabilizer skin stiffeners.
Before I rivet the HS-707 ribs to the upper surface of the skins, I needed to pull off the protective plastic. Sure is pretty once you get the plastic off!
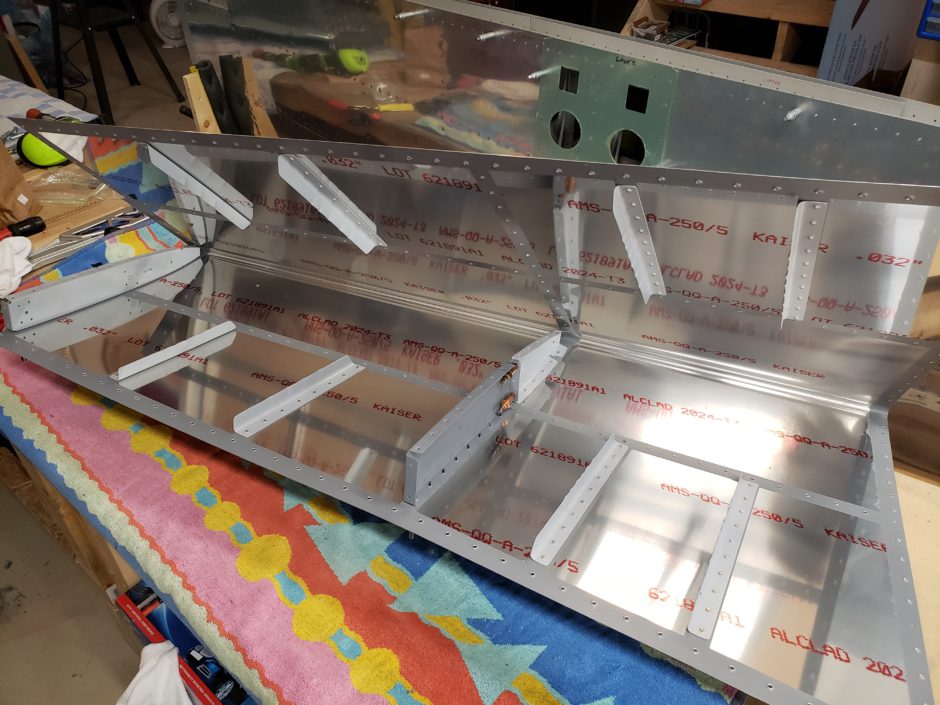
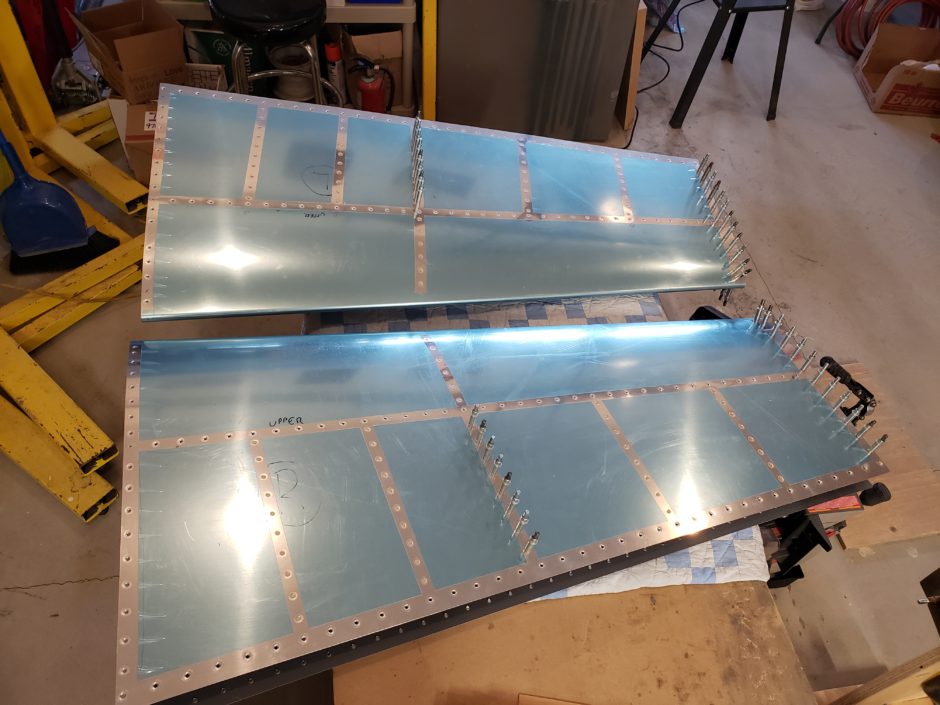
Before you can rivet the HS-707 rib to the upper surface, you need to temporarily cleco the HS-708 mid-span rib and HS-706 end ribs in place. Below shows the horizontal stab assemblies getting clecoed up.
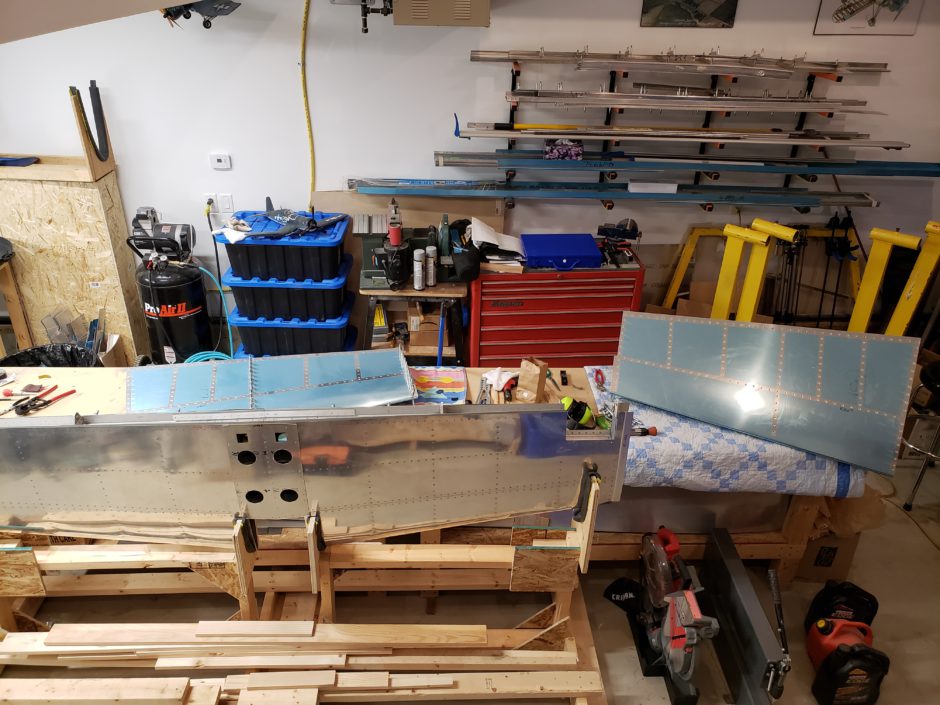
Again, just to prove that I’m here building this thing, here is the obligatory selfie.
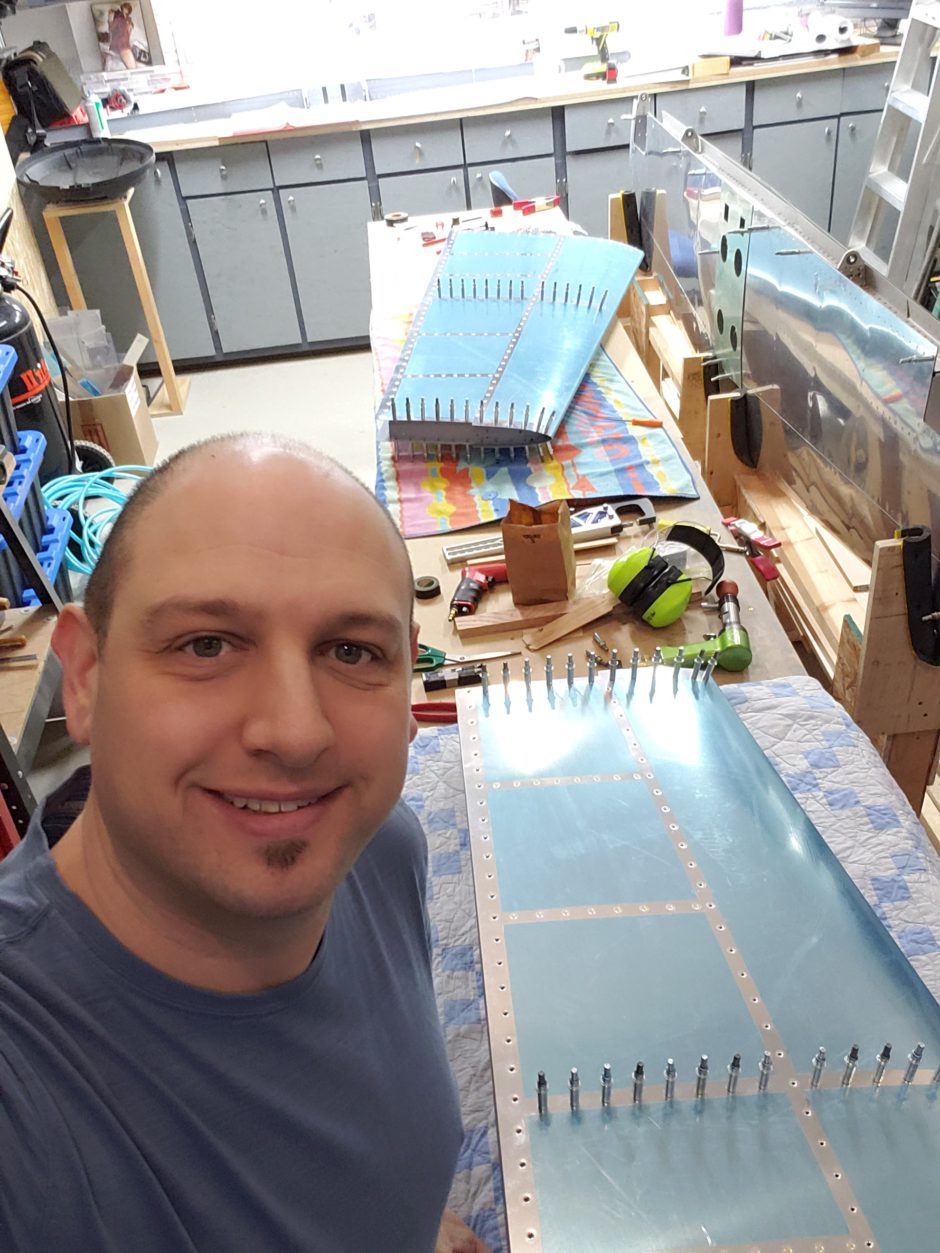
In the image below, I have the upper surface of the HS-707 rib riveted.
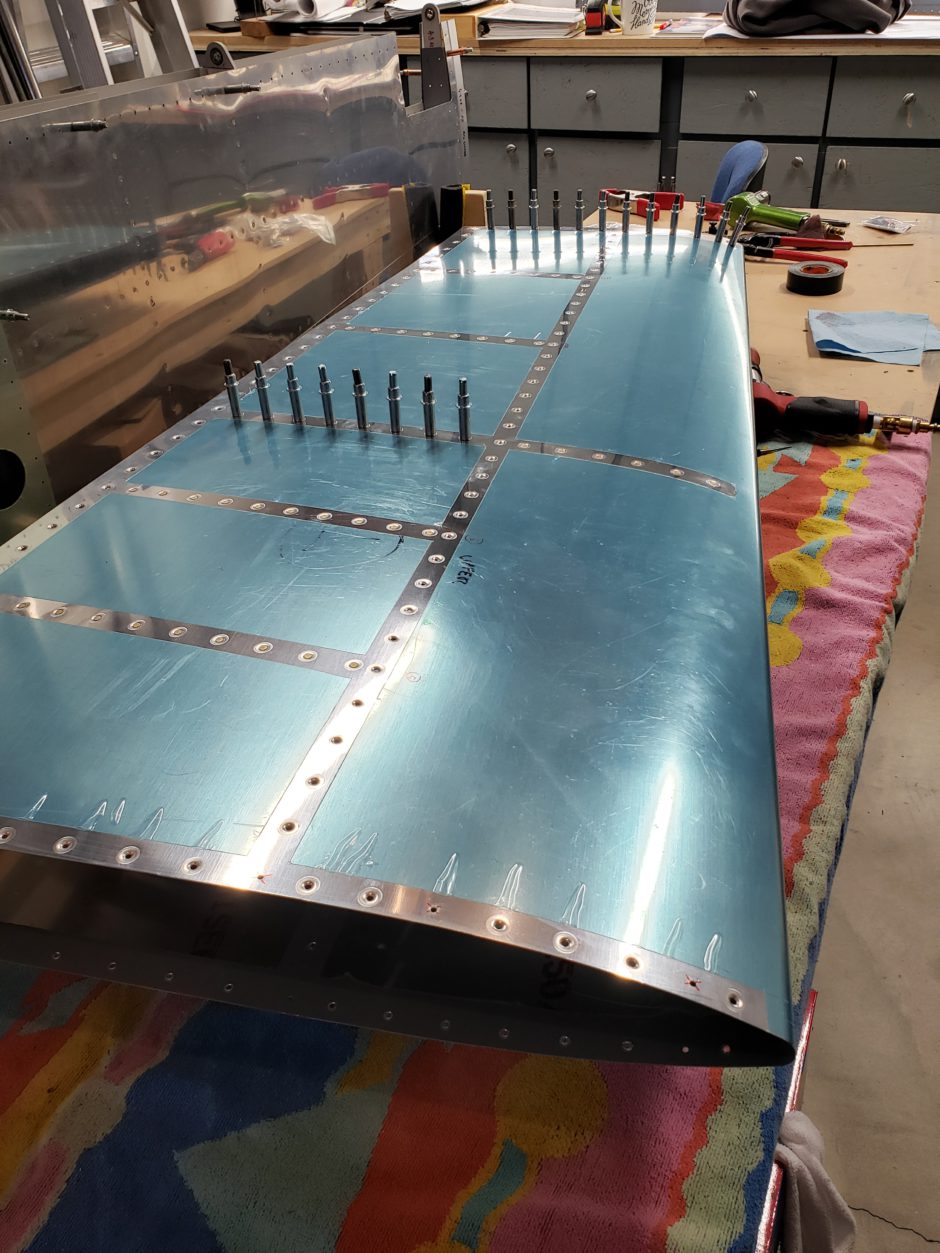
I’m happy with how nicely the forward flanges are sitting tight against the skin surface.
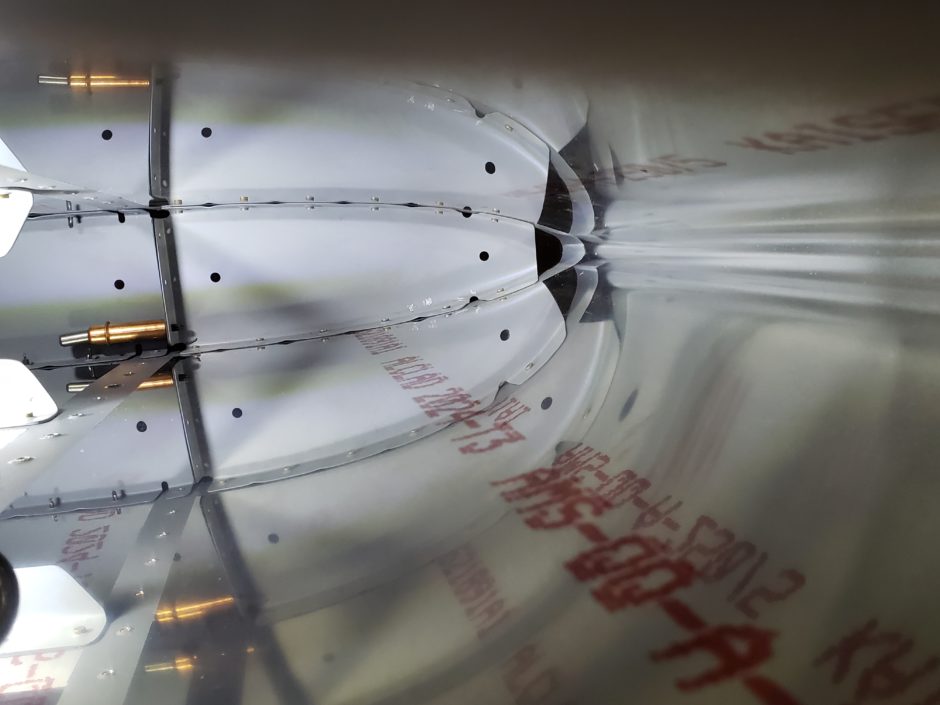
Riveting of the HS-707 ribs to the horizontal stabilizer skins is complete. Another milestone. Now, I just need to wait for my new rivet set to arrive so I can finish riveting the HS-404 and HS-405 ribs to the forward spar.
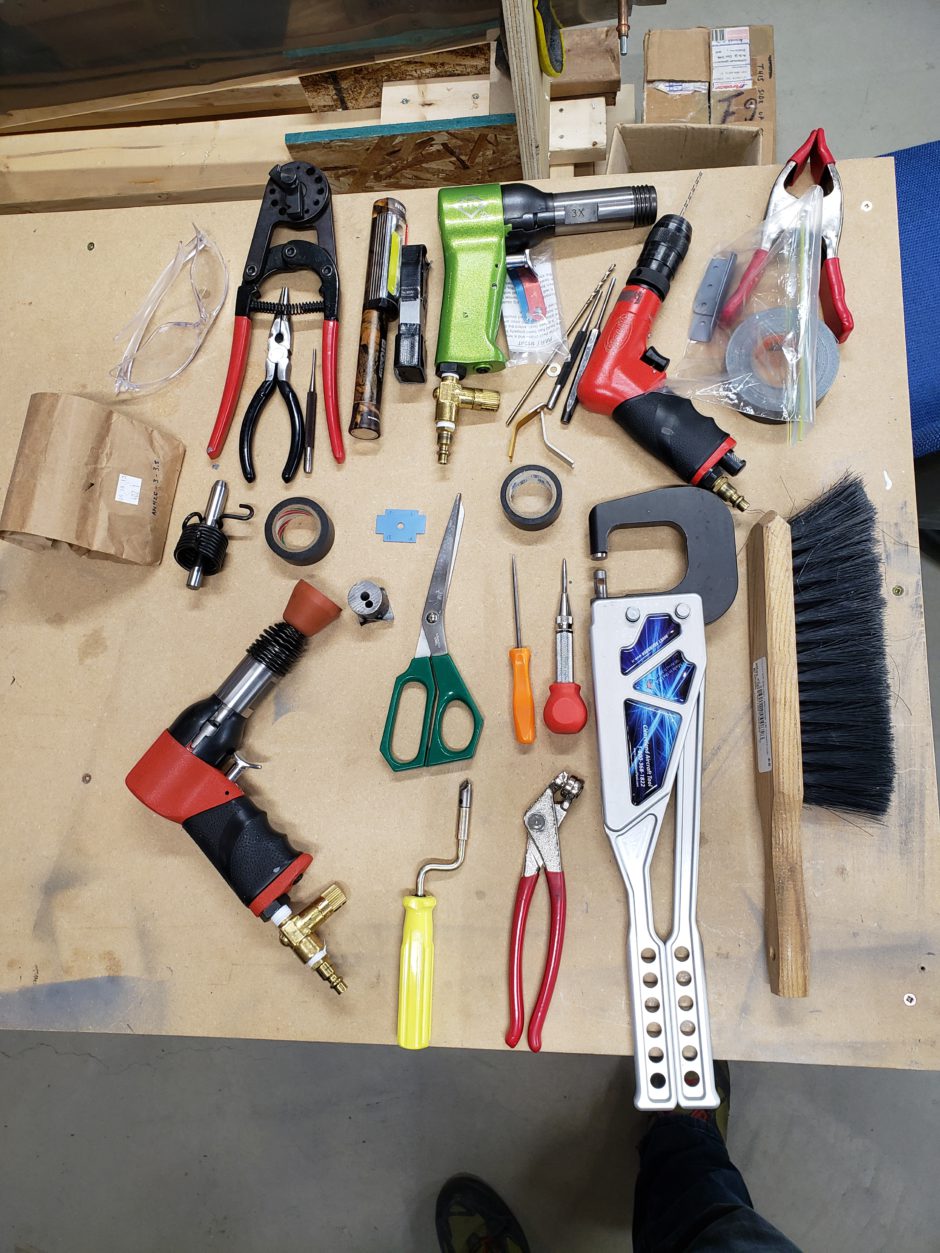
On a sidenote, here is a picture of the various tools that I’ve been using as of late.
Please comment. I love to hear from my readers. Thanks again for coming along for this ride, you make my work worthwhile.
Leave a Reply