Now that the front spar web doubler and main spar web have been attached, riveted through the spar web spacer blocks, it’s now time for me to proceed with getting the spar caps riveted. This is pretty exciting and somewhat of a challenge as the spar caps are riveted using AN470AD6 rivets of various lengths. These rivets are some serious pieces of hardware. For those of you that aren’t familiar with a -6 diameter rivet, it is 3/16-inch diameter!
The rivet gun I currently have is a 4x gun, and it’s definitely not powerful enough to set these -6 rivets. It might do OK to set some of the shorter lengths of the -6’s but it definitely doesn’t have enough guts or jam to hammer down the big -22 lenths.
So I thought I’d try the good ol’fashioned way of riveting these by using an arbor press. I had one on hand and it just needed a little tweaking to convert it into a riveting machine. I started by taking it apart and giving it a good cleaning.
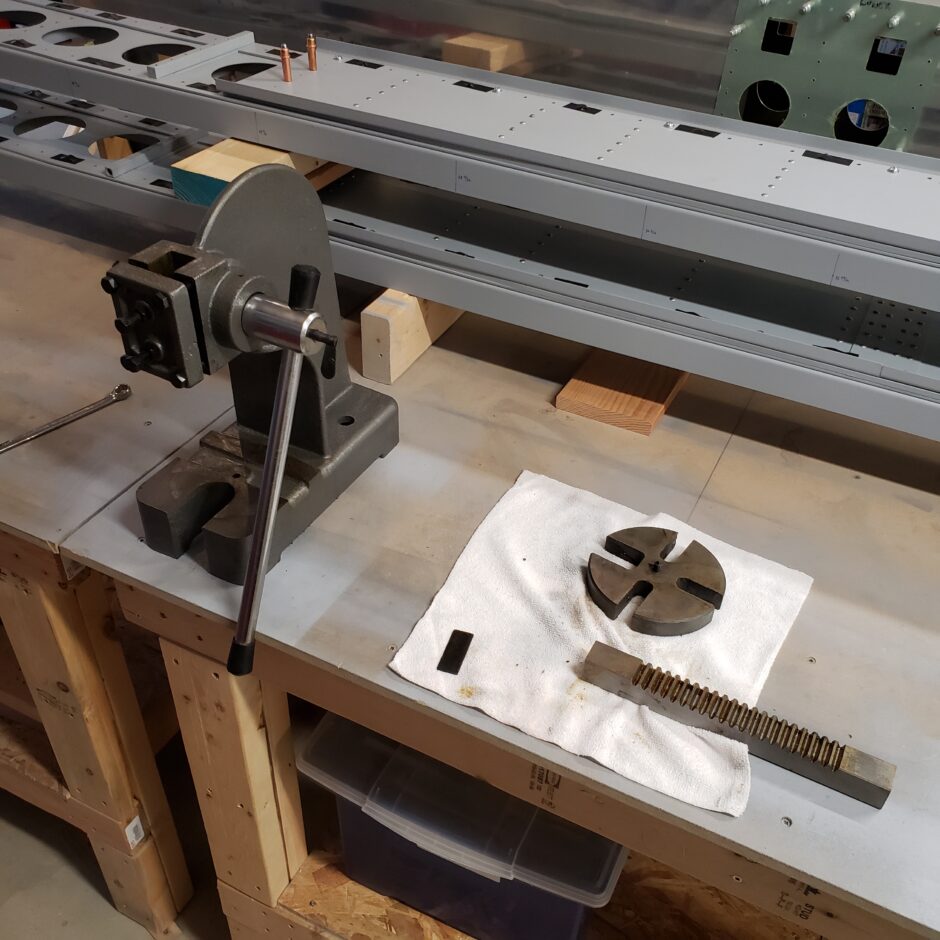
The next step was to polish the end of the press bar. As you can see in the picture below, this end is currently not usable to set rivets.
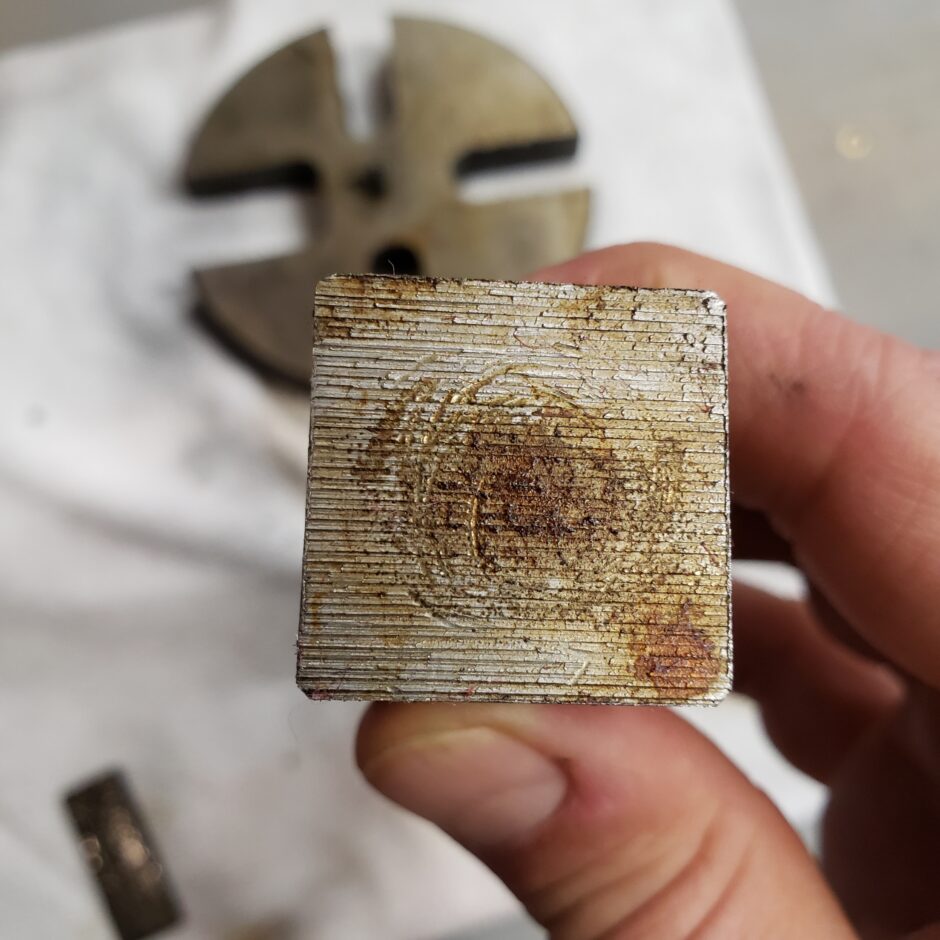
After a little work with filing and polishing, the end of the press bar is now ready to set some rivets.
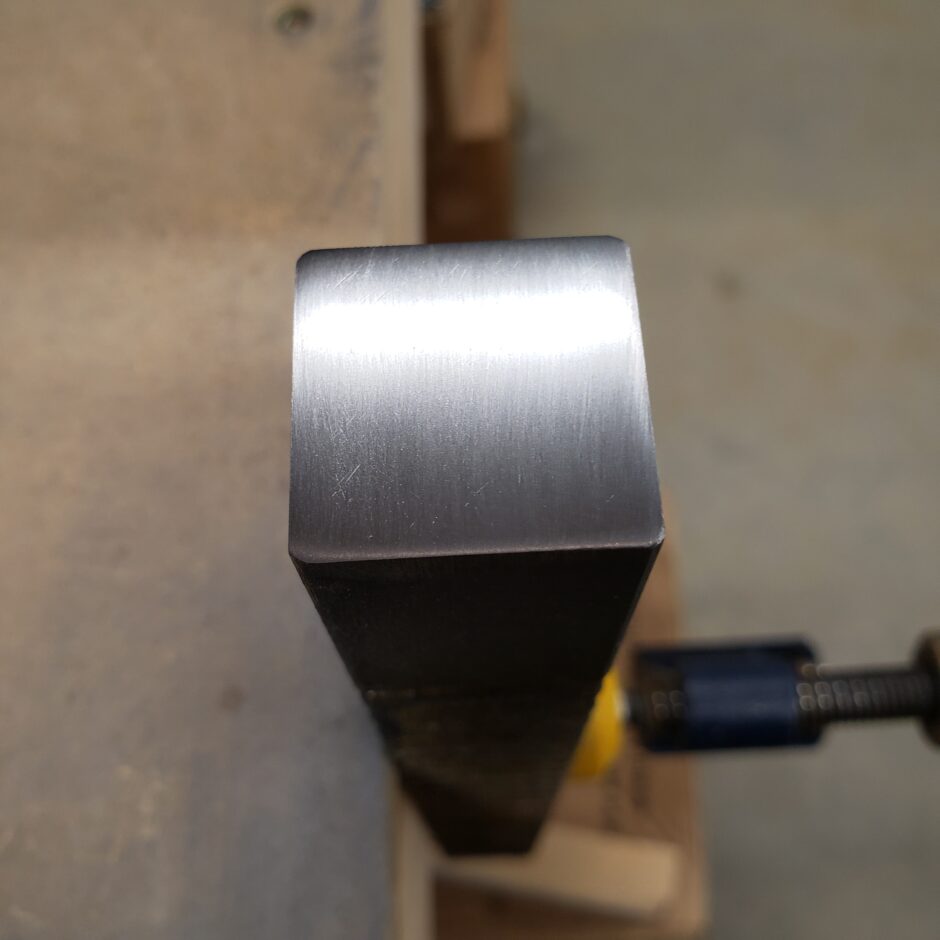
The next task was to locate and drill a hole to mount the rivet set in the base plate. The rivet set used will be the cupped end to accomodate the manufactured head of the rivet, whereas the bar in the previous images will be used to set the shop head. I started by tracing the outline of where the press bar will align to the base plate. Then I made some lines to identify the center point, which is where I’ll drill the hole for the rivet set.
Next I made a test piece to give this arbor press a try.
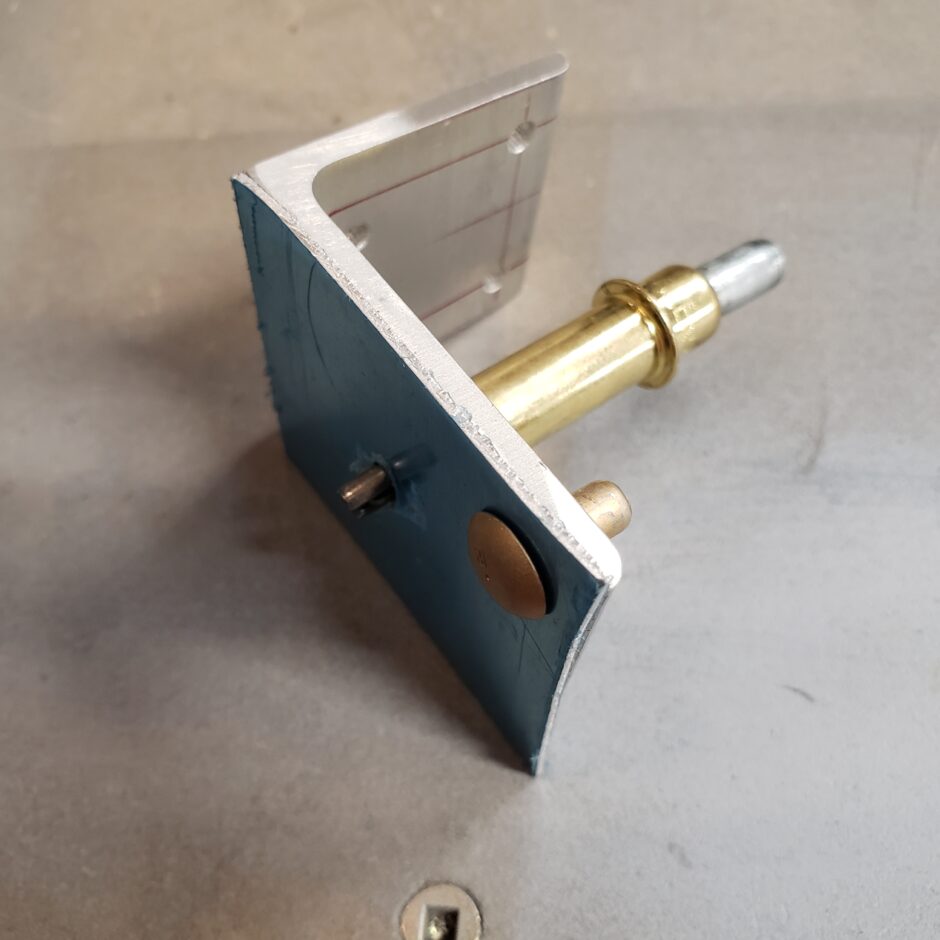
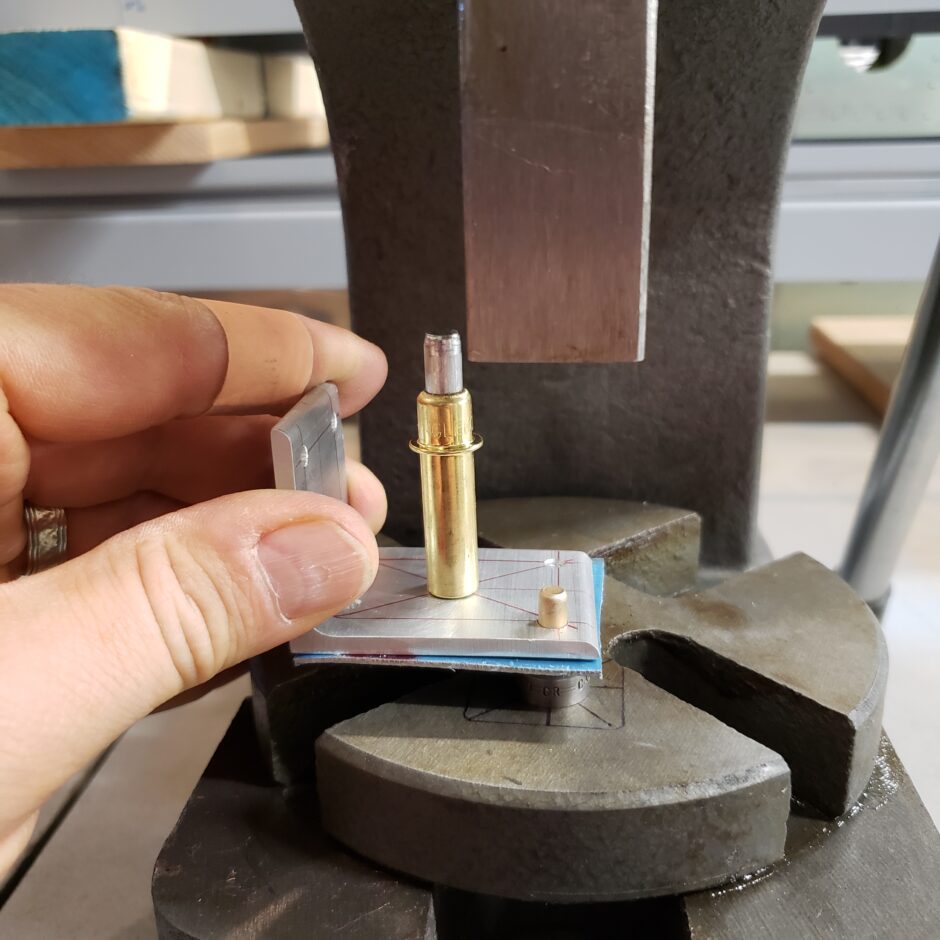
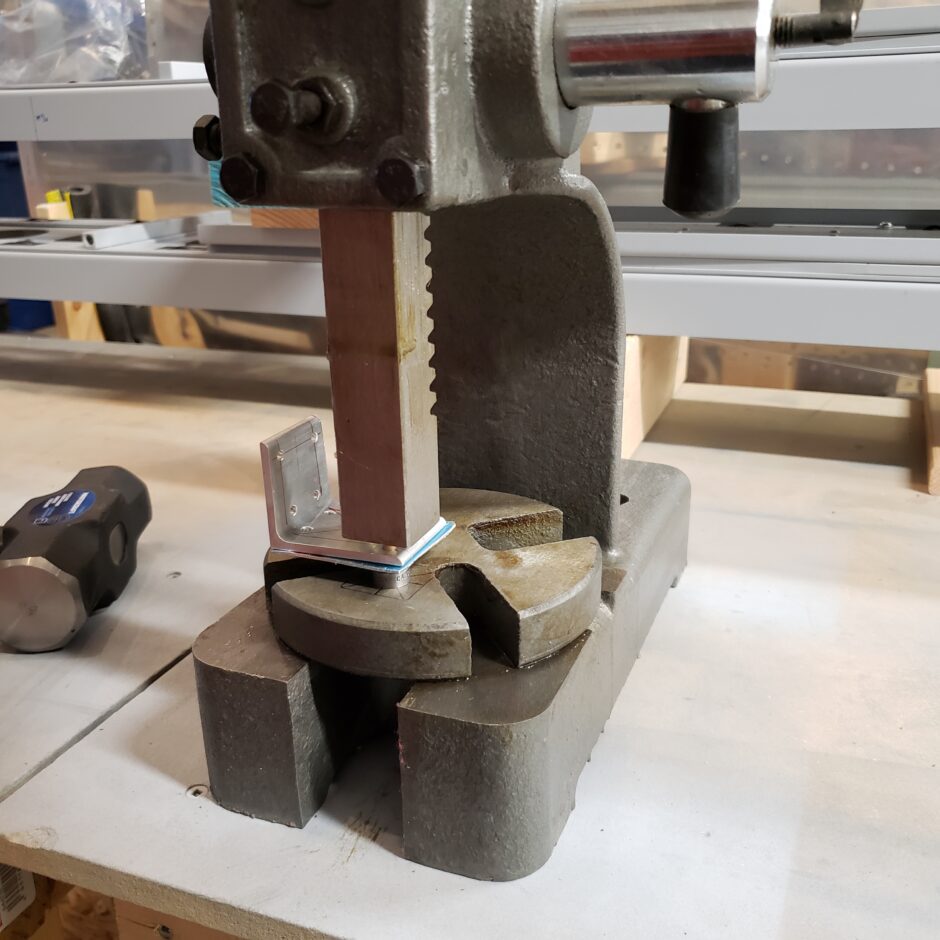
I also forgot to mention, as you can see in the image above, I have a small sledge hammer which is what I used to actuate the arbor press. Basically, you get your work set in the press. Then lower the press bar with the long handle, and with one hand, hole the handle down to keep pressure on the parts being riveted. You always want to keep that pressure on, so that the press arm doesn’t bounce when you’re riveting. Then to rivet, with the other hand, use the sledge hammer to give a few good whacks on the top end of the press bar driving it down to set the rivet. Give it a good whack, don’t be afraid. You’ll see what kind of force you need once you begin. You should eventually be able to set the rivet after 3 or 4 good solid whacks.
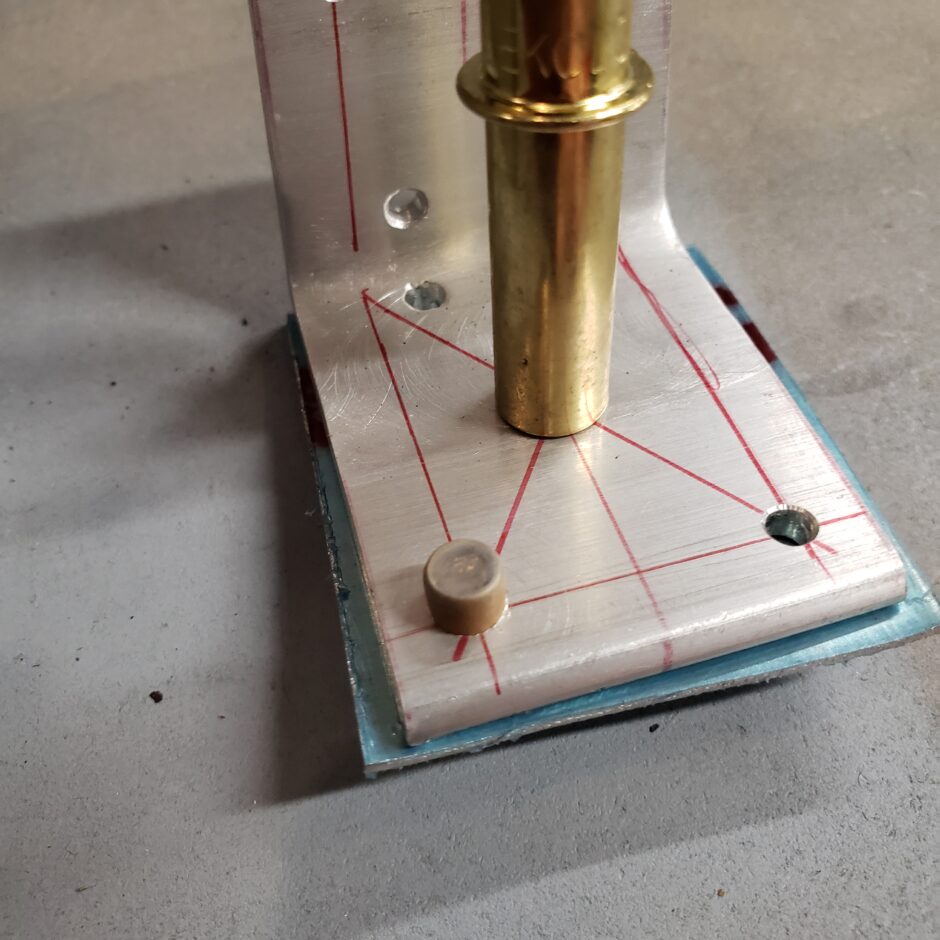
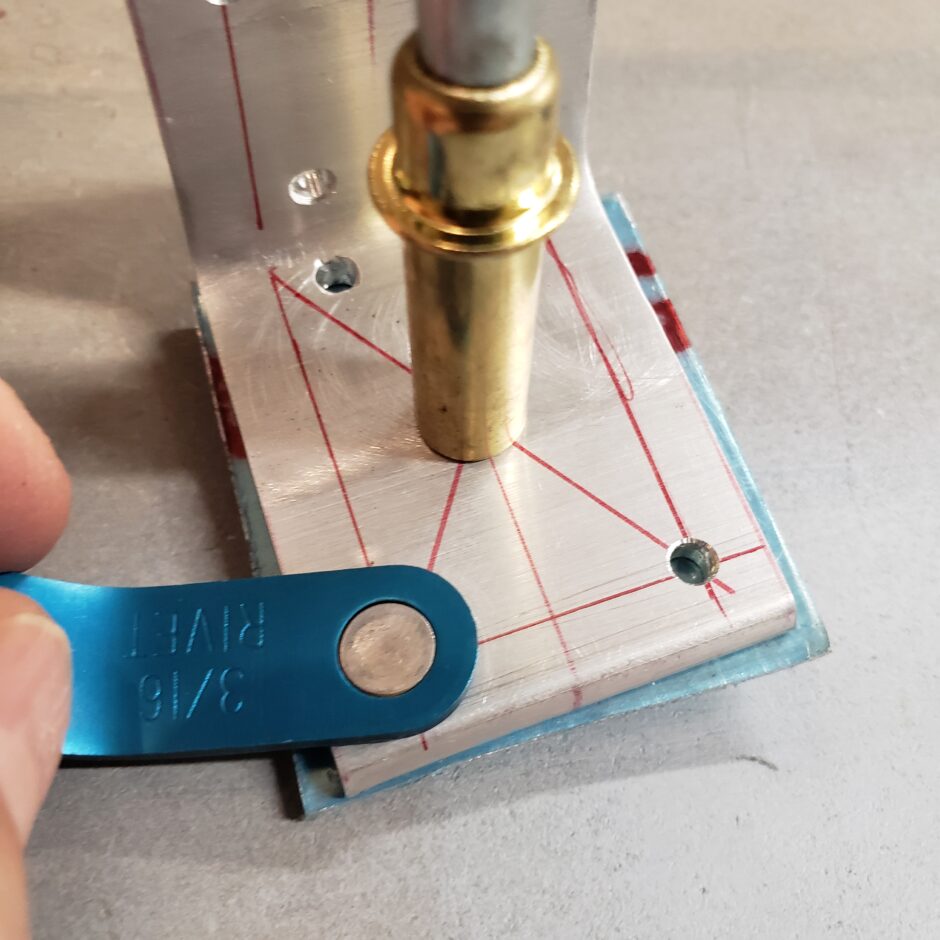
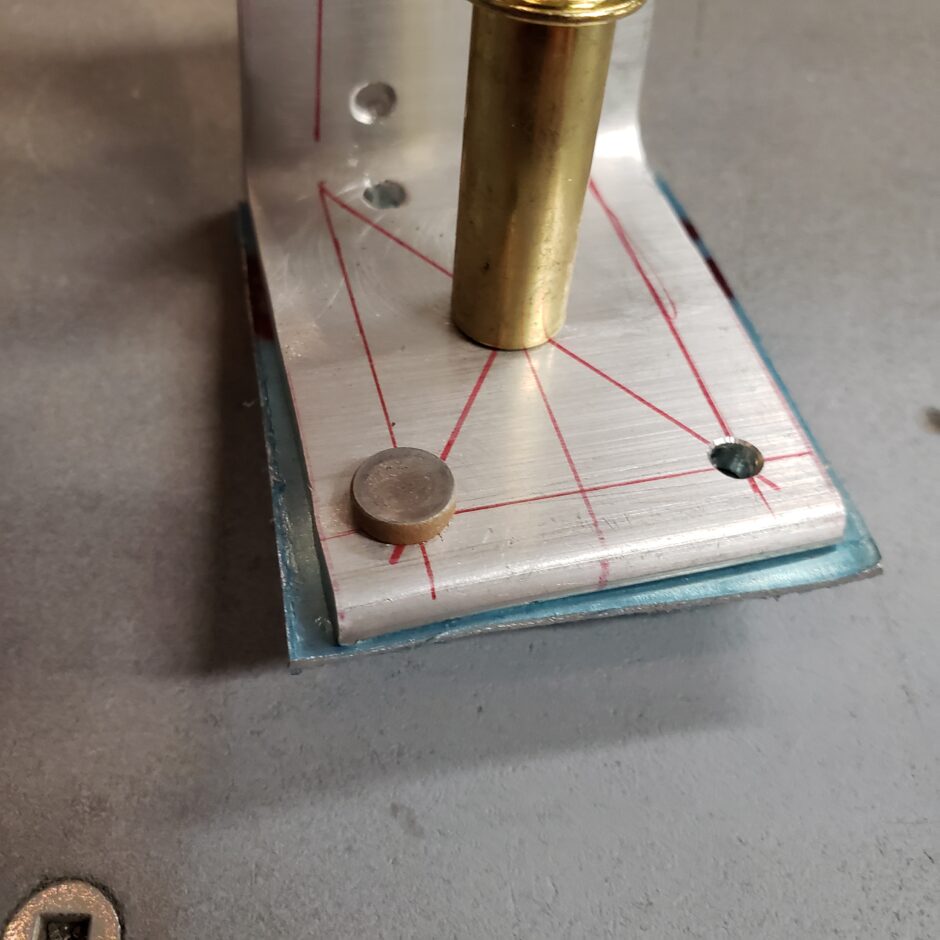
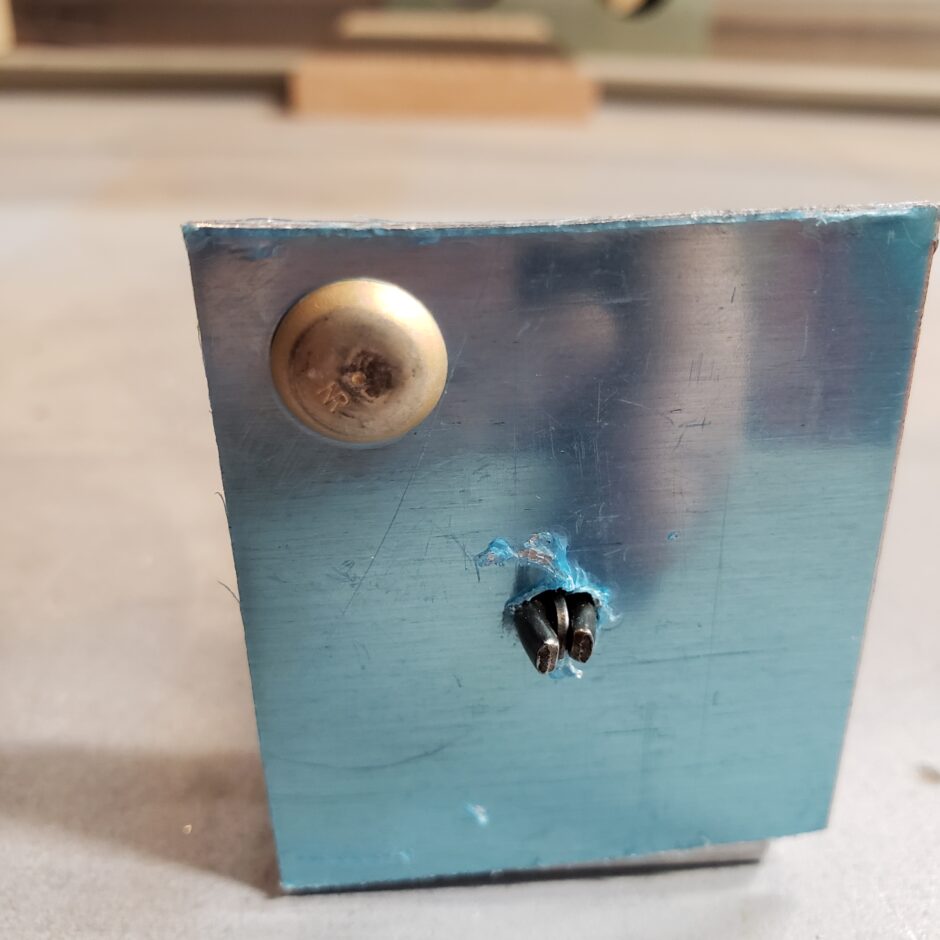
So now that I’m satisfied I know what I’m doing with the arbor press, it’s time to try some rivets on the spar itself. As always, make sure the work is level so you don’t tip the rivet over while riveting.
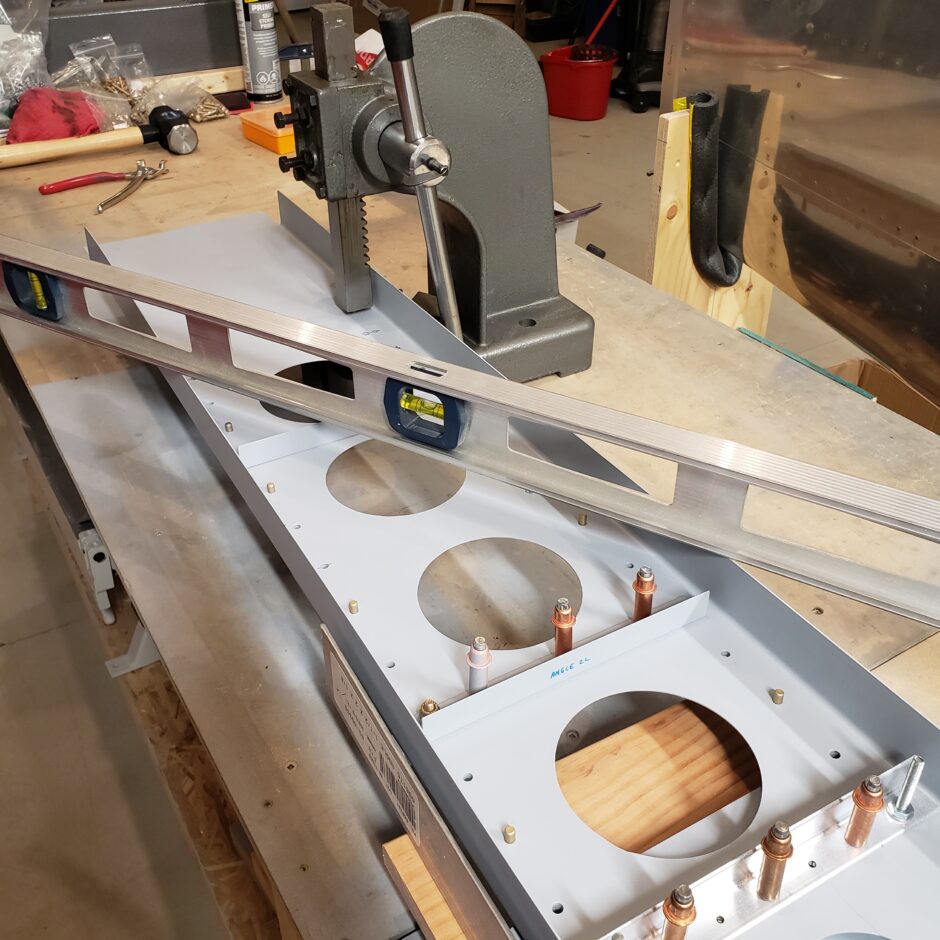
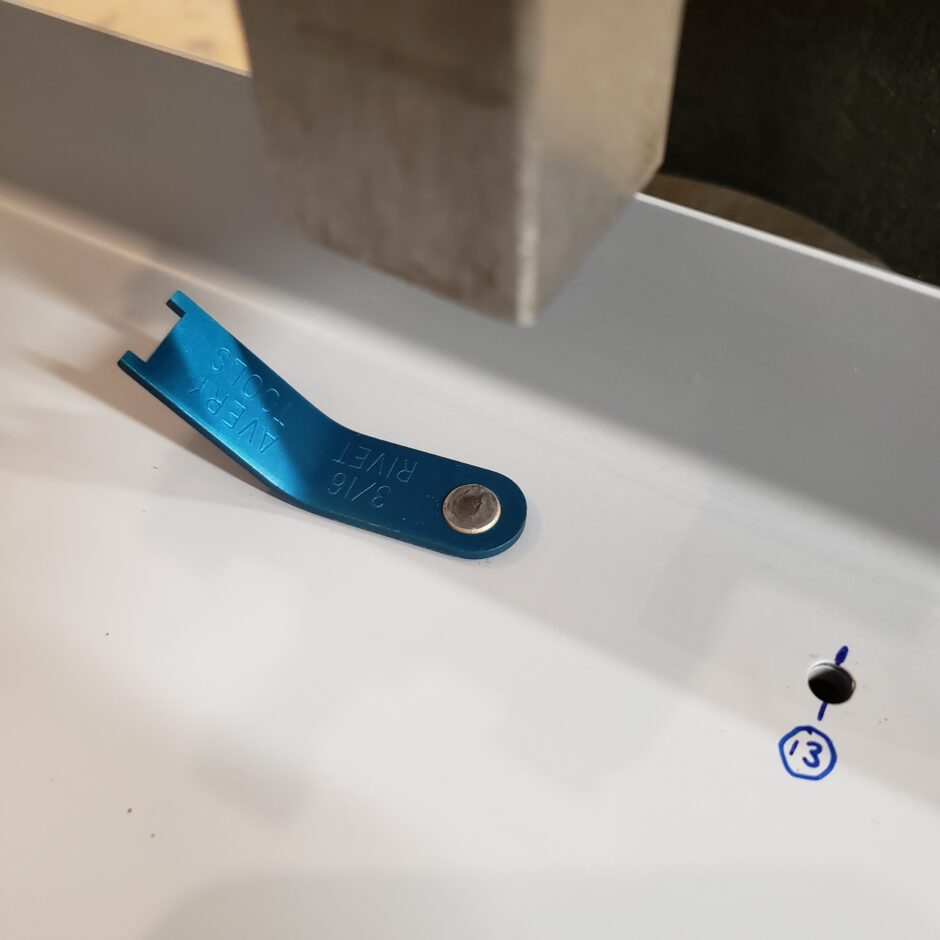
First spar cap rivet set! What a success!
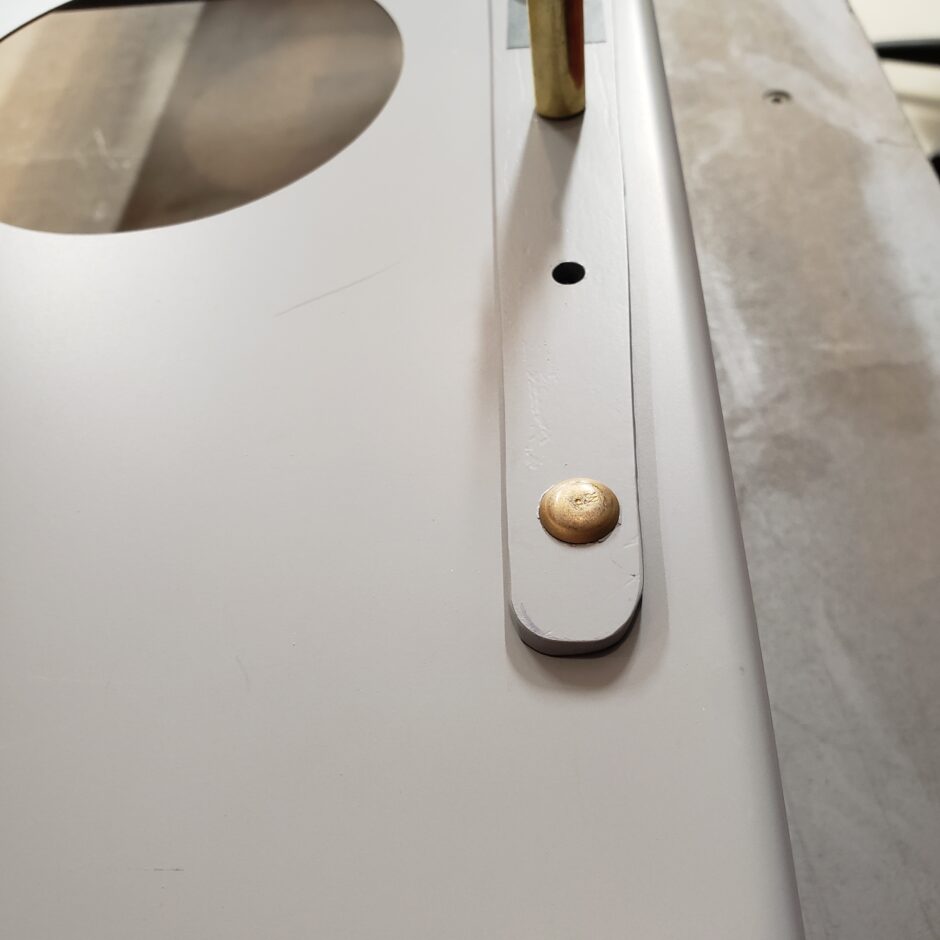
Here it is from the forward side of the spar. Perfect!
The arbor press riveting worked well for about the first 6 rivets or so…until I came up to the area where the forward spar web doubler and support beams are located. At this point, I would have to start modifying the arbor press to make it work for any further parts of the spar web. Unfortunately, as good as this system is, it’s a bit limiting.
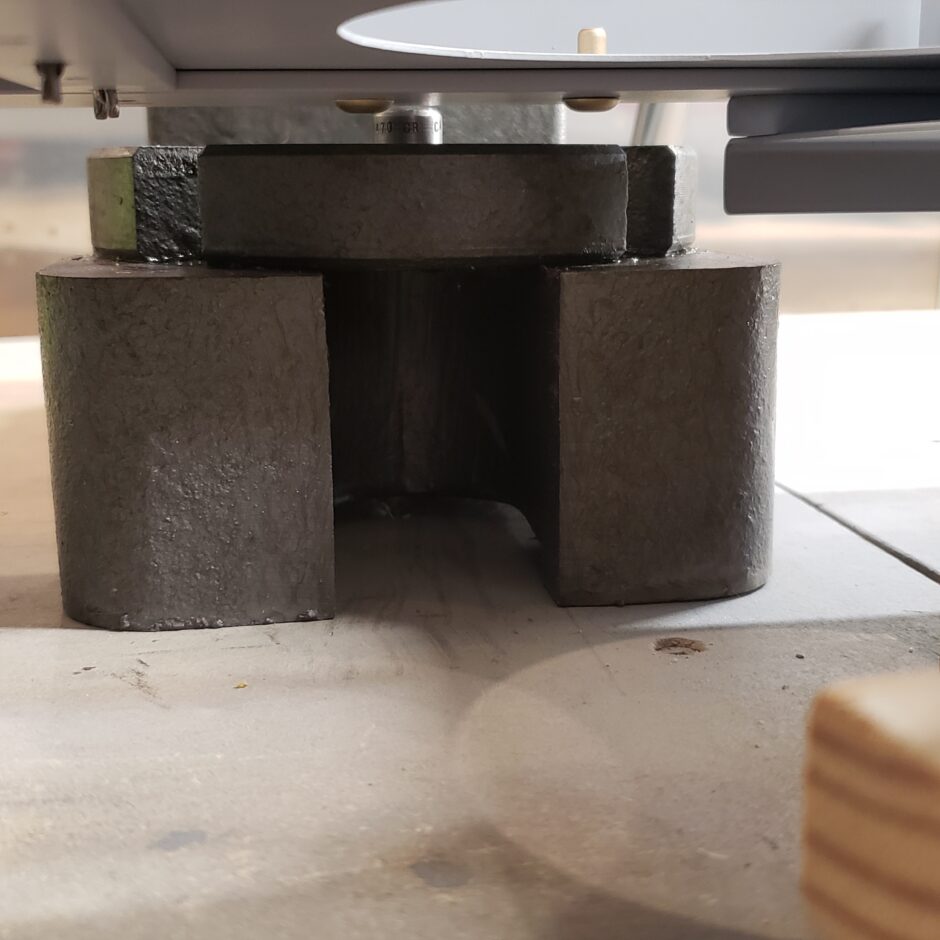
Here is another angle of where I was running up against the forward spar web doubler.
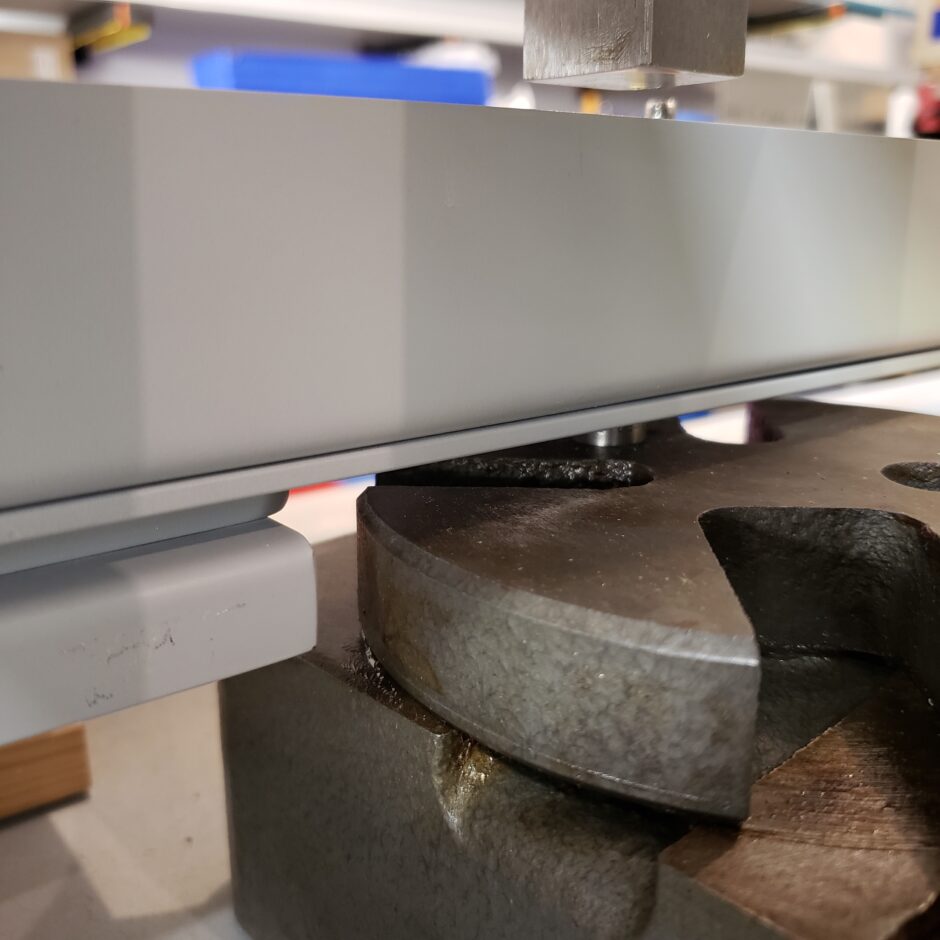
So…I guess I need to beg, borrow or steal a rivet gun larger than the 4X gun I currently have. Until then, Please comment. I love to hear from my readers. Thanks again for coming along for this ride, you make my work worthwhile.
Leave a Reply