Tonight I was able to tackle a few little jobs on the left elevator. I started by working on the elevator trim motor support which is mounted on the trim cover plate (E-616PP). There are a few things to be careful of when doing this. I recommend that before doing this, you go and read a few other builders logs to see various ways of how to properly align the trim motor and Z-channel servo support brackets (EET-602B) on the trim cover plate.
As discussed in many builders logs, the dimension callout of 1 3/8″ as shown on RV-8 empennage drawing 4 is incorrect. What this means is that the trim motor actuator will not be centered in the cutout of the trim cover plate. As with many other builders I have found that approximately 1.275″ is closer to being correct.
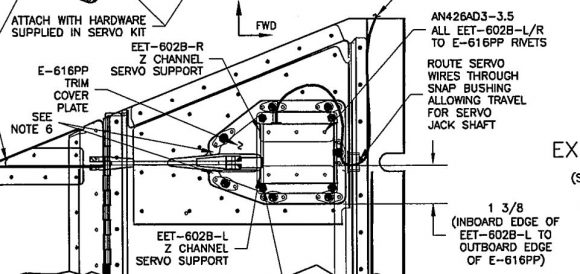
The image below shows the difference between the two.

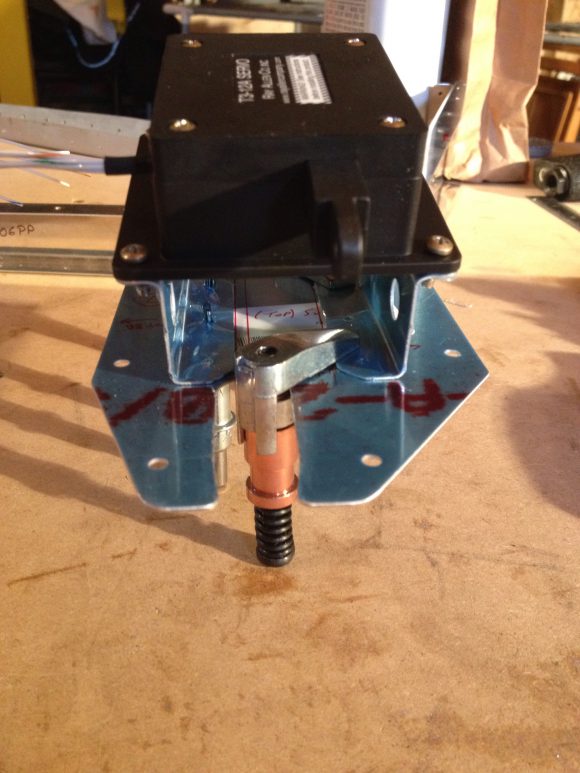
The next step is to attach the trim motor to the Z-channel servo supports so that you can correctly position the trim motor / Z-channel assembly squarely on the trim cover plate, and aligned with the center of the cover plate cutout. Once all of this is correctly aligned, you can then mark the placement of where the Z-channels will be located on the trim cover plate.
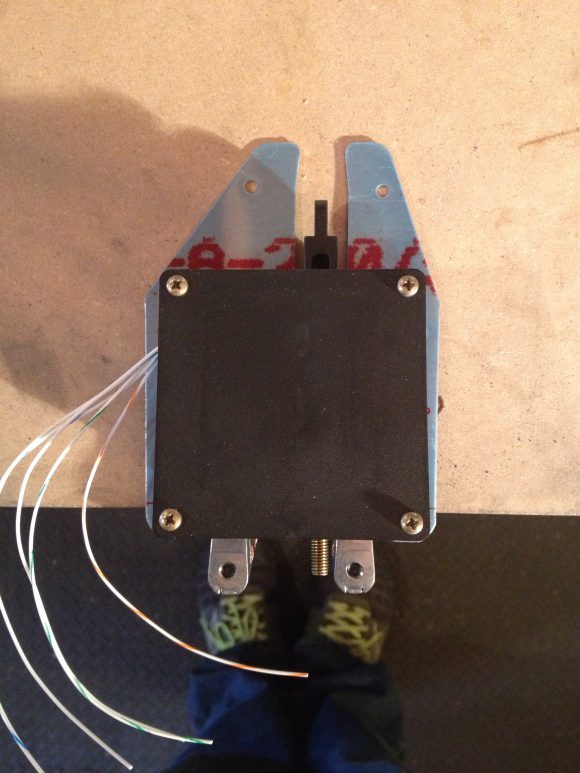
As its hard to juggle all of these parts, the image below shows how I ended up mounting the trim motor upside down with the screws and then used a cleco clamp to hold the Z-channel support brackets in place so that I could mark their proper positions, especially the rivet hole locations on the trim cover plate.
F1 Rocket Mod: Trim Tab Spar Stiffener
My next task of the evening was to make a stiffener bracket to strengthen the area of where the E-705 root rib and E-606PP trim spar are fastened. This bracket is made from a piece of 2024-T3, 0.040 aluminum. No special dimensions, to comment on, I just made it large enough to have two rows of rivets on each flat of the bracket. Also contour the flats of the bracket to match the dimensions of the E-705 root rib and the E-606PP trim spar.
The image below isn’t to scale. I made this just to give an idea of the relative position.
Update: Here is a post with more pictures of this bracket when completed.
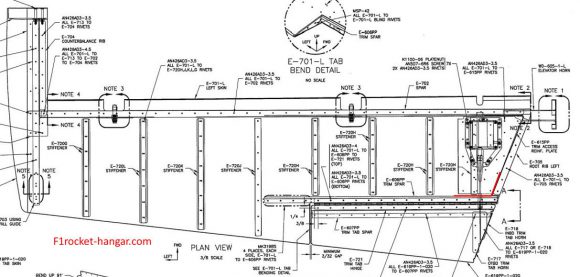
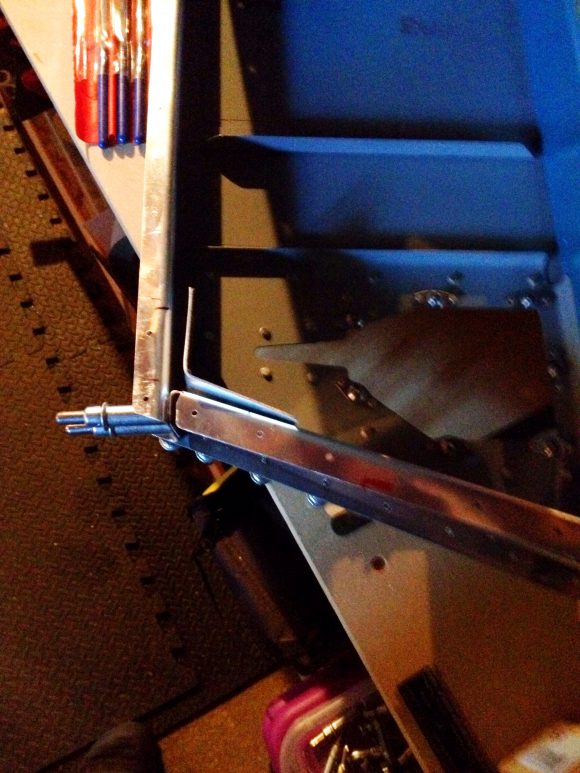
The picture below shows the bracket. Sorry for the poor quality image. I didn’t get any other pictures of it tonight but you can see more pictures of it here in this later post.
Please comment, I love to hear from my readers. Thanks again for coming along for this ride, you make my work worthwhile.
Leave a Reply